Your March Homestead Guide: What to Do This Month
Key Takeaways (TL;DR)
- March is when cool-season planting begins in most zones, peas, lettuce, spinach, and radishes go in as soon as soil is workable.
- Prepare garden beds by turning compost, amending soil, and breaking up compacted ground.
- Indoor seed starting is in full swing for warm-season crops like tomatoes, peppers, and squash.
- Set up your brooder now, chicks ordered in February will be arriving soon.
- This is the month where good planning meets real action. Pace yourself.
March At a Glance: Direct-Sow Windows by Soil Temperature
| Crop | Min Soil Temp | Sow Indoors or Direct | Days to Harvest |
|---|---|---|---|
| Peas | 40°F | Direct (presoak 12 hr) | 60–70 days |
| Spinach | 40°F | Direct | 40–45 days |
| Radishes | 45°F | Direct | 25–30 days |
| Lettuce | 40°F | Direct or transplant | 45–55 days |
| Kale | 45°F | Direct or transplant | 55–65 days |
| Tomatoes | — | Indoors only (6 wk before last frost) | — |
| Peppers | — | Indoors only (8 wk before last frost) | — |
Three March Decisions — Honest Tradeoffs
Start tomatoes indoors vs buy transplants in May
Pros: You control variety (heirlooms aren’t sold at most nurseries), 1/10th the cost per plant ($0.30 of seed vs $4 transplant), seedlings ready exactly when you want, can pinch and prune for stockier plants.
Cons: Requires grow lights ($50–150 startup), 6–8 weeks of daily checks, dampening-off losses if you let trays stay wet, indoor space commitment for 6+ weeks.
Turn the compost pile in March or wait until April
Pros: Aerates the pile as it warms, accelerates breakdown for May garden bed prep, distributes the cold spots that built up over winter, prevents anaerobic pockets that cause off smells.
Cons: Cold March mornings are no fun, the pile’s outer crust may still be frozen, partial turn can release ammonia from accumulated nitrogen, often need to add brown carbon material (leaves, straw) to balance.
Brood new chicks in March vs wait until April
Pros: Chicks integrate into outdoor flock by Memorial Day weather, full-size before winter, eggs starting late summer, brooder setup happens before garden chaos begins.
Cons: Brooder needs 95°F for week 1 (electric heat lamp = $15–25/month), late cold snap means delayed coop transition, chick supply at feed stores is heaviest in March (pros and cons of crowd timing).
March is the month that makes homesteaders giddy. After months of planning, ordering, and waiting, the ground is finally waking up. In some zones you’re already planting. In others, the snow is receding and revealing all the projects you forgot about last fall. Either way, the energy shifts this month from planning to doing, and it feels wonderful.
But here’s the thing. March can also be the month where enthusiasm outruns reality. I’ve learned the hard way that planting too much too early, ignoring frost dates, and trying to do everything in one weekend leads to frustration and wasted effort. Take it one task at a time. Spring isn’t going anywhere.
March Direct-Sow Windows & Spring Prep
Cool-Season Planting
As soon as the soil can be worked, meaning it crumbles in your hand rather than forming a sticky ball, it’s time to get cool-season crops in the ground. These plants actually prefer cooler temperatures and can handle light frosts:
- Peas: Direct sow as soon as soil temperature reaches 40 degrees Fahrenheit. Soak seeds overnight for faster germination. Set up trellising at planting time, it’s much easier than retrofitting later.
- Lettuce and salad greens: Direct sow or transplant seedlings started indoors. Succession plant every two weeks for continuous harvest.
- Spinach: Direct sow in early March for most zones. Spinach bolts in heat, so getting it in early is important.
- Radishes: The fastest reward in the garden, ready in 25-30 days. Interplant between slower crops to maximize space.
- Kale and Swiss chard: Direct sow or transplant. Both are frost-tolerant and incredibly productive.
- Carrots: Direct sow mid to late March in Zones 5-7. Requires patience, germination takes 14-21 days.
Zone-specific timing:
Zones 3-4: March is primarily an indoor month. Ground planting is rarely possible, soil is still frozen or saturated in most of this zone through March. Use the full month for indoor seed starting: tomatoes, peppers, onions, and early brassicas. You might get peas and spinach in the ground by late March in the mildest microclimates, but treat that as a bonus, not the plan. Don’t let optimism push you to direct-sow before soil is genuinely workable.
Zones 5-7: This is your prime cool-season planting window. Get everything listed above in the ground throughout March.
Zones 8-10: You’ve been planting cool-season crops for months. March is when you start transitioning to warm-season planting. Tomato, pepper, and squash transplants can go out in late March in many Zone 8-10 locations.
Garden Bed Preparation
Before you plant anything, your beds need attention. Good bed preparation makes the difference between a mediocre garden and a productive one.
- Clear debris: Remove any remaining plant matter, fallen leaves, and mulch from last season. Compost what you can.
- Turn the soil: If you’re not a no-till gardener, work the top six to eight inches of soil with a broadfork or garden fork. Break up compacted clumps.
- Amend based on soil tests: Add lime to raise pH, sulfur to lower it, and compost for organic matter. Work amendments into the top several inches of soil.
- Rake smooth: Create a fine, level seedbed for direct sowing.
- Mark rows: Use string lines for straight rows. Label everything, you will forget what you planted where.
If you practice no-till gardening, top-dress beds with two to three inches of finished compost and leave it. The worms and soil biology will incorporate it naturally.
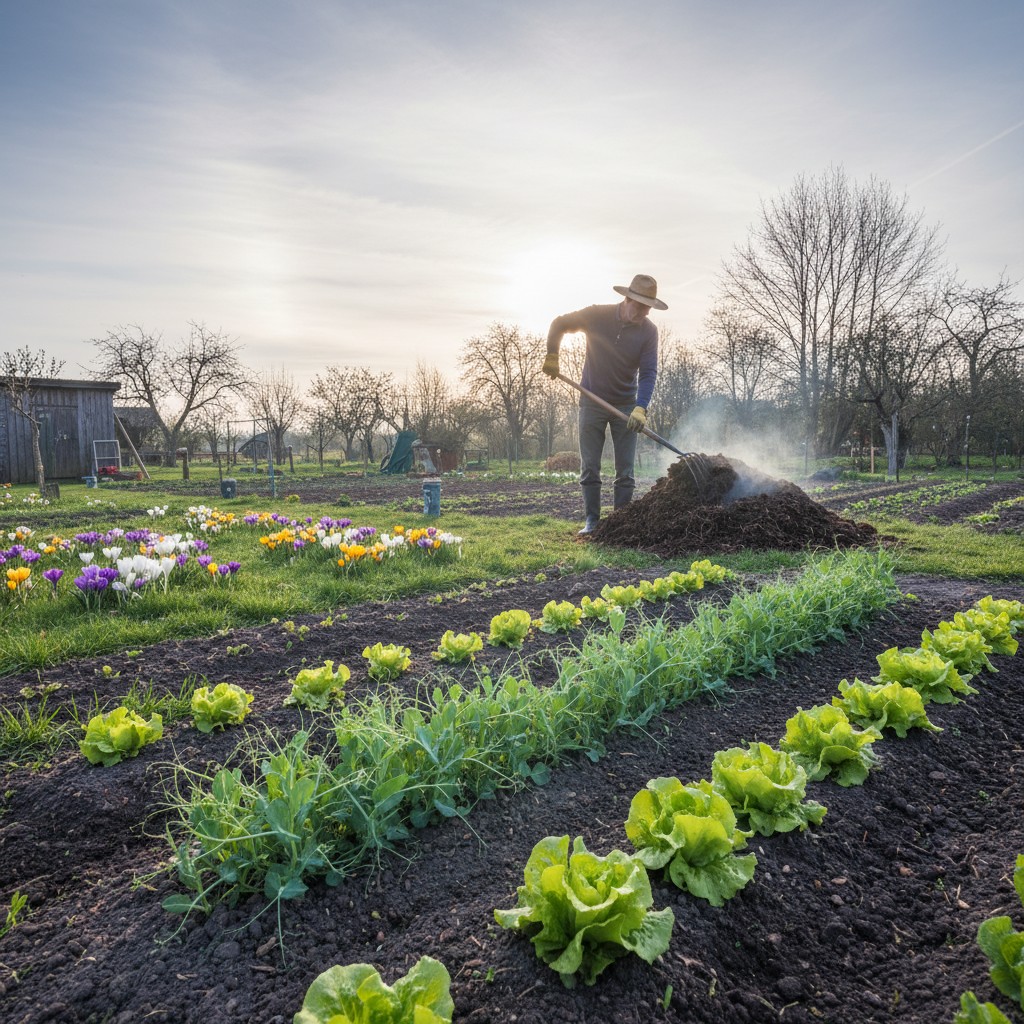
Compost Turning
If your compost pile has been sitting dormant all winter, March is the month to reactivate it. Turn the entire pile, mixing outside material toward the center. If it’s dry, add water. If it’s soggy, add dry brown material like shredded leaves or straw. A reactivated compost pile can produce finished compost in four to six weeks during spring’s warming temperatures, just in time for side-dressing summer crops.
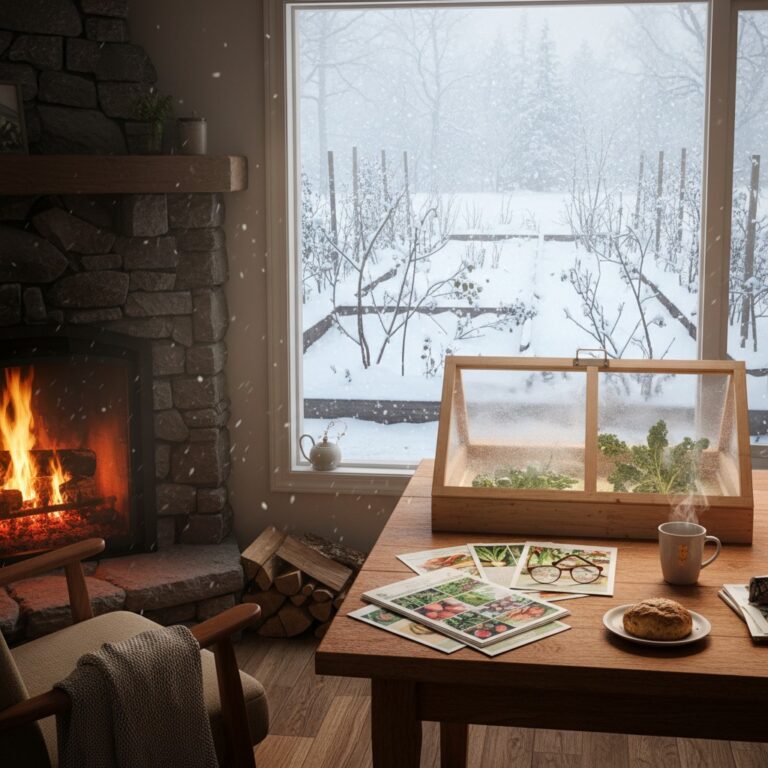
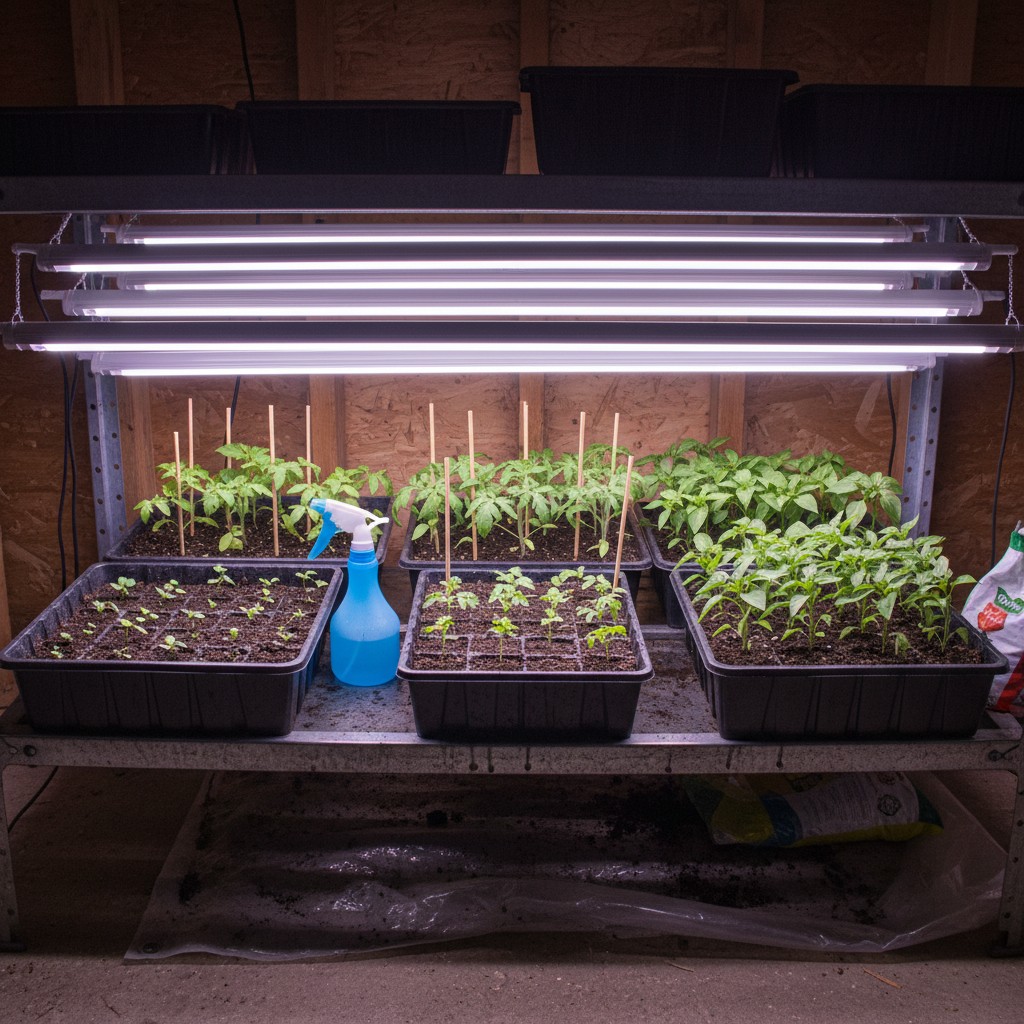
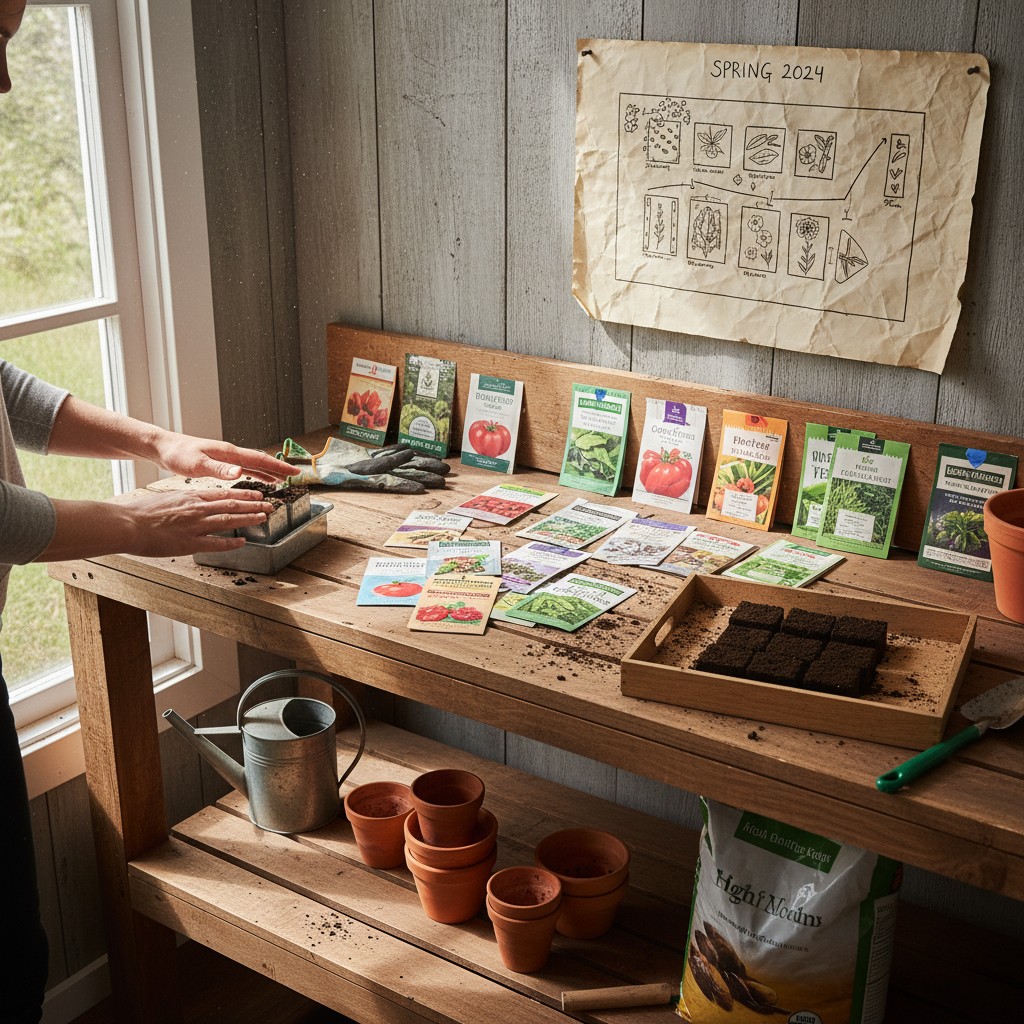
Indoor Seed Starting (Full Swing)
Your seed-starting station should be running at full capacity in March:
- Tomatoes: Start six to eight weeks before last frost date. Most Zone 5-7 gardeners start tomatoes in early to mid-March.
- Peppers: Already started in February for most zones. If not, start immediately, they’re slow growers.
- Squash and cucumbers: Start three to four weeks before transplanting date. Don’t start too early, these grow fast and hate being rootbound.
- Flowers: Zinnias, marigolds, cosmos, and sunflowers can be started indoors in late March.
- Herbs: Basil, dill, and cilantro for transplanting after frost.
Begin hardening off any seedlings that will be transplanted outdoors soon. Move them outside for a few hours on mild days, gradually increasing exposure over seven to ten days. This prevents transplant shock and produces stronger plants.
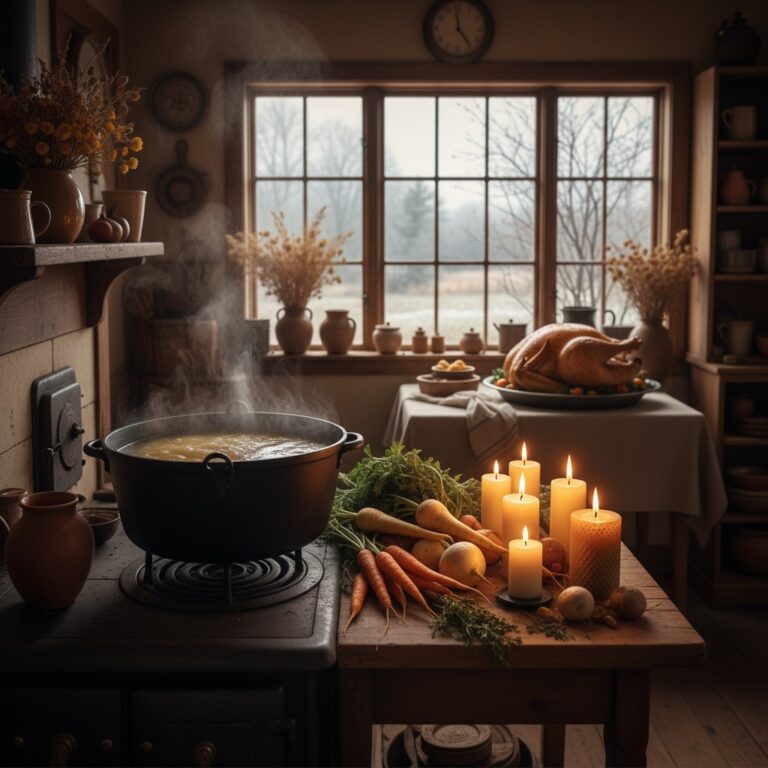
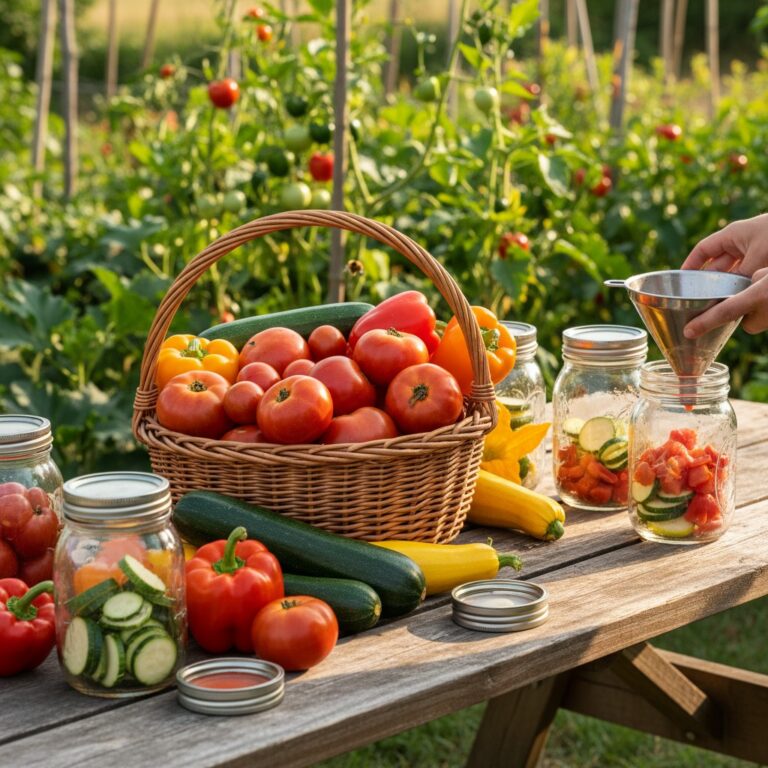
Kitchen and Preserving
The Hungry Gap
March is often called “the hungry gap” in homestead kitchens, winter stores are running low, and spring harvests haven’t started yet. This is perfectly normal and something experienced homesteaders plan for.
To bridge the gap:
- Grow sprouts and microgreens on the kitchen counter for fresh greens
- Harvest any overwintered greens from cold frames, they’re some of the sweetest of the year
- Forage for early spring greens: dandelion greens, chickweed, and wild garlic are appearing now
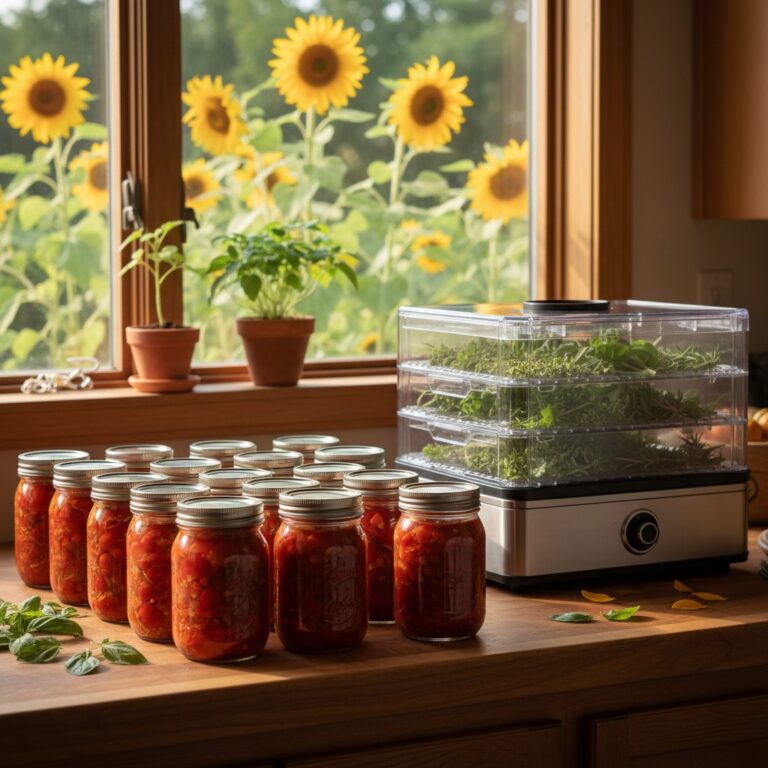
- Use up the last of your frozen and canned goods strategically
Spring Cooking Shift
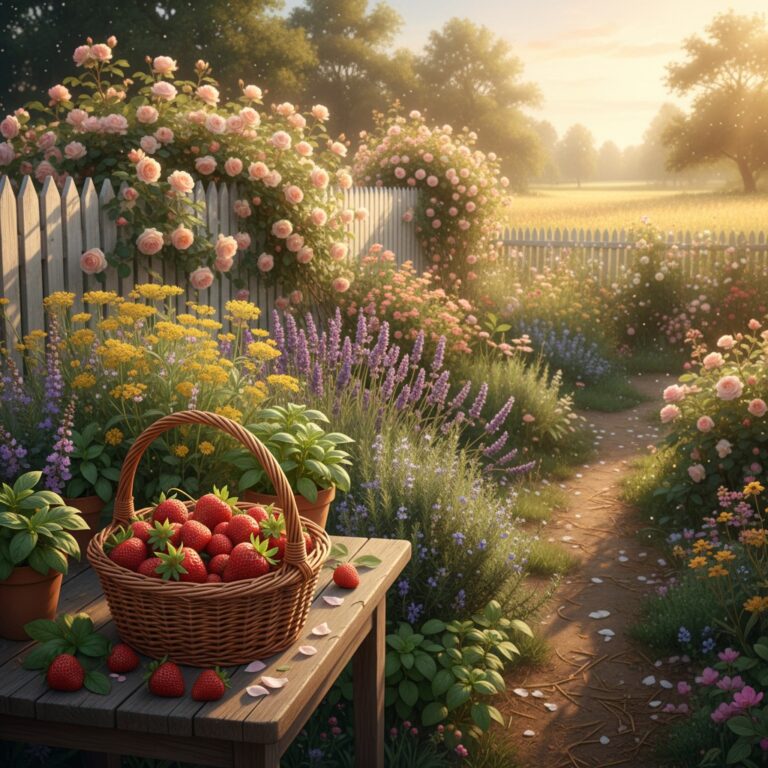
As fresh greens become available, meals start to lighten up. The first salad made entirely from garden-fresh greens after a long winter is one of homesteading’s greatest pleasures. Even if it’s just a handful of spinach thinnings with some chive blossoms, it tastes like victory.
March is also perfect for:
- Nettle soup (if you have stinging nettles on your property, harvest young tips with gloves)
- Dandelion green salads with warm bacon dressing
- Wild garlic pesto (also called ramps in some regions)
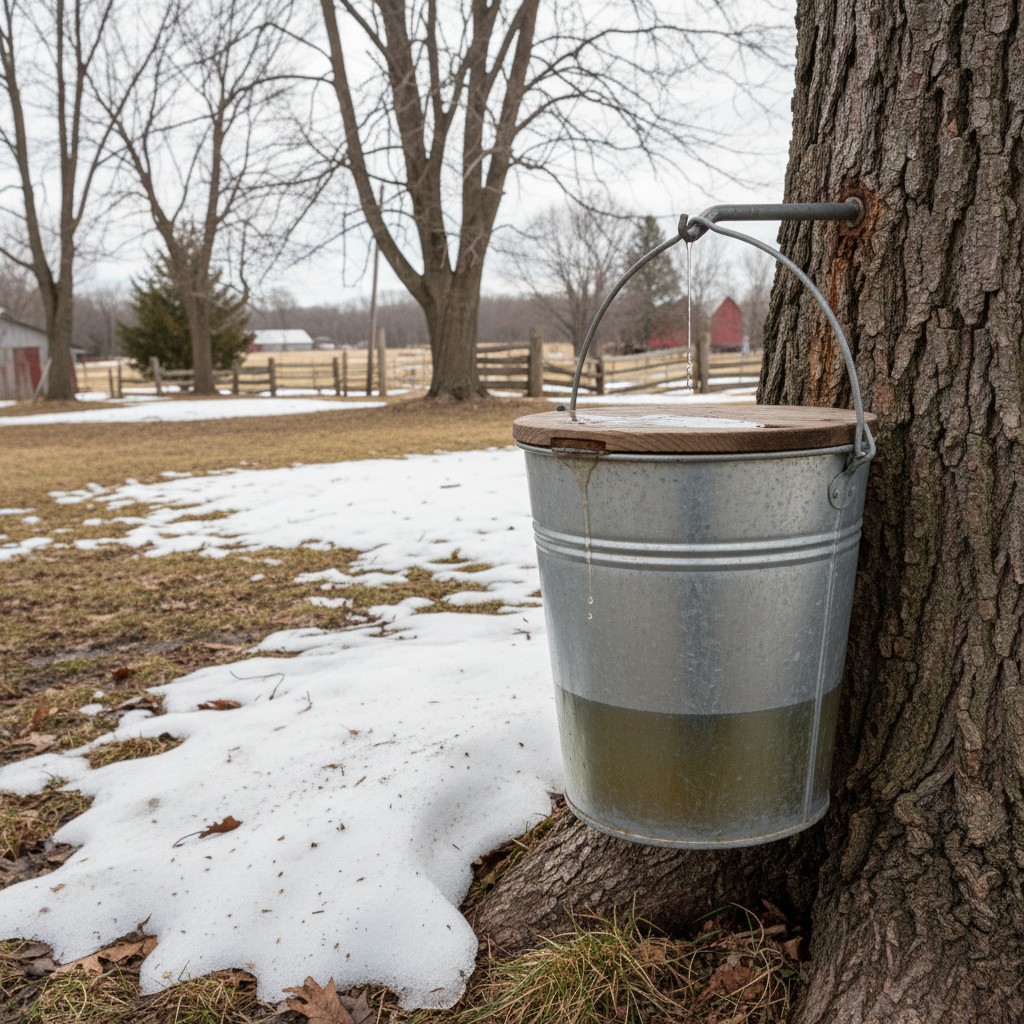
- Maple syrup finishing and bottling (cold zones)
Livestock and Animals
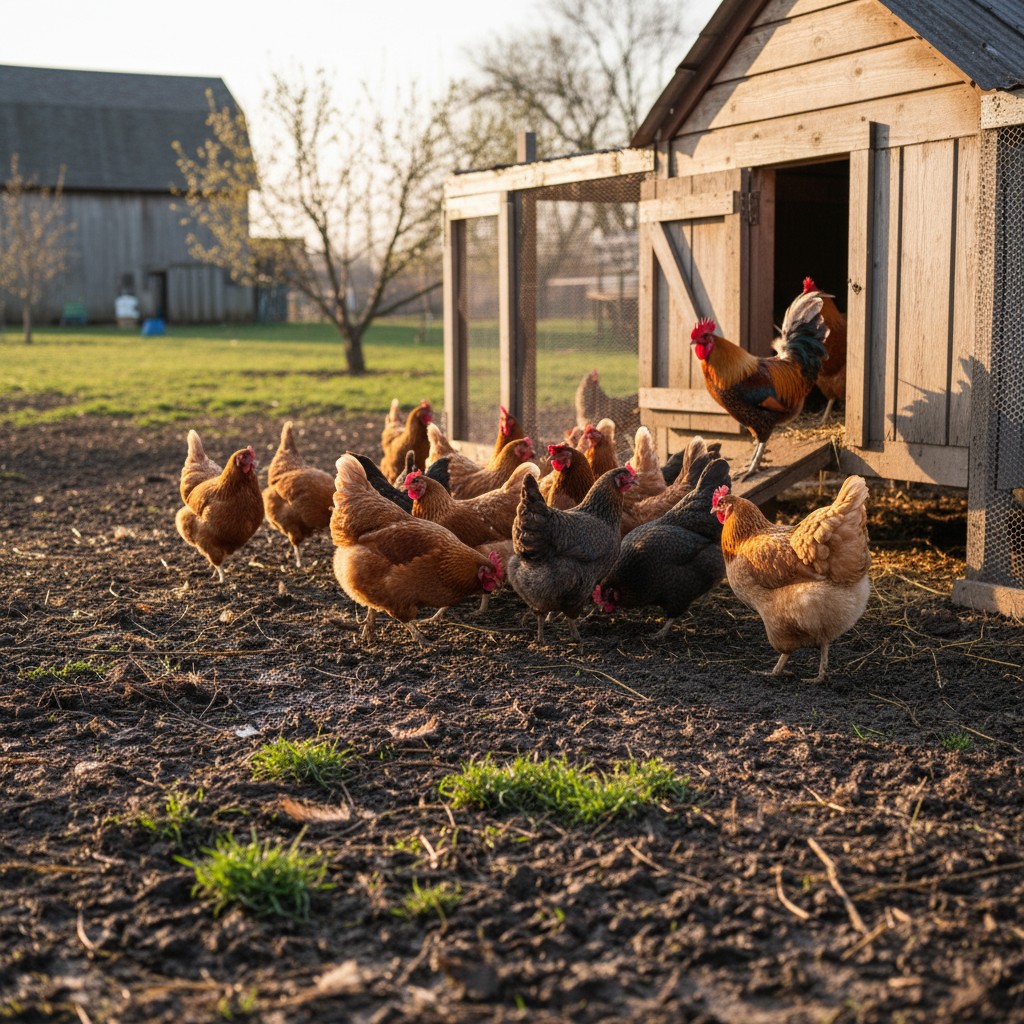
Early Spring Chicken Care
As daylight hours increase, egg production starts ramping back up. You’ll notice your hens becoming more active and vocal. March chicken tasks include:
- Spring coop cleanout: Remove all winter bedding, scrub surfaces, and let the coop air dry on a sunny day. Replace with fresh bedding.
- Check for mites and lice: Part the feathers near the vent and around the base of feathers. Treat if needed with poultry dust or natural options like diatomaceous earth.
- Evaluate your flock: How did each hen perform over winter? Are there older hens you’ll cull this year? Make notes for flock management decisions.
- Expand range: If your chickens were cooped up all winter, start letting them range in the yard as conditions allow. They’ll devour early insects and scratch up pests.
Brooder Setup for Incoming Chicks
If chicks are arriving this month or next, your brooder needs to be ready. Here’s what most people miss: test your heat source for at least 24 hours before chicks arrive. A heat plate or lamp that fails on day one is an emergency.
Brooder essentials:
- A draft-free enclosure (stock tank, large tote, or brooder box) with at least half a square foot per chick
- Heat source maintaining 95 degrees Fahrenheit at chick level for the first week, decreasing five degrees per week
- Pine shavings (never cedar, the oils are toxic to chicks) or paper towels for the first few days
- Chick-sized waterer with clean water, add a splash of apple cider vinegar for gut health
- Chick starter feed (medicated or unmedicated, your choice)
- A thermometer at chick height to monitor temperature
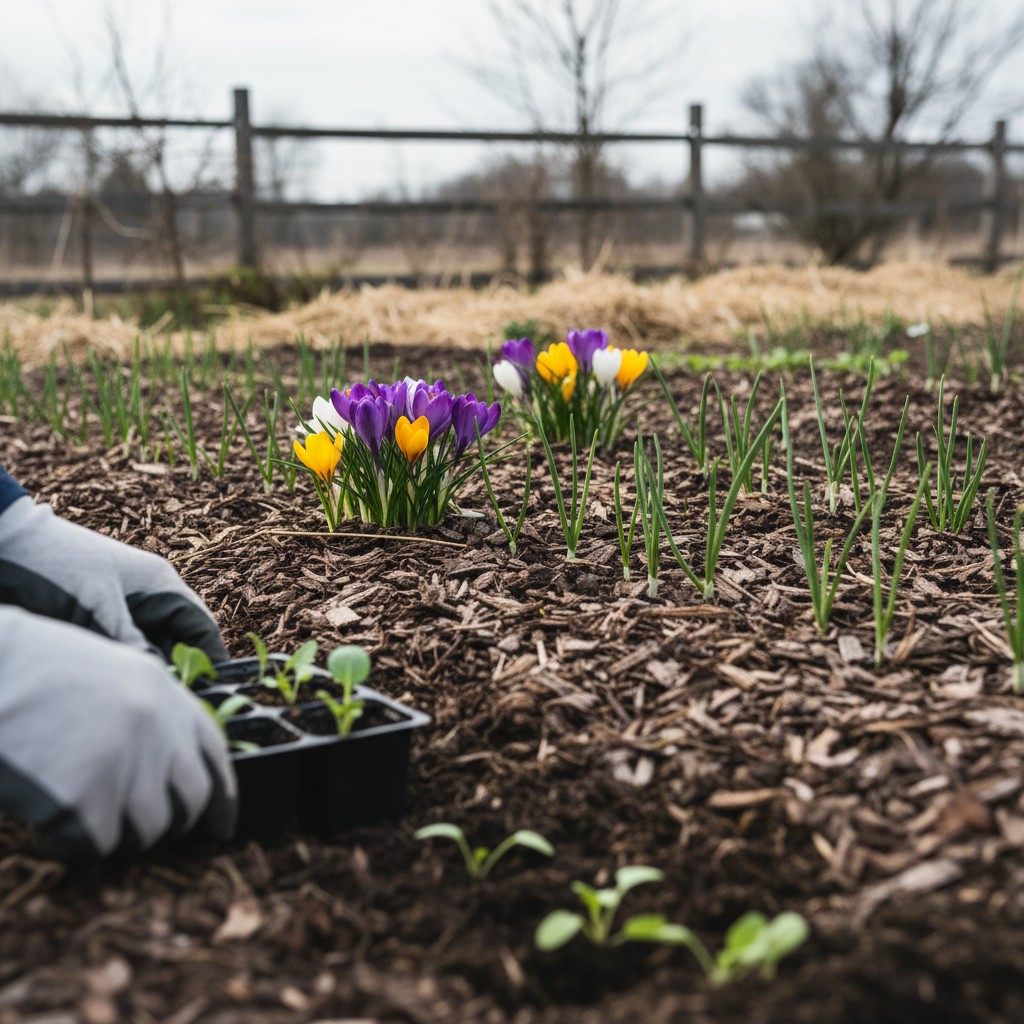
Baby Animal Season Begins
March is when lambs, kids (baby goats), and calves start arriving on many homesteads. If you have pregnant animals, check on them frequently, especially at night. Know the signs of labor and have your birthing kit assembled and accessible. Most births go smoothly, but when they don’t, speed matters.
DIY and Home Projects
Garden Fence Inspection and Repair
Winter takes a toll on fencing. Walk your entire garden and property perimeter, checking for:
- Posts that have heaved or shifted from frost
- Wire or mesh that’s sagged, rusted, or torn
- Gates that no longer latch properly
- Gaps at the bottom where rabbits or groundhogs can squeeze through
Repair everything before you plant. In my experience, discovering a fence gap after deer have eaten your entire pea crop is one of homesteading’s most demoralizing moments. An ounce of prevention in March saves pounds of heartache in June.
Compost System Upgrade
If your compost system is inadequate, March is a good time to build or expand it. A three-bin system is ideal for most homesteads: one bin actively being filled, one cooking, and one with finished compost ready to use. Each bin should be roughly three feet by three feet by three feet, the minimum size for efficient composting.
Rain Barrel and Water Collection Setup
Before spring rains begin in earnest, set up or clean out rain barrels and water collection systems. Check gutters and downspouts for blockages. Install screens to keep out mosquitoes and debris. A single rain barrel captures 1,300 gallons from a thousand-square-foot roof receiving one inch of rain. Free water for the garden is worth the setup effort.
Planning Ahead
April Prep List
- Hardening off: Begin the process for any transplants going out in April.
- Mulch supply: Source straw, wood chips, or leaf mulch for the growing season. Contact local tree services, many will deliver wood chips for free.
- Succession planting schedule: Map out your succession planting calendar for lettuce, radishes, beans, and other crops you’ll sow repeatedly.
- Irrigation check: Test hoses, timers, and drip systems. Replace cracked fittings and clogged emitters.
- Pest supplies: Stock row cover fabric, insecticidal soap, Bt (Bacillus thuringiensis), and neem oil before you need them.
Keep Records
Record everything in your garden journal: planting dates, varieties, soil temperatures, weather conditions, and germination rates. These notes become invaluable reference material in future years. What seems memorable now will be a blur by August.
March is a month of momentum. Every seed you start, every bed you prepare, and every fence post you set is an investment in the abundant season ahead. Don’t rush, but don’t wait for perfect conditions either. The best gardens are planted by imperfect people on imperfect days.
🌱 From Our Homestead
March is when the energy shifts on our homestead. The ground starts to thaw, the first crocuses push through, and suddenly everything feels possible again. I always start more seeds than I have room for, and somehow, I always find room.
Frequently Asked Questions
How do I know when the soil is ready to work in spring?
Grab a handful of soil and squeeze it into a ball. If it holds its shape and feels sticky, it’s too wet, working it now will destroy soil structure and create hard clumps. If it crumbles apart easily when you poke it, it’s ready. This simple test prevents among the most common spring gardening mistakes. Wait a few days after rain before testing.
Can I plant cool-season crops if there’s still a chance of frost?
Absolutely. Peas, spinach, lettuce, kale, radishes, carrots, and most brassicas can handle light frosts (28-32 degrees Fahrenheit) without damage. Some, like spinach and kale, actually taste sweeter after a frost. The key word is “light”, a hard freeze below 25 degrees can damage even cold-hardy crops, so have row cover ready for unexpected deep cold snaps.
My seedlings are tall and spindly. What went wrong?
Leggy seedlings are almost always caused by insufficient light. Seedlings need 14-16 hours of strong light per day with the light source positioned just two to three inches above the tops of the plants. If you’re relying on a window, that’s rarely enough. Even inexpensive shop lights make a huge difference. Also check that temperatures aren’t too warm, cooler conditions (60-65 degrees) after germination produce stockier seedlings.
LED vs. Fluorescent spacing: If you’re using LED grow lights, position them 2–4 inches above seedlings (LEDs run cool and seedlings can sit closer without heat stress). With fluorescent shop lights or T5 tubes, 2–3 inches is standard. High-output LEDs marketed for cannabis or large-scale grows can burn seedlings at that distance, check the manufacturer’s recommended seedling height. Regardless of light type, look at your seedlings: if they’re compact and green, the distance is right; if they’re pale and stretching, move the light closer.
Should I buy transplants from the garden center or grow my own from seed?
Both approaches have merit. Growing from seed gives you access to hundreds more varieties, costs less per plant, and lets you control the growing conditions. Buying transplants saves time, requires no equipment, and works well for gardeners who need just a few plants. Many experienced homesteaders do both, growing specialty varieties from seed while picking up a few garden center transplants to fill gaps. There’s no shame in buying transplants.
Frequently Asked Questions: March Homesteading
Is it too early to plant anything outside in March?
Not at all — peas, spinach, lettuce, and radishes germinate at 40°F and tolerate light frost. Direct-sow them as soon as the soil is workable (squeezes into a ball but crumbles when poked). Most US zones see workable soil by mid-March.
How do I know when my soil is workable for planting?
Take a fistful, squeeze, then poke it. Workable soil holds shape briefly then crumbles. If it stays in a wet ball, it’s too wet — wait 3–5 days. Working wet soil compacts it and ruins structure for the entire season.
When should I start tomato seeds indoors?
Six weeks before your last frost date. For most US zones with a mid-May last frost, that’s late March to early April. Use a heat mat (75–85°F bottom heat) for fastest germination, then transition to grow lights once seedlings emerge.
Do brooder chicks really need 95°F?
Yes for week one, then drop 5°F per week until they’re fully feathered. The temperature requirement is non-negotiable for the first week — chilled chicks die fast. Confirm with a thermometer at chick-level, not by guessing from the heat-lamp height.
What if a late frost hits after my early plantings?
Cool-season crops (peas, spinach, kale, lettuce) tolerate frost down to about 28°F. For a hard freeze warning, cover beds with row cover, old sheets, or even cardboard overnight. Remove the cover by 9am to prevent overheating once the sun is up.
Sources and Further Reading
USDA & university extension references for March homesteading:
- USDA Plant Hardiness Zone Map — Hardiness zone lookup for last-frost-date planning.
- Penn State Extension — Early spring vegetable gardening with soil-temperature germination tables.
- University of Maryland Extension — Starting seeds indoors with timing and grow-light guidance.
- USDA APHIS — Defend the Flock biosecurity for new chick arrivals.
- Cornell Cooperative Extension — Indoor seedling production for the home gardener.