Similar Posts
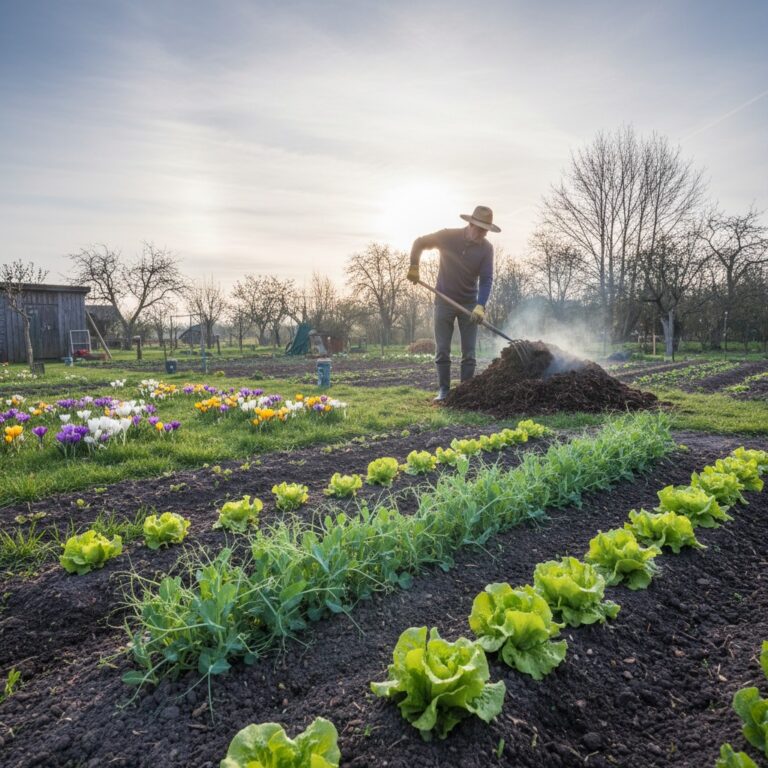
Your March Homestead Guide: What to Do This Month
Your complete March homestead checklist. Garden tasks by zone, kitchen projects, livestock care, DIY projects, and planning ahead.
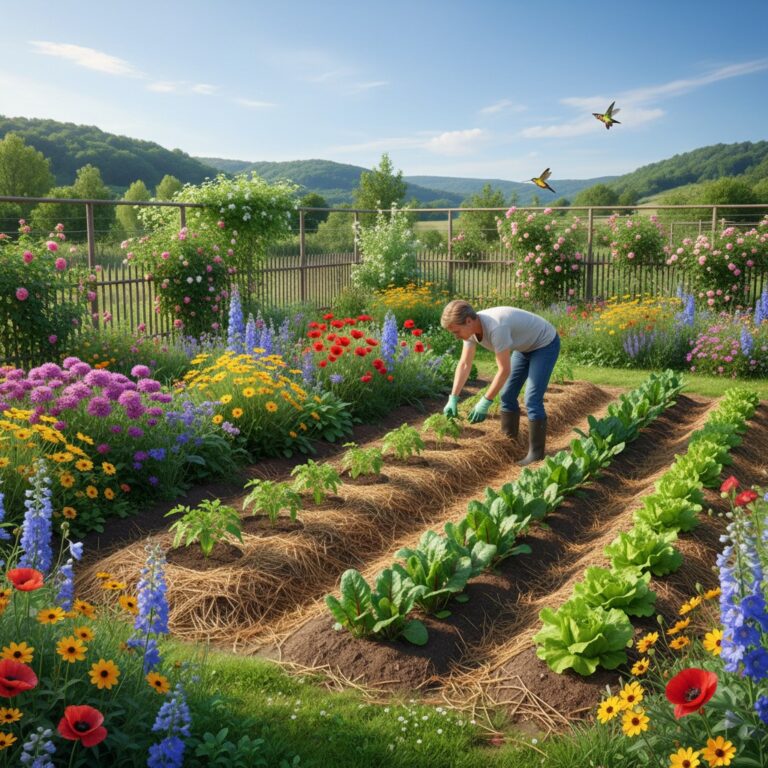
Your May Homestead Guide: What to Do This Month
Your complete May homestead checklist. Garden tasks by zone, kitchen projects, livestock care, DIY projects, and planning ahead.
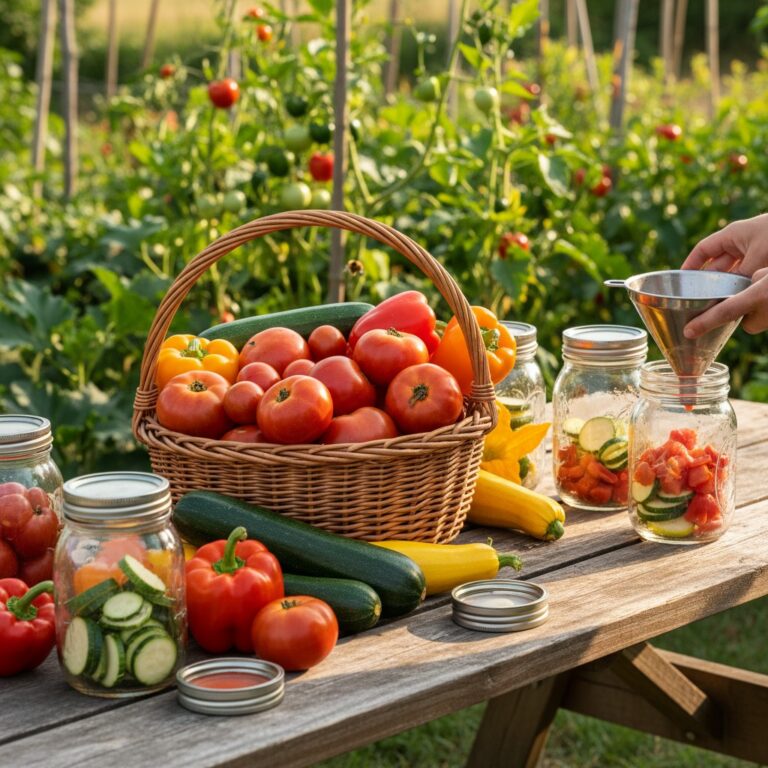
Your September Homestead Guide: What to Do This Month
Your complete September homestead checklist. Garden tasks by zone, kitchen projects, livestock care, DIY projects, and planning ahead.
Your July Homestead Guide: What to Do This Month
Your complete July homestead checklist. Garden tasks by zone, kitchen projects, livestock care, DIY projects, and planning ahead.
Your June Homestead Guide: What to Do This Month
Your complete June homestead checklist. Garden tasks by zone, kitchen projects, livestock care, DIY projects, and planning ahead.
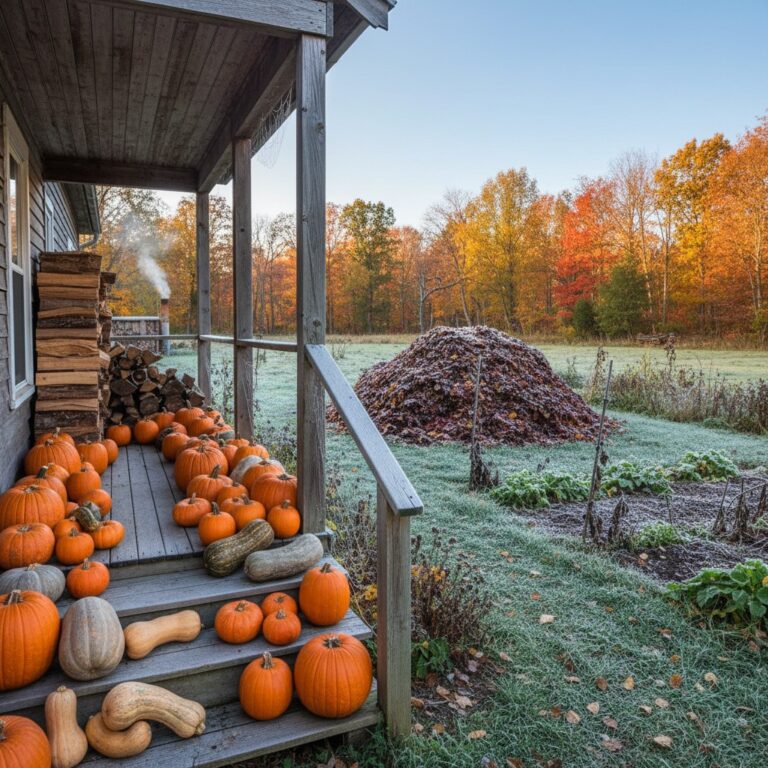
Your October Homestead Guide: What to Do This Month
Your complete October homestead checklist. Garden tasks by zone, kitchen projects, livestock care, DIY projects, and planning ahead.