Your May Homestead Guide: What to Do This Month
Key Takeaways
- May is warm-season planting time — tomatoes, peppers, squash, cucumbers, and melons go in after your last frost date.
- Start succession planting beans, lettuce, and radishes every two to three weeks for continuous harvests.
- Mulch everything once the soil has warmed. This single step saves countless hours of watering and weeding later.
- Integrate young chicks with the existing flock carefully — expect some pecking order drama.
- Watch closely for early pest pressure and act immediately before populations explode.
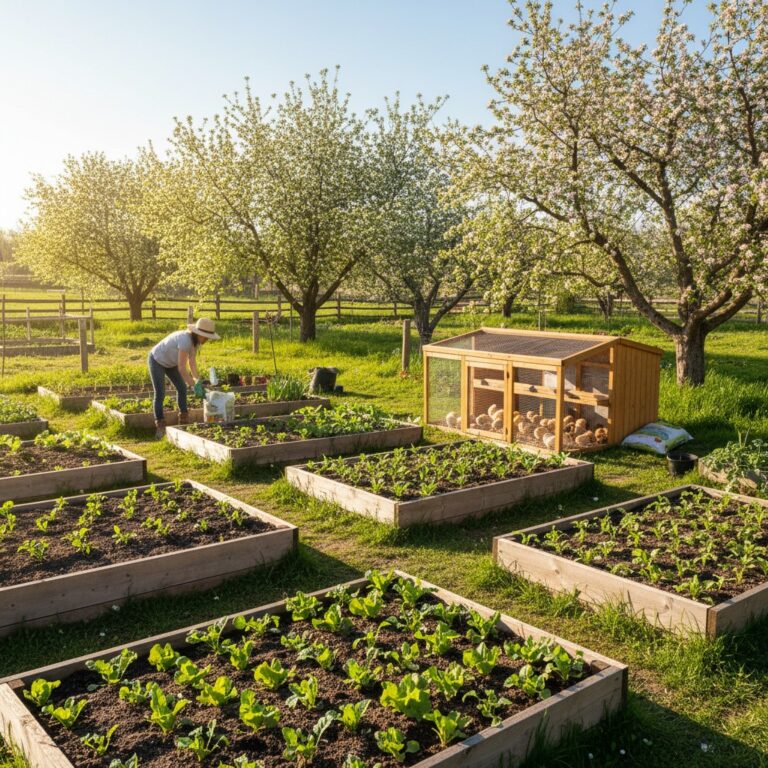
May is the month that rewards every bit of planning, starting, and preparation you’ve done since January. Frost danger is passing in most zones, the soil is warm, and it’s finally safe to plant all those tender crops you’ve been nurturing under grow lights for weeks. The garden transforms from a patchwork of cool-season greens into a full-scale growing operation.
It’s also the month where many homesteaders try to do everything at once and run themselves ragged. Here’s my best advice for May: pace yourself, prioritize, and remember that a garden planted over three weekends will produce just as well as one crammed into a single frantic Saturday.
Garden Tasks for May
Warm-Season Planting
Once nighttime temperatures consistently stay above 50 degrees Fahrenheit and the soil has warmed to at least 60 degrees, it’s time to plant your warm-season crops:
Tomatoes: The crown jewel of most homestead gardens. Transplant into well-amended soil, burying stems deeply. Space indeterminate varieties 24-36 inches apart, determinate varieties 18-24 inches. Install cages or staking systems at planting time.
Peppers: Slightly more heat-demanding than tomatoes. Wait until soil is at least 65 degrees. Peppers appreciate a side dressing of compost at planting time. Space 18-24 inches apart.
Squash and pumpkins: Direct sow or transplant. These are space hogs — give summer squash three to four feet between plants and winter squash six to eight feet. Plant in hills of two to three seeds if direct sowing, then thin to the strongest.
Cucumbers: Direct sow or transplant after last frost. Grow on trellises to save space and improve air circulation. They’re heavy feeders, so amend the planting area generously with compost.
Melons: Need the warmest soil of any common garden crop. Wait until soil reaches 70 degrees. Consider using black plastic mulch to warm the soil faster in cooler zones. Give each plant four to six feet of space.
Beans: Direct sow bush beans every two to three weeks for continuous harvest. Plant pole beans once and harvest all season. Beans fix nitrogen in the soil, making them excellent companions and rotation crops.
Corn: Direct sow in blocks of at least four rows for proper wind pollination. Two to three successive plantings two weeks apart extend the harvest.
Zone-specific notes:
Zones 3-4: Your last frost may not be until late May or early June. Don’t rush warm-season planting. Focus on cool-season crops and prepare beds for a June planting of tomatoes and peppers. Use wall-of-water protectors or cloches to get a head start if needed.
Zones 5-7: Mid to late May is typically safe for all warm-season planting. Monitor the forecast closely in early May — late frosts can still surprise you.
Zones 8-10: Warm-season crops have been in the ground for weeks. May is when heat starts becoming a concern. Provide afternoon shade for lettuce and spinach or let them go and replant in fall.
Succession Planting
This is the secret to a productive garden that many beginners overlook. Instead of planting all your lettuce at once (and harvesting it all at once, and watching half of it bolt before you can eat it), plant small amounts every two to three weeks.
Crops that benefit from succession planting:
- Lettuce and salad greens — plant every two weeks through May
- Radishes — plant every two to three weeks
- Bush beans — plant every three weeks for harvest from July through frost
- Cilantro — bolts quickly in heat, so frequent succession sowings are essential
- Dill — same as cilantro
- Corn — plant every two weeks for an extended harvest window
Mulching
Once the soil has warmed and your warm-season crops are in the ground, mulch everything. In my experience, mulching is the single highest-return activity in the garden after planting. Here’s what it does:
- Suppresses weeds dramatically — reducing your weeding time by seventy percent or more
- Retains soil moisture — you’ll water half as often
- Moderates soil temperature — keeps roots cool in summer heat
- Adds organic matter to the soil as it decomposes
- Prevents soil-borne disease from splashing onto plant foliage
Use straw (not hay, which contains weed seeds), shredded leaves, grass clippings (untreated), or wood chips. Apply two to four inches around plants, keeping mulch a few inches away from stems to prevent rot.
Watering Systems
May is when consistent watering becomes critical. If you haven’t set up your irrigation system, do it now. A few principles to guide your watering:
- Water deeply and less frequently rather than shallowly and often. This encourages deep root growth.
- Water in the morning when possible. Evening watering leaves foliage wet overnight, promoting fungal disease.
- One inch of water per week is the general guideline. Use a rain gauge to track actual rainfall.
- Drip irrigation and soaker hoses are far more efficient than overhead sprinklers.
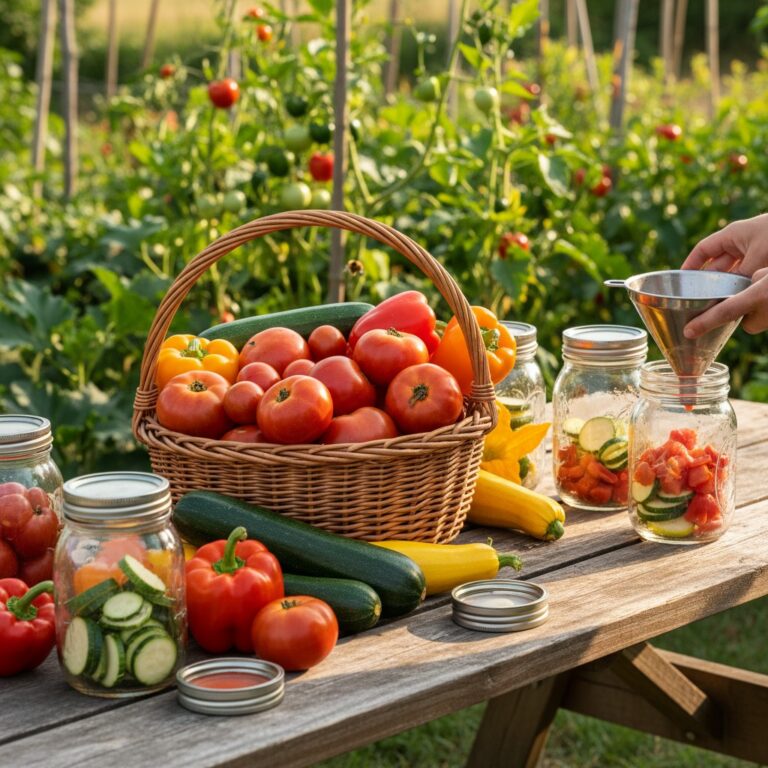
Kitchen and Preserving
First Major Harvests
May brings the first bounty of the season to the kitchen. Depending on your zone and what you planted, you may be harvesting:
- Lettuce and salad greens: Cut-and-come-again varieties keep producing for weeks. Harvest outer leaves and let centers continue growing.
- Radishes: Pull when roots are about one inch in diameter. They get pithy if left too long.
- Spinach: Harvest entire plants or cut outer leaves. In warm zones, spinach will bolt this month — harvest aggressively before it does.
- Peas: Both snap peas and shelling peas should be producing. Harvest daily for best quality.
- Asparagus: Continue harvesting through late May, then stop and let ferns grow.
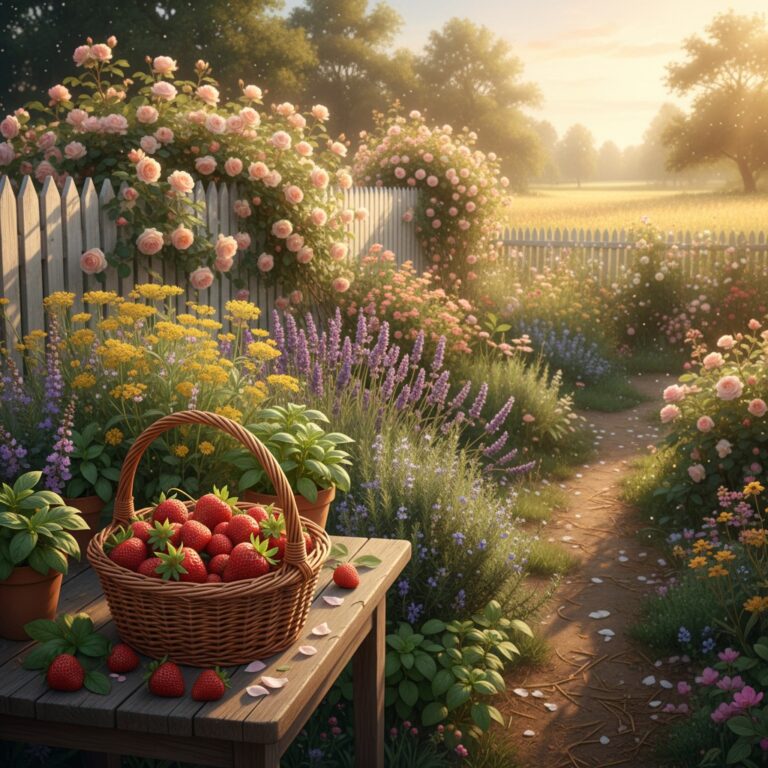
- Strawberries: In many zones, late May brings the first strawberry flush. Pick daily once they start ripening.
- Herbs: Most herbs are growing vigorously. Start harvesting regularly to encourage bushy growth.
Fresh Eating Season
After months of stored food, May is a celebration of freshness. Keep meals simple and let the ingredients shine:
- Garden salads with every type of green you’re growing
- Fresh peas eaten straight from the pod — the sweetest snack on earth
- Radish butter (softened butter mixed with minced radishes and salt on fresh bread)
- Herb-heavy dishes: fresh pesto, chimichurri, and herb-crusted proteins
- Strawberry shortcake with the first berries of the season
Early Preserving
Heavy preserving season is still a month or two away, but you can start with small batches:
- Freeze or dehydrate excess herbs while they’re at peak flavor
- Make herb butters and freeze in logs for year-round use
- Freeze whole strawberries on sheet pans, then bag them — quick, easy, and versatile
- Pickle radishes for a tangy condiment that lasts weeks in the fridge
- Dehydrate pea shoots for tea or seasoning
Livestock and Animals
Chick Integration
If you’ve been raising chicks in a brooder since March or April, May is often when they’re old enough and feathered out enough to move to the coop. Integration with an existing flock takes patience and strategy.
The process that works best in my experience:
- See but don’t touch (week one): House young birds in a separate enclosure within sight of the existing flock. A wire divider in the coop or a small pen within the run works well.
- Supervised free-ranging (week two): Let both groups free-range together in a large space where young birds can escape if needed. Expect some chasing — this is normal pecking order establishment.
- Night integration: Place young birds on the roost after dark, when existing hens are sleepy and less aggressive. By morning, everyone wakes up together and the transition is calmer.
- Monitor for bullying: Some pecking is normal. Bloody wounds, prevented access to food and water, or relentless chasing means you need more time with separated integration.
Young birds should be at least two-thirds the size of adult birds before full integration. Smaller birds get bullied more severely.
Pasture Management
May’s growth means lush pastures for grazing animals. Practice rotational grazing if possible — move animals to fresh pasture before they graze any section below three to four inches. This allows grass to recover quickly and breaks parasite cycles. Even simple rotation between two paddocks is better than continuous grazing.
Parasite Prevention
Warm, wet spring conditions create ideal conditions for internal parasites in livestock. Do fecal egg counts on goats and sheep to assess parasite loads rather than deworming on a schedule. Targeted deworming based on actual need reduces resistance development. Rotate pastures, keep grazing heights above three inches, and provide clean water away from manure areas.
DIY and Home Projects
Garden Pest Watch
May is when pest pressure ramps up. Early identification and action prevent small problems from becoming crop-destroying infestations.
Common May pests and what to do about them:
- Aphids: Check the undersides of leaves, especially on brassicas and new growth. A strong blast of water knocks them off. For heavier infestations, use insecticidal soap.
- Flea beetles: Tiny black jumping beetles that pepper leaves with small holes. Row cover is the most effective prevention. Diatomaceous earth around plant bases helps.
- Cabbage worms: White butterflies fluttering around brassicas are laying eggs. Row cover keeps them out entirely. If worms appear, Bt (Bacillus thuringiensis) is an organic and highly effective treatment.
- Cucumber beetles: Yellow and black striped or spotted beetles that transmit bacterial wilt. Hand-pick early in the morning when they’re sluggish. Yellow sticky traps near cucurbit plants help reduce populations.
- Slugs: Active in wet May weather. Beer traps, copper barriers, and iron phosphate bait are all effective. Check under mulch in the morning — that’s where they hide.
Building and Maintenance
- Chicken tractor or mobile coop: If you want to move your flock around the property, build a mobile coop this month while you still have time before summer’s demands take over.
- Rainwater collection: Ensure all rain barrels and collection systems are functioning. Spring rains fill barrels quickly — make sure overflow is directed away from foundations.
- Compost turning: Keep turning every week or two for quick compost. Spring’s mix of green grass clippings and brown material from cleanup makes excellent compost.
- Path and walkway maintenance: Lay wood chips, gravel, or stepping stones between garden beds. Defined paths reduce soil compaction in growing areas and keep feet dry.
Planning Ahead
June Prep
- Preserving supplies: Order canning jars, lids, freezer bags, and any other preserving equipment you’ll need. Supply shortages have hit in recent years during peak season.
- Shade solutions: If you’re in a warm zone, plan shade cloth installation for heat-sensitive crops. Order shade cloth (thirty to fifty percent shade rating for vegetables) before you need it.
- Fall garden planning: Start thinking about fall crops now. Brussels sprouts, fall cabbage, and broccoli for fall harvest need to be started from seed in June or July in most zones.
- Hay and straw: First cutting hay is typically available in late May or June. Reserve bales from a local farmer now if you need them for mulch, animal bedding, or feed.
Record Keeping
Update your garden journal with planting dates, varieties, and locations. Note which transplants handled the move well and which struggled. Track your first harvest dates. These records become increasingly valuable each year — they’re your personalized planting guide, custom-built for your exact conditions.
May is the month when the homestead finally looks the way you imagined it all winter: rows of green, chicks scratching in the yard, bees humming over blossoms, and the pantry starting to fill with fresh food. Stop for a moment and enjoy it. You built this.
Frequently Asked Questions
How do I know when it’s safe to plant tomatoes outside?
Wait until nighttime temperatures consistently stay above 50 degrees Fahrenheit and the soil has warmed to at least 60 degrees. In most zones, this means two to three weeks after your average last frost date. A soil thermometer takes the guesswork out of it. If a late frost is forecast after planting, cover plants with row cover or buckets overnight. Tomatoes that go into warm soil establish faster and produce earlier than those rushed into cold ground.
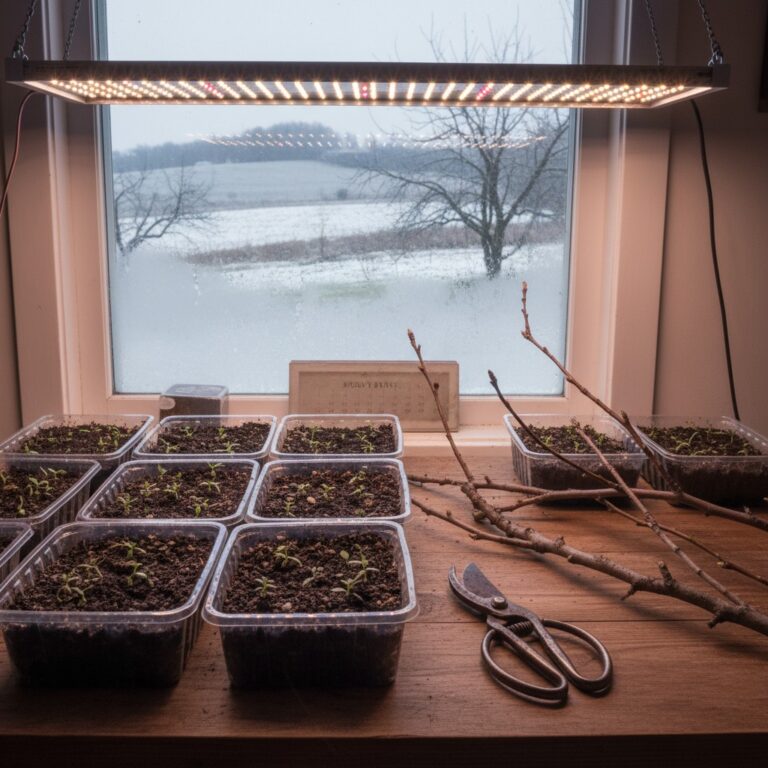
Why are my transplants wilting after planting outside?
Most likely transplant shock from insufficient hardening off. Seedlings grown under indoor lights need seven to ten days of gradual outdoor exposure before permanent transplanting. Start with two hours in a shaded spot, increasing duration and sun exposure daily. Wind is often the bigger shock than sun — indoor seedlings have never experienced wind and their stems are weak. If transplants are already in the ground and wilting, provide temporary shade with row cover for a few days and water consistently.
How do I integrate new chicks with my existing flock without bloodshed?
The key is patience and size. Never introduce chicks that are significantly smaller than adult hens — wait until they’re at least two-thirds adult size. Use the “look but don’t touch” method: keep new birds visible but physically separated for at least a week so everyone can adjust. Provide multiple food and water stations so older hens can’t monopolize resources. Add hiding spots and visual barriers in the run. Some pecking is normal and necessary for establishing order, but separate any bird that draws blood.
Should I prune tomato suckers?
For indeterminate (vining) tomatoes, pruning suckers — the shoots that grow in the crotch between the main stem and branches — is beneficial. It directs energy toward fruit production, improves air circulation, and makes plants more manageable. Remove suckers below the first flower cluster. Above that, you can leave some suckers to develop into additional productive stems, or prune aggressively for fewer but larger fruits. Determinate (bush) tomatoes should generally not be suckered, as it reduces their yield.