Homemade Salsa Recipe for Canning: Garden-Fresh and Shelf-Stable
Late August in Rhode Island hits a point where every counter in the canning kitchen is covered in tomatoes, and that's the week I always make salsa. One year I thought I could stretch the recipe by cutting the vinegar back slightly and adding a little extra lime. I caught myself and put those jars in the fridge instead of processing them. Stick to the tested ratio and save the improvising for fresh salsa.
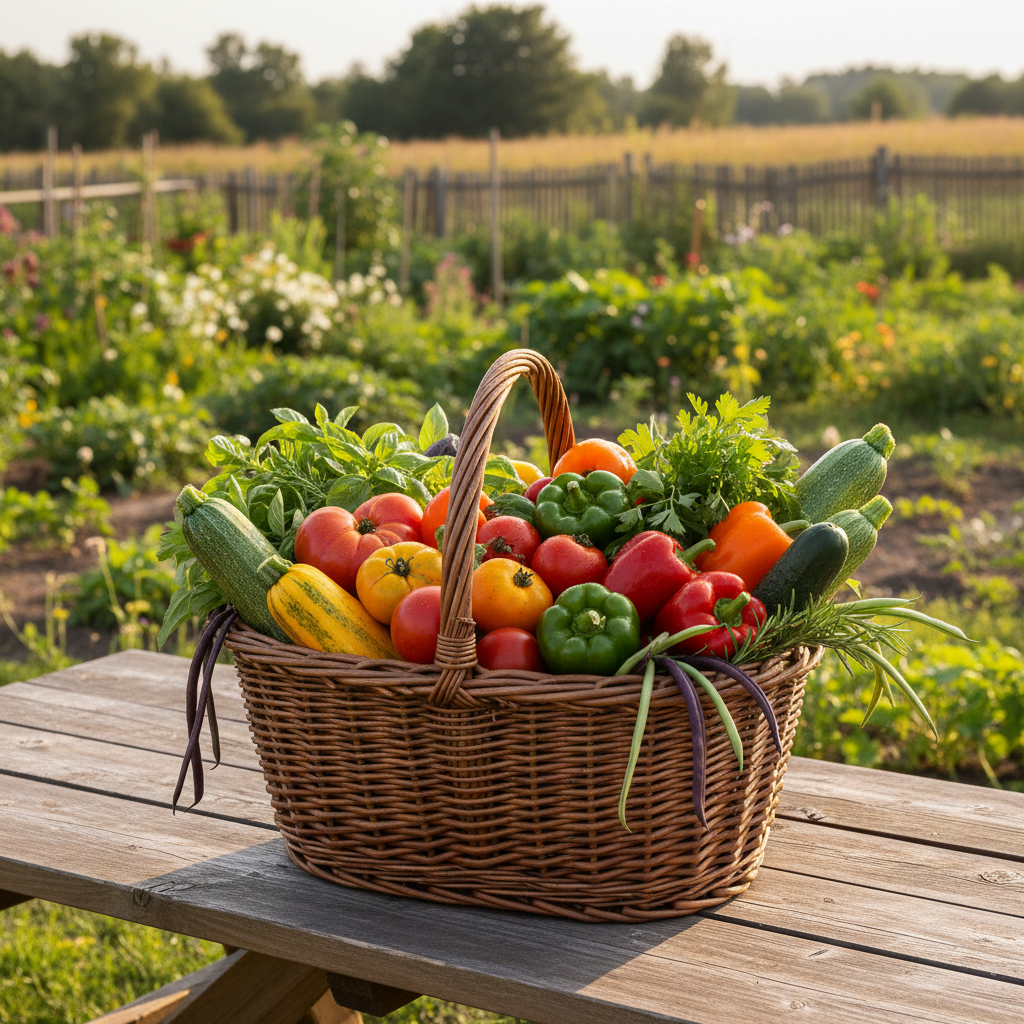
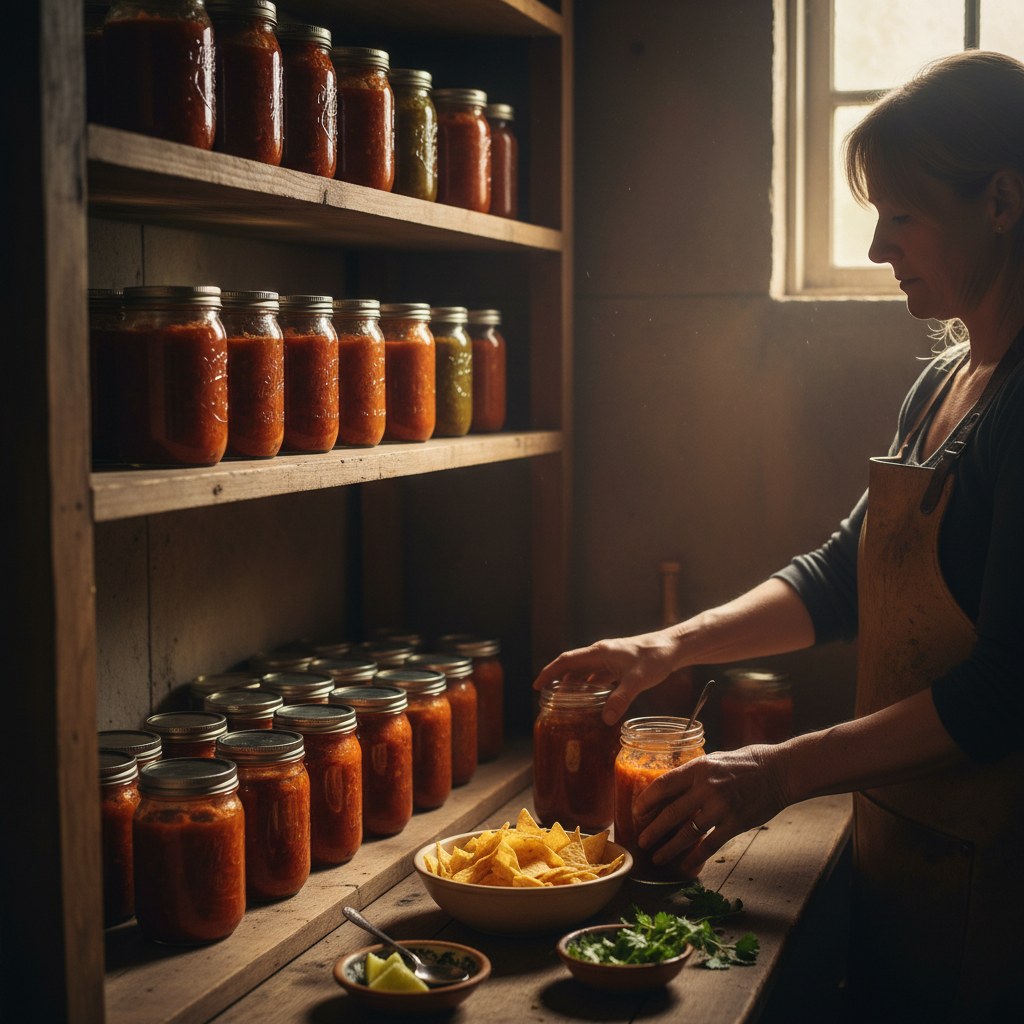
Garden tomatoes pile up fast in late summer. One week you’re waiting for the first ripe one; the next you’re drowning in them. Canning salsa solves that problem in the most satisfying way possible: you get vibrant, garden-fresh flavor locked into jars that sit on your pantry shelf all winter, ready to pull out for taco nights, enchiladas, or a bowl of chips after a long day of chores.
This recipe is based on USDA-tested proportions, the same ratios used by the National Center for Home Food Preservation (NCHFP). That matters because salsa is a mixed-acid food: the tomatoes are borderline low-acid, and the peppers and onions bring that number down further. The added vinegar and lime juice are not optional flavor tweaks, they are the safety mechanism that keeps botulism spores from germinating in a sealed jar.
If you’re new to water bath canning, read water bath canning for beginners before starting. If you want to understand what’s happening to the tomatoes during processing, canning tomatoes whole, crushed, and as sauce gives you the full picture. For the crushed-tomato method specifically, with altitude chart and acidification notes, see our canning crushed tomatoes guide.
How Do You Prepare Tomatoes for Canning Salsa?
Start with ripe but firm paste tomatoes. Roma or San Marzano varieties work best because they’re meatier and less watery than slicing tomatoes. You’ll need about 10 pounds of whole tomatoes to yield the 6 cups of chopped, drained tomato you need for this recipe. Blanching and peeling is non-negotiable: the skins toughen during processing and create an unpleasant texture in the finished salsa.
Bring a large pot of water to a full boil. Score a shallow X into the bottom of each tomato with a paring knife. Drop them in for 30–45 seconds, you’ll see the skins start to peel back at the X, then transfer immediately to a bowl of ice water. The skins slip off with your fingers. Core the tomatoes, quarter them, and squeeze out most of the seed gel and excess liquid over the sink. Roughly chop and transfer to a colander set over a bowl. Let them drain for at least 20 minutes. This step is important: watery salsa won’t thicken properly, and excess water dilutes the acid ratio.
Measure 6 cups of drained, chopped tomatoes into your prep bowl. Don’t pack them tightly, a loose cup measure is correct here.
Ingredient list for this batch:
- 6 cups drained chopped tomatoes (about 10 lbs whole)
- 2½ cups chopped green bell pepper (about 3 medium)
- 2½ cups chopped onion (about 3 medium)
- 5 jalapeño peppers, seeded and minced (or up to 5 serranos for more heat)
- 6 cloves garlic, minced
- 1 cup bottled lime juice or 1¼ cups 5% white vinegar (do not use fresh-squeezed)
- 2 teaspoons salt
- 1 tablespoon sugar (optional, balances acidity)
- 2 teaspoons ground cumin
- 1 tablespoon dried oregano
Source: Adapted from the NCHFP’s “Tomato Salsa (using paste tomatoes)” recipe. National Center for Home Food Preservation, nchfp.uga.edu.
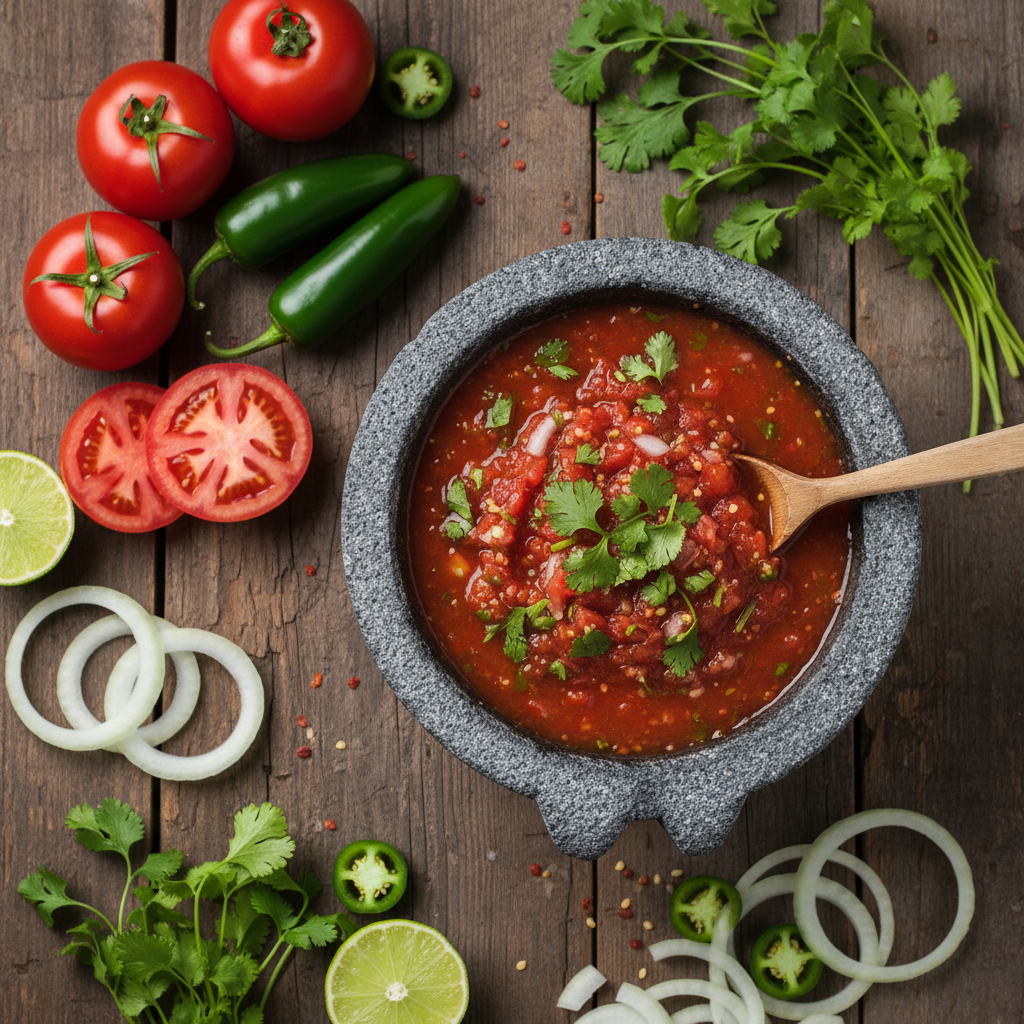
How Do You Prepare the Vegetables for Salsa?
The vegetables you add to salsa, peppers, onions, garlic, all have a pH above 4.6, which means they push the mixture toward the low-acid danger zone. This is precisely why the USDA-tested recipe specifies exact volumes: you cannot safely double the peppers or onions without recalculating the acid addition. Stick to the amounts listed, and you can adjust heat by swapping pepper varieties (serranos for hotter, Anaheim or poblano for milder) without changing volumes.
Wear gloves when handling hot peppers, the capsaicin transfers to your hands and will burn your eyes if you touch your face. Seed the jalapeños unless you want very hot salsa; the seeds and membrane hold most of the heat. For peppers, aim for a ¼-inch dice. Onions should be chopped to roughly the same size so the texture stays consistent through processing. Mince the garlic fine, large pieces can taste harsh in the finished product.
Have all your vegetables prepped and measured before you start cooking. Once the salsa hits the pot, the timing matters for both texture and safety, and you don’t want to be hunting for your measuring cups while something is boiling.
A quick note on tomato variety: Roma and San Marzano are the standard choice, but any paste-type tomato works. What you want to avoid is large beefsteak or heirloom varieties, they hold significantly more water and seed gel, and the extra draining time often still isn’t enough to get the right consistency.
Source: So Easy to Preserve, 6th Edition. University of Georgia Cooperative Extension, 2014. The definitive reference for tested home canning recipes.
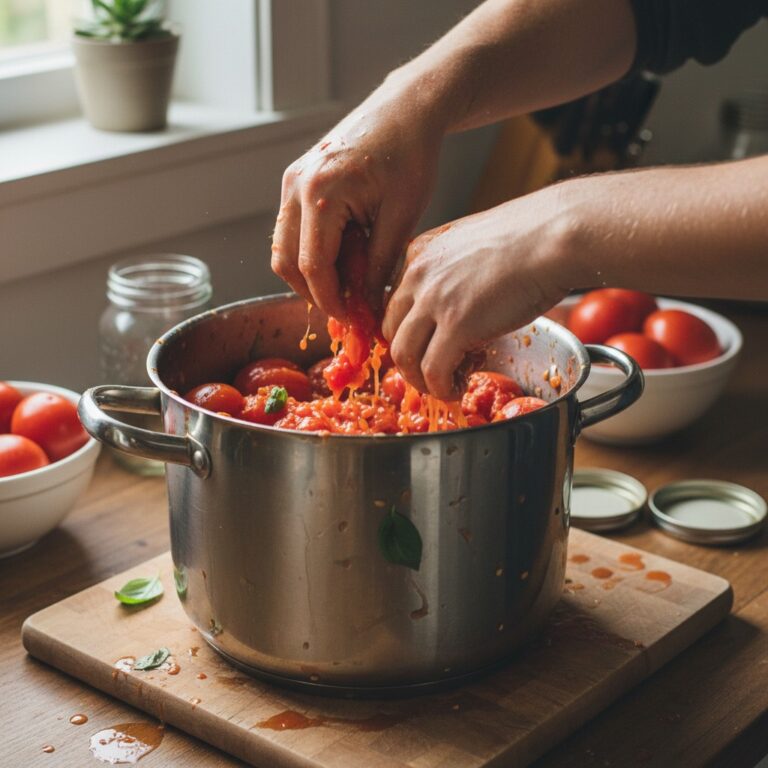
How Do You Cook the Salsa Before Canning?
Cooking serves two purposes: it drives off more water (which concentrates flavor and reduces splashing when you fill jars), and it brings everything up to a safe temperature before it goes into the jars. The salsa needs to be actively simmering when you ladle it, that’s part of the hot-pack method that helps achieve a proper seal.

Combine all your prepped vegetables in a large, heavy-bottomed pot, at least 6 quarts. Add the lime juice or vinegar, salt, cumin, oregano, and sugar if using. Stir to combine. Bring the mixture to a boil over medium-high heat, stirring frequently. Reduce heat and simmer for 10 minutes, continuing to stir every minute or two to prevent scorching on the bottom. The salsa should thicken slightly and the vegetables should soften but not lose all their texture.
Taste for seasoning at the end of cooking. You can add more salt, cumin, or oregano. Do not reduce the vinegar or lime juice, the acid ratio is what makes this safe for water bath canning. If the salsa tastes too sharp, add a little more sugar rather than cutting back on acid.
Keep the salsa at a low simmer while you fill jars. It should stay hot, above 180°F, throughout the filling process.
Source: National Center for Home Food Preservation. “Why Can’t I Alter the Proportions in a Tested Salsa Recipe?” NCHFP FAQ, nchfp.uga.edu.
How Do You Fill Jars with Salsa?
Proper jar-filling technique prevents both seal failures and siphoning (the liquid getting sucked out of jars during processing, which can compromise the seal). It takes about five minutes of attention and the right tools, don’t try to improvise with a spoon and a steady hand.
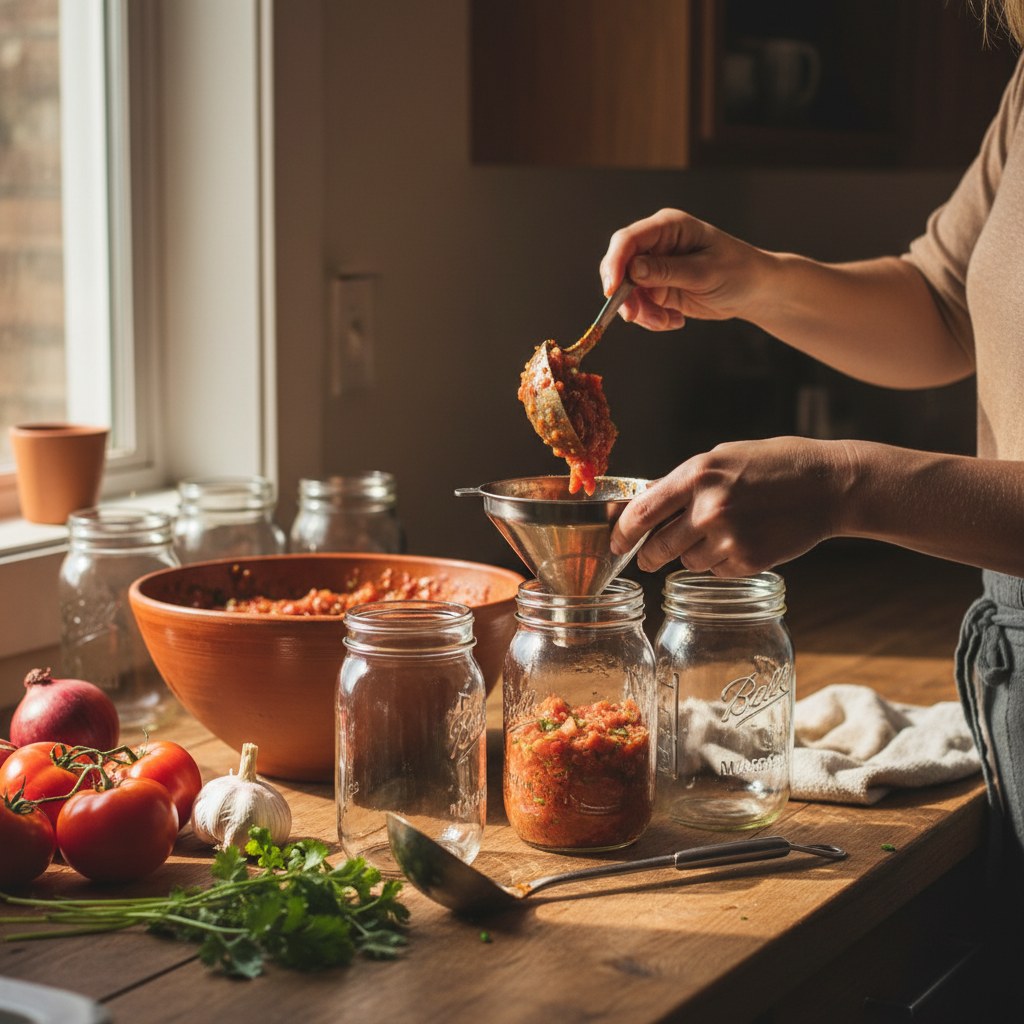
You’ll need: a canning funnel, a ladle, a bubble remover or thin plastic spatula, a jar lifter, and a clean damp cloth. Have your jars hot, either run them through the dishwasher on the heated dry cycle and keep them in there until needed, or keep them submerged in simmering water in the canner.
Set a hot jar on a folded towel next to the stove. Place the funnel and ladle the hot salsa in, leaving ½ inch of headspace at the top. Run the bubble remover around the inside edge of the jar and down through the salsa to release any trapped air bubbles, this often drops the level slightly, so top off if needed to maintain that ½-inch headspace. Wipe the rim with a clean damp cloth. Any residue on the rim will prevent a proper seal. Place a lid on the jar and screw a band on to fingertip tight, firm but not cranked down hard. Set in the canner rack and repeat with the remaining jars.
Work quickly but carefully. If a jar sits too long with salsa cooling before it goes into the canner, the hot-pack advantage is lost and you increase the chance of thermal shock cracking the glass when it hits the boiling water.
Source: Ball Blue Book Guide to Preserving, 37th Edition. Newell Brands, 2014. The standard equipment-use reference for home canners.
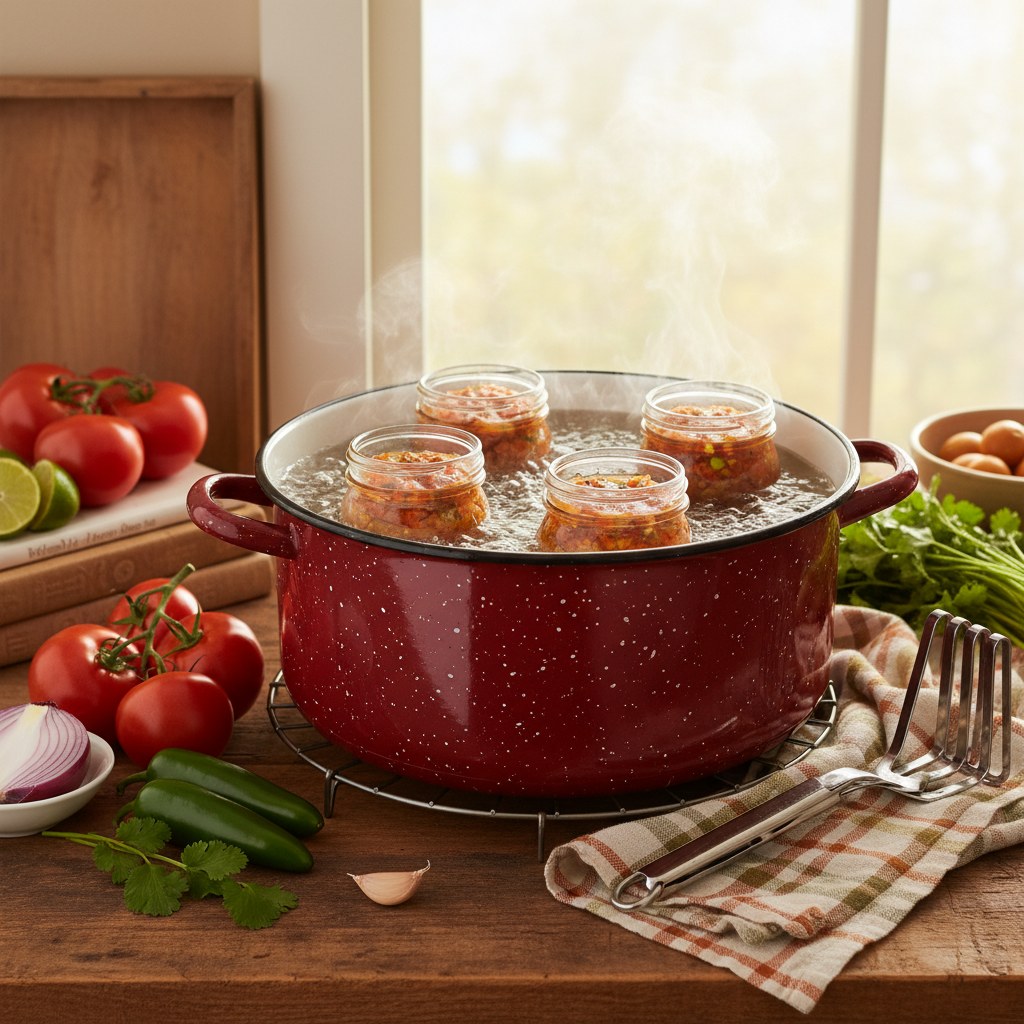
How Long Do You Process Salsa in a Water Bath Canner?
Water bath canning works by surrounding sealed jars with boiling water long enough to destroy spoilage organisms and drive out residual air, creating a vacuum seal as the jars cool. For salsa: an acidified product, the processing time varies by jar size and your altitude. High altitude means a lower boiling point, which means longer processing time to achieve the same thermal kill.
Lower the filled jar rack into boiling water. The water level should cover the tops of the jars by at least 1 inch. Cover the canner, return to a full rolling boil, and start your timer.
NCHFP-recommended processing times for salsa (water bath canner):
| Jar Size | 0–1,000 ft | 1,001–6,000 ft | Above 6,000 ft |
|---|---|---|---|
| Half-pint (8 oz) | 15 min | 20 min | 25 min |
| Pint (16 oz) | 15 min | 20 min | 25 min |
When the timer goes off, turn off the heat, remove the canner lid, and let the jars sit in the water for 5 minutes before lifting out. Place jars on a folded towel with space between them to cool. Don’t tilt them, don’t press the lids, don’t move them for 12 hours. You’ll hear the satisfying “ping” of lids sealing as they cool, that’s the vacuum forming as the contents contract.
After 12–24 hours, test each seal by pressing the center of the lid. It should be concave and firm, no flex. Any jar that didn’t seal goes in the refrigerator and gets used within a week. Label sealed jars with the date and store in a cool, dark pantry. Best quality within 12–18 months, though they remain safe beyond that if the seal is intact.
Source: National Center for Home Food Preservation. “Salsa.” NCHFP Canning Guide, nchfp.uga.edu. Processing times are altitude-adjusted per USDA Complete Guide to Home Canning, 2015 revision.
What Is the Best Way to Store and Use Canned Salsa?
Once your jars have cooled and sealed, proper storage makes the difference between salsa that tastes vibrant a year from now and salsa that’s faded and dull. Store jars in a cool, dark location, a basement shelf or pantry cupboard away from the stove. Heat and light both degrade color and flavor over time, even in sealed jars. The ideal storage temperature is between 50°F and 70°F. Avoid storing near a water heater or under a sink where temperature fluctuates.
Remove the screw bands before storing. Bands can rust onto the jar if left on during storage, and a rusted band can mask a failed seal. Store lids loose or completely off. Label each jar with the contents and the date using masking tape and a marker, it’s easy to forget which batch is which after six months.
Use within 12–18 months for best flavor. After that, the salsa remains safe if the seal is intact, but the color dulls to a brownish-red and the texture softens considerably. Opened jars keep in the refrigerator for up to two weeks.
Beyond chips and dip, canned salsa is a genuine kitchen workhorse. Use it as the base for chicken enchiladas, stir it into ground beef for tacos, spoon it over eggs for huevos rancheros, or warm it in a pan with cream cheese for a quick dip. A jar of your own garden salsa also makes a thoughtful gift, tie on a small card with a recipe suggestion and the date it was canned.
Source: USDA Complete Guide to Home Canning, Agriculture Information Bulletin No. 539, 2015 revision. Available at nchfp.uga.edu.
Frequently Asked Questions
Can I use fresh lime juice instead of bottled?
No. Bottled lime juice is required. Fresh lime juice has variable acidity depending on the fruit, it can range from 4% to 8% citric acid. Bottled lime juice is standardized to a consistent acidity level, which is what the USDA testing assumed. Using fresh juice introduces unpredictable pH, which can result in an unsafe finished product. This is one of the few rules in home canning with no workaround.
Can I add cilantro or change the spices?
Yes, with limits. Dried and ground spices can be adjusted freely, more cumin, less oregano, add chili powder. You can also add dried cilantro. What you cannot change is the proportion of low-acid vegetables (peppers, onions, garlic) or the amount of acid (lime juice or vinegar). Fresh cilantro can be stirred in before serving from the jar, but do not can salsa with fresh herbs, they can harbor spoilage organisms.
My salsa is very watery. What went wrong?
Most likely the tomatoes weren’t drained long enough after chopping, or you used a high-water tomato variety like beefsteak. Watery salsa is safe if you followed the recipe, but the texture isn’t ideal. For the next batch, drain the chopped tomatoes for at least 30 minutes in a fine-mesh colander, and use only paste-type tomatoes. You can also extend the cook time by 5–10 minutes before filling jars to drive off more liquid.
Can I use quart jars?
The NCHFP has not published tested processing times for quart jars of salsa. Processing times are based on heat penetration testing, and quart jars require longer times that have not been validated for this recipe. Stick to pints or half-pints. If you want to process larger quantities, simply run multiple batches in pint jars.
How do I know if a jar has gone bad?
Discard any jar with a bulging lid, a lid that has lost its seal (flexes when pressed), spurting liquid when opened, an off smell, or visible mold. Do not taste-test a jar you suspect is spoiled, botulism toxin is odorless and tasteless. When in doubt, throw it out. Properly sealed and stored jars processed according to a tested recipe are extremely safe; the risk comes from improvised recipes or improper processing technique.