How to Can Apple Butter in a Water Bath (USDA-Tested Method)
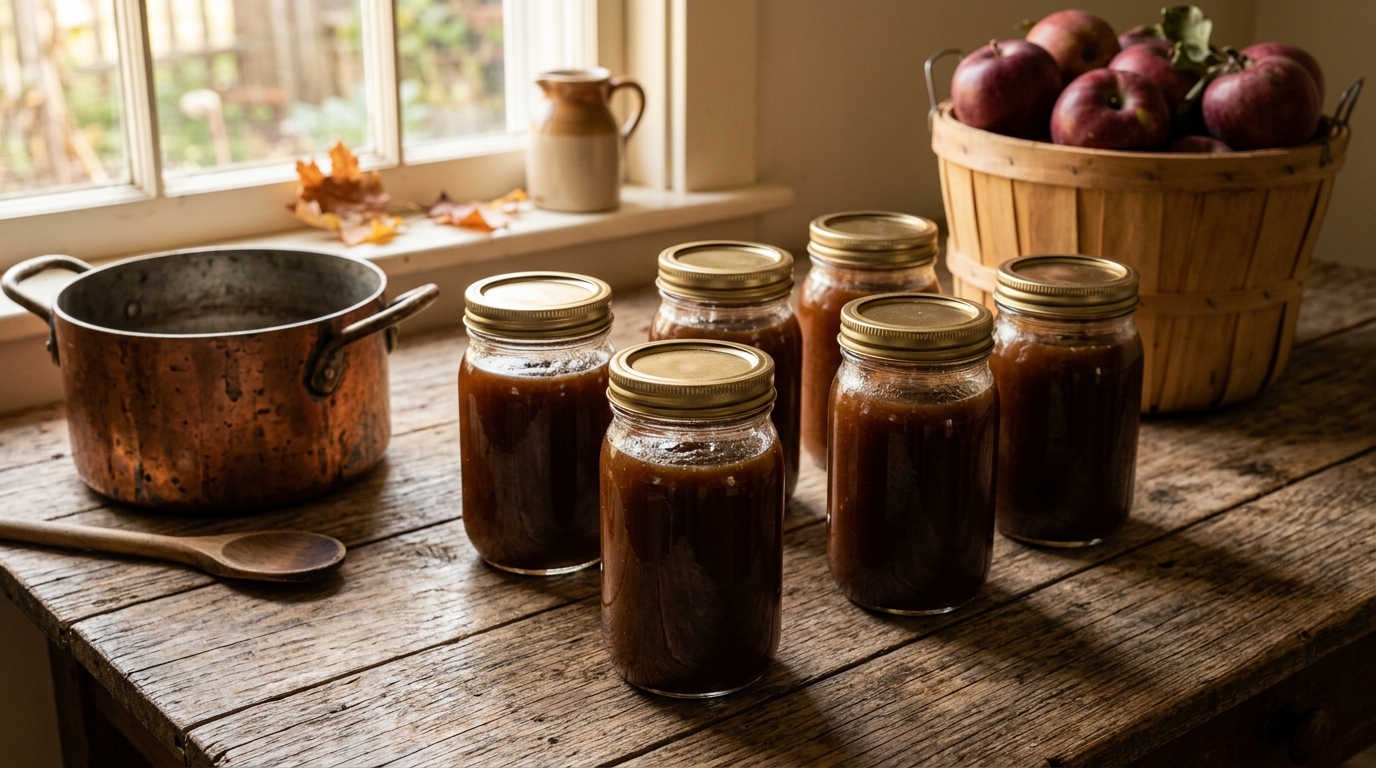
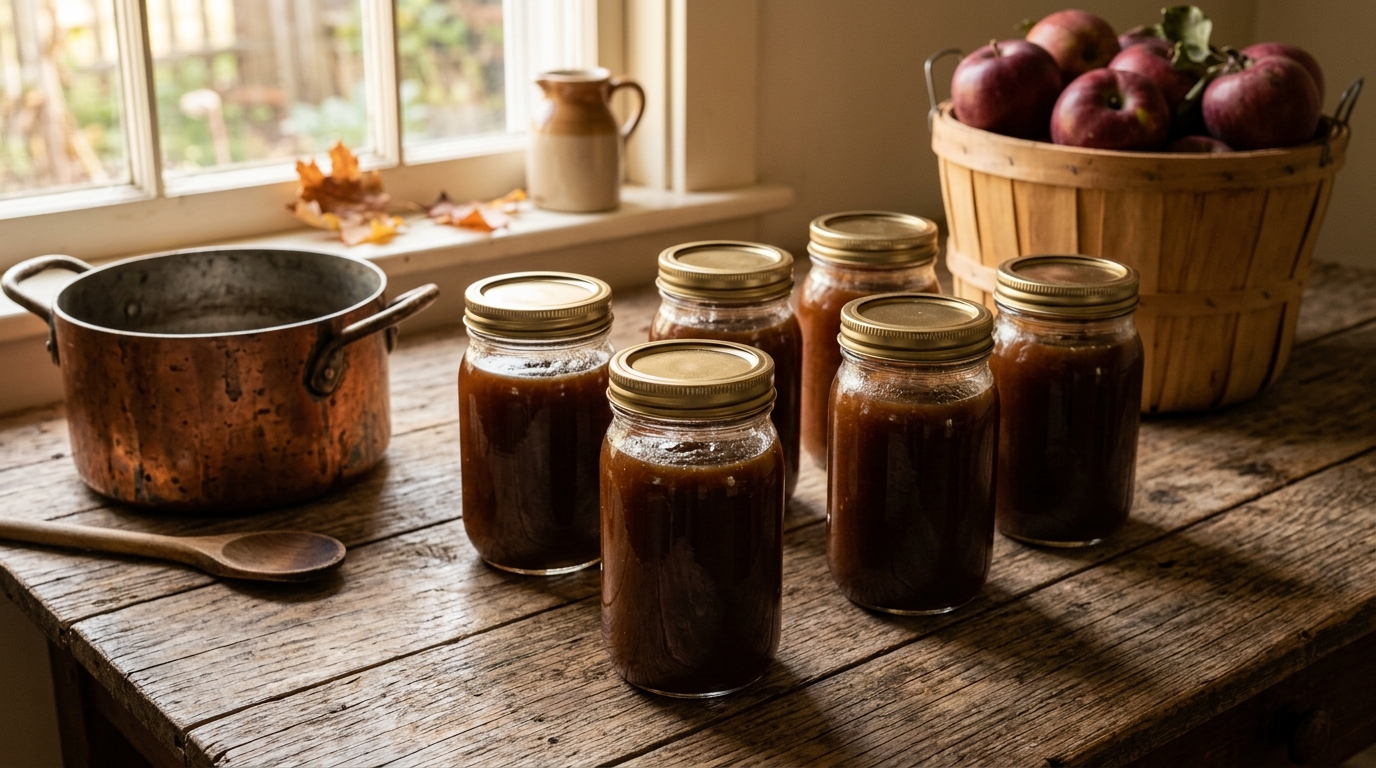
The National Center for Home Food Preservation lists apple butter among the fruit spreads that are safe for a boiling-water canner because acid fruits keep spoilage organisms in check. That single fact is what separates apple butter from the dangerous cousins (pumpkin butter, low-acid vegetable butters) that must be pressure canned or refrigerated. If your apples are ripe, your recipe follows a tested ratio, and your jars sit at a rolling boil for the right window, you can pull a dozen glossy pints off the stove and stack them in the pantry with confidence.
I ran my first big batch on a cold October Saturday after buying three pecks of Rome Beauty seconds from an orchard outside Lancaster. Twelve hours of stovetop simmering later, the kitchen smelled like a bakery, and I had 14 pints that lasted our family until March. This guide walks through the tested method, the equipment that actually matters, and the small errors that will cost you a whole batch if you skip them.
What Makes Apple Butter Safe for Water Bath Canning?
Apple butter is safe for a boiling-water canner because cooked apples fall well below the pH 4.6 acid threshold that prevents Clostridium botulinum from growing. According to the USDA Food Safety and Inspection Service, “growth of C. botulinum and production of botulinum toxin is prevented in acidified foods by keeping the pH at or below 4.6.” That single number is why apples, tomatoes, and pickles can go through the same 212°F bath that would be catastrophic for low-acid pumpkin puree or green beans.
Iowa State University Extension’s AnswerLine is blunt on the boundary: “The only butter recipe that is not recommended for canning is pumpkin butter. Pumpkin is a low acid food and could pose a botulism risk.” Apples, pears, plums, and cherries stay on the safe side of that line, so their butters process the same way you would process jam.
Which Apples Should You Choose?
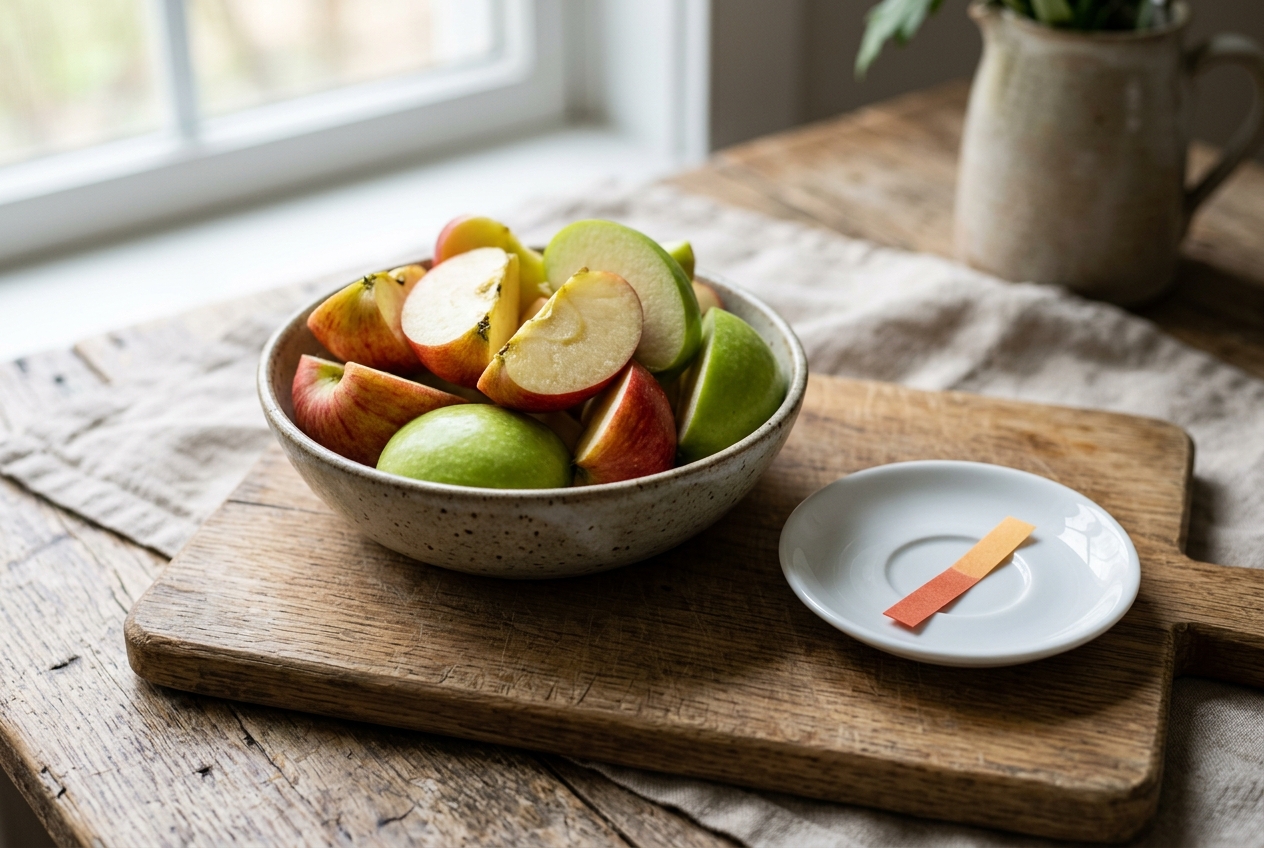
Choose a soft, aromatic variety that cooks down fast, or blend a sweet apple with a tart one for depth. The National Center for Home Food Preservation names “Golden Delicious, Rome Beauty, Stayman, Jonathan, Gravenstein and McIntosh” as the varieties that give the best results for applesauce and apple butter. All six break down in an hour or two and carry natural pectin that helps the finished butter hold a mound on a spoon.
The reason variety matters more than fruit size: apples with tight cell structure (Honeycrisp, Fuji, Granny Smith on their own) resist collapse and can add another hour of stovetop time before they surrender. A 60/40 blend of a sweet apple like Golden Delicious with a tart apple like Stayman or Jonathan gives a balanced butter without needing to dump in extra sugar to mask a flat flavor. Seconds and windfalls are perfect here; nobody sees the bruises after you cook them down.
What Tools and Supplies Do You Need?
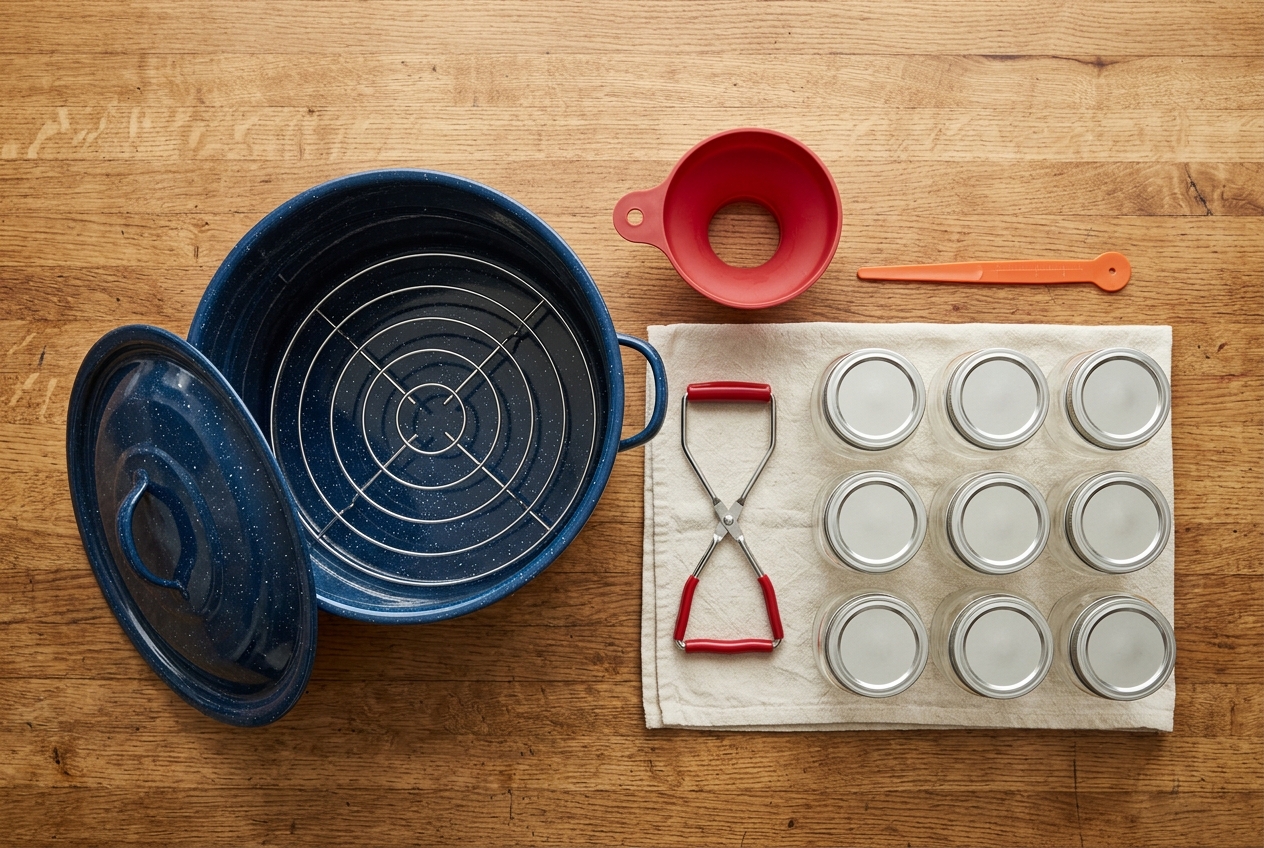
A basic apple butter run needs a boiling-water canner or a deep stockpot with a rack, canning jars and two-part lids, a jar lifter, and a heavy-bottomed pot for the cook-down. Everything else is quality-of-life gear that speeds the process or saves your knuckles.
Core equipment:
- Boiling-water canner or 12-quart stockpot with a rack that keeps jars off the bottom
- Half-pint or pint mason jars with new flat lids and reusable bands (NCHFP recommends pints or half-pints for tested processing times; quarts are not tested for apple butter)
- Jar lifter, canning funnel, and a bubble-freeing tool or thin plastic spatula
- Heavy-bottomed 8-quart pot or an enameled Dutch oven for the cook-down (Penn State Extension notes stainless steel is preferred over aluminum for long simmers)
- Food mill, chinois, or immersion blender to smooth the pulp
- Instant-read thermometer for checking that jars go into the canner hot
Ingredients for one 8-pound batch: 8 pounds apples, 2 to 4 cups sugar (adjust to fruit sweetness), 2 teaspoons ground cinnamon, 1 teaspoon ground cloves, 1/2 teaspoon ground allspice, and 1 cup apple cider or water to prevent scorching. If you like brighter flavor, add 2 tablespoons lemon juice at the end.
How Do You Cook the Apple Butter to the Right Consistency?
Cook peeled, cored, quartered apples in a heavy pot with cider until fully soft, run them through a food mill, then simmer the puree with sugar and spice over low heat for 1 to 3 hours until no watery rim forms around a spoonful. Penn State Extension gives the classic doneness test: “When the rim of the liquid does not separate around the edge of the butter, it is ready for canning… It will take 1 to 3 hours for apple butter to cook to this stage, depending on the juiciness of the apples.”
Stovetop steps:
- Wash 8 pounds of apples, peel, core, and quarter. Skins can stay on if you plan to mill.
- Add apples and 1 cup cider or water to a heavy 8-quart pot. Cover, bring to a simmer, and cook 25 to 40 minutes, stirring occasionally, until the fruit falls apart when pressed with a spoon.
- Press the cooked pulp through a food mill fitted with the medium disk, or blend smooth with an immersion blender.
- Return the puree to the pot. Stir in sugar and spices.
- Simmer uncovered on the lowest setting, stirring every 10 to 15 minutes to prevent scorching, until the butter mounds on a cold plate and no watery ring separates. Expect 1 to 3 hours.
A slow cooker works if you leave the lid cracked so steam escapes; plan on 8 to 12 hours on low. If the finished butter still weeps liquid at the edges of a plate test, keep going. Underdone butter siphons out of the jars during processing and leaves jelly-like liquid on top of solid pulp.
How Do You Water Bath Can the Filled Jars?
Fill hot, sterilized jars with hot apple butter to a 1/4 inch headspace, remove air bubbles, wipe rims, apply lids, and process in a rolling boiling-water bath for 5 to 20 minutes based on jar size and altitude. Penn State Extension’s applesauce guidance applies verbatim here: “ladle the hot butter into clean, hot jars, leaving 1/4 inch headspace, and run a bubble tool or thin spatula around the inside to release trapped air.”
Two tested processing schedules cover almost every home kitchen. The National Center for Home Food Preservation approves either.
| Recipe / Jar Prep | Jar Size | 0 to 1,000 ft | 1,001 to 6,000 ft | Above 6,000 ft |
|---|---|---|---|---|
| Standard apple butter, sterilized pint jars | Half-pint / Pint | 5 minutes | 10 minutes | 15 minutes |
| Reduced-sugar apple butter, clean hot jars (not pre-sterilized) | Half-pint / Pint | 15 minutes | 20 minutes | 25 minutes |
Canner steps:
- Fill your canner two-thirds with water and bring to a simmer while the butter finishes cooking.
- Sterilize jars if you plan to use the 5-minute schedule: boil empty jars 10 minutes at sea level, longer at altitude.
- Ladle butter into a hot jar through a canning funnel, leaving exactly 1/4 inch headspace.
- Slide a bubble tool along the inside wall to release trapped air. Re-check headspace.
- Wipe the rim with a clean, damp cloth. Center a new flat lid, screw on a band to fingertip tight.
- Lower jars into the canner with a jar lifter, keeping them upright and covered by at least 1 inch of water.
- Cover, return to a rolling boil, and start the processing timer.
- When time is up, turn off the heat, remove the lid, and let jars rest in the canner for 5 minutes. This is the step that prevents siphoning.
- Lift jars onto a folded towel, spaced apart, and leave undisturbed for 12 to 24 hours before checking seals.
For a first run, review our full water bath canning walkthrough for beginners, which covers canner setup and timing in more depth.
Common Mistakes That Ruin a Batch
The most common apple butter failure is siphoning, when liquid gets pulled out of the jars during cooling and breaks the seal. Penn State Extension defines it clearly: “Siphoning is when liquid is drawn out of the jar by a rapid change in temperature and air pressure… Let jars rest for 5 minutes so that they can cool down slightly before removing. Often this is enough to prevent siphoning.”
Six mistakes that trip up new canners:
- Skipping the 5-minute rest. Yanking jars the moment the timer beeps is the number-one cause of siphoning and loose seals.
- Undercooked butter. If the puree still weeps liquid on a plate test, it will separate in the jar and pull liquid out during processing.
- Wrong headspace. Less than 1/4 inch causes butter to bubble under the lid; more than 1/4 inch leaves too much air, which weakens the seal.
- Cold jars into hot water. Thermal shock cracks jars. Keep them warm in the canner or a low oven while the butter finishes.
- Reused flat lids. The sealing compound only compresses once. Bands can be reused; flats cannot.
- Skipping the altitude adjustment. Above 1,000 feet, the boiling-water bath runs cooler and needs more time to reach the same lethality.
The other killer is trying to shortcut safety by pressure canning or oven canning to “save time.” Neither is a tested method for apple butter, and oven canning is actively discouraged by every extension service because dry heat cannot penetrate a filled jar the way boiling water can.
Tips for a Smoother Run
Small changes to your workflow cut a two-day project down to a single afternoon and leave you with cleaner jars and better flavor. Utah State University Extension reminds home canners that “It is OK to home can apples into apple butter or applesauce if you follow a tested recipe published by the National Center for Home Food Preservation, the USDA Complete Guide to Home Canning, or a cooperative Extension Service.” Anything outside those three is a gamble.
- Batch your prep. Peel and core a bushel while watching a movie, freeze the pieces on sheet trays, and cook in weekly batches through fall.
- Use a food mill instead of an immersion blender if you leave the skins on. The mill traps skins and seeds while pushing through the sweet pulp, which builds body without needing extra cook time.
- Toast your spices in a dry pan for 30 seconds before adding them. The aromatics bloom and carry through a long simmer instead of muting out.
- Add the sugar late. Cooking sugar for hours dulls the fruit flavor and darkens the color faster than you want.
- Label with the year and altitude schedule. Come next fall you will not remember which batch was processed for 5 minutes and which for 15.
- Pair the finished butter with other homestead pantry staples. A spoonful stirred into a homemade fresh cheese makes a stunning cheese board, and it plays well with a fresh loaf of sourdough.
If you finish with jars that did not seal, refrigerate them and use within three weeks, or scrape the butter into freezer containers with 1/2 inch of headspace and freeze up to a year. There is no reason to waste a failed seal on a safe, acidic product.
Frequently Asked Questions
Is water bath canning really safe for apple butter?
Yes, as long as you use a tested USDA or extension recipe and follow processing times exactly. Cooked apples sit around pH 3.5, well under the 4.6 threshold that stops botulism. The USDA Food Safety and Inspection Service confirms that acidification below pH 4.6 prevents Clostridium botulinum from producing toxin, which is the entire scientific basis for water bath canning fruit spreads. Skip the tested recipes and you lose that safety guarantee.
Can I use quart jars for apple butter?
No. The National Center for Home Food Preservation only tested apple butter in half-pint and pint jars, and untested jar sizes are not considered safe for shelf-stable storage. Quarts hold more volume than the tested processing time can safely bring to a full botulism-lethal temperature. If you need bigger jars for gift baskets, use multiple pints instead. Freezing in quart containers is fine because freezing removes the pH-safety math entirely.
How long does home-canned apple butter last?
Sealed jars stored in a cool, dark pantry keep best quality for 12 to 18 months, and many jars remain safe past that window if the seal is intact. Once opened, refrigerate and use within two to four weeks. Watch for mold, bubbling, off-odors, or a bulging lid; any of those signs means the jar goes straight to the compost, no taste test.
Do I need to add lemon juice or vinegar for safety?
No, cooked apples are already acidic enough for water bath canning without added acid. Some historical NCHFP recipes include apple cider vinegar for flavor, not safety, and the classic reduced-sugar recipe uses no added acid at all. If your apples are unusually sweet or overripe, a tablespoon of lemon juice per pint sharpens flavor and adds a safety margin without changing the process.
Can I can apple butter without any sugar?
Yes. NCHFP publishes a tested no-sugar-added apple butter recipe that processes exactly like the sweetened version, though it stores a bit less thickly and darkens more quickly on the pantry shelf. Sugar in apple butter is primarily for taste and texture, not preservation, so cutting it back is entirely safe as long as you keep the recipe’s ingredient ratios and processing time. For zero-sugar batches, plan to use within 12 months for best color and flavor.
What if some of my jars did not seal?
Refrigerate unsealed jars immediately and treat them like fresh apple butter, using within three weeks, or transfer to freezer containers for up to a year. You can also reprocess within 24 hours: pop off the lid, check the rim for chips or food debris, apply a brand-new flat lid, and reprocess for the full time. Reprocessing softens the fruit further, so use the freezer route if you care about texture.
Once your pantry is stocked with apple butter, keep the seasonal preservation streak going with our guides on fermenting your fall harvest, canning garden salsa, and water glassing eggs for a year of no-refrigeration storage. Apple butter is one of the friendliest projects in the canning world, and once you have the rhythm down, you will find yourself looking for reasons to fire up the canner again.