Backyard Rainwater Harvesting: A Simple DIY Setup Guide
🌱 TL;DR — Key Takeaways
- A 1,000 sq ft roof collects roughly 600 gallons per inch of rain
- A single 55-gallon barrel can fill from less than 0.25 inches of rainfall
- Rainwater is naturally soft, chlorine-free, and preferred by most plants over tap water
- Total setup cost: under $100 for a basic DIY rain barrel system
- Always check local regulations — most areas permit garden-use rainwater collection
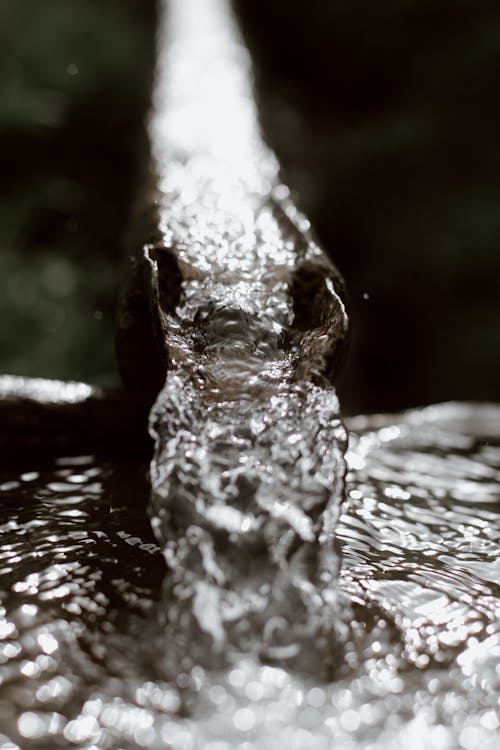
Every time it rains, hundreds of gallons of free water roll off your roof and disappear down the storm drain. With a simple rain barrel setup, you can capture that water and use it to keep your garden thriving — even during dry spells. I installed my first rain barrel three years ago and it has saved me noticeable money on my water bill while keeping my raised beds and container garden happy all summer.
How Much Water Can You Actually Collect?
A 1,000 square foot roof section can collect about 600 gallons from just one inch of rain — far more than most people expect. Even a modest 500 sq ft section yields around 300 gallons per inch of rainfall. According to the EPA WaterSense program, outdoor irrigation accounts for nearly 30% of household water use — rainwater harvesting can slash that dramatically.
What Materials Do You Need?
- A food-grade barrel or dedicated rain barrel (55 gallons is the most common size)
- A downspout diverter kit or elbow to redirect gutter water
- A spigot or hose bib installed near the bottom
- Fine mesh screen to keep out debris and mosquitoes
- An overflow fitting with hose to direct excess water away from your foundation
- Cinder blocks or a sturdy stand to elevate the barrel for gravity pressure
How Do You Set Up Your First Rain Barrel?
The whole project takes about an hour and requires only basic tools — here are the five steps.
Step 1: Choose your location. Pick a downspout near your garden. The closer the barrel is to where you need the water, the easier your life will be.
Step 2: Build a sturdy platform. Stack two or three cinder blocks to create a level, stable base. Elevating the barrel gives you better water pressure at the spigot.
Step 3: Install the spigot. Drill a hole near the bottom and install a threaded hose bib with a rubber washer and sealant. Make sure it is high enough to fit a watering can underneath.
Step 4: Redirect the downspout. A downspout diverter kit makes this simple and allows water to flow normally when the barrel is full.
Step 5: Add the screen and overflow. Cover the top opening with fine mesh and install an overflow pipe near the top that directs excess water away from your foundation.
Why Is Rainwater Better for Your Garden?
Rainwater is naturally soft, free of chlorine and fluoride, slightly acidic (which most plants prefer), and at ambient temperature so it does not shock roots. Use it for watering beds, containers, houseplants, compost piles, and even washing garden tools. Research from Oregon State Extension confirms that plants generally respond better to rainwater than treated municipal water.
| Feature | Rainwater | Tap Water |
|---|---|---|
| Chlorine/Fluoride | None | Added during treatment |
| pH Level | Slightly acidic (5.5–6.5) — ideal for most plants | Often alkaline (7.0–8.5) |
| Temperature | Ambient — no root shock | Cold from pipes, can stress plants |
| Cost | Free | $2–$5 per 1,000 gallons |
| Mineral content | Low — naturally soft | Varies; can leave deposits |
What Are the Important Safety Considerations?
- Check local regulations. Most areas allow garden-use harvesting, but some states have specific rules — the National Conference of State Legislatures tracks current laws
- Avoid collecting from roofs with lead paint or asbestos shingles. Standard asphalt and metal roofs are fine for garden irrigation
- Prevent mosquitoes by keeping your barrel sealed with fine mesh at all times
- Drain and clean your barrel before winter in freezing climates to prevent cracking
A rain barrel is one of those homestead projects that pays for itself quickly. Every gallon you collect is a gallon you do not pay for — and your garden ecosystem will be healthier for it. Once you see how easy it is, you will probably want to add a second barrel before the next storm.
Frequently Asked Questions
Is rainwater harvesting legal?
In most U.S. states, yes — especially for garden irrigation. A few states have minor restrictions. Check your state laws through the National Conference of State Legislatures database.
How much does a rain barrel setup cost?
A basic DIY setup with a food-grade barrel, spigot, screen, and diverter kit typically costs $50–$100. Pre-made rain barrels run $80–$200.
Can I use rainwater on edible plants?
Yes, as long as your roof material is safe (standard asphalt shingles or metal). Avoid collecting from roofs with lead paint or asbestos materials.
How do I prevent mosquitoes in my rain barrel?
Keep the barrel sealed with fine mesh screening at all openings. Mosquitoes need standing, open water to breed — a properly screened barrel eliminates this risk.
How many rain barrels do I need?
One 55-gallon barrel is a great start for a small garden. For larger gardens, consider 2–4 barrels connected in series, or a larger 275-gallon IBC tote.