Homemade Pickles: 5 Recipes from Dill to Bread-and-Butter
Key Takeaways
- Refrigerator pickles require zero canning experience and are ready in as little as one hour.
- The five recipes here cover classic dill, bread-and-butter, spicy garlic, quick refrigerator, and mixed vegetable pickles.
- A proper brine ratio of vinegar to water (usually 1:1) plus the right salt type are the keys to crisp, flavorful pickles.
- Homemade pickles cost a fraction of store-bought and let you control exactly what goes into the jar.
- Refrigerator pickles last 2–3 months; properly canned pickles keep for up to a year on the shelf.
Why Homemade Pickles Are Worth Every Minute
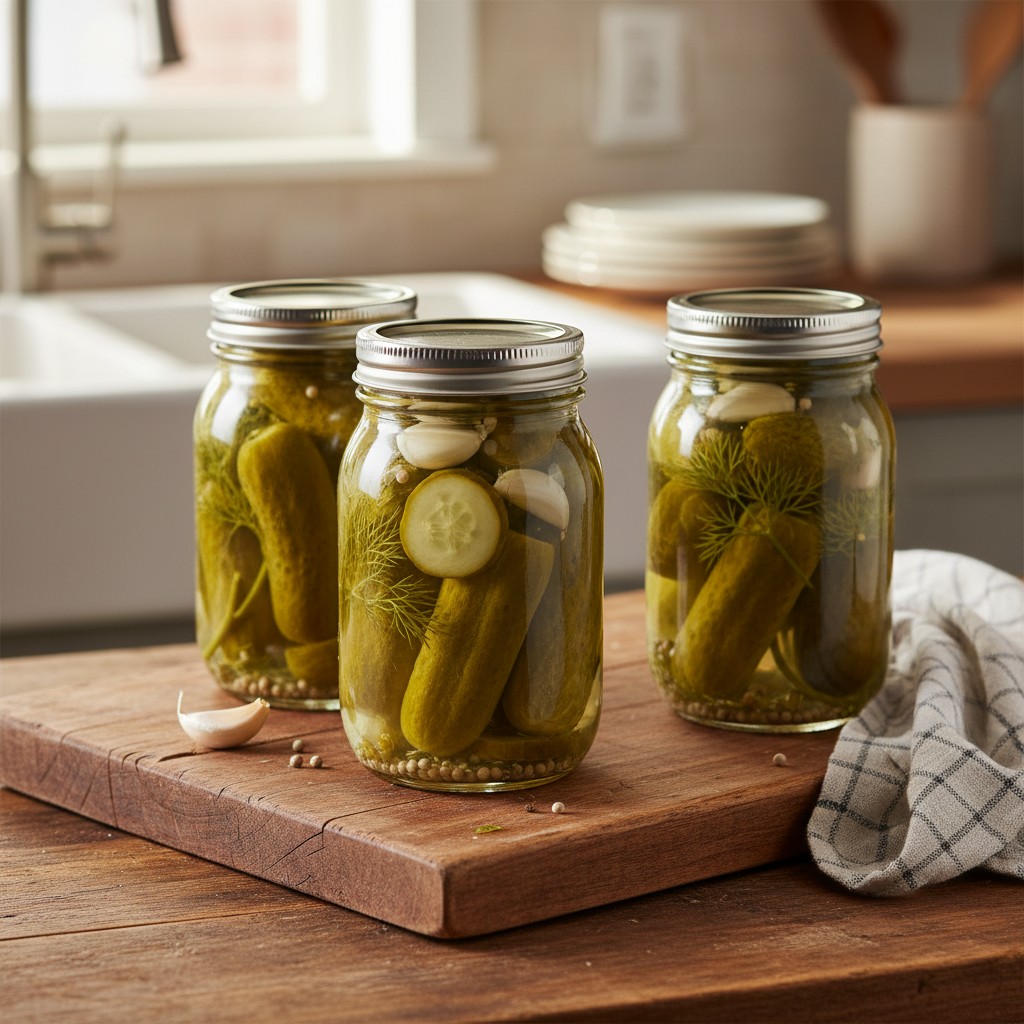
There’s something deeply satisfying about opening your fridge and seeing a row of jars filled with homemade pickles you made yourself. The colors alone — bright green dills, golden bread-and-butter slices, deep red pickled onions — make the effort worthwhile. But the flavor? That’s where store-bought can’t even compete.
Commercial pickles rely on preservatives and artificial coloring to achieve uniform taste and appearance. Your homemade versions will have more crunch, more character, and exactly the flavor profile you want. Too much garlic? No such thing. Extra dill? Go for it.
The economics make sense too. A pound of pickling cucumbers at a farmers’ market runs about $1.50 to $3.00, and the vinegar, salt, and spices you need cost pennies per jar. Compare that to $4 to $7 for a jar of artisan pickles at the grocery store, and you’ll see why pickle-making has experienced a resurgence in home kitchens across the country.
Let’s walk through five recipes that range from dead simple to slightly more involved. Every one of them is a keeper.
Before You Start: Equipment and Ingredients
Essential Equipment
- Glass mason jars — Quart and pint sizes work best. Wide-mouth jars make packing easier.
- A large pot — For heating brine and, if you choose to can, for water bath processing.
- A sharp knife and cutting board — A mandoline is helpful for uniform slices but not required.
- Jar lifter and funnel — Only needed if you’re doing water bath canning.
Choosing Your Cucumbers
This matters more than most people think. Kirby cucumbers (also called pickling cucumbers) are the gold standard. They’re short, bumpy, and have fewer seeds than slicing cucumbers. Their firm flesh stays crunchy after brining.
English cucumbers work in a pinch for refrigerator pickles, but their higher water content means softer results. Standard slicing cucumbers from the grocery store? Skip them entirely. They’ll turn mushy almost every time.
If you grow your own, harvest when they’re 3 to 5 inches long for the crispiest pickles. Pick them in the morning when they’re still cool from the night air.
The Right Salt
Use pickling salt, kosher salt, or sea salt — never iodized table salt. Iodine can darken your pickles and the anti-caking agents make the brine cloudy. For kosher salt, use about 1.5 times the amount called for if a recipe specifies pickling salt, since the flakes are less dense.
Recipe 1: Quick Refrigerator Pickles (Ready in 1 Hour)
This is where everyone should start. No canning, no sterilizing, no pressure gauges. Just cucumbers, brine, and a jar.
Ingredients
- 1 pound pickling cucumbers, sliced into ¼-inch rounds or spears
- 1 cup white vinegar
- 1 cup water
- 1 tablespoon pickling salt
- 1 tablespoon sugar
- 2 cloves garlic, smashed
- 1 teaspoon black peppercorns
- 1 teaspoon mustard seeds
- Fresh dill (a few sprigs)
Method
Combine vinegar, water, salt, and sugar in a saucepan. Heat until the salt and sugar dissolve — you don’t need a rolling boil. Pack cucumber slices into a clean quart jar along with the garlic, peppercorns, mustard seeds, and dill. Pour the warm brine over the cucumbers until they’re fully submerged. Let the jar cool to room temperature, then cap it and refrigerate.
Here’s the thing most recipes won’t tell you: these taste decent after an hour, but they’re genuinely great after 24 hours. If you can wait two to three days, even better. The flavors deepen significantly with time.
These keep in the refrigerator for 2 to 3 months, though they rarely last that long in my house.
Recipe 2: Classic Garlic Dill Pickles
This is the pickle most people picture when they hear the word. Sour, garlicky, and loaded with dill. This version is designed for water bath canning so you can keep them on the pantry shelf, but you can also just refrigerate them.
Ingredients (makes about 4 quarts)
- 4 pounds pickling cucumbers (3–5 inches long), whole or halved
- 6 cups white vinegar (5% acidity)
- 6 cups water
- ½ cup pickling salt
- 8 cloves garlic, peeled
- 4 teaspoons dill seed (or 8 heads fresh dill)
- 2 teaspoons whole black peppercorns
- Optional: ¼ teaspoon alum per jar for extra crunch, or a grape leaf
Method
Soak cucumbers in ice water for at least 2 hours before pickling. This step makes a noticeable difference in crunch. Trim ⅛ inch off the blossom end of each cucumber — there’s an enzyme concentrated there that softens pickles.
Bring vinegar, water, and salt to a boil. While the brine heats, pack cucumbers tightly into sterilized quart jars. Add 2 garlic cloves, 1 teaspoon dill seed (or 2 dill heads), and ½ teaspoon peppercorns to each jar.
Ladle hot brine over the cucumbers, leaving ½ inch of headspace. Remove air bubbles by sliding a butter knife along the inside of the jar. Wipe rims, apply lids and bands, and process in a boiling water bath for 10 minutes (adjust for altitude — add 5 minutes above 6,000 feet).
Now the hard part: wait at least 3 weeks before opening. The flavor needs time to develop. I know it’s tempting. Resist.
Recipe 3: Bread-and-Butter Pickles
Sweet, tangy, and perfect on sandwiches or burgers. The name supposedly comes from a Depression-era couple who traded their pickles for bread and butter. Whether that’s true or not, these are a timeless classic.
Ingredients (makes about 5 pints)
- 3 pounds pickling cucumbers, sliced ⅛ to ¼ inch thick
- 3 medium onions, thinly sliced
- ⅓ cup pickling salt
- 2 cups sugar
- 2 cups apple cider vinegar
- 1 tablespoon mustard seeds
- 1 teaspoon celery seed
- ½ teaspoon turmeric
Method
Toss cucumber and onion slices with pickling salt in a large bowl. Cover with ice and let sit for 2 hours. This draws out excess moisture and is the secret to a truly crisp bread-and-butter pickle. Drain and rinse thoroughly.
Combine sugar, vinegar, mustard seeds, celery seed, and turmeric in a large pot. Bring to a boil, stirring until the sugar dissolves. Add the drained cucumbers and onions. Heat just until the mixture returns to a boil — don’t cook them. Overcooking is the number one mistake people make with bread-and-butter pickles.
Pack into hot, sterilized pint jars with ½ inch headspace. Process in a boiling water bath for 10 minutes.
One tip: if you like a little heat, add ½ teaspoon of red pepper flakes per jar. It doesn’t make them spicy exactly, but it adds a warm undertone that balances the sweetness beautifully.
Recipe 4: Spicy Garlic Pickles
For those of us who think regular dill pickles need more attitude. These have a slow burn that builds with each bite.
Ingredients (makes 2 quarts)
- 2 pounds pickling cucumbers, spears or whole
- 1½ cups white vinegar
- 1½ cups water
- 2 tablespoons pickling salt
- 6 cloves garlic, halved
- 2–4 dried chili peppers (like cayenne or arbol), split
- 1 teaspoon red pepper flakes
- 1 teaspoon black peppercorns
- 1 teaspoon dill seed
- ½ teaspoon coriander seeds
Method
Follow the same soaking and brine preparation as the classic dill recipe. Layer the spices, garlic, and chili peppers into the jars before packing in the cucumbers. Pour hot brine over everything, leaving ½ inch headspace.
These can be water bath canned (10 minutes for quarts) or simply refrigerated. The heat level increases over time, so taste one after a week and adjust your pepper quantity for the next batch.
A word of caution: start with 2 dried chilies per jar if you’re not sure about your heat tolerance. You can always add more next time. You can’t take them out once the brine is poured.
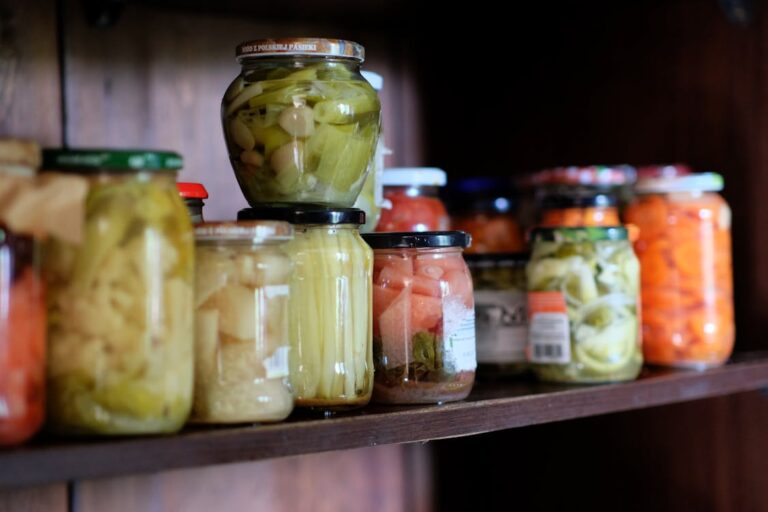
Recipe 5: Pickled Mixed Vegetables
Cucumbers get all the glory, but nearly any firm vegetable takes beautifully to pickling. This recipe produces a colorful jar that’s gorgeous on a charcuterie board or alongside grilled meats.
Ingredients (makes about 3 pints)
- 2 cups cauliflower florets, cut small
- 1 cup carrot sticks (3-inch lengths)
- 1 cup green beans, trimmed
- 1 red bell pepper, cut into strips
- ½ cup pearl onions, peeled
- 2 cups white wine vinegar
- 1 cup water
- 2 tablespoons sugar
- 1 tablespoon pickling salt
- 2 bay leaves
- 1 teaspoon whole coriander seeds
- 4 cloves garlic
- Fresh thyme sprigs
Method
Blanch the cauliflower, carrots, and green beans separately in boiling water for 60 to 90 seconds, then immediately transfer to an ice bath. This keeps the colors vibrant and ensures even texture. The bell pepper and onions go in raw.
Bring vinegar, water, sugar, and salt to a boil. Pack the vegetables into jars in alternating layers for the best visual effect. Tuck in the bay leaves, coriander, garlic, and thyme. Pour hot brine over the vegetables.
These are best as refrigerator pickles — let them sit at least 48 hours before serving. They’ll keep for up to 2 months in the fridge.
Other vegetables worth trying on their own: radishes (they turn a gorgeous hot pink), jalapeños, red onions, and asparagus spears.
Troubleshooting Common Pickle Problems
Soft or Mushy Pickles
Usually caused by using the wrong cucumber variety, not trimming the blossom end, or processing too long in the water bath. The ice water soak before pickling helps significantly. Some old-timers add a grape leaf, oak leaf, or horseradish leaf to each jar — the tannins help maintain crunch.
Cloudy Brine
If you used table salt, that’s likely the culprit. Cloudiness can also indicate fermentation, which isn’t necessarily bad — but if the pickles were water bath canned and the brine turns cloudy, discard them to be safe.
Hollow Pickles
This happens when cucumbers sit too long between harvest and pickling, or when the cucumbers grew too quickly. Pickle within 24 hours of harvest for best results.
Too Salty or Too Sour
You can dilute your brine next time. For pickles that are already too salty, soaking them in plain cold water for 30 minutes draws out some of the salt.
Shelf Life and Storage
Refrigerator pickles last 2 to 3 months in the fridge. Water bath–canned pickles, stored in a cool dark place, keep for up to 12 months. After opening canned pickles, refrigerate and use within a month or so.
Always check canned pickles before eating. If the seal is broken, the lid is bulging, the brine is cloudy (when it wasn’t before), or anything smells off, throw them out. Don’t taste-test questionable pickles — botulism has no taste or smell.
Frequently Asked Questions
Can I reuse pickle brine for another batch?
For refrigerator pickles, you can reuse the brine once. The acidity drops after the first batch absorbs some of the vinegar, so a second use is fine but a third gets risky. For canned pickles, always use fresh brine — the vinegar concentration needs to be exact for safe preservation.
Why do my pickles float to the top of the jar?
Air trapped inside the cucumber causes floating. Pack jars as tightly as possible, and use a fermentation weight or a small piece of crumpled parchment paper under the lid to keep everything submerged. Cutting cucumbers into spears or slices also reduces floating compared to whole cucumbers.
Do I have to use white vinegar, or can I substitute other types?
Any vinegar with at least 5% acidity works for safe pickling. White vinegar gives the cleanest flavor. Apple cider vinegar adds a mellow, slightly fruity note that’s excellent in bread-and-butter pickles. White wine vinegar is lovely for mixed vegetable pickles. Avoid balsamic or flavored vinegars for canning — their acidity levels vary and can compromise safety.
Can I reduce the sugar in bread-and-butter pickles?
You can reduce the sugar by up to half without affecting safety, since the vinegar — not the sugar — is what preserves the pickles. The texture and flavor will change: less syrupy, more tangy. Some people prefer it that way. Just don’t increase the water or decrease the vinegar to compensate.