Growing Tomatoes Like a Pro: From Seed to Sauce
Zone 6b last frost around May 15 means I don't gamble on putting tomatoes out before Memorial Day weekend, no matter how warm late April feels. I lost a whole tray of hardened-off Romas to a cold snap I ignored in 2019 and replanted from scratch two weeks behind schedule. I've respected that May window ever since.
Tomatoes are the most-grown vegetable in American home gardens, and also the most complained about. Blossom-end rot, cracked fruit, sprawling plants that never set a second flush. Most failures trace back to skipping one of the basics. This guide walks you through each step, backed by university research, so you can troubleshoot confidently and harvest heavily.
1. How Do You Choose the Right Tomato Variety?
Start by matching the variety to your growing season, not the prettiest picture in the seed catalog. Tomatoes fall into two growth habits: determinate (bush) types that ripen all at once in 60–70 days, perfect for canning in a single big batch, and indeterminate (vining) types that keep producing until frost. If your season is shorter than 75 days, prioritize early varieties like Glacier, Stupice, or Celebrity. In long-season climates you can run big indeterminate heirlooms like Brandywine or Cherokee Purple.
Disease resistance codes printed on seed packets (V, F, N, T) matter far more than flavor descriptions. A beautiful heirloom that fusarium-wilts in week six gives you nothing. For a first kitchen garden, choose a hybrid with at least VF resistance and a 65–72 day maturity date, then layer in heirlooms once you understand your soil and local pest pressure.
Also consider final use. Paste tomatoes (Roma, San Marzano, Amish Paste) have drier, meatier flesh ideal for sauce. Slicers (Beefsteak, Big Boy) are best fresh. Cherry tomatoes (Sungold, Sweet Million) have the highest Brix ratings and are the easiest to keep producing in heat.
Citation: University of California Cooperative Extension reports that variety selection, specifically days-to-maturity matched to local frost dates, is the single highest-impact decision a home grower makes, accounting for more yield variance than fertilizer or irrigation schedules. Source: UC ANR Publication 7238.
2. Why Should You Plant Tomatoes Deeply?
Tomatoes are one of the few vegetables that form adventitious roots along their buried stem. Plant a leggy six-inch seedling so that only the top two sets of leaves emerge from the soil and you instantly double or triple the root mass, which translates directly to drought tolerance, nutrient uptake, and a more stable plant in wind. This single technique is the fastest ROI move in tomato growing.
Dig the planting hole 8–12 inches deep. Strip the lowest leaves cleanly, torn stems invite disease. If your seedling is extremely tall and leggy, dig a trench at a 45-degree angle instead of a vertical hole and lay the stem horizontally underground; it will straighten toward the sun within a week while building a longer root zone. Water the hole before dropping the plant in so the roots make immediate contact with moist soil.
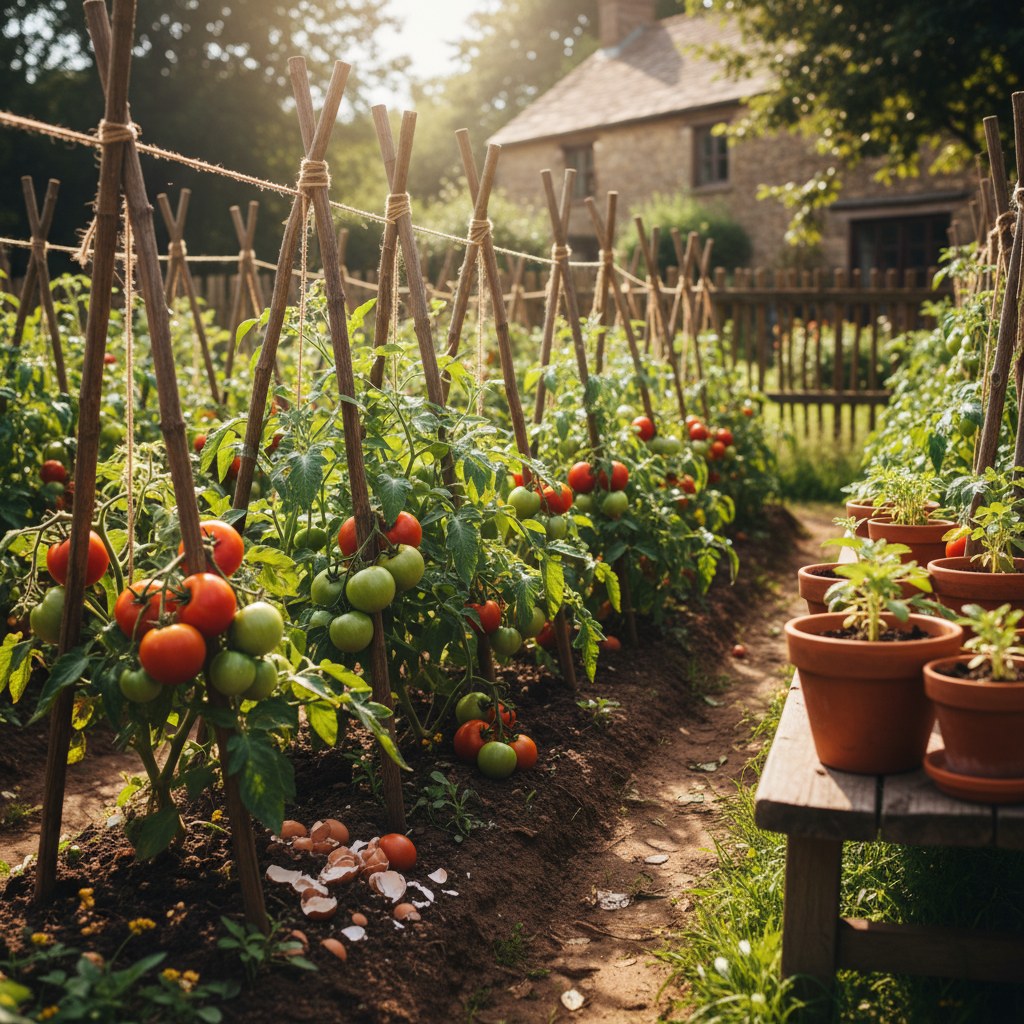
Spacing matters too. Crowded plants compete for light and airflow, and poor airflow is the primary driver of early blight and septoria leaf spot. Indeterminate varieties on stakes or cages need 24–36 inches apart; determinate bush types can go 18–24 inches. Never be tempted to squeeze in extras, a well-spaced plant outyields a crowded one by late summer every time.
Citation: Research from Virginia Cooperative Extension (Publication 426-413) demonstrates that deep planting increases adventitious root formation along the buried stem, improving water and mineral uptake. Trials showed plants set 10 inches deep produced 18% more fruit than those set at standard 4-inch depth.
3. What Growing Conditions Do Tomatoes Actually Need?
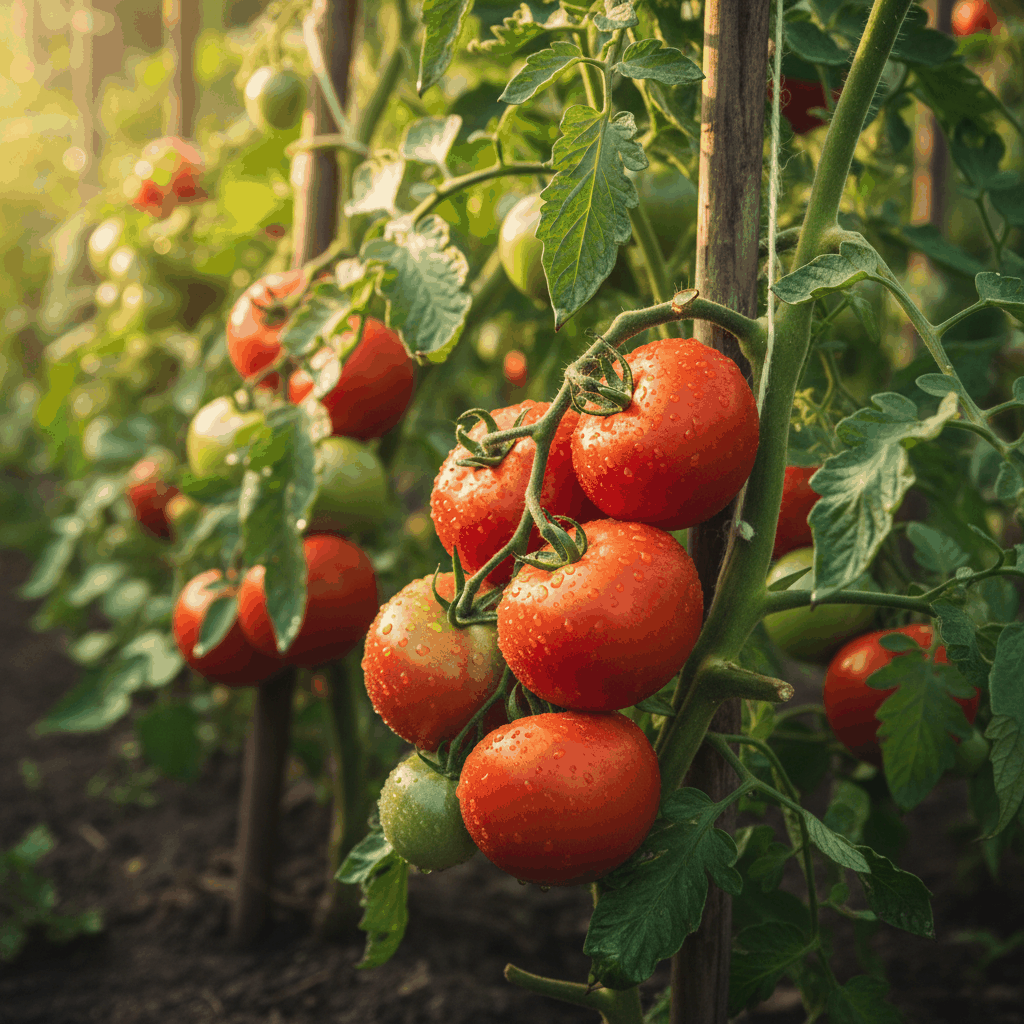
Tomatoes need at least 8 hours of direct sun per day, consistent moisture, warm soil, and a steady supply of calcium and magnesium. Shade is the silent yield killer, even 25% shade reduction can cut fruit set by half. If your best sunny spot is also your windiest, use a temporary windbreak during establishment.
Soil temperature matters more than air temperature. Tomato roots shut down below 55°F (13°C). Planting into cold soil causes transplant shock that sets plants back two weeks even if air temps are fine. Use a soil thermometer or wait until daytime soil at 4 inches reads at least 60°F consistently, typically two weeks after your last frost date. Black plastic mulch can raise soil temp 3–5°F if you’re in a short-season climate.
For watering, aim for 1–2 inches per week, delivered deep and infrequently rather than shallow and daily. Shallow watering trains roots upward where soil dries fastest. Drip irrigation or a soaker hose at the base keeps foliage dry, dramatically reducing fungal disease pressure. Mulch 3–4 inches deep with straw or wood chips to retain moisture and prevent soil splash, the main transmission vector for early blight spores.
Calcium deficiency causes blossom-end rot, the dark leathery patch on the bottom of developing fruit. This is almost never a soil calcium shortage, it’s a water uptake problem. Uneven watering prevents calcium from moving into the fruit fast enough during rapid cell expansion. Fix your irrigation first before adding calcium sprays.
Citation: Penn State Extension (Agronomy Facts 53) confirms that blossom-end rot results from calcium mobility failure due to irregular soil moisture, not calcium-deficient soil. In most garden soils, calcium is adequate; consistent drip irrigation resolved 80% of BER cases in their trials without any calcium amendment.
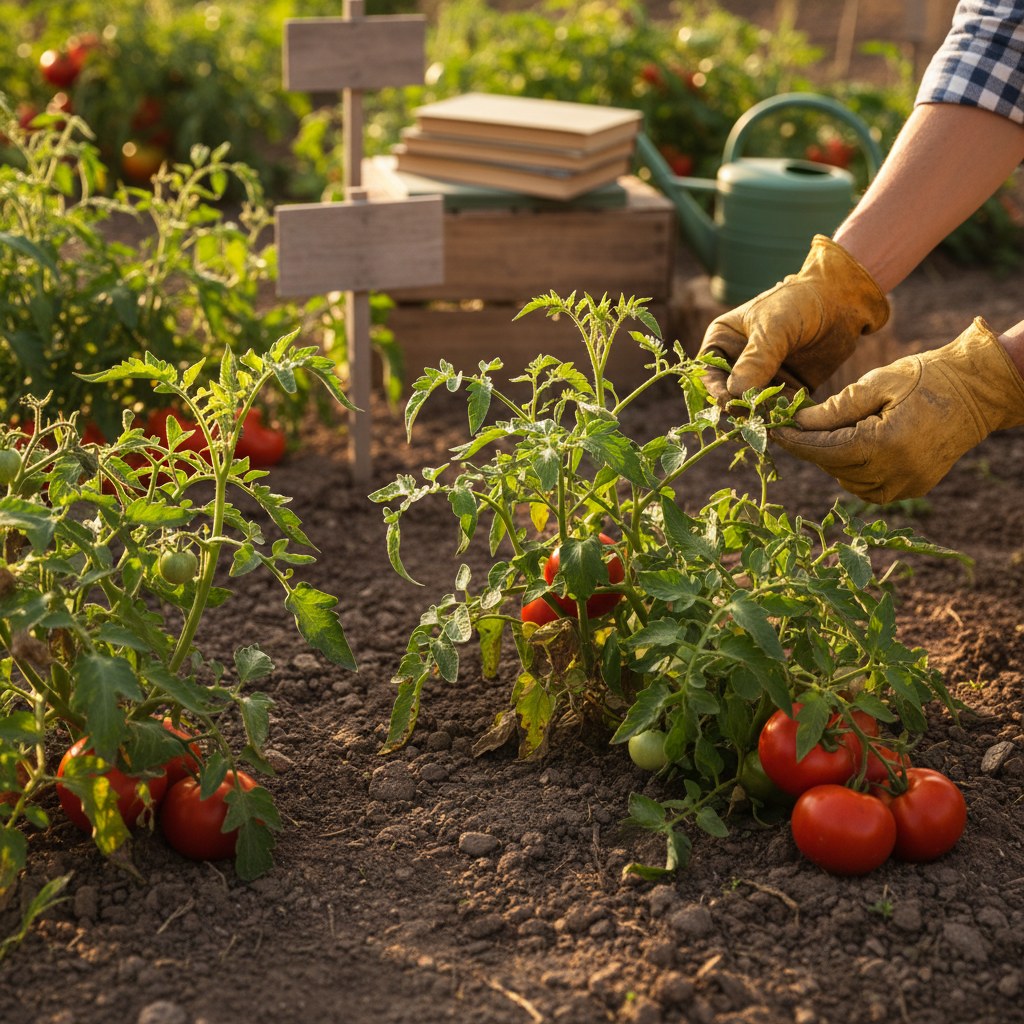
4. Should You Prune Tomato Suckers?
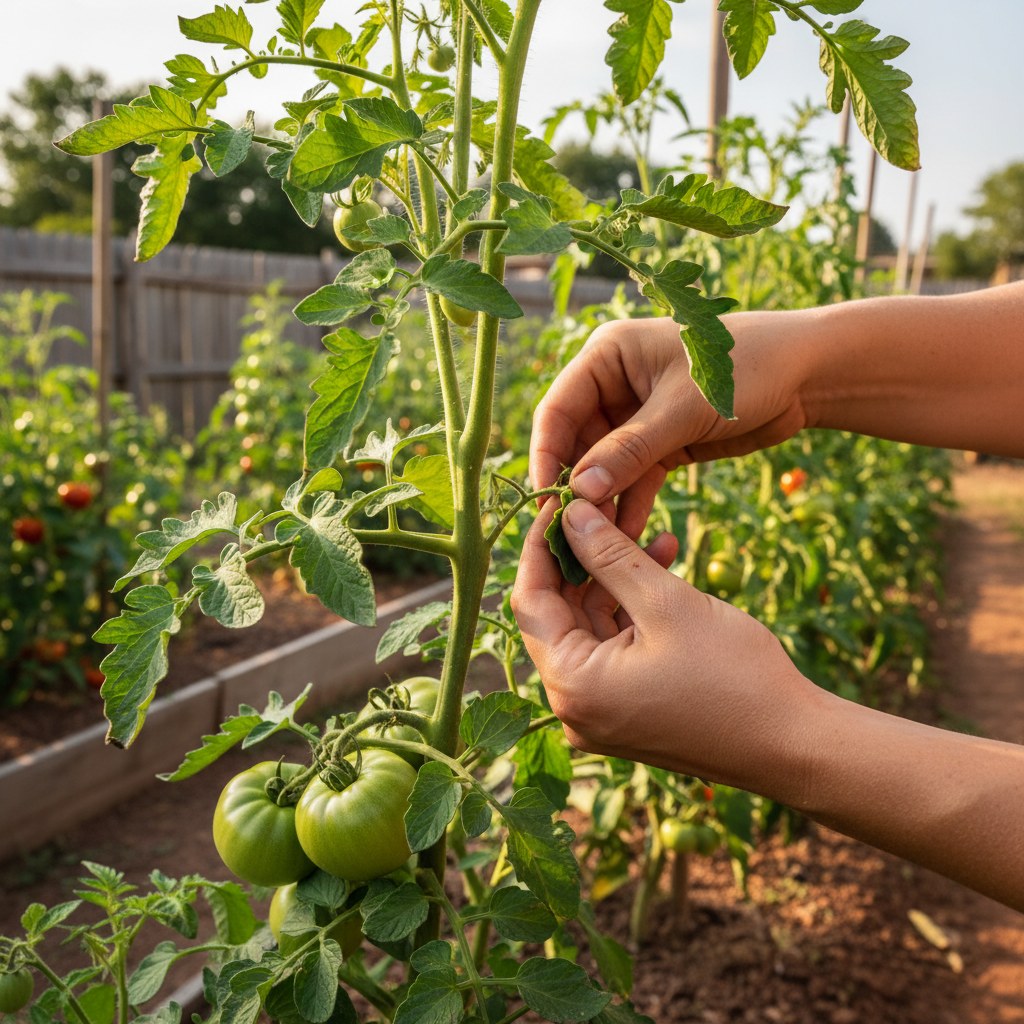
Yes: on indeterminate varieties. Suckers are the new shoots that emerge in the crotch between the main stem and a leaf branch. Left unpruned on a vining tomato, every sucker becomes a full secondary stem, and every secondary stem grows its own suckers. Within six weeks you have an impenetrable thicket that blocks light from developing fruit, creates a humid microclimate for disease, and diverts energy away from ripening the tomatoes already on the plant.
The standard approach for indeterminate types is single-stemming: remove all suckers regularly, training the plant up a 6-foot stake or Florida weave system with one central leader. This concentrates the plant’s energy and produces earlier, larger fruit. Some growers allow two stems, pinch all suckers except the one directly below the first flower cluster, which balances yield with fruit size nicely.
Pinch suckers when they are small, under an inch, using thumb and forefinger. Larger suckers should be cut with clean scissors rather than snapped to avoid tearing the main stem. Never remove suckers in wet weather; open wounds invite bacterial infections. After pinching, wash your hands before moving to the next plant to avoid spreading mosaic virus, which transmits via sap on fingers.
Do not prune determinate varieties. Determinates set their entire fruit crop on side branches. Pruning them removes future harvests.
Citation: Cornell University Cooperative Extension guidelines for stake-and-sucker training note that single-stem indeterminate tomatoes produce fruit 10–14 days earlier than unpruned plants and show significantly lower incidence of Botrytis and Septoria in high-humidity environments. Source: Cornell Vegetable Growing Guides.
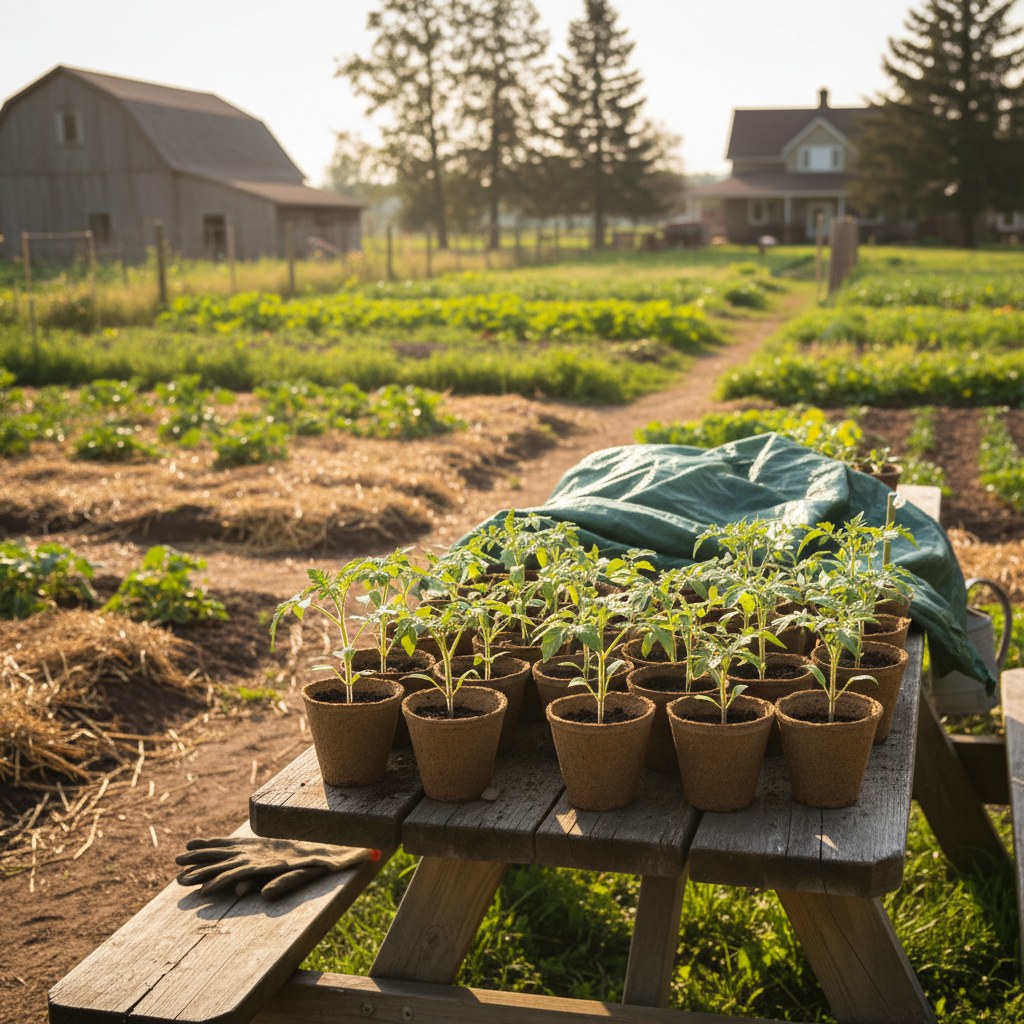
5. How Do You Harden Off Tomato Seedlings Properly?
Hardening off is the transition process that moves seedlings from the controlled environment of an indoor grow light or greenhouse to the full exposure of outdoor conditions, wind, UV, temperature swings, and rain. Skip it and your seedlings will sunscald, wilt badly, or stall for three weeks recovering. Do it properly and transplants barely miss a beat.
The process takes 7–10 days. Start by setting seedlings outside in a shaded, sheltered spot for 1–2 hours on day one. Each subsequent day, add 1–2 more hours and gradually introduce more sun. By day 7 or 8, plants should be sitting in full morning sun for 6+ hours. On the final day or two, leave them out overnight if temperatures stay above 50°F. If a surprise cold snap is forecast, bring them back in, there’s no benefit to rushing.
Signs that hardening is going poorly: white or papery patches on leaves (sunscald from too-rapid UV exposure), severe wilting by midday (not enough root volume to match transpiration demand), or purpling of leaves (phosphorus lockout from cold stress). If you see these, slow the process and add more shade for a few extra days.
If you are starting from seed indoors, pair this step with our seed-starting guide for beginners which covers germination heat, grow light distance, and potting-up timing so your seedlings arrive at hardening-off stage in ideal condition.
Citation: University of Minnesota Extension recommends a minimum 7-day hardening-off period for solanaceous crops, noting that abrupt transplanting without acclimatization delays fruit set by an average of 12 days compared to properly hardened transplants, due to cellular stress and cuticle underdevelopment. Source: UMN Extension Vegetable Production.
6. How Do You Manage the Most Common Tomato Problems?
Most tomato problems are preventable with cultural practices, but every garden eventually faces at least one pathogen or pest. Knowing what you’re looking at lets you act before a small problem becomes a lost crop.
Early blight (Alternaria solani) appears as brown spots with yellow halos and concentric rings on lower leaves first, progressing upward. Remove infected leaves immediately and do not compost them. Apply copper fungicide preventively once plants reach knee height if you’ve had blight before. Rotate tomatoes to a different bed every three years, the fungus overwinters in soil.
Septoria leaf spot looks similar but spots are smaller and more numerous, with a dark border and lighter center. Same management: remove leaves, improve airflow, avoid overhead water, copper spray if needed.
Tomato hornworm is a large green caterpillar that can strip a plant overnight. Check the undersides of leaves, hornworms blend in perfectly. Hand-pick into soapy water. If you see white rice-like sacs on a hornworm, leave it: those are parasitic wasp cocoons and the wasp larvae will kill the hornworm for you.
Cracking is caused by uneven watering, a dry spell followed by heavy rain causes the fruit to expand faster than the skin can stretch. Consistent irrigation and mulch are the fix. Harvest fruit at the first blush of color and let it ripen indoors on the counter (never the refrigerator, cold destroys texture and flavor) to beat cracking during wet periods.
For companion planting strategies that suppress both pests and diseases, including which plants to put next to tomatoes and which to keep far away, see our companion planting guide.
Citation: NC State Extension Plant Pathology reports that early blight accounts for an estimated 30–50% of tomato yield loss in the southeastern US in wet years, and that mulching combined with removal of infected lower foliage reduces disease progression more effectively than fungicide alone in home garden settings. Source: NC State Plant Disease Note 12.
Frequently Asked Questions
When should I start tomato seeds indoors?
Start tomato seeds 6–8 weeks before your last expected frost date. In most of the US this means starting in late February to mid-March for a May or early June transplant. Use a heat mat to maintain 75–85°F soil temperature for germination, which should occur in 5–10 days.
How often should I fertilize tomatoes?
At planting, work a balanced slow-release fertilizer (10-10-10) into the soil. Once the first fruit sets, about thumbnail size, switch to a lower-nitrogen, higher-potassium feed (like a 5-10-10 or tomato-specific formula) every two weeks. High nitrogen late in the season pushes leafy growth at the expense of fruit.
Can I grow tomatoes in containers?
Yes, with the right variety and a large enough pot. Use a minimum 5-gallon container per plant; 10–15 gallons is better for indeterminate types. Choose a compact determinate or a patio-bred variety like Tumbling Tom, Bush Early Girl, or Tiny Tim. Container tomatoes need watering daily in summer heat and benefit from liquid feeding every 7–10 days since nutrients leach out faster than in ground beds.
Why are my tomato flowers dropping without setting fruit?
Blossom drop most commonly happens when nighttime temperatures drop below 55°F or rise above 75°F, both of which impair pollen viability. High humidity above 90% can also glue pollen grains together. You can help by gently shaking the flowering truss midday (or using an electric toothbrush on the stem) to simulate wind pollination. There’s little else to do during a heat wave except wait, once temperatures moderate, fruit set will resume.
What is the difference between a tomato cage and stake training?
Cages work best for compact determinate varieties, the cage supports the whole plant as a unit with no ongoing maintenance. Stakes with sucker pruning suit indeterminate vining tomatoes because you control plant size, maximize airflow, and can harvest without hunting through a tangle of stems. For heavy yielding indeterminate varieties, a Florida weave trellis (alternating twine through rows of posts) is faster and cheaper than individual cages or stakes at scale.