How to Start Beekeeping in Your Backyard: A Beginner’s Guide
There is something deeply satisfying about watching bees work a garden you planted with your own hands. Backyard beekeeping has grown steadily over the past decade as more families look for ways to produce food at home, support local pollinators, and reconnect with old-fashioned land skills. If you already grow a cutting garden or keep a few laying hens, bees fit naturally into that rhythm.
This guide walks you through the five stages most new beekeepers face in their first twelve months: preparation, equipment, the first-year calendar, inspection routines, and keeping the hive safe from pests and neighbors’ concerns. It is written for someone starting with one hive in a suburban or rural yard, no prior livestock experience required.
What Should You Do Before Getting Bees?
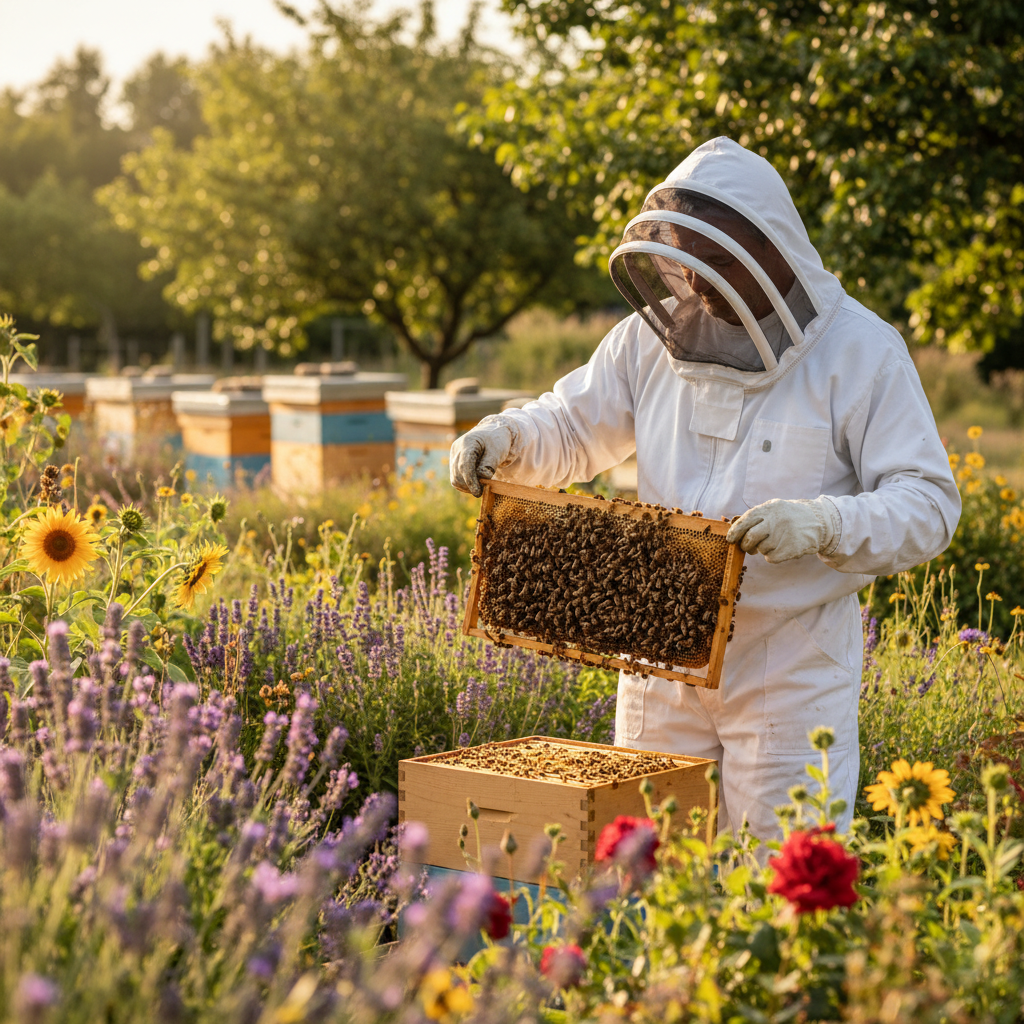
The single most important thing you can do before spending a dollar on equipment is to take a beginner beekeeping course. The American Beekeeping Federation maintains a directory of state and regional associations, most of which offer spring workshops for $40–$100. These courses teach you to read a frame, identify the queen, and recognize common diseases, skills that are nearly impossible to absorb from reading alone.
While you are registering for a course, do three other things in parallel:
- Check local laws. Many municipalities require registration, limit the number of hives, or mandate minimum setbacks from property lines. Contact your city planning office or county extension service. The USDA Agricultural Marketing Service also publishes a state-by-state resource guide for hobby beekeepers.
- Talk to your neighbors. A quick conversation now prevents hard feelings later. Offer a jar of honey from your first harvest and explain that honey bees forage up to three miles away, they are rarely aggressive near the hive unless disturbed.
- Assess your site. You need a spot with morning sun (helps bees warm up and start foraging early), afternoon shade in hot climates, wind protection on the north side, and a clear flight path that does not cross a walkway or play area. The hive entrance should face south or east.
If you have not yet established flowering plants to support your colony, spend the weeks before your bees arrive planting a pollinator corridor. Native wildflowers, fruit trees, and herb borders all help. Our guide to pollinator gardens covers plant selection season by season and will help you build continuous bloom from early spring through hard frost.
Order your bees at the same time you order your equipment, ideally in January or February for a spring delivery. Package bees (a screened box of approximately 10,000 bees plus a caged queen) are the most common starting point and cost $140–$180. Nucleus colonies, called nucs, cost $150–$250 but include a laying queen on five drawn frames, giving you a three-to-four week head start.
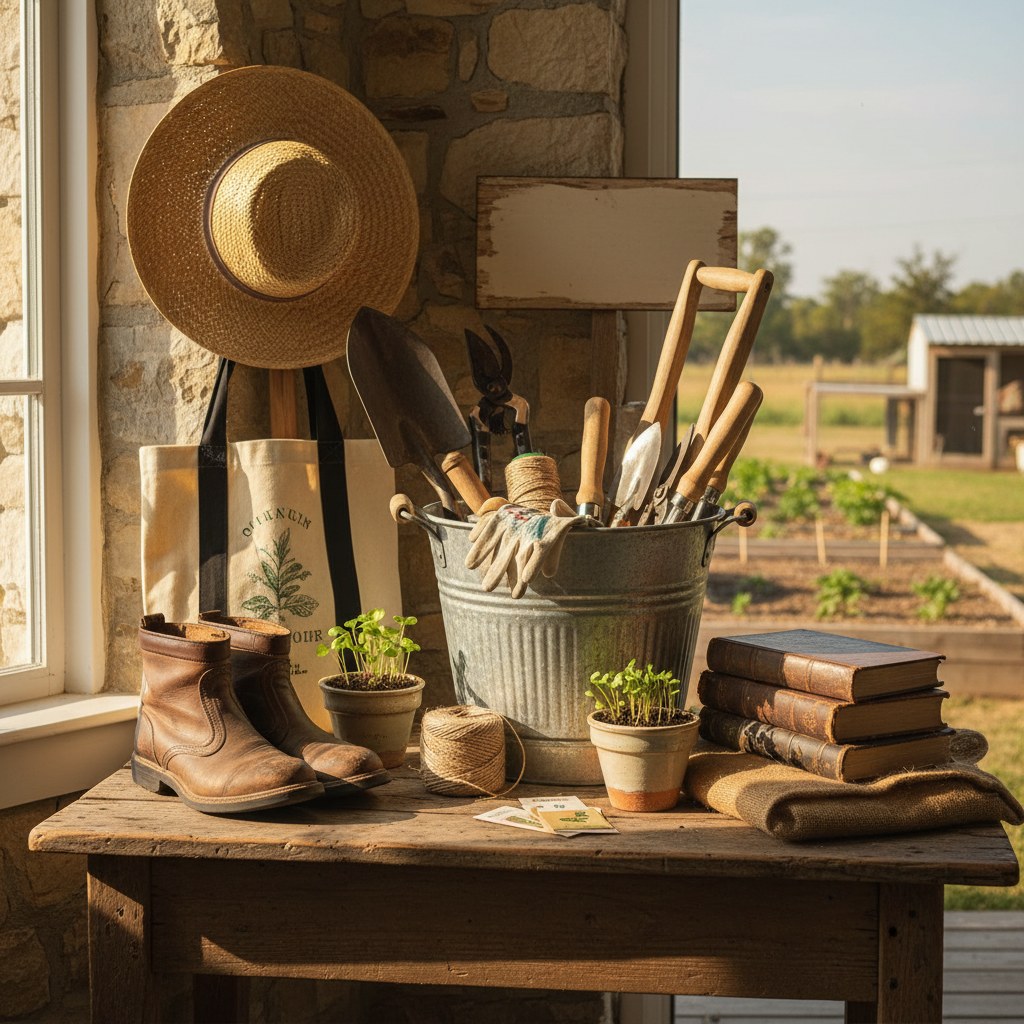
What Equipment Do You Need to Start?
A beginner’s complete setup runs $300–$500 purchased new. You can reduce that cost significantly by joining a local club, many loan equipment or sell used boxes at cost.
The Hive
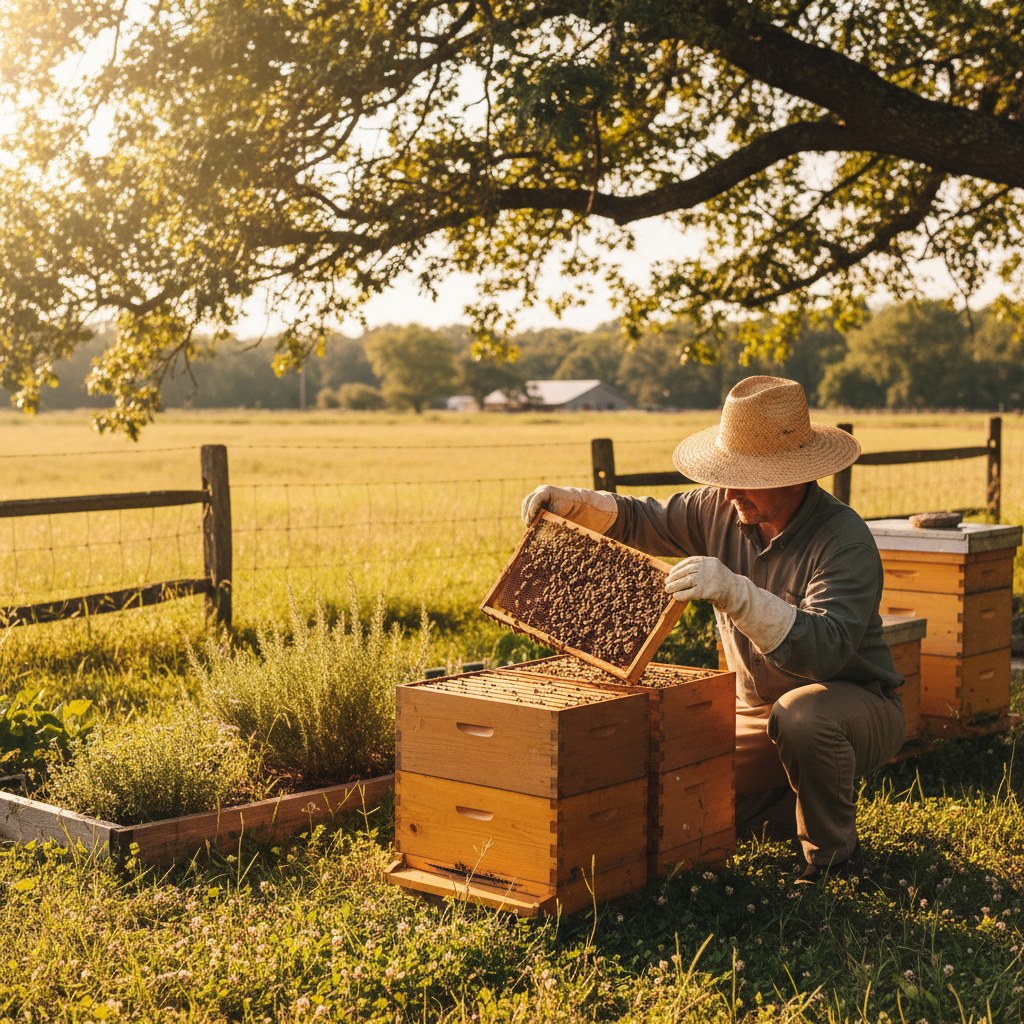
The standard in North America is the 10-frame Langstroth hive. It consists of a bottom board, one or two deep brood boxes where the queen lays eggs, a queen excluder (a grid that keeps the queen out of the honey supers), medium honey supers added in spring and summer, an inner cover, and a telescoping outer cover. Some beekeepers use 8-frame equipment because the lighter boxes are easier to lift, a full 10-frame deep can weigh 90 pounds.
You do not need to build the most elaborate setup on day one. One deep brood box, one medium honey super, and the standard hardware is enough for year one. Buy from a reputable supplier. Dadant, Mann Lake, and Brushy Mountain are widely recommended, and choose unpainted or food-grade painted wood. Avoid purchasing used hives unless you can confirm they have never hosted American foulbrood, a highly contagious bacterial disease.
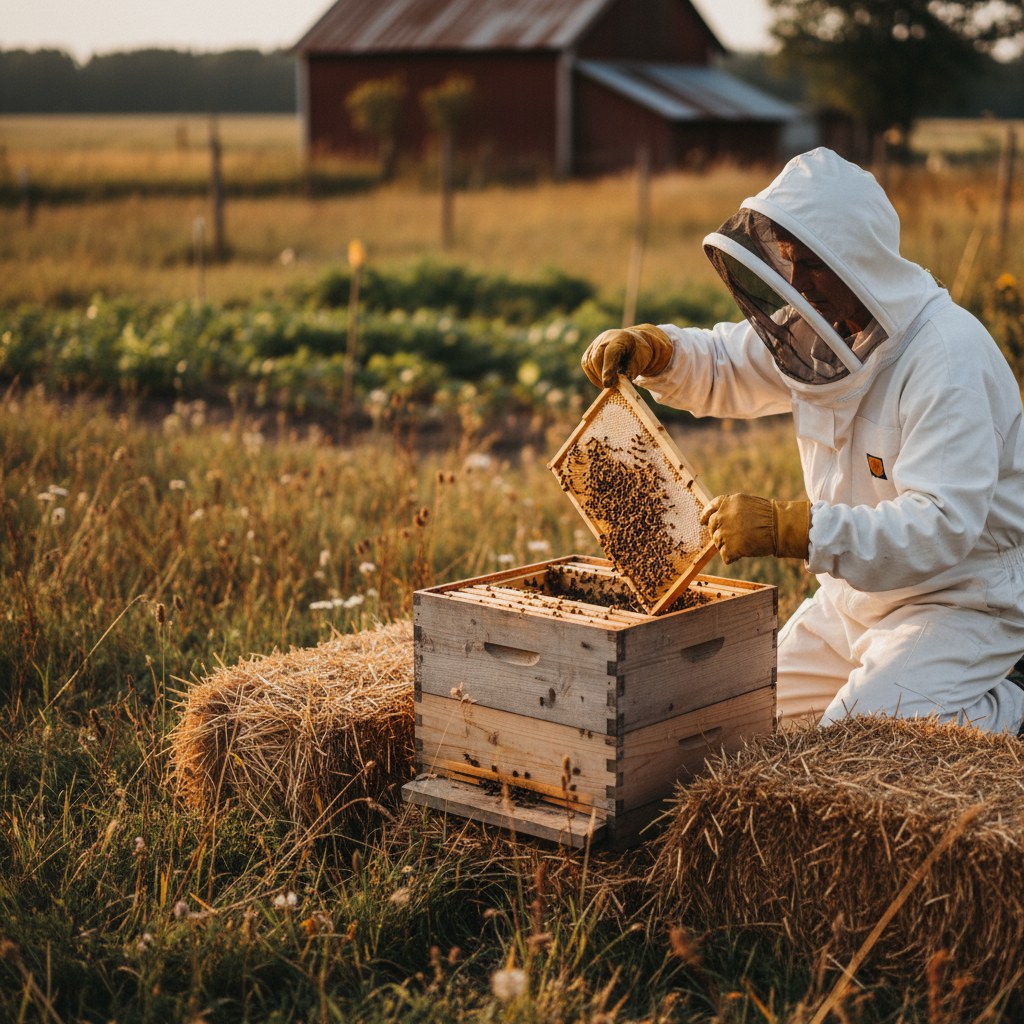
Protective Gear
- Veil and jacket or full suit: A ventilated full suit is the safest starting point. Most new beekeepers are more relaxed wearing full coverage, and relaxed handling means calmer bees. Budget $60–$150 depending on brand.
- Gloves: Leather beekeeping gloves protect your hands but reduce dexterity. Some experienced beekeepers prefer nitrile surgical gloves or go bare-handed once they feel confident. Start with leather.
Tools
- Hive tool: A flat pry bar used to separate frames and boxes stuck together with propolis. You will use this at every single inspection. Keep a spare: they disappear in tall grass.
- Smoker: Smoke masks alarm pheromones and encourages bees to gorge on honey, making them calmer and slower. A stainless steel smoker with a bellows costs $25–$50. Fuel it with untreated burlap, pine needles, or dried herbs.
- Bee brush: A soft brush for gently moving bees off frames. Optional but useful for beginners.
Medications and Feeding
New packages need to be fed a 1:1 sugar syrup (one pound sugar to one pound water by weight) until they draw out their first frames of comb. A frame feeder or entrance feeder costs $8–$15. You will also want oxalic acid treatment on hand for varroa mite management, more on that below.
The Penn State Extension Beekeeping Program publishes a free equipment checklist that breaks down costs by item and flags what to buy versus what to borrow or make.
What Should You Expect in Your First Year?
The first year is primarily about establishing the colony, not harvesting honey. Many beekeepers recommend letting the bees keep all their honey through the first winter. Here is what a typical first-year calendar looks like in a temperate climate:
Spring (April–May): Installation and Establishment
When your package or nuc arrives, install it on a mild afternoon above 50°F. For packages, this means shaking the bees into the hive, positioning the caged queen between two frames, and closing up. The queen releases herself over 3–5 days while workers eat through a candy plug. Check at day 5 to confirm she has been released and the workers are not balling her (clustering around her aggressively). If she is out and moving freely, close up and leave the hive alone for another week.
Begin feeding immediately. A new package on bare foundation needs sugar syrup to draw wax comb, and without comb the queen cannot lay. Continue feeding until the bees stop taking syrup, which usually signals they have enough natural nectar coming in.
Late Spring–Summer (May–August): Building Season
This is when the colony expands rapidly. You will add a second brood box once the first is 70–80% full of drawn comb, brood, and stores. Once both brood boxes are established, add your honey super above the queen excluder.
Watch for swarm preparations: queen cells built along the bottom of frames, a very crowded brood box, and reduced activity as foragers slow down. Swarming is natural, the old queen leaves with half the bees to start a new colony, but it cuts your honey production and your bee population. Adding a honey super early and ensuring adequate space usually delays swarming long enough to get you through the season.
Late Summer–Fall (August–October): Mite Management and Winter Prep
Varroa destructor mites are the number one killer of managed honey bee colonies in North America. According to the USDA National Institute of Food and Agriculture, varroa is implicated in the majority of overwinter colony losses. Every beekeeper needs a mite-monitoring and treatment protocol.
The alcohol wash method (described in detail by most state extension services) gives you an accurate mite count per 100 bees. Treatment is warranted when you reach 2 mites per 100 bees in summer or before August ends, regardless of count. Oxalic acid vaporization is highly effective, has no honey residue concerns, and is approved for use with honey supers off. The USDA-approved Apivar strips (amitraz) are another common option.
By October, reduce the entrance to a 4-inch opening to block mice. Make sure the colony has at least 60–80 pounds of honey stores (two full medium supers or one deep super well filled). In cold climates, wrap the hive in roofing felt or use a commercial insulated wrap, not to keep them warm, but to block wind and reduce condensation inside the hive.
Winter (November–March): Hands Off
Bees do not hibernate. They form a winter cluster and vibrate their flight muscles to generate heat, consuming honey as fuel. Your job in winter is to avoid opening the hive in temperatures below 50°F, keep the top ventilated so moisture can escape (wet bees die faster than cold bees), and check cluster weight by hefting the rear of the hive every four to six weeks. A hive that feels very light in February needs emergency sugar fondant placed directly on the frames.
How Often Should You Inspect the Hive?
During the active season, roughly April through October in most of the United States, inspect every 7 to 14 days. More frequent inspections disturb the colony and may chill open brood; less frequent inspections mean you miss swarm preparations or disease signs until it is too late.
Each inspection should answer four questions:
- Is the queen present and laying? You do not need to spot the queen every time. A frame with fresh eggs (tiny white grains standing upright in the bottom of cells) tells you the queen was active within the last three days.
- Is the brood pattern solid? Healthy brood cells are capped evenly across a frame in a tight arc. A scattered, “shotgun” pattern of capped and empty cells can indicate disease or a failing queen.
- Are there adequate stores? Frames at the outer edges of the brood box should hold capped honey and pollen. If the outer frames are empty in midsummer, feed.
- Are there signs of disease or mites? Look for sunken or punctured cappings (American foulbrood), white or brown larvae outside cells (sacbrood), or bees with deformed wings (Deformed Wing Virus spread by varroa). When in doubt, photograph and send to your state apiarist, most states offer free disease diagnosis.
Keep records. A simple notebook with the date, weather, estimated bee population, queen status, and any anomalies lets you track trends across the season and gives a local beekeeper or mentor useful information if something goes wrong.
Work on warm, sunny days between 10 a.m. And 3 p.m. When the most foragers are out of the hive. Avoid inspecting before a storm, in cold or windy weather, or during a dearth (late summer period when nectar is scarce and bees are defensive). Light your smoker before you approach the hive and puff a few cool puffs across the entrance before lifting the cover.
Predators, Fencing, and Legal Requirements
Honey bees have several regular predators that a thoughtful hive placement and minimal hardware can address.
Skunks
Skunks scratch at the entrance at night to provoke guard bees, then eat them as they emerge. The simplest fix is a hardware cloth mat with exposed nails or screws placed in front of the entrance, which discourages skunks from sitting close enough to reach. Elevating the hive stand 18–24 inches off the ground also forces skunks to expose their soft underbelly to stings, which they strongly dislike.
Raccoons and Opossums
Both will tip hives to access the combs inside. Strap your boxes together with ratchet straps or hive staples, and consider a concrete block on top of the outer cover. An electric fence with two strands (one at 4 inches and one at 8 inches) is the most reliable deterrent for persistent predators.
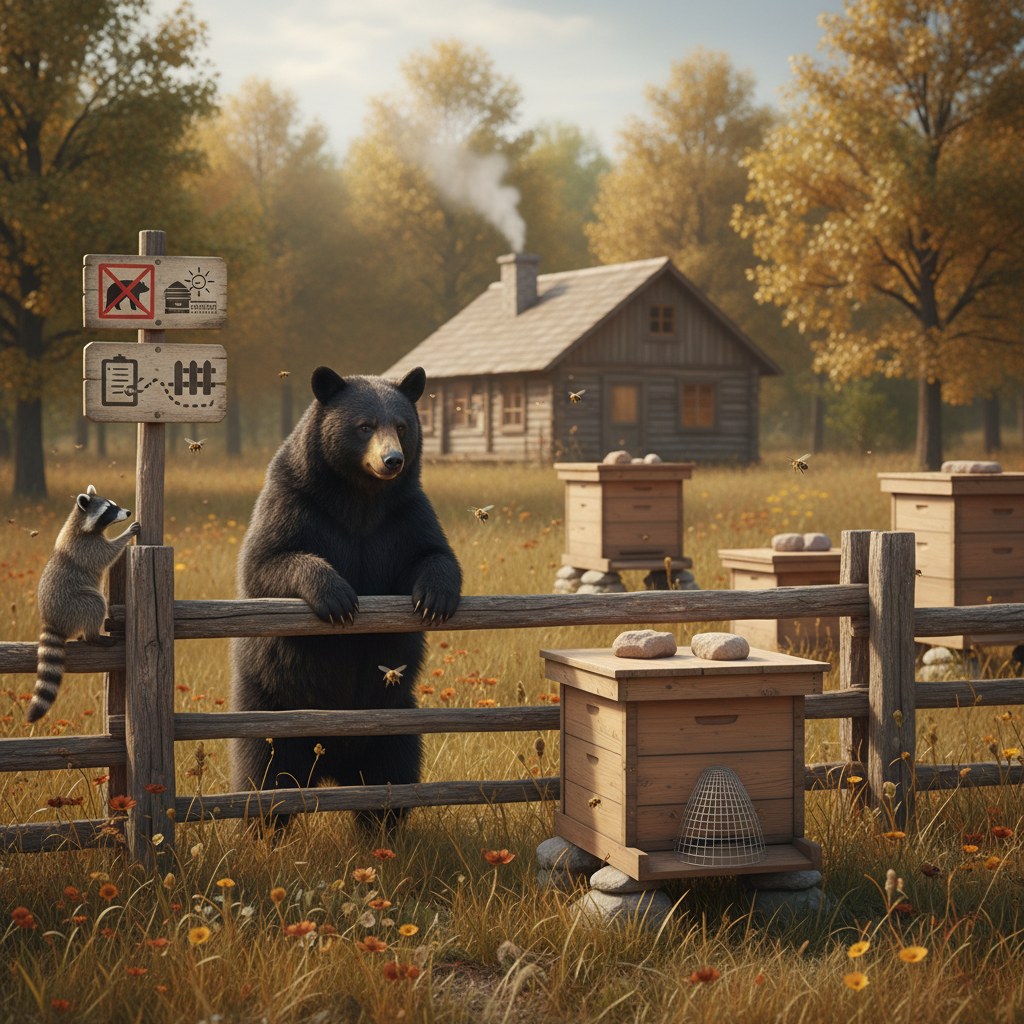
Bears
If you live in bear country, an electric fence is not optional, it is essential. A four-strand energized fence installed before the bees arrive is far less stressful than rebuilding a destroyed hive in June. Contact your state wildlife agency; some offer cost-share programs for beekeepers installing bear protection.
Small Hive Beetle
Small hive beetle (Aethina tumida) is a significant pest in the southeastern United States and increasingly common further north. The larvae tunnel through comb and ferment honey. Strong colonies usually control beetle populations themselves; weak colonies in warm, humid climates may need oil traps or beetle blasters placed between frames.
Varroa Mites
Covered above in the seasonal calendar, but worth emphasizing here: varroa is not optional to manage. An untreated colony will typically collapse within two to three years, and drifting mite-laden bees will spread varroa to neighboring hives. Treating your bees responsibly is a community obligation, not just personal stewardship.
Legal and Neighbor Considerations
Regulations vary enormously. Some cities ban backyard beekeeping outright; others require registration, a minimum number of hives, setback distances from property lines, or a water source on site. The American Beekeeping Federation tracks municipal ordinance trends and advocates for reasonable hobby beekeeping access. Your state department of agriculture typically requires hive registration ($5–$20 per year in most states) and may mandate annual inspection by a state apiarist.
Beyond legality, good neighbor relations matter. Plant a dense hedge or erect a six-foot fence on the hive side of the yard, this forces bees to fly up above head height before heading out, reducing the chance of a mid-air collision in someone’s vegetable garden. Sharing honey is the single most effective goodwill gesture in beekeeping.
Frequently Asked Questions
How much honey will I harvest in my first year?
Realistically, plan for zero to one medium super (roughly 25–30 pounds) in year one. Most experienced beekeepers recommend leaving all honey with the colony through the first winter to maximize the colony’s chances of surviving. A well-established second-year colony in a good forage area can yield 50–100 pounds or more.
Are honey bees dangerous to keep in a suburban yard?
Healthy European honey bee colonies are not aggressive unless defending the hive from perceived threats. Bees foraging in a garden are almost never aggressive, they are focused on flowers. The main risk is during inspections, which is why proper protective gear matters. Colonies in hot weather or during a nectar dearth can be touchier; work them in the morning on calm days and always use smoke.
What happens if my queen dies?
If you catch a queenless hive within a few days, workers will begin raising emergency queens from young larvae. If you spot the problem early enough, the colony can recover on its own. If more than three weeks have passed without a laying queen, you may need to purchase a new mated queen ($30–$50) or combine the queenless colony with a queenright one using the newspaper method. This is one reason frequent inspections matter so much in the first season.
Can I keep bees if I or a family member is allergic to bee stings?
This requires a conversation with an allergist, not a beekeeper. Anaphylaxis to bee venom is a serious medical condition. If anyone in your household has had a systemic allergic reaction (not just local swelling and redness) to a bee sting, get tested before starting a hive. Many people with standard sting sensitivity keep bees safely with proper gear; those with diagnosed venom allergies should carry an epinephrine auto-injector and make that call with their physician.
Do I need more than one hive?
Starting with two hives is often recommended because it gives you a reference point during inspections, you can compare populations, brood patterns, and temperament side by side. It also gives you the option to combine a struggling colony with a strong one, or to move a frame of eggs and young larvae between hives if one goes queenless. That said, one hive is a perfectly reasonable starting point if budget or space is a constraint. Add a second hive in year two once you have a season’s worth of experience.
Sources
- USDA Agricultural Marketing Service, Beekeeping Resources for Producers
- Penn State Extension, Beginning Beekeeping
- American Beekeeping Federation, abfnet.org
- USDA National Institute of Food and Agriculture. Varroa mite colony loss research