Backyard Fire Pit: 3 Build Plans from 50 to 300 Dollars
TL;DR: Three buildable fire pits in three budget tiers: the $50 gravel-and-block pit (afternoon build, no permit in most jurisdictions), the $150 retaining-wall stone pit (one weekend, mortar-free), and the $300 steel-insert patio pit (weekend with a helper, looks permanent). All three use the same footprint, a 36–48-inch inside diameter, with at least a 10-foot clear radius (25 feet per the International Fire Code for recreational fires), and all three are safer and look better than a bare fire ring. Pick the tier by permanence and by how much time you have on Saturday.
Key Takeaways
- Inside diameter: 36–48 inches for 4–6 people. Smaller feels cramped; larger burns too much wood.
- Clear radius around the pit: 10 feet minimum to structures, overhangs, and dry vegetation (NFPA guidance); the International Fire Code calls for 25 feet for recreational fires. Always check local code.
- Always include a gravel base (4+ inches) for drainage, wet ground under stone cracks it in freeze-thaw.
- Check your local burn code before building. Many cities restrict size, fuel type, or require a permit above a certain diameter.
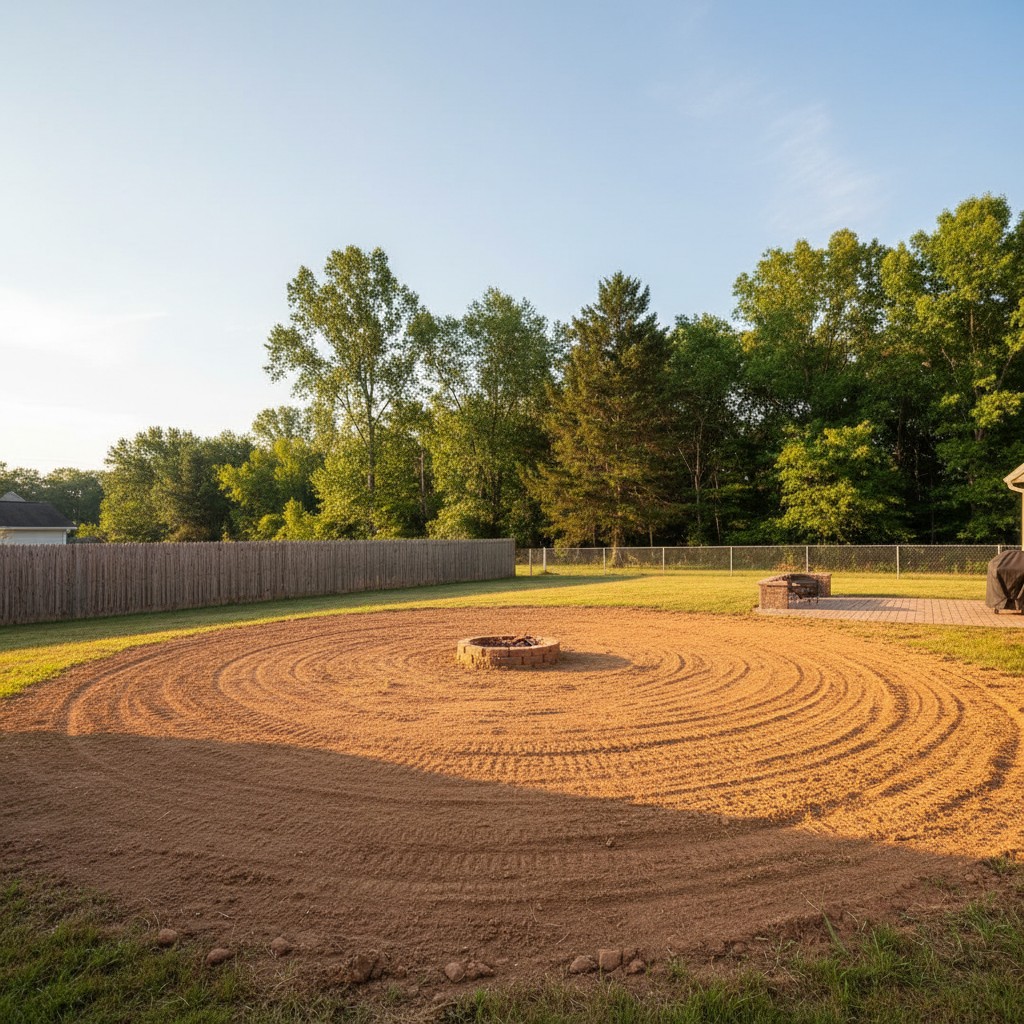
Where should you put the fire pit?
Siting is the decision that makes or breaks a fire pit, and it’s free to get right. You want at least 6 feet of clear space on all sides, measured horizontally, away from your house, fence, deck, low tree branches, propane tanks, and any dry brush or mulch beds. A 10-foot radius is better if the yard allows. Sparks travel on updrafts and can ignite eaves 15 feet above a good fire; downwind siting matters too.
Prefer level ground so burning logs don’t roll. Avoid siting directly under trees even if the canopy is 12+ feet up, heat rise stresses low branches and can kill them over a few seasons. If your yard slopes, dig the high side down 2 inches rather than building the low side up, so water drains away from the pit rather than pooling at the base.
Plan 1: The $50 gravel-and-block pit (afternoon)
This is the simplest legal fire pit you can build and the cheapest one that doesn’t look temporary. It’s 3 feet across inside, a single course of concrete wall blocks, on a gravel base. Total cost runs $40–70 depending on what the local hardware store charges for blocks. Build time is about 3 hours including the dig.
- Dig a 4-foot diameter circle 4 inches deep.
- Fill with 4 inches of paver gravel. Tamp flat with a hand tamper or a 4×4 offcut.
- Ring it with 10–12 concrete wall blocks (trapezoidal retaining-wall blocks, about $2–4 each). Dry-fit, no mortar.
- Add a 2-inch layer of sand or fire-pit-rated lava rock inside the ring for the floor.
- Optional: drop a 36-inch steel fire ring inside. Protects the blocks from direct flame and extends their life indefinitely. $25–45 add-on.
Cautions: ordinary concrete wall blocks are rated for retaining-wall use, not fire. They can trap moisture and crack or pop when heated, so treat any block-only build as short-term. Line with firebrick or add a steel fire ring from day one, either option protects the blocks and triples the lifespan of the ring.
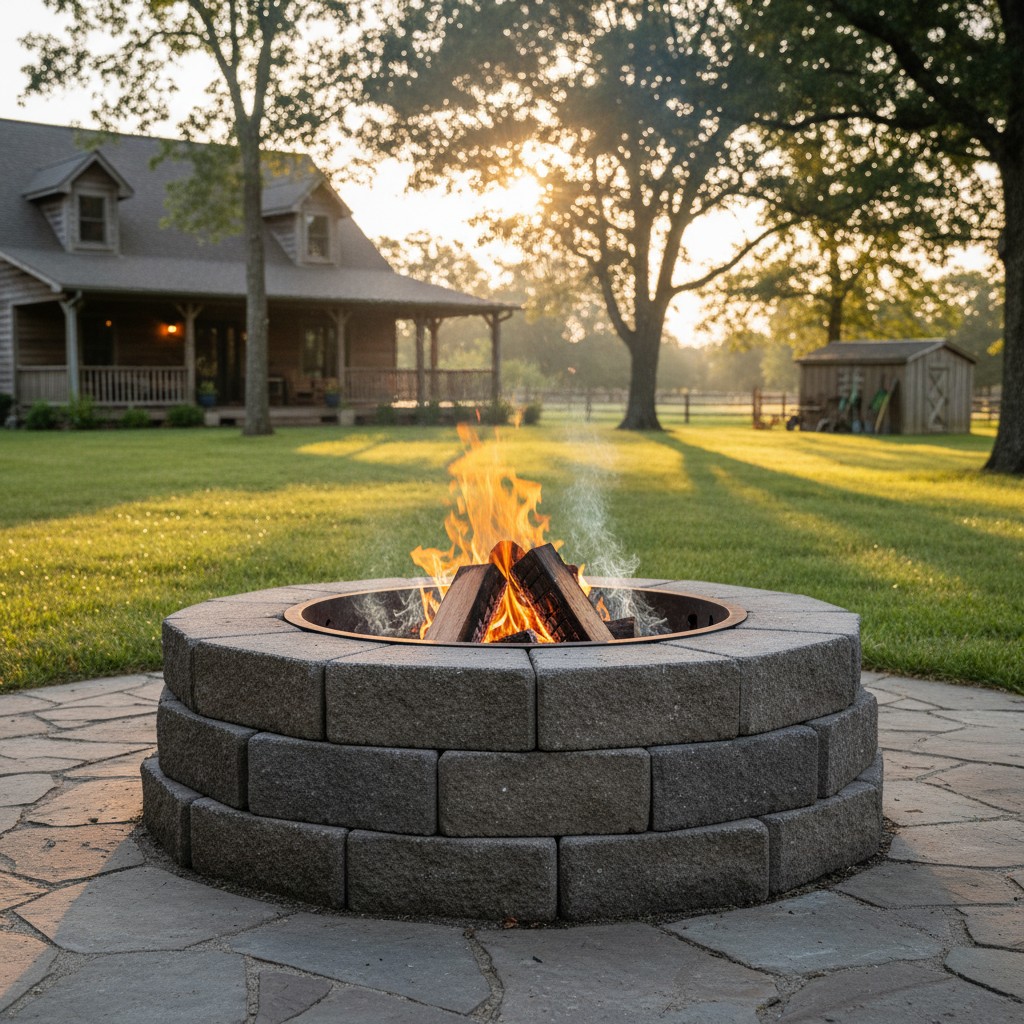
Plan 2: The $150 retaining-wall stone pit (one weekend)
The mid-tier upgrade uses proper fire-rated retaining-wall stones (the kind sold specifically for fire pits, often labeled “fire pit kit”) or standard wall blocks with fire brick liner inside. Two or three courses high. Total material: $120–180 for a 42-inch-diameter pit. Build time: 6–10 hours, manageable over a Saturday-Sunday.
- Same base as Plan 1, 4-foot diameter hole, 4 inches of compacted paver gravel, tamped flat.
- Dry-lay the first course of fire-pit-rated wall stones (about 10–12 per course for a 42-inch inside diameter). Level each one with a torpedo level and a rubber mallet.
- Stack the second and third courses with the stones offset by half a block so joints don’t line up.
- Optional: line the inside with fire brick mortared with refractory mortar. This protects the wall blocks from direct heat and is standard for three-course pits.
- Cap with capstones if the kit includes them, both aesthetic and weather protection.
The difference between this and Plan 1 is permanence. Plan 1 looks like a project; Plan 2 looks like part of the yard. It’s also tall enough (16–18 inches) that kids are less likely to stumble into the flames, which matters more than the aesthetics do.
Plan 3: The $300 steel-insert patio pit (weekend with a helper)
The top-tier build uses a 36-to-48-inch steel fire pit insert (a thick-gauge round pan with a rim, $120–200) surrounded by pavers or fire-rated stone. The insert handles all the heat; the surround is purely aesthetic and safety perimeter. Build time: a full Saturday with two people. Total cost: $280–380.
- Dig a 6-foot circle 6 inches deep, bigger than the insert because you’re building a seating-height surround.
- Gravel base: 4 inches, tamped. For this build it also helps to level a 6-foot patio radius around the pit at the same time so chairs sit flat.
- Set the steel insert in the center. Level it carefully, the water will pool otherwise.
- Build a two-course stone or brick surround around the insert with a 2-inch air gap between insert and wall. Stack 3 courses high for seating edge height (18 inches).
- Cap stones on top give a place to set a drink. Worth the $40–60 add-on.
Why pay more? The steel insert lasts 10+ years, can be replaced without rebuilding the surround, and contains embers far better than a mortared pit. The surround looks like permanent hardscape, this is the build most landscape designers spec for clients. If you plan to be in the house 10+ more years, the math works.
What do all three builds have in common?
- Inside diameter 36–48 inches. Anything smaller traps heat against the walls; anything larger burns through firewood too fast.
- 6-foot minimum clear perimeter. Non-negotiable. Check structures, overhangs, mulch beds, propane tanks, and parked cars.
- 4+ inches of compacted gravel base. The drainage prevents freeze-thaw cracking and keeps the pit from becoming a mud puddle after rain.
- No mortar on the outside courses. Dry-stacked blocks handle thermal expansion without cracking; mortared joints often split within the first few seasons.
- Spark screen for use in dry weather. A $35 accessory that reduces airborne embers by roughly 85% (industry estimate).
Is there a burn code you need to check first?
Yes, and don’t skip this step. Most municipalities regulate backyard fire pits, typical rules include maximum pit diameter (often 3 feet), setbacks from property lines (often 15+ feet), fuel type (often wood only, no trash), spark screens required, and hours of operation. Rural areas often have seasonal burn bans during drought. A quick call to your local fire department or a search of your city ordinances settles it in 5 minutes.
HOAs layer on more. Some ban all open flame outright, some require gas-only, some restrict pit permanence. If you’re in an HOA, the covenants are easier to read ahead of building than to fight afterward.
Which build should you pick?
- Renting or unsure how long you’ll be in the house: Plan 1, dry-stacked blocks come apart in 15 minutes.
- Settled in, medium budget, want it to look finished: Plan 2, best balance of cost and permanence.
- Designing the backyard as a long-term project, kids in the home: Plan 3, the steel insert is the safest option for regular family use.
For the full step-by-step on the simplest build, including materials list, dig depth, block count, and finishing, see our weekend fire pit build guide. This post is the comparison; that one is the construction manual for Plan 1.
Frequently asked questions
How big should a backyard fire pit be?
Inside diameter of 36 to 48 inches is right for 4–6 people seated around it. Smaller than 36 inches feels cramped and traps heat against the walls; larger than 48 burns through firewood much faster without adding to the social experience. The outside diameter will be 12–18 inches larger depending on wall thickness.
Can you use regular bricks for a fire pit?
Standard red clay bricks are not rated for direct flame contact, they spall and crack within a season or two. Use fire brick for any surface that touches flame directly. Regular bricks are fine for the outer decorative course if there’s a fire-rated inner liner or steel insert between them and the fire. In the three plans above, Plan 2 and Plan 3 both use fire-rated materials for the inner surface.
Do I need a permit for a backyard fire pit?
Varies. Most municipalities allow fire pits under 3 feet in diameter without a permit as long as setbacks are observed; larger or permanent gas installations usually require a permit. A quick call to your local fire department or a search of your city’s open-burn ordinance answers it in 5 minutes. HOA covenants may impose stricter rules than city code.
How far should a fire pit be from the house?
At least 10 feet from any structure is the common minimum, some codes require 15 or 20 feet. The same applies to fences, overhanging branches, dry mulch beds, propane tanks, and wooden decks. Underestimate by 2 feet and an ember in a gust can start a fire 20 feet away.
Does the fire pit need to drain?
Yes. A 4-inch gravel base lets water drain through instead of pooling, which prevents freeze-thaw cracking of the stones and extends pit life dramatically. If your pit fills with water after rain, the gravel base wasn’t deep enough or wasn’t properly tamped, or the ground underneath has a pocket, dig down further and refill.
The bottom line
A fire pit is one of the highest-value backyard projects you can build: three hours of work at the low end, $50 in materials, and you’ve added the single most used backyard feature in most households. Siting and perimeter matter more than style, 6 feet clear, gravel base, level ground, and a spark screen. Pick the build tier that matches your permanence and your Saturday.
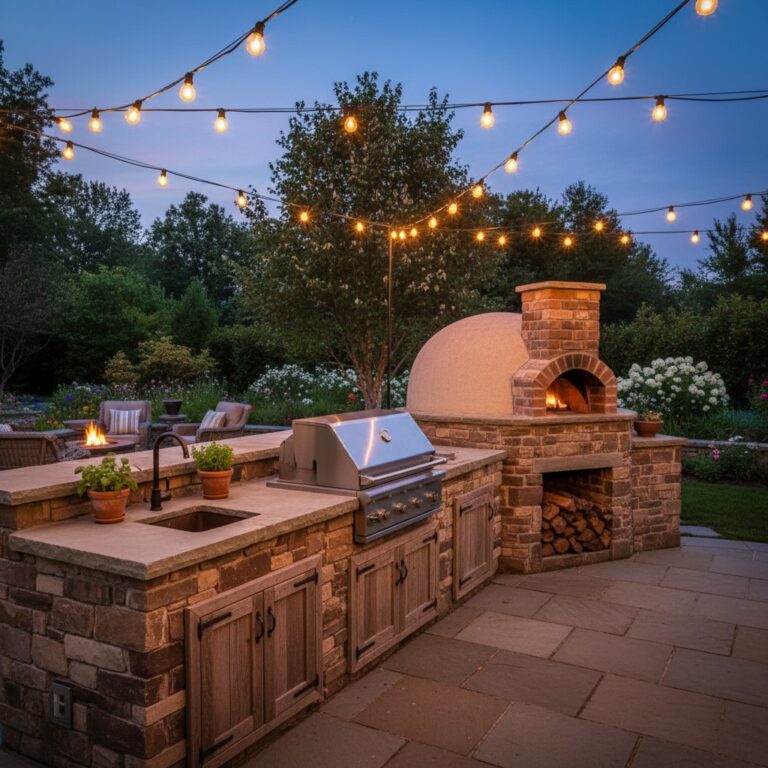
Ready to build? Start with the step-by-step weekend fire pit build guide. Planning a bigger outdoor living upgrade? See the DIY outdoor kitchen on a budget.