Pressure Canning for Beginners: Safely Preserve Low-Acid Foods
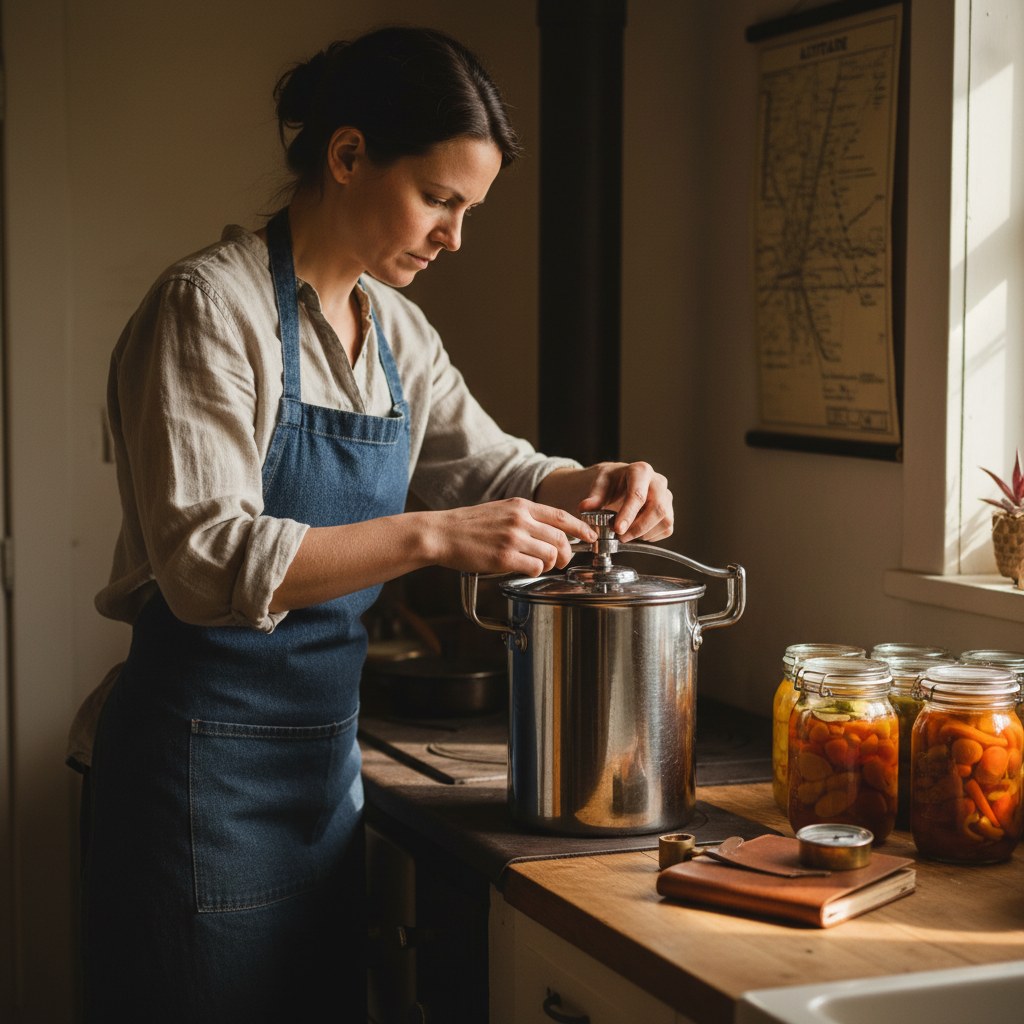
Switching from water bath to pressure canning felt intimidating the first time I watched that dial gauge climb. I spent about ten minutes just staring at it, convinced something was about to go wrong. Nothing did, but that anxiety pushed me to read the USDA guidelines twice before the next batch, which is exactly where everyone should start.
Every jar of home-canned green beans or beef stew represents a calculated act of food safety. The science is unforgiving: low-acid foods (pH above 4.6) cannot be made shelf-stable with boiling-water heat alone because Clostridium botulinum spores survive at 212 °F (100 °C). A pressure canner raises the internal temperature to 240 °F under controlled pressure, which is the only home method validated to eliminate those spores. This step-by-step guide walks through the complete process, from jar preparation through final seal verification, so beginners can start confidently and safely.
Why Do You Need to Prepare Food and Jars Before Anything Else?
Starting with properly prepared food and clean jars is the foundation of safe pressure canning. Contaminated surfaces, cracked jar rims, or poorly trimmed vegetables can undermine even a perfect processing run.
Inspect every jar under good light. Run your fingertip around the rim and discard any jar with a chip, crack, or rough spot, even a hairline fracture causes seal failure. Use only Mason-style canning jars; repurposed commercial glass (pasta sauce jars, pickle jars) is not rated for the thermal and pressure stress of home canning and can shatter.
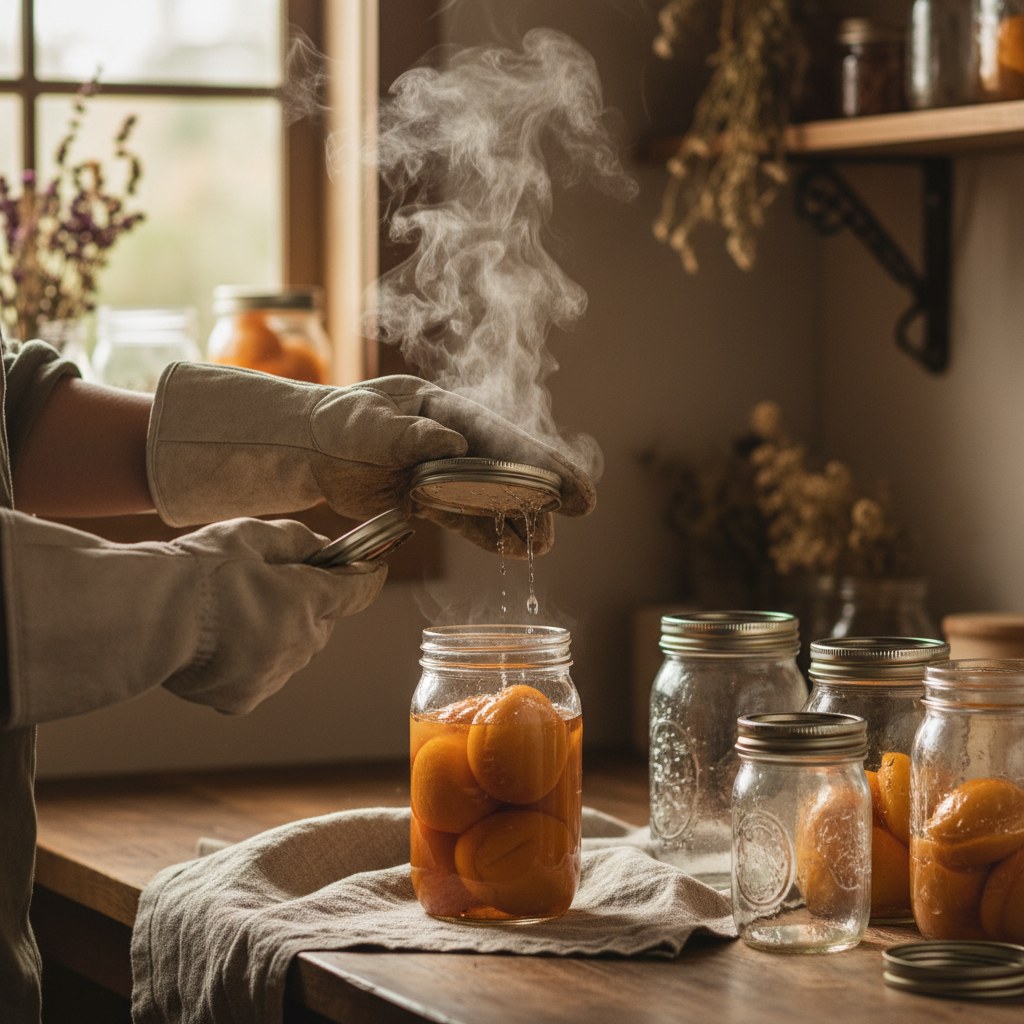
Wash jars in hot soapy water and rinse thoroughly, or run them through a dishwasher cycle. Keep jars hot until filling, a cold jar introduced to hot contents can crack. Rest clean jars on a folded towel or in a low oven (200 °F) while you prepare food. Lids (flat discs) should be washed and kept in hot (not boiling) water to soften the sealing compound. Bands (rings) need only be clean and free of rust.
Prepare your food according to the specific tested recipe. For most vegetables, this means washing, trimming, and cutting to a uniform size so heat penetrates evenly. Blanching is called for in some recipes (corn, for example) and skipped in others (raw-pack green beans). Never adjust cut sizes or pack densities beyond what the recipe specifies, jar geometry directly affects how quickly the center of the pack reaches safe temperature.
Source: USDA Complete Guide to Home Canning, Guide 1. Principles of Home Canning (2015 revision, reaffirmed 2020).
How Should You Fill Jars to Maximize Safety and Seal Success?
Correct headspace, the gap between the food surface and the jar rim, is not optional. Too little headspace forces food into the sealing area, preventing a vacuum; too much leaves excess air that can cause lid failure or discoloration.
Most pressure-canned vegetables require 1 inch of headspace. Meats typically call for 1 to 1¼ inches. Soups and stews are usually 1 inch. Always verify the headspace in the specific recipe rather than guessing.
Use a wide-mouth canning funnel to keep food off the rim. Pack food firmly but without bruising, air pockets create cold spots during processing. For hot-pack recipes, ladle simmering liquid over the food first, then adjust headspace. For raw-pack recipes, pour boiling water or broth over raw food.
After filling, slide a thin plastic or wooden spatula around the inside edge of the jar to release trapped air bubbles. Metal utensils can scratch the glass and create stress fractures, so avoid them. Re-check headspace after de-bubbling and add more liquid if needed.
Wipe each jar rim with a clean damp cloth or paper towel dampened with white vinegar. Even a thin film of fat or starch on the rim prevents a good seal. Center a warm lid on the rim and hand-tighten the band, “fingertip tight” means snug but not torqued down hard. Over-tightening prevents the lid from venting air properly during processing.
If you are canning tomato products, see our detailed walkthrough on canning tomatoes, whole, crushed, and sauce for the acid-addition steps specific to tomatoes, which straddle the low-acid/high-acid line.
Source: National Center for Home Food Preservation (NCHFP), “Preparing and Filling Jars,” nchfp.uga.edu.
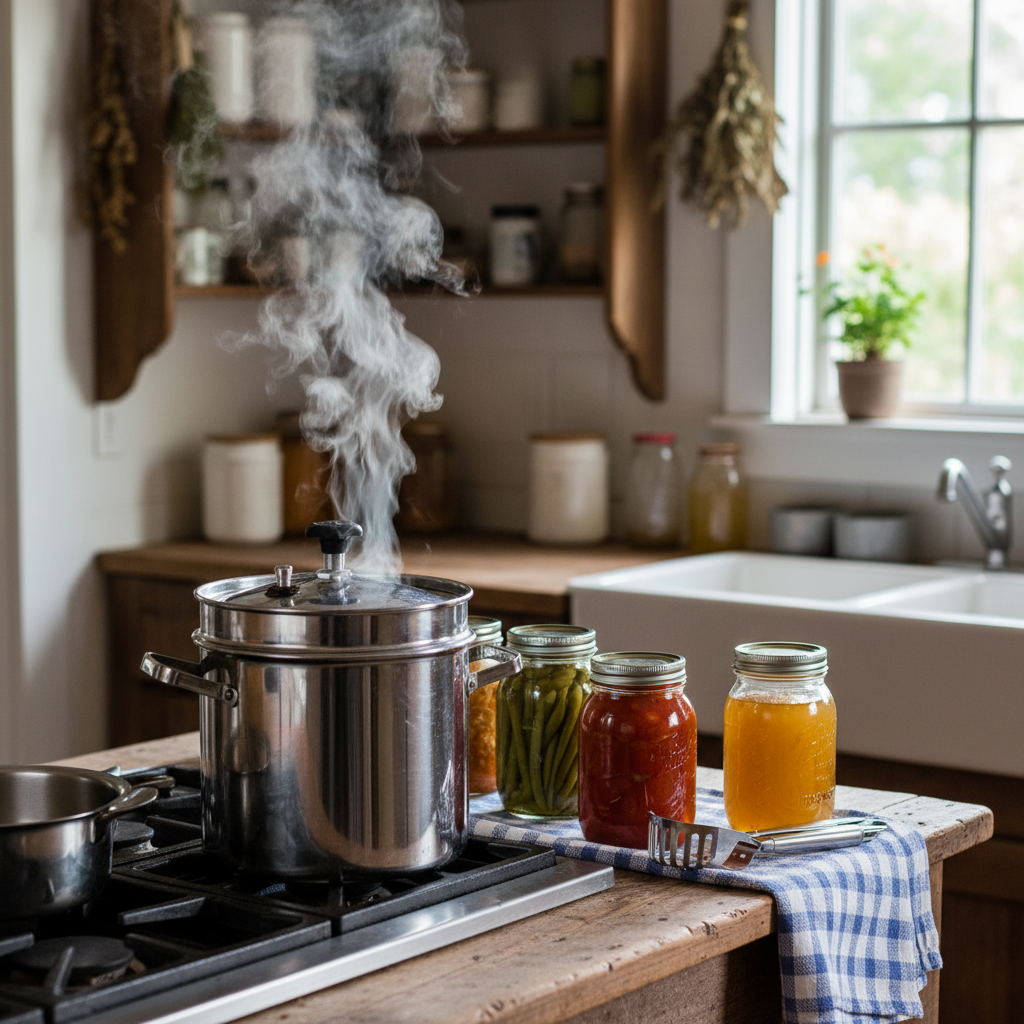
How Do You Prepare the Pressure Canner Correctly?
Setting up the canner before loading jars means you control the heat-up timing. Two main designs are in common use: weighted-gauge canners (Presto, Mirro) and dial-gauge canners (All American). Both work well, but dial gauges must be tested for accuracy annually at your local cooperative extension office.

Place the canner on the largest burner that fits its base. Add 2 to 3 inches of hot water, check the manufacturer’s manual for the exact amount, because too little water can scorch the canner bottom or allow pressure to drop mid-cycle. Some canner instructions call for a small amount of vinegar in the water to prevent mineral deposits on jars and the canner interior.
Inspect the gasket (on gasket-type canners) for cracks or hardening. A compromised gasket will not hold pressure consistently. Check the vent pipe and petcock holes by holding them up to light, any obstruction from food residue must be cleared with a thin wire. On weighted-gauge models, confirm the weight fits correctly on the vent pipe.
Place the canning rack inside. If the canner came with a rack, use it; the rack keeps jars off direct heat and allows steam to circulate under the jars. If you have lost the rack, a folded kitchen towel placed in the bottom is a short-term substitute but is not ideal for consistent heat distribution.
Source: Penn State Extension, “Using Pressure Canners,” extension.psu.edu.
What Is the Right Way to Load Jars into the Canner?
Loading jars efficiently and safely protects both the jars and the cook. A jar lifter is mandatory equipment, bare hands cannot safely handle glass filled with near-boiling liquid, and improvised tongs can crack jar necks.
Lower each jar straight down into the hot water, keeping jars upright. Jars tilted during loading can spill contents onto the lid sealing area. Most standard canners hold 7 quart jars or 9 to 10 pint jars in a single layer. Do not process a partial load by letting jars rest on their sides.
If stacking is allowed by the canner model (some All American models accommodate two layers of pints), place a second rack between layers. Consult your specific canner manual before stacking, as not all designs support it.
Keep jars from touching each other to avoid cracking from thermal expansion. A half-inch gap between jars is sufficient. Once all jars are in, lock the canner lid according to the manufacturer’s design, twist-lock lids must click into all locking points, and clamp-style lids need all bolts hand-tightened evenly.
Source: University of Georgia Cooperative Extension, “So Easy to Preserve,” 6th ed.
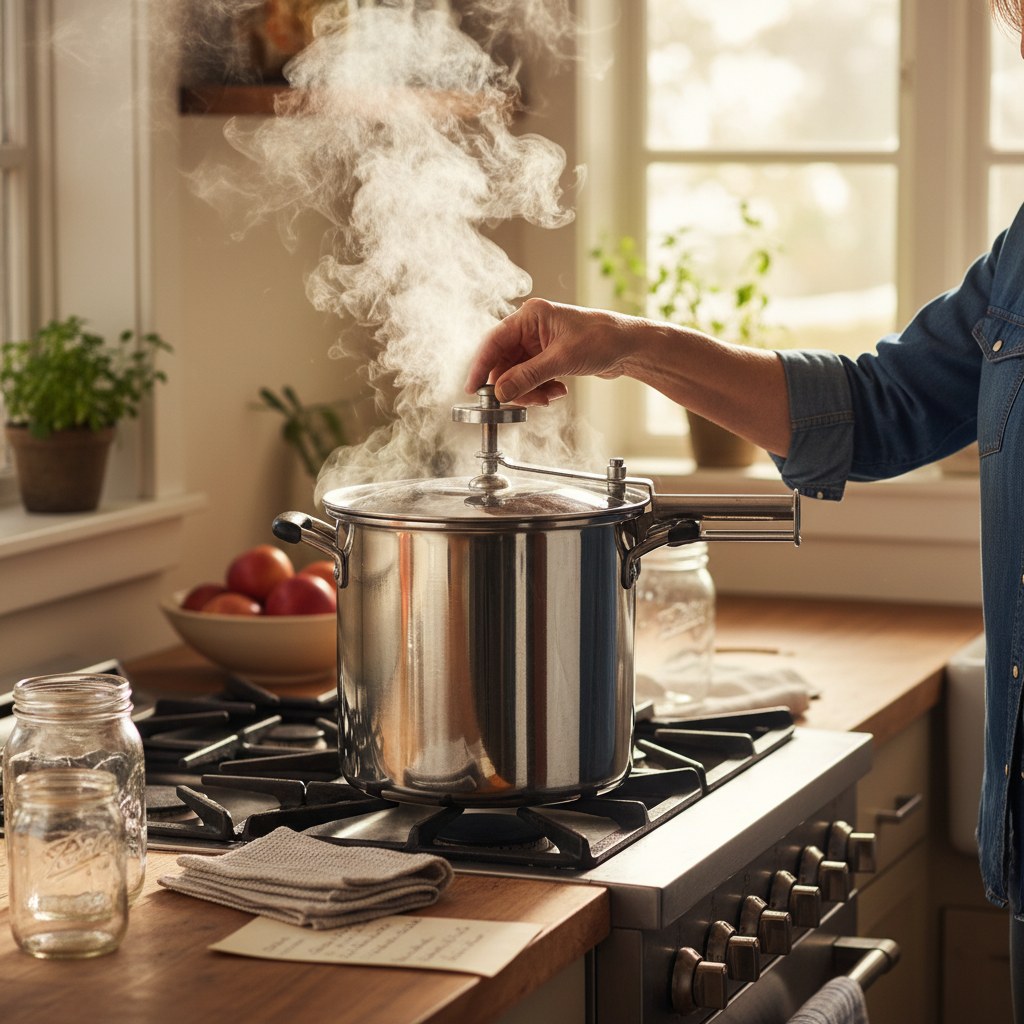
How Do You Bring the Canner to Pressure Without Damaging It?
The venting step is often skipped by anxious beginners, but it is critical to safety. Before pressure builds, the canner must exhaust steam continuously for a full 10 minutes. This purges air from the canner, air pockets cause uneven temperature distribution and falsely elevated pressure gauge readings.
Turn the burner to medium-high with the lid on but the vent pipe open (weight off on weighted-gauge models, petcock open on older models). You will see a steady stream of steam emerging from the vent within a few minutes. Start timing 10 minutes from when a steady steam flow is visible, not from when you first turned on the heat.
After 10 minutes of venting, place the weight on the vent pipe (weighted gauge) or close the petcock (dial gauge). The pressure will begin to build. On a dial-gauge canner, watch the needle rise. On a weighted-gauge canner, you are waiting for the weight to begin rocking or jiggling. Do not leave the stove during this stage.
Avoid cranking the heat to maximum to speed pressure build-up. A rapid, uncontrolled pressure rise can jostle jars, surge liquid out through lids, and stress the canner. Medium-high to high heat is sufficient; the goal is a steady rise over about 5 to 10 minutes.
Source: USDA Complete Guide to Home Canning, Guide 1, Section 2-B. Pressure Canning Procedures.
How Do You Process at the Correct Pressure for Your Altitude?
This is the most safety-critical step in the entire process. Insufficient pressure means insufficient temperature, which means surviving botulism spores. The required processing pressure is altitude-dependent because water and steam behave differently at elevation.
At sea level, 10 PSI in a weighted-gauge canner or 11 PSI on a dial-gauge canner reaches 240 °F. At higher elevations, you must increase PSI to achieve the same internal jar temperature. Failing to adjust is not just a quality issue, it is a life-safety issue.
Altitude Adjustment Table for Pressure Canning
| Altitude | Weighted-Gauge Canner | Dial-Gauge Canner |
|---|---|---|
| 0 – 1,000 ft | 10 lb weight | 11 PSI |
| 1,001 – 2,000 ft | 15 lb weight | 11 PSI |
| 2,001 – 4,000 ft | 15 lb weight | 12 PSI |
| 4,001 – 6,000 ft | 15 lb weight | 13 PSI |
| 6,001 – 8,000 ft | 15 lb weight | 14 PSI |
| Above 8,000 ft | 15 lb weight | 15 PSI |
Once the correct pressure is reached, start your processing timer. Maintain steady pressure throughout the entire processing time. If pressure drops below the target at any point, even briefly, you must bring the canner back to pressure and restart the timer from zero. A momentary pressure loss means the jars may not have received the full heat dose required for safety.
Adjust burner heat to hold pressure steady. Weighted-gauge canners should rock or jiggle at a slow, rhythmic pace, roughly 2 to 4 rocks per minute depending on the model. A frantic, continuous rocking indicates too much heat; turn it down slightly. On a dial-gauge canner, watch the needle and make small burner adjustments to hold the target reading.
Processing times vary widely by food type and jar size. Green beans in quart jars require 25 minutes at 10 PSI (sea level). Chicken in quart jars requires 90 minutes. Never shorten processing times or mix jar sizes in one load unless both sizes are called for in the recipe with the same time. When sizes differ, process for the longer time.
Source: NCHFP, “Recommended Pressures and Process Times,” nchfp.uga.edu; USDA Complete Guide to Home Canning, Guide 4. Low-Acid Vegetables.
What Does Natural Release Mean and Why Can’t You Hurry It?
When processing time ends, turn off the burner and, if using a gas stove, slide the canner to an unused burner. Do not remove the lid, remove the weight, or open the petcock. The canner must depressurize naturally.
Natural release means letting the pressure fall on its own until the gauge reads zero and the safety lock (on canners equipped with one) drops. This typically takes 30 to 45 minutes for a full load, though large canners or very dense packs can take longer.
Forcing the release by opening vents early creates a sudden pressure drop. The contents of your jars are still above 212 °F and under pressure. A rapid pressure drop causes liquid to boil violently inside the jars and siphon out through the lids, the siphoned liquid leaves residue on the sealing area and often causes seal failures. It can also cause jar breakage.
Do not move the canner during cooldown. Even at zero pressure, jars and contents are hot enough to cause severe burns and the liquid inside remains at high temperature. Wait an additional 10 minutes after the gauge reads zero before unlocking and removing the lid.
Source: Clemson Cooperative Extension, “Home Canning. Using Pressure Canners,” hgic.clemson.edu.
How Do You Remove and Cool Jars Without Breaking Them?
Once the lid is removed, tilt it away from you so condensed steam drips away rather than onto your hands. Allow the steam cloud to dissipate before reaching into the canner.
Use a jar lifter to remove jars one at a time, gripping below the band so you do not disturb the lid. Lift jars straight up and do not tilt them, tilting while seals are still forming can cause liquid to seep under the lid compound. Place jars on a folded towel or wooden cutting board with at least one inch of space between jars.
Do not place hot jars on a cold counter, the thermal shock can crack them. Avoid covering jars with towels or placing them in a draft; you want them to cool in still air. Do not press down on the center of lids during cooling to “test” them prematurely, this disrupts the seal-forming process.
You will hear the satisfying “ping” of lids sealing as jars cool. This happens as the jar contents contract and pull the lid down into a concave, vacuum-sealed position. Some lids seal within minutes of coming out of the canner; others take an hour. Do not disturb jars for a full 12 to 24 hours.
Source: Ball Blue Book Guide to Preserving, 37th ed., Newell Brands.
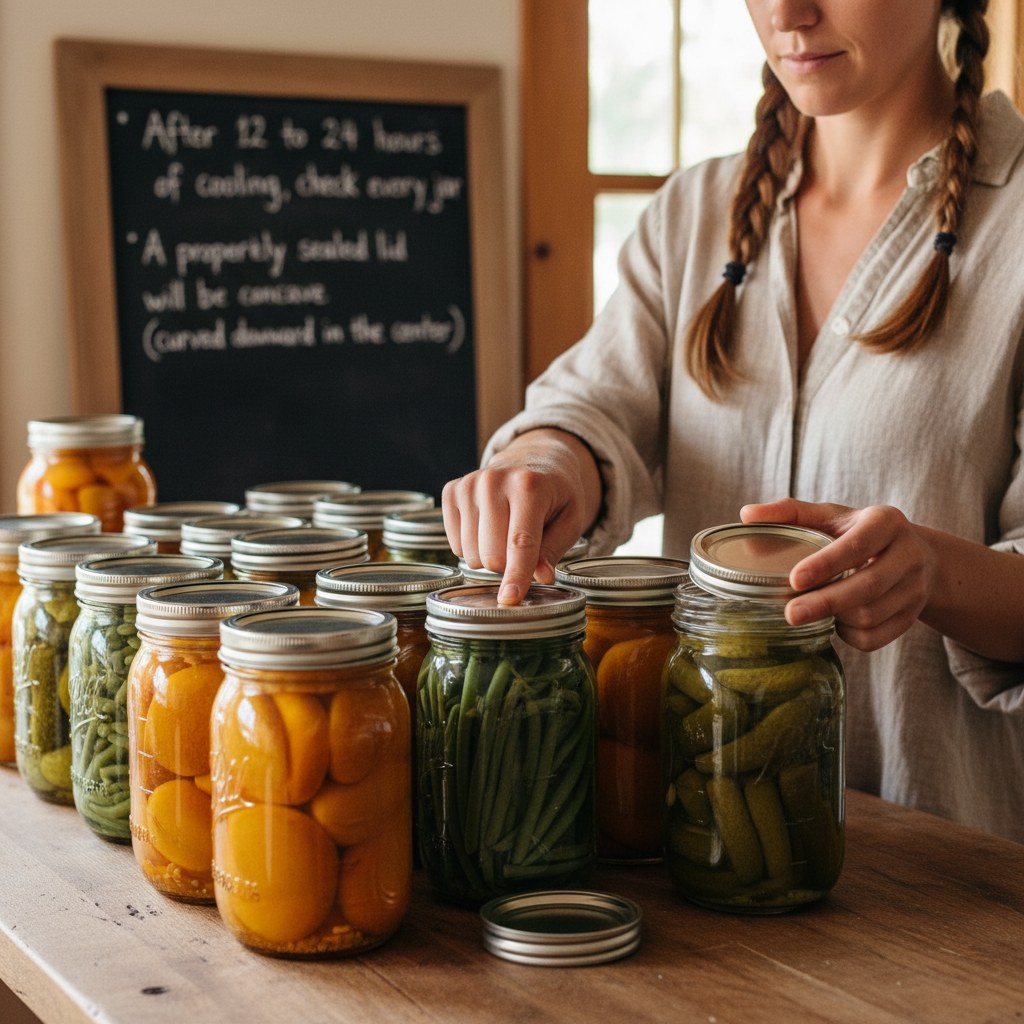
How Do You Check Seals and What Do You Do If One Fails?
After 12 to 24 hours of cooling, check every jar. A properly sealed lid will be concave (curved downward in the center) and will not flex when pressed. You can also tap the lid lightly with a spoon, a sealed lid produces a clear, high-pitched ring; an unsealed lid sounds dull or hollow.
Remove the bands before storage. Bands left on can corrode, and if a seal fails during storage, a tight band can mask the failure by holding the lid in place. With the band removed, a failed seal will be obvious because the lid will lift off or flex.
If a jar has not sealed after 24 hours, you have two options: refrigerate it and use the contents within a few days as you would any cooked food, or reprocess it within 24 hours using a new lid. Reprocessing degrades texture and nutritional value but is safe. Never taste-test a jar you suspect of seal failure, botulism toxin is odorless and colorless.
Examine sealed jars before consuming, even months later. Discard (without tasting) any jar where the lid is bulging, spurts liquid when opened, smells off, or shows mold. If you have any doubt about a low-acid food that was home-canned, the NCHFP recommends boiling it in a saucepan for 10 minutes (plus 1 minute per 1,000 feet above sea level) before tasting.
Source: NCHFP, “Ensuring High Quality Canned Foods,” nchfp.uga.edu.
How Should You Store Home-Canned Foods to Maximize Shelf Life?
Proper storage preserves both safety and quality. Once bands are removed and seals verified, label each jar with the contents and date, identical-looking jars of different contents (green beans vs. Chicken stock) are indistinguishable in poor light.
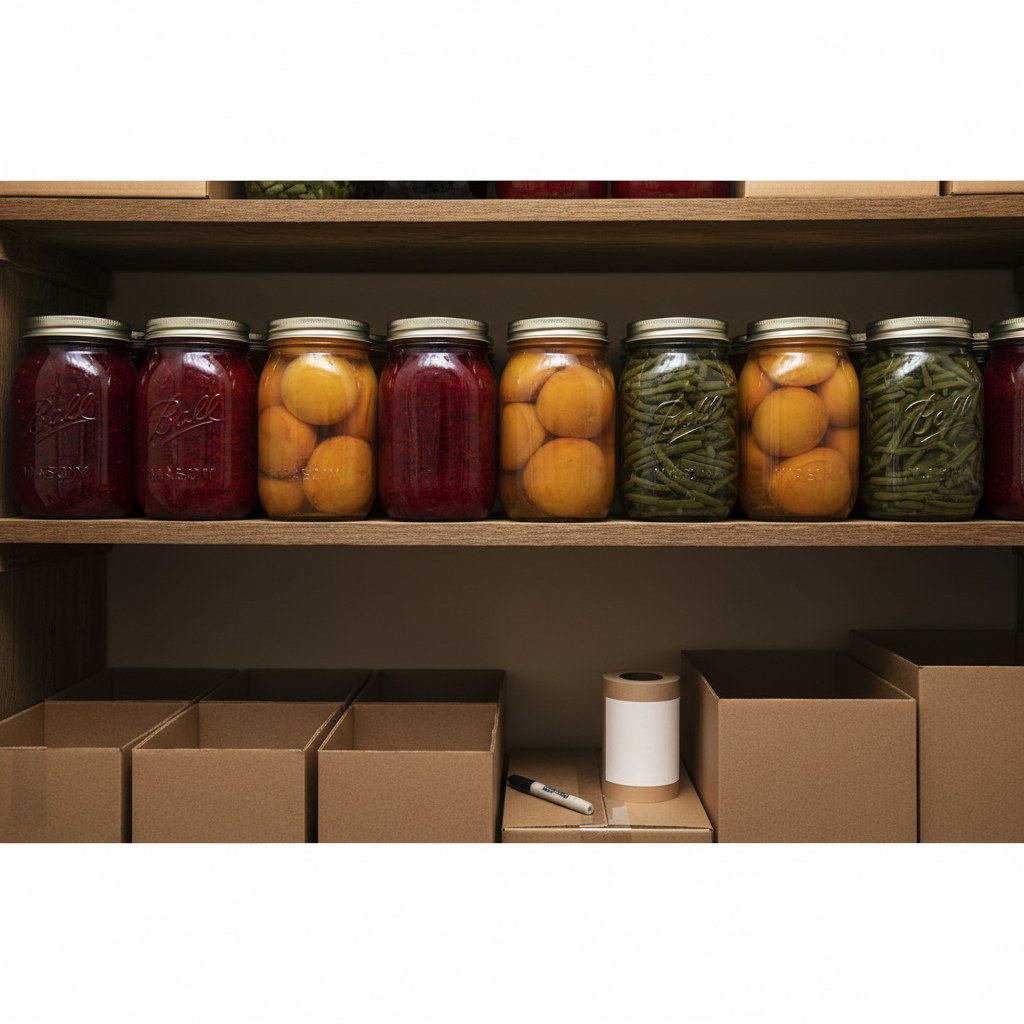
Store jars in a cool, dark, dry location. The USDA recommends a maximum storage temperature of 70 °F (21 °C); temperatures above 95 °F (35 °C) accelerate nutrient loss and can weaken seals. Basements and interior pantry shelves away from hot water pipes are ideal. Avoid garages with wide temperature swings and areas above the refrigerator where heat accumulates.
Store jars without bands. Keep them single-layer on stable shelves, stacking risks knocking jars over and breaking seals. Some canners store jars in cardboard flats with dividers, which is a practical solution for large quantities.
USDA-tested recipes recommend using home-canned low-acid foods within 1 year for best quality, though properly sealed jars stored in ideal conditions are often safe and palatable for 2 to 5 years. Quality (color, texture, flavor) degrades faster than safety; use older jars first and rotate stock regularly.
For canners building a larger food supply, pressure-canned meats, beans, and soups are cornerstones of long-term pantry resilience. See our guide to building a 3-month emergency food pantry on a budget for how to rotate and integrate home-canned goods into a systematic food storage plan.
Source: USDA Complete Guide to Home Canning, Guide 1. Principles of Home Canning.
Frequently Asked Questions
Can I use a water-bath canner for low-acid foods if I just process them longer?
No. This is among the most dangerous misconceptions in home canning. A boiling-water bath reaches only 212 °F at sea level, which is not hot enough to destroy Clostridium botulinum spores regardless of processing time. Botulism toxin can develop in a sealed, improperly processed jar of green beans or meat with no visible signs of spoilage. There is no safe water-bath alternative for low-acid foods.
Can I use a pressure cooker (Instant Pot) instead of a pressure canner?
No. Pressure cookers, including multi-cookers like the Instant Pot, have not been validated by the USDA for home canning. They have smaller water reservoirs that can run dry during processing, smaller headspace above jars that prevents proper heat circulation, and pressure regulation systems not designed for sustained canning runs. The NCHFP explicitly advises against using pressure cookers for canning.
What happens if I let the pressure drop during processing?
You must bring the canner back to the target pressure and restart the processing timer from zero. The jar contents may not have received adequate heat during the time pressure was below target. This is a safety requirement, not a suggestion. If you cannot maintain pressure (for example, due to a stove malfunction), let the canner cool, inspect the equipment, and reprocess with new lids when the issue is resolved.
Do I need to sterilize jars before pressure canning?
No, pre-sterilization of jars is required for water-bath canning processes under 10 minutes, but pressure canning achieves temperatures that sterilize the jar and contents simultaneously during processing. Clean, hot jars are sufficient. Over-sterilizing does no harm, but it is an unnecessary step that adds time without a safety benefit.
How do I know if my dial gauge is accurate?
Dial gauges should be tested every year before canning season begins. Most cooperative extension offices offer free or low-cost gauge testing. A gauge reading 2 PSI or more above or below actual pressure means you are either under-processing (safety risk) or over-processing (quality loss). Replace inaccurate gauges rather than trying to compensate by adding or subtracting PSI from recipes.
Related: Shopping for a pressure canner? See our 2026 buyer guide for beginners.