How to Make Fruit Leather at Home
Key Takeaways
- Homemade fruit leather uses just fruit, a thin layer of sweetener (optional), and low heat over several hours.
- A dehydrator gives the most consistent results, but your oven set to its lowest temperature (ideally 140–170°F with the door cracked open) works perfectly well.
- Overripe fruit is actually ideal, it’s sweeter, softer, and blends more smoothly.
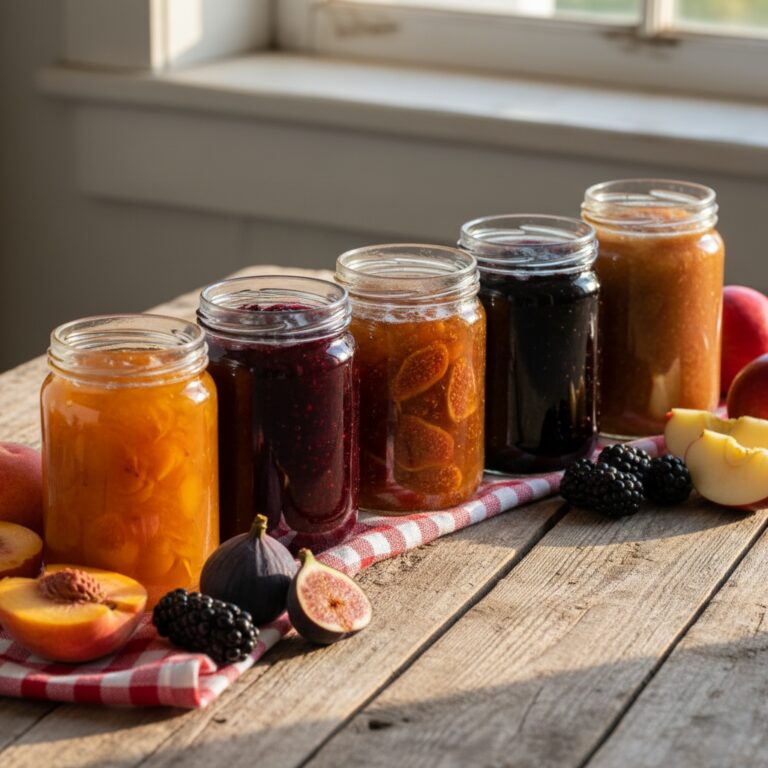
- Properly dried fruit leather stores for up to a month at room temperature or several months in the freezer.
- Kids love making (and eating) fruit leather, and it costs a fraction of store-bought fruit roll-ups.
A Better Fruit Snack Starts in Your Kitchen
If you’ve ever looked at the ingredient list on a box of commercial fruit roll-ups, you’ve probably noticed that actual fruit is somewhere around the fourth or fifth item. High fructose corn syrup, artificial colors, and preservatives do most of the heavy lifting. That’s not a fruit snack, it’s candy with a health halo.
Homemade fruit leather flips that equation entirely. It’s real fruit, pureed and slowly dried into a chewy, portable sheet of concentrated flavor. The ingredient list is short: fruit, maybe a squeeze of lemon, maybe a touch of honey. That’s it.
The process is simple enough that kids can help with most of it. And the cost savings are real. A box of 10 fruit roll-ups costs around $4. You can make 10 homemade fruit leathers from about $2 worth of fruit, less if you’re using produce from your garden or a farmers’ market haul that’s starting to get soft.
Equipment: Dehydrator vs. Oven
Using a Dehydrator
A food dehydrator is the gold standard for fruit leather. It circulates warm air evenly and maintains a consistent low temperature, which means uniform drying and less babysitting. Most dehydrators come with solid liner trays specifically designed for purees and fruit leather.

Set your dehydrator to 140°F (the temperature specified by the National Center for Home Food Preservation for fruit leathers). Drying time typically runs 6 to 12 hours depending on the thickness of your puree and the water content of the fruit. Peaches and strawberries dry faster than apples or pears because of their sugar-to-water ratio.
If you don’t own a dehydrator yet and you’re considering buying one, look for a model with adjustable temperature control and at least five trays. You’ll use it for far more than fruit leather, herbs, jerky, dried tomatoes, and more.
Using Your Oven
No dehydrator? No problem. Your oven works just fine with a couple of adjustments.
Set the oven to its lowest temperature. For most ovens, that’s 140°F to 150°F (prop the oven door open if your oven will not hold a temperature this low; per NCHFP). If yours only goes down to 200°F, prop the door open about 2 inches with a wooden spoon. This drops the temperature slightly and lets moisture escape.
Line a rimmed baking sheet with parchment paper or a silicone baking mat. Don’t use wax paper, it can’t handle the heat. Pour your puree onto the prepared sheet and spread it to about ⅛ inch thick.
Oven drying takes 6 to 8 hours. The main downside is that you’re running your oven all day, which heats up the kitchen and uses more energy than a dehydrator. But for occasional batches, it’s perfectly practical.
Choosing and Preparing Your Fruit
Best Fruits for Leather
Almost any fruit works, but some produce better results than others.
Top performers: Strawberries, peaches, mangoes, apricots, plums, raspberries, and blueberries. These fruits have bold flavors that concentrate beautifully when dried.
Good but need help: Apples and pears are mild on their own. Combine them with a more flavorful fruit, apple-cinnamon or pear-ginger, for example. Bananas work well blended with berries but turn brown quickly on their own (a tablespoon of lemon juice helps).
Skip these: Citrus fruits have too much acid and not enough body. Watermelon is almost all water and produces a paper-thin leather that’s more frustrating than satisfying.
Overripe Fruit Works Best
That bowl of peaches getting wrinkly on the counter? Those strawberries that are a day past their prime? This is their moment. Overripe fruit is actually preferable for fruit leather. It’s sweeter, so you need less added sweetener. It’s softer, so it blends more easily. And it means nothing goes to waste.
I keep a bag in my freezer specifically for fruit that’s past its fresh-eating prime. When the bag is full, it’s fruit leather day.
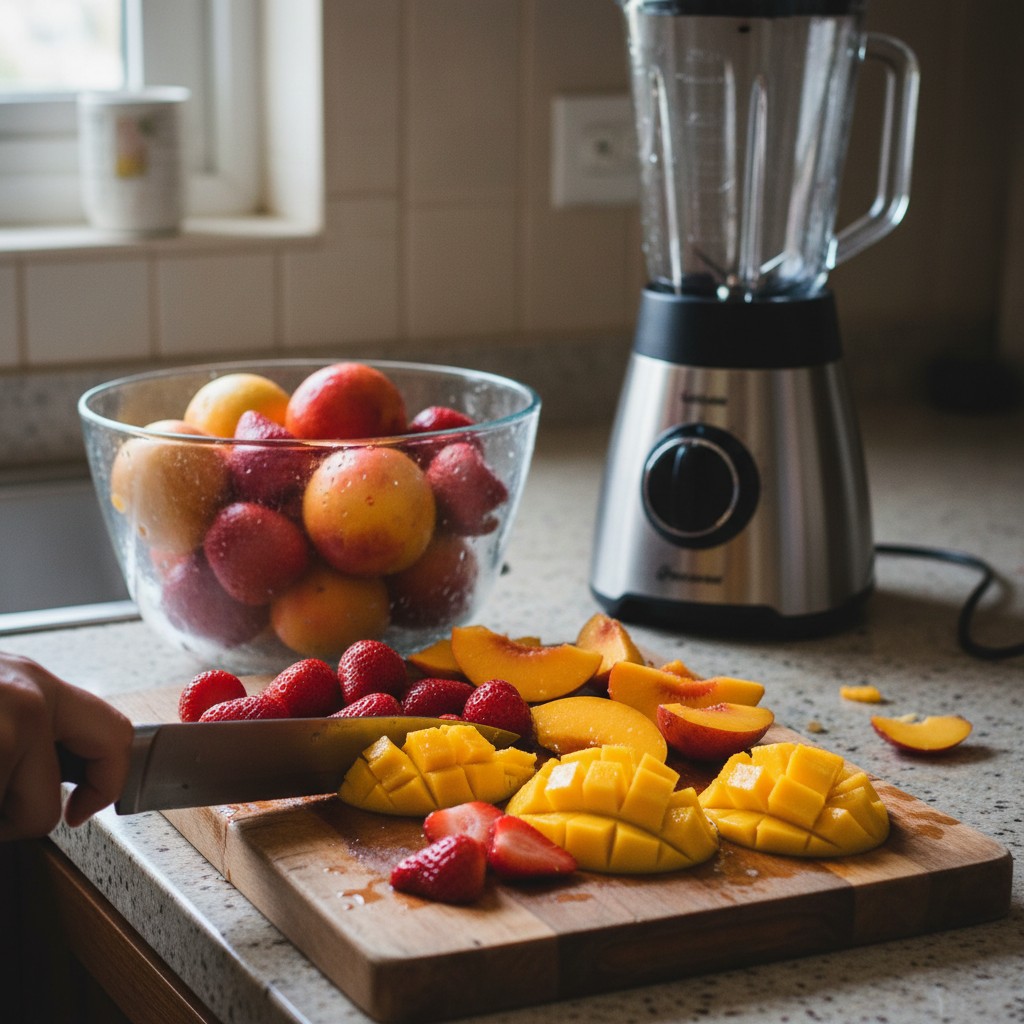
Prep Steps
- Wash all fruit thoroughly.
- Remove stems, pits, seeds, and peels as needed. Peach and plum skins can stay on if you blend well enough, they add color and fiber.
- Chop into rough pieces for easier blending.
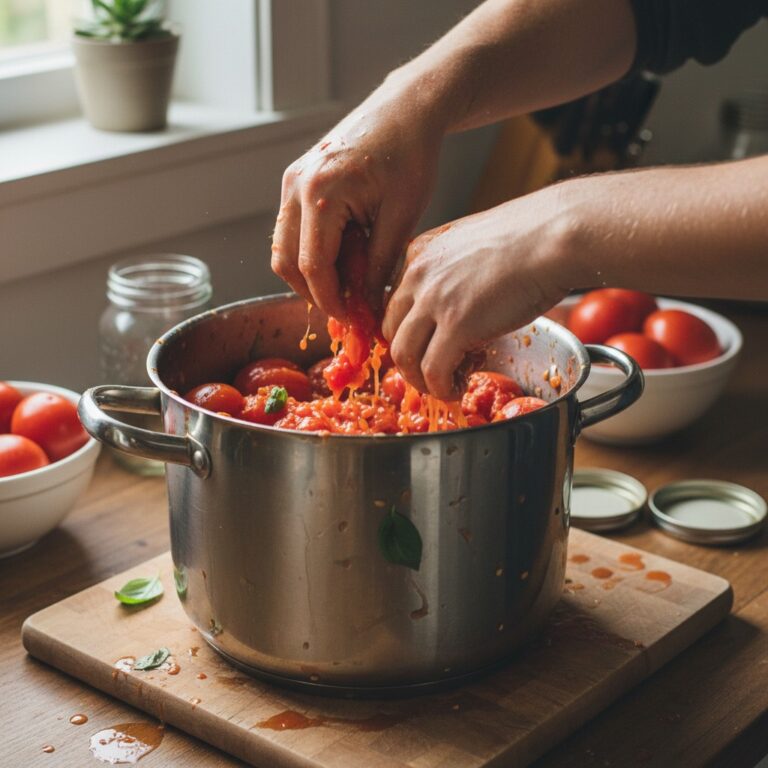
- Cook down (optional). Firmer fruits like apples benefit from simmering in a saucepan with a splash of water for 10 minutes until soft. Berries and ripe stone fruit can go straight into the blender raw.
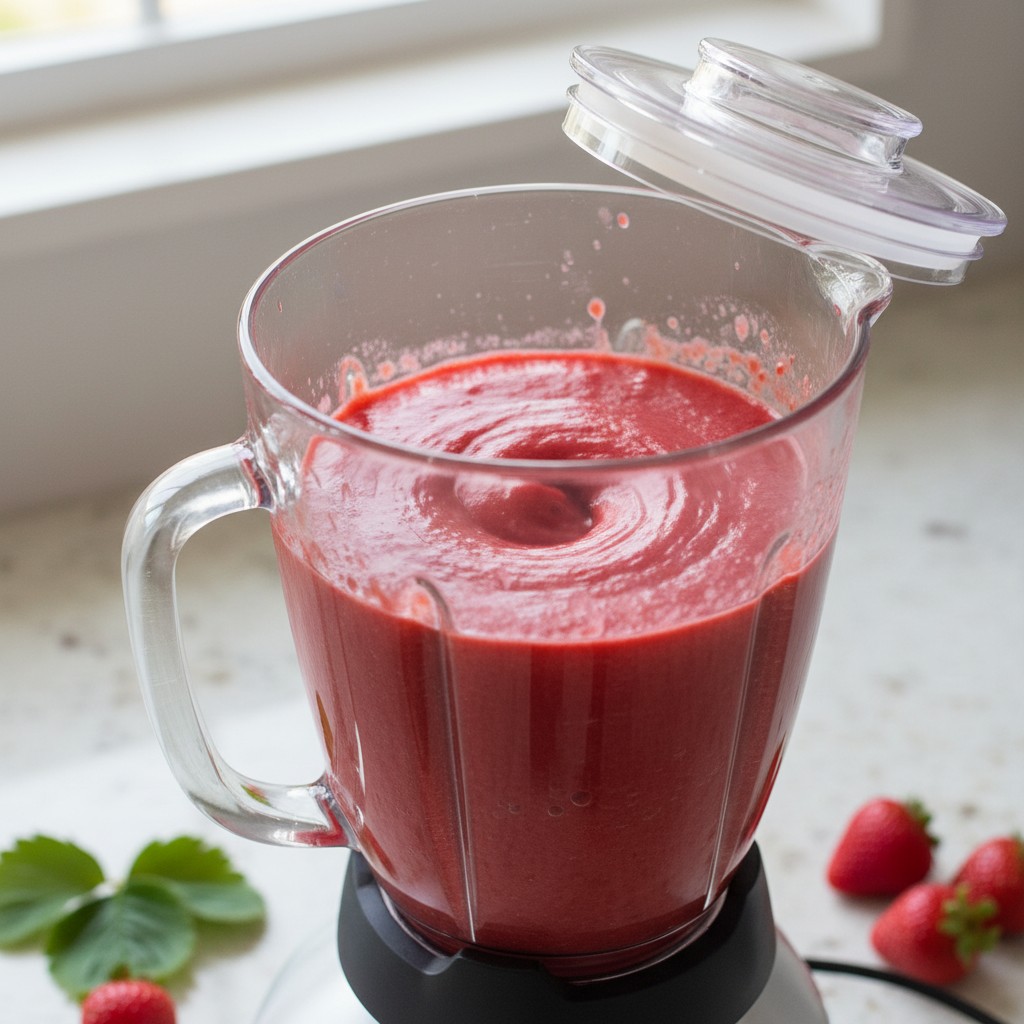
Making the Puree
Blend your prepared fruit in a blender or food processor until completely smooth. No chunks. Even small pieces create thin spots in the leather that dry out and become brittle while the thicker areas are still tacky.
Taste the puree. If it needs sweetening, add honey, maple syrup, or sugar sparingly, 1 to 2 tablespoons per 2 cups of puree is usually enough. Flavor concentrates as the fruit dries, so a slightly tart puree will taste balanced once it’s leather.
A tablespoon of lemon juice per batch brightens the flavor and helps preserve the color. It’s optional but recommended, especially for lighter-colored fruits like peaches or pears that tend to oxidize. For more consistent results, use 1 teaspoon of lemon juice per 2 cups of fruit puree rather than a flat “per batch” amount, this scales correctly whether you’re making a single tray or a large batch, and provides enough acidity to meaningfully slow enzymatic browning without making the leather taste sour.
Optional Add-Ins
- Cinnamon or nutmeg, ½ teaspoon per batch adds warmth
- Vanilla extract: 1 teaspoon rounds out berry flavors nicely
- Chia seeds: 1 tablespoon adds nutrition and a subtle crunch
- Shredded coconut. Sprinkle on top before drying for texture
Spreading and Drying
Getting the Thickness Right
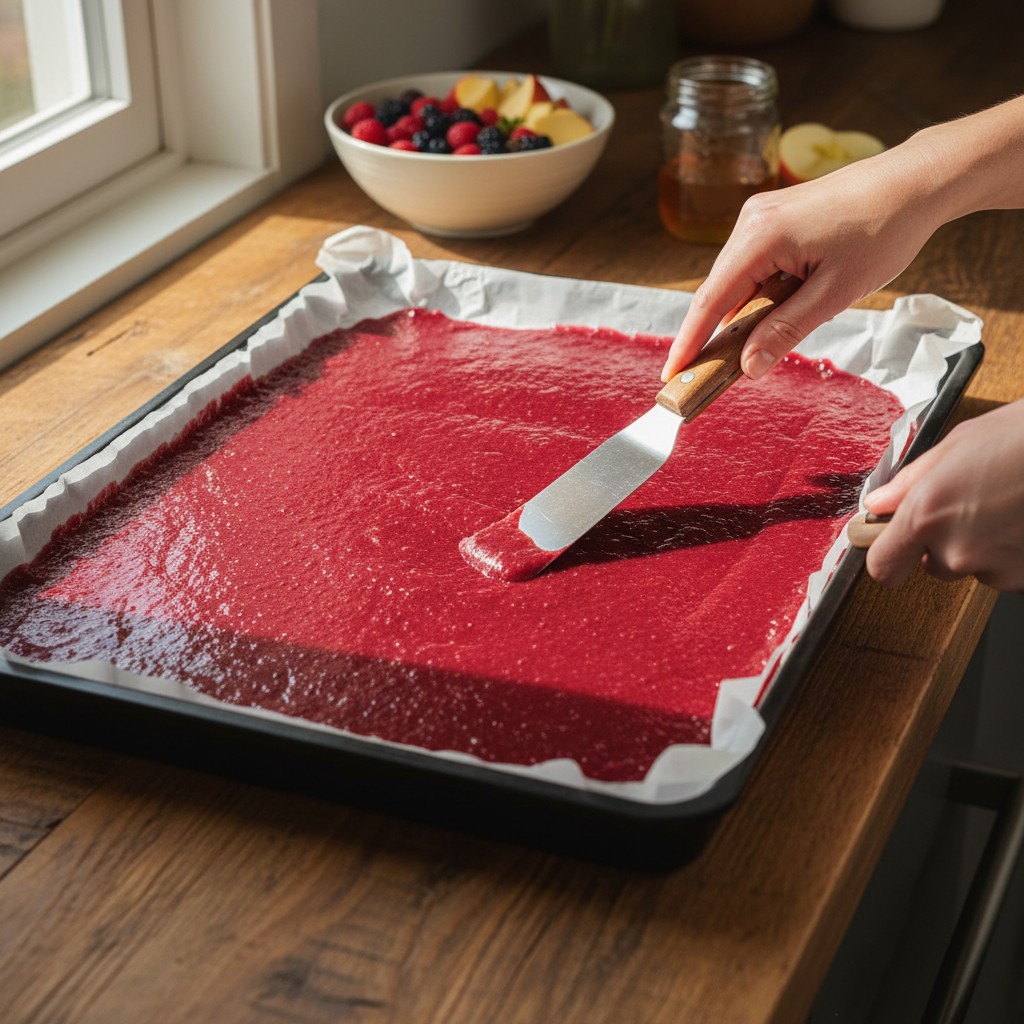
This is the step that makes or breaks your fruit leather. Pour the puree onto your prepared tray or dehydrator sheet and spread it evenly to about ⅛ inch thick. Use an offset spatula or the back of a spoon.
Pay extra attention to the edges. The edges dry faster than the center, so make them slightly thicker than the middle, maybe 3/16 inch at the edges, ⅛ inch in the center. This counterintuitive step produces the most even results.
How much puree per tray? About 1½ to 2 cups covers a standard baking sheet or dehydrator tray.
Drying Times
Dehydrator at 140°F (NCHFP standard for fruit leathers): 6 to 12 hours
Oven at 140–170°F (door cracked): 6 to 8 hours
Oven at 200°F (door cracked): 4 to 6 hours
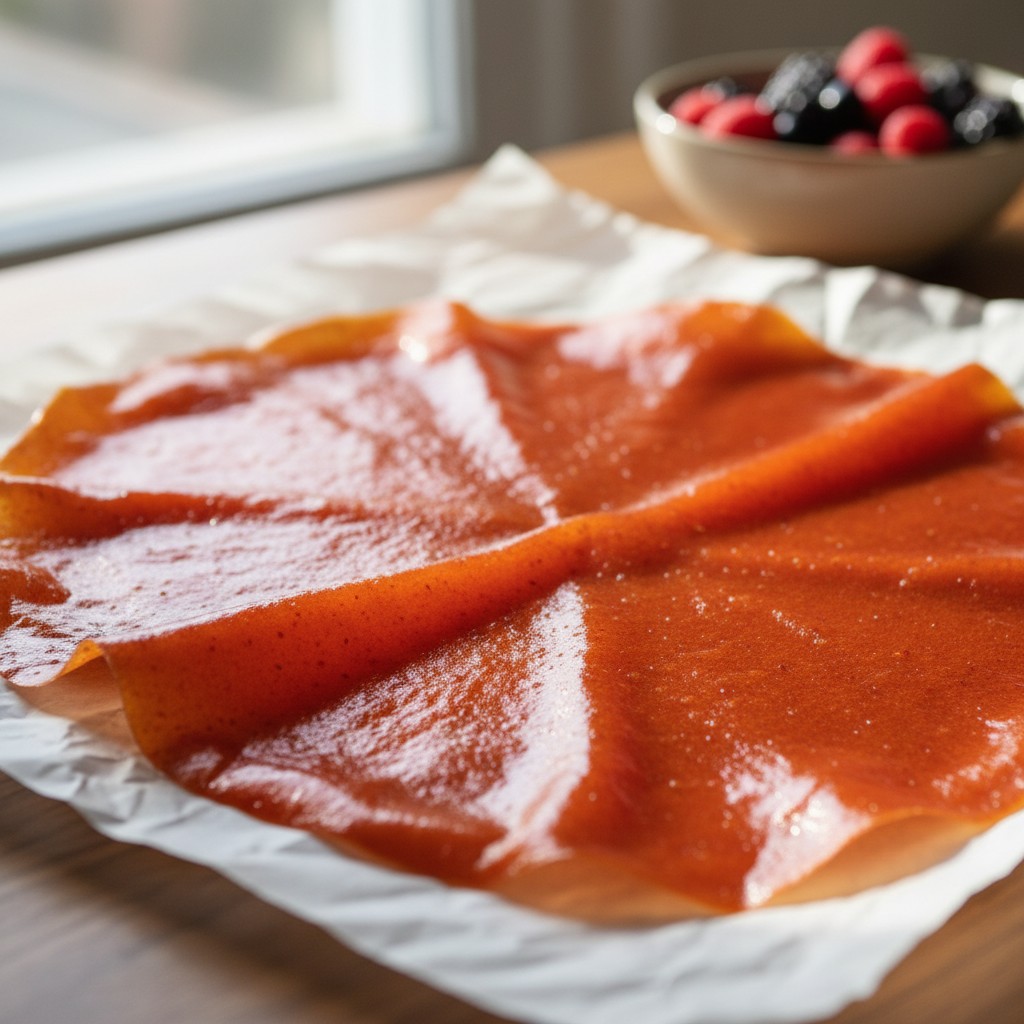
How do you know it’s done? Touch the center of the leather. It should feel dry and slightly tacky but not sticky. It should peel away from the parchment without tearing. If it leaves wet residue on your fingers, it needs more time. If it cracks and shatters, you’ve gone too far, though slightly over-dried leather is still perfectly edible, just less chewy.
Check every hour or so during the last third of drying. The difference between perfect and overdone can be just 30 minutes.

Cutting and Storage
Let the finished leather cool completely on the tray. It firms up as it cools and becomes much easier to handle.
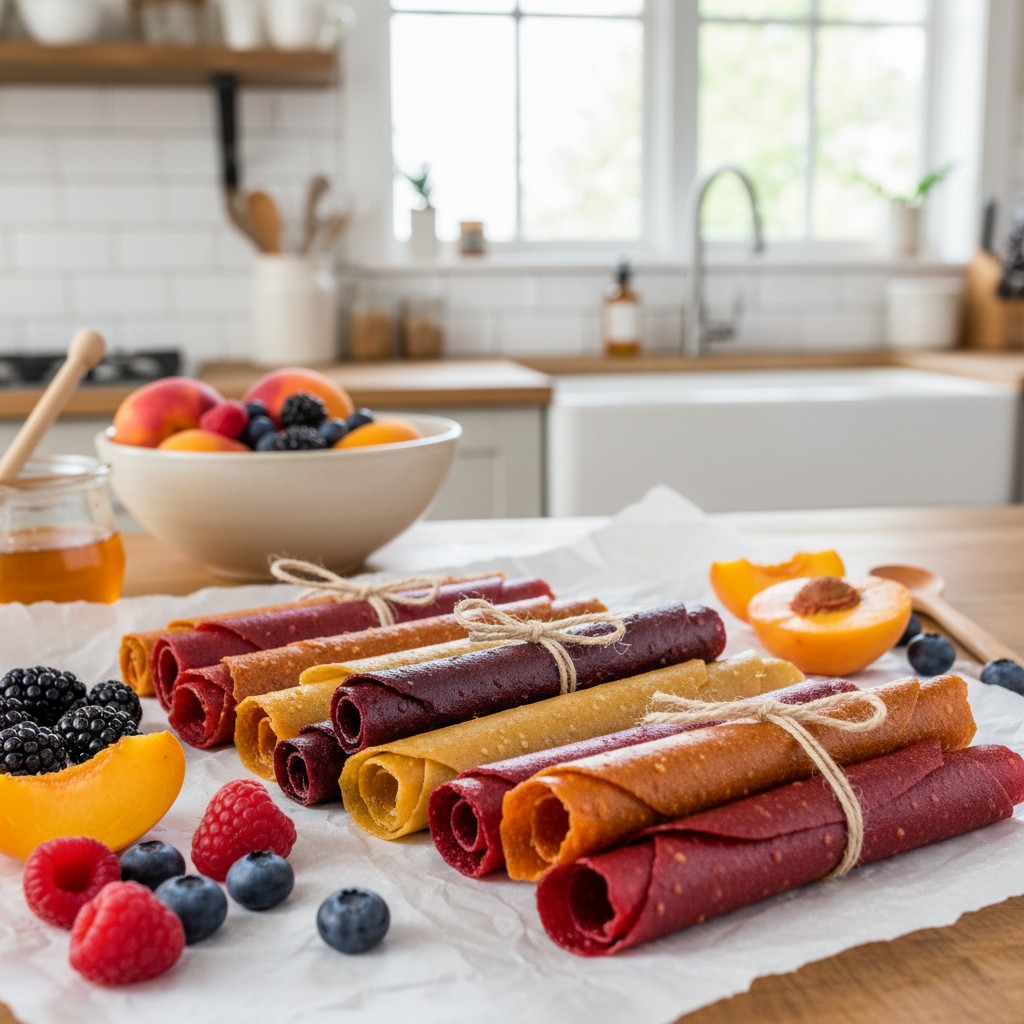
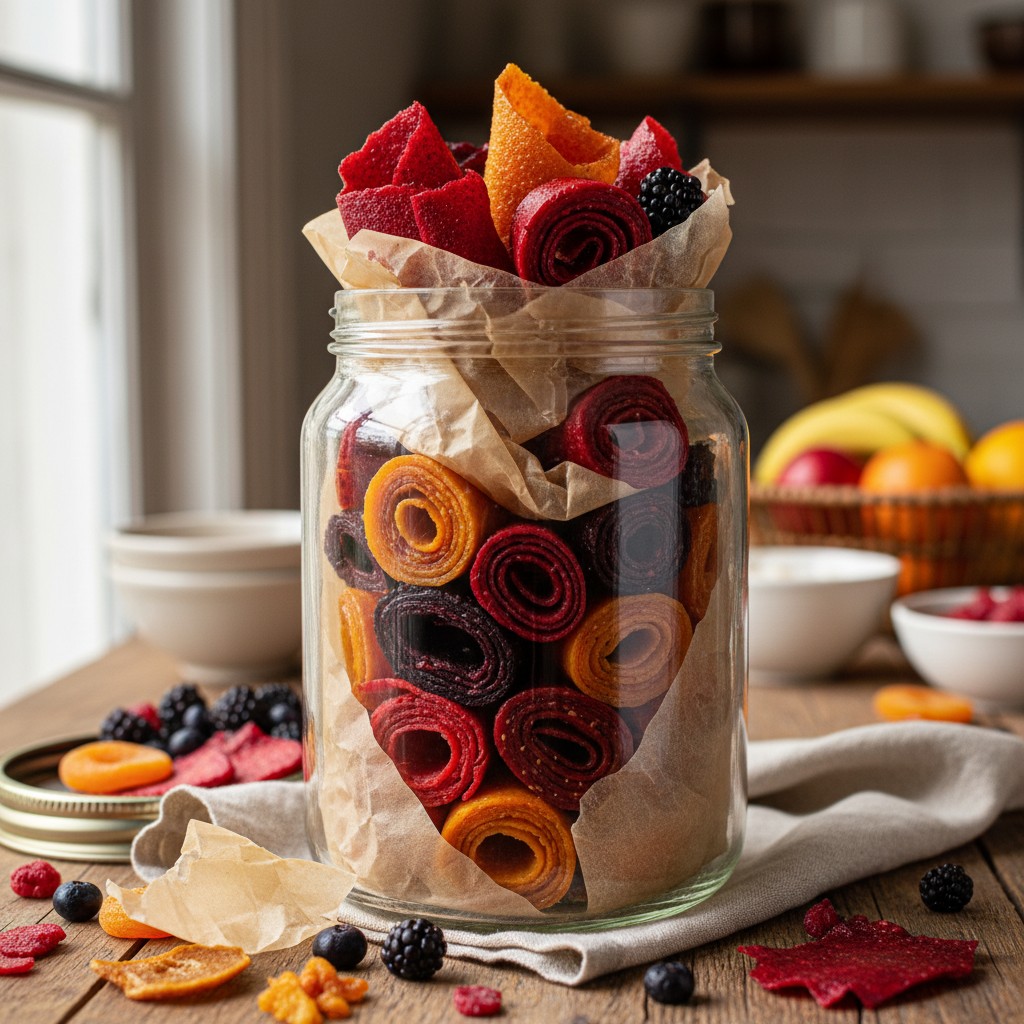
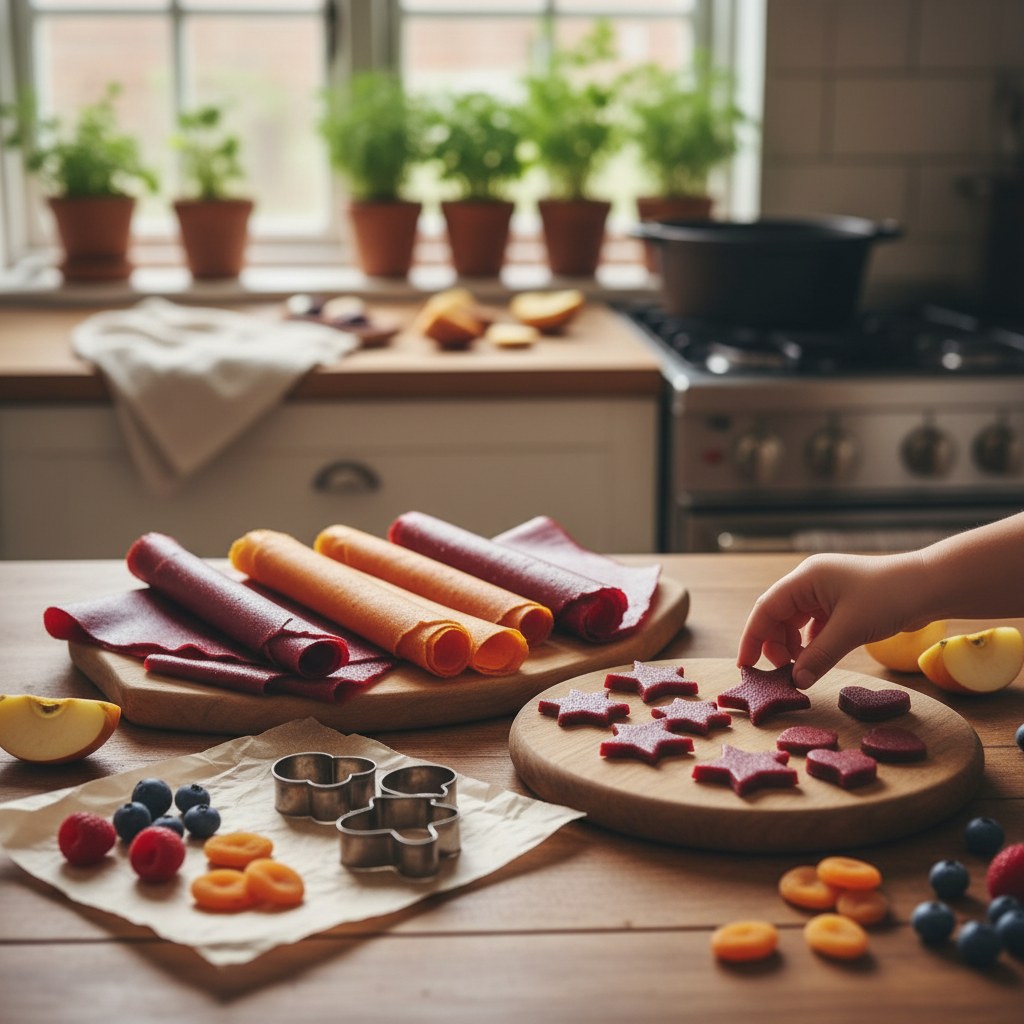
Cut the leather into strips using kitchen scissors or a pizza cutter. If you’re rolling them up for snacking, cut rectangles about 2 inches wide and 6 inches long. Place each strip on a piece of parchment paper or wax paper, then roll it up. The paper keeps the layers from sticking together.
Storage Options
- Room temperature: In an airtight container or zip-top bag, fruit leather keeps for 2 to 4 weeks.
- Refrigerator: Extends shelf life to about 2 months.
- Freezer: Wrapped in parchment and stored in a freezer bag, fruit leather keeps for up to 1 year per the National Center for Home Food Preservation. It thaws in minutes at room temperature.
If your fruit leather gets sticky during storage, dust it lightly with cornstarch. This happens more in humid climates.
Kid-Friendly Flavors and Combinations
Getting kids involved in the kitchen is one of the best parts of making fruit leather. Here are combinations that are consistently popular with the under-twelve crowd:
- Strawberry-banana. The classic. Use 2 parts strawberry to 1 part banana.
- Blueberry-apple: Mild and sweet. Cook the apple first.
- Mango-peach: Tropical and bright. No added sweetener needed if the fruit is ripe.
- Raspberry-pear: Strain out raspberry seeds after blending if your kids are picky about texture.
- Apple-cinnamon: Tastes like apple pie in snack form. Add a tablespoon of honey to the puree.
Let kids help with the washing, blending (with supervision), and spreading. They can use a spoon to spread the puree while you handle the oven. And there’s nothing like watching a child eat a snack they made themselves, the pride on their face is worth every bit of cleanup.
Troubleshooting
Leather is Brittle and Cracking
Over-dried. Next time, check earlier and pull it when it’s still slightly tacky. You can try to rescue brittle leather by misting it lightly with water, stacking the pieces, and sealing them in a bag overnight. The moisture redistributes somewhat.
Leather Won’t Peel Off the Tray
This usually means the puree stuck to an unlined surface. Always use parchment paper or a silicone mat. If it’s stuck, try putting the tray in the freezer for 15 minutes, the leather contracts slightly and often releases. For future batches, a very light coating of cooking spray on the parchment helps.
Uneven Drying
The edges are crispy while the center is still gooey. This means the puree was spread too thin at the edges. Build up the edges more next time. You can also rotate the tray 180 degrees halfway through drying.
Dull or Brown Color
Oxidation. Add lemon juice to the puree before drying. Some browning is normal and doesn’t affect taste, it just doesn’t look as pretty. Working quickly between blending and spreading also helps.
Making the Most of Your Fruit Leather
Beyond straight snacking, fruit leather has some creative uses. Cut it into shapes with cookie cutters for lunchbox treats. Chop it into small pieces and stir it into yogurt or oatmeal. Wrap it around a cheese stick for a sweet-savory snack. Or layer it into a trail mix with nuts and dark chocolate chips.
Once you’ve made a few batches, you’ll develop an instinct for the process. You’ll know your oven’s quirks, your preferred thickness, and which fruit combinations your family reaches for first. A technique this simple becomes second nature after a couple of batches.
🌱 From Our Homestead
Fruit leather is our go-to way to use up any fruit that is getting too ripe. The kids treat it like candy and have no idea they are eating pure fruit. I usually make a big batch after our berry-picking trips in June.
Frequently Asked Questions
Can I use frozen fruit to make fruit leather?
Absolutely. Frozen fruit works wonderfully and is often picked at peak ripeness, which means great flavor. Thaw it first and drain off excess liquid before blending. Frozen berries, mango chunks, and peach slices are all excellent choices. The only downside is slightly more liquid in the puree, which may add an hour to drying time.
How do I know if my fruit leather has gone bad?
Look for visible mold, an off smell, or a slimy texture. Properly dried and stored fruit leather rarely spoils within its storage window. If it’s just gotten dry and stiff, it’s still safe, just less pleasant to eat. When in doubt, if it smells like the fruit it started as, it’s fine. If it smells fermented or musty, toss it.
Can I make fruit leather without any sweetener at all?
Yes, if your fruit is ripe enough. Mangoes, ripe bananas, and sweet strawberries at peak season need no added sugar at all. Tarter fruits like cranberries or sour cherries will produce very sour leather without sweetener, some people enjoy that, but most prefer at least a tablespoon of honey per batch to take the edge off.
Is fruit leather a healthy snack?
Homemade fruit leather retains most of the fiber and vitamins from whole fruit, though some vitamin C is lost during the drying process. It’s calorie-dense compared to fresh fruit since the water is removed, a single sheet of leather can represent 2 or 3 servings of fruit. It’s a much healthier option than commercial fruit snacks, especially when made without added sugar, but it’s still best treated as a snack rather than a fruit replacement.