How to Test Your Garden Soil pH at Home (With or Without a Kit)
How to Test Garden Soil pH at Home (Easy Guide)
Your tomatoes won’t absorb nitrogen if your soil pH is wrong, even if you add fertilizer. Soil pH controls which nutrients your plants can actually access, and most gardeners never test it until crops fail. The good news? You can test your garden soil pH accurately at home using a lab service, a simple test kit, or even pantry ingredients. Learning how to test garden soil pH takes just 15 minutes and can change your harvest.
This guide walks you through three methods to test garden soil pH, explains how to collect samples properly (the step most homesteaders skip), and shows you what your results actually mean for your crops. Whether you’re starting a new garden bed or troubleshooting poor yields, knowing how to test garden soil pH is your first step toward healthier plants and better yields.
Key Takeaways
- Most vegetables grow best at pH 6.0-7.0; acidic soils below pH 6.0 lock up nitrogen, phosphorus, and potassium (Iowa State Extension, 2024).
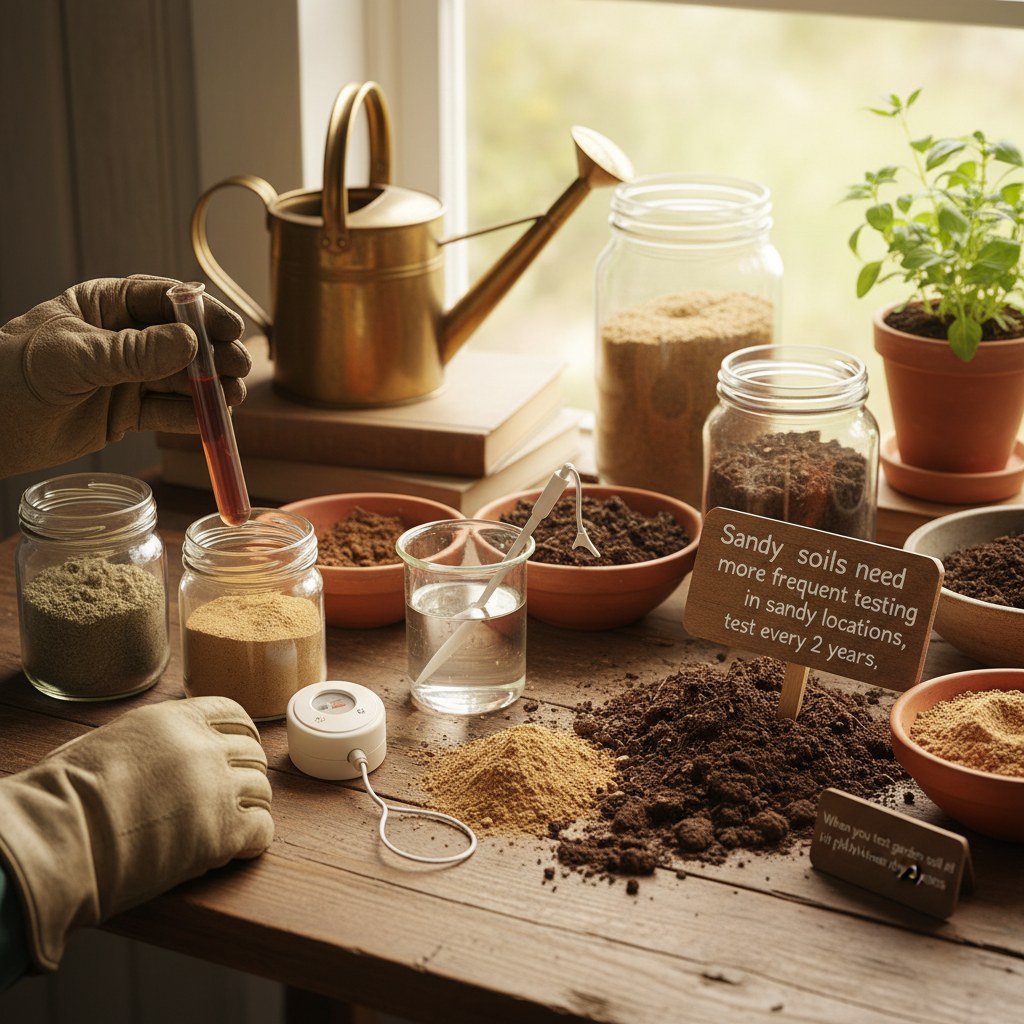
- Test vegetable gardens every 3 years, sandy soils every 2-3 years, and clay soils every 3-4 years (University of Maryland Extension, 2024).
- Home pH test kits typically measure within 1 pH unit of professional lab results, making them reliable for basic garden decisions (South Dakota State Extension, 2024).
Why Does Soil pH Matter for Your Garden?
When soil pH falls below 6.0, nutrients like phosphorus, nitrogen, and potassium become less available to plants (University of Connecticut Extension, 2024). Your soil might contain plenty of these nutrients, but plants can’t absorb them when pH is outside the optimal range. This is why it’s critical to test garden soil pH before adding fertilizers. Think of pH as a gatekeeper, it determines whether nutrients stay locked in the soil or flow into plant roots.
Acidic soils (below pH 6.0) are typically deficient in magnesium and calcium, two nutrients essential for strong cell walls and disease resistance (University of Connecticut Extension, 2024). On the flip side, alkaline soils (above pH 7.5) can make iron unavailable even when present, leading to yellowing leaves and stunted growth in acid-loving plants (Colorado State Extension, 2024).
Here’s what most extension guides won’t tell you: soil pH affects more than nutrient chemistry. It also determines which soil microbes thrive in your garden. Beneficial bacteria that convert nitrogen from the air into plant-usable forms prefer neutral to slightly acidic conditions. When you test garden soil pH and find it’s too low or too high, these bacteria populations crash, and your plants lose access to a free nitrogen source. Have you ever asked yourself why some garden beds seem to need less fertilizer than others? PH and microbial activity are often the answer.
Soil nutrients are most available when pH is between 6.5 and 7.5 (University of New Hampshire Extension, 2024). This “sweet spot” maximizes nutrient uptake for most crops. That’s why when you test garden soil pH and find it in this range, you’ll see better growth with less fertilizer. Learning how to test garden soil pH is the first step in any garden improvement plan.
Learn how to test and amend your garden soil
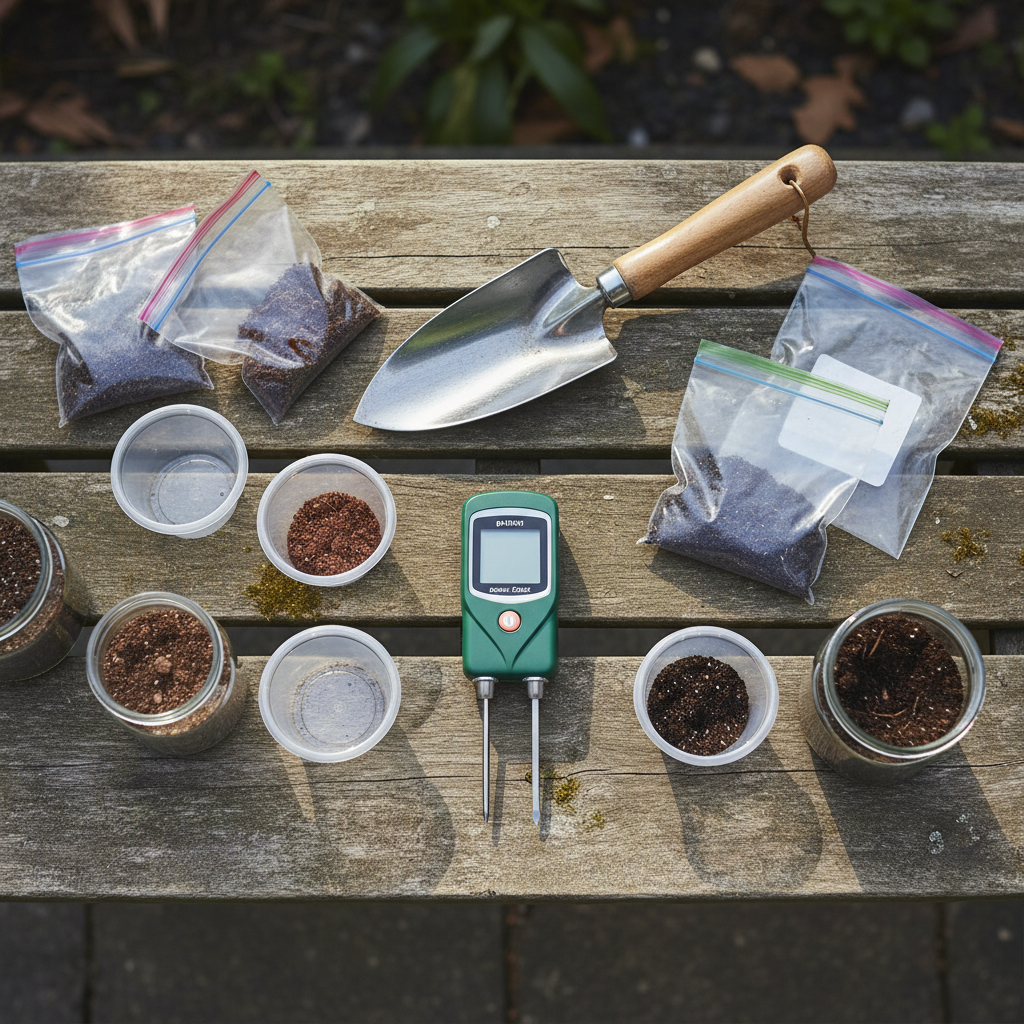
What Tools Do You Need?
The tools you need to test garden soil pH depend on which testing method you choose. Professional lab testing requires the least equipment but takes longer. Home test kits give you results in minutes. DIY methods using vinegar and baking soda cost nothing but only tell you if your soil is acidic or alkaline, not the exact pH number.
For Professional Lab Testing
- Clean bucket or container (plastic or stainless steel, not galvanized)
- Trowel or soil probe
- Ziplock bags or soil sample bags
- Newspaper or paper bags for drying samples
- Lab submission form from your local extension office
For Home pH Test Kits
- Soil pH test kit (probe-style meter or chemical test strips)
- Distilled water (tap water can skew results)
- Clean container for mixing soil samples
- Trowel for collecting samples
For DIY Vinegar and Baking Soda Test
- White vinegar
- Baking soda
- Distilled water
- Two small bowls or containers
- Soil sample
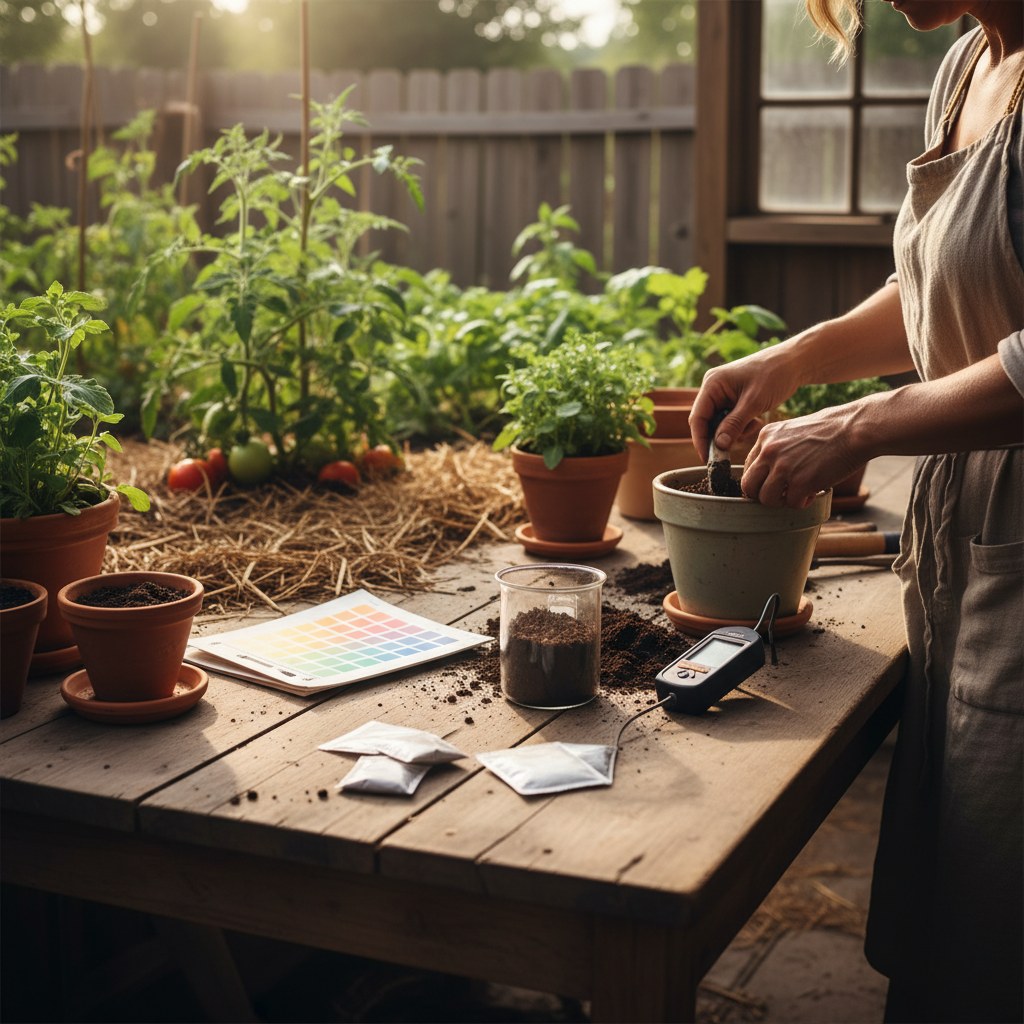
How Do You Collect Soil Samples Correctly?
Most gardeners collect one scoop of soil and call it done. That’s a mistake. To get accurate pH results when you test garden soil pH, you need to take 10-12 random sub-samples per sampling area (University of Maryland Extension, 2024). A single sample might hit a fertilizer band, a pocket of compost, or old wood ash, none of which represent your actual soil conditions.

Walk your garden bed in a zigzag pattern, stopping occasionally to collect soil (University of Florida IFAS Extension, 2024). For vegetable gardens, dig down 6-8 inches and collect soil from between the rows to avoid fertilizer bands where you applied nutrients directly to plants (Ohio State Extension, 2024). For lawns, sample to a depth of 4 inches (University of Maryland Extension, 2024). Why does depth matter when you test garden soil pH? Because that’s where your plants’ roots actually live and feed.
Mix all your sub-samples together in a clean bucket, removing rocks, debris, and plant parts (University of Maryland Extension, 2024). This composite sample represents the average conditions in your garden bed, which is what you need for making amendment decisions.
Here’s a trick we learned after testing the same bed three ways: avoid collecting samples within 6 inches of walkways or bed edges. These areas often have compacted soil, different moisture levels, and contamination from foot traffic, all of which skew pH readings compared to the main growing area.
If you’re sending samples to a lab, spread the soil on newspaper or a paper bag and let it air-dry thoroughly before packing (University of Florida IFAS Extension, 2024). Wet soil can grow mold during shipping, which interferes with lab analysis.
Master soil sampling techniques in our complete soil guide
Which Testing Method Should You Choose?
Professional soil testing labs provide more complete and accurate results than do-it-yourself soil test kits (University of Maryland Extension, 2024). Labs measure pH to two decimal places and include recommendations for lime or sulfur application rates based on your soil texture and the crops you’re growing. That customized advice is worth the wait and modest fee.
Home test kits typically estimate soil pH within a unit of what labs measure (South Dakota State Extension, 2024). For most gardeners, that’s accurate enough. If your kit shows pH 6.2 and the true value is 6.5, you’ll still make the same planting and amendment decisions. Kits work well for tracking changes over time and for quick checks before planting new beds.
However, inexpensive pH kits can’t be calibrated accurately for alkaline soils (Colorado State Extension, 2024). If you live in an arid region or have alkaline water, invest in lab testing for your first measurement, then use home kits to monitor changes. Wondering whether to test garden soil pH with a lab or kit? Start with a lab test to establish your baseline, then use home kits annually to track trends. This hybrid approach lets you test garden soil pH frequently without breaking the budget.
Method Comparison Chart
| Factor | Professional Lab | Home Test Kit | DIY Vinegar/Baking Soda |
|---|---|---|---|
| Accuracy | 9/10 | 7/10 | 3/10 |
| Speed | 2/10 | 8/10 | 10/10 |
| Cost | –30 | –25 | Free |
| Detail | 10/10 | 4/10 | 1/10 |
| Ease | 5/10 | 8/10 | 10/10 |
Source: University of Maryland Extension, South Dakota State Extension, 2024
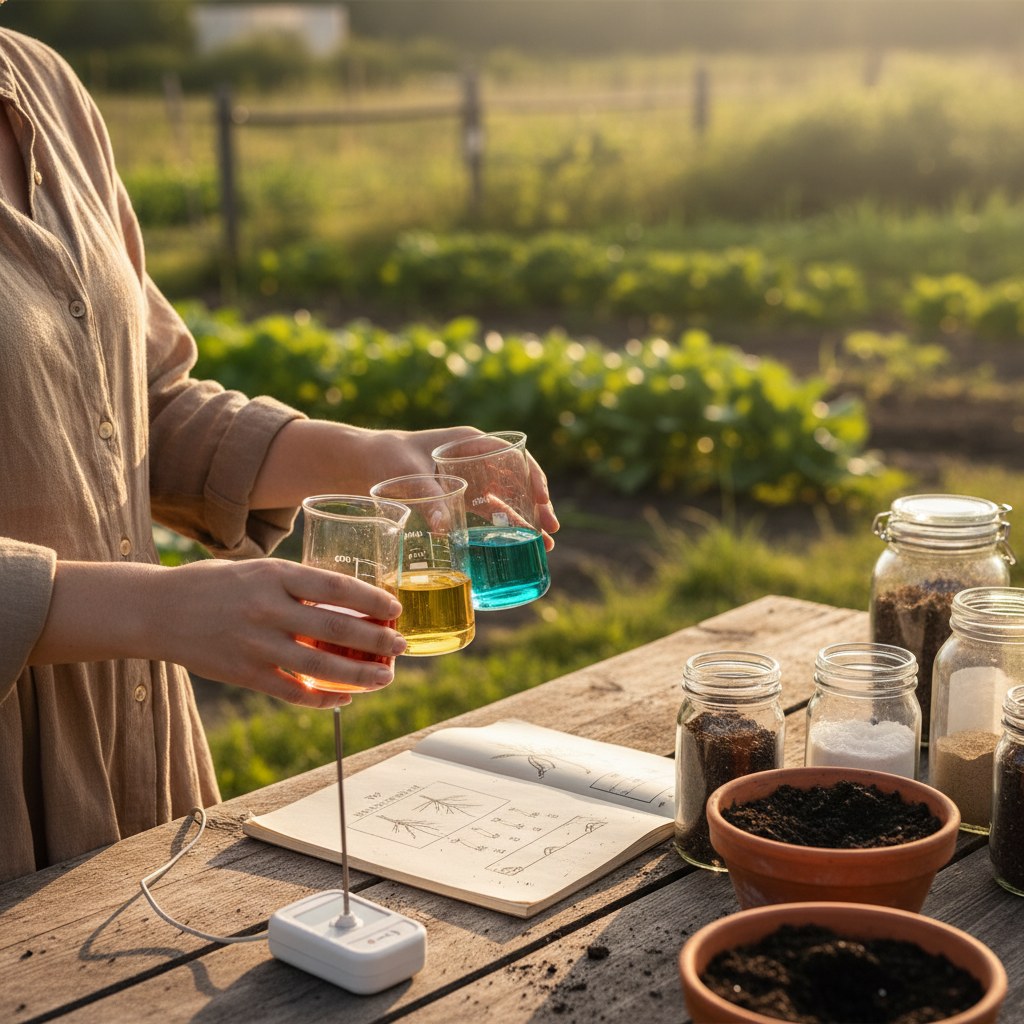
How Do You Test pH Using a Home Kit?
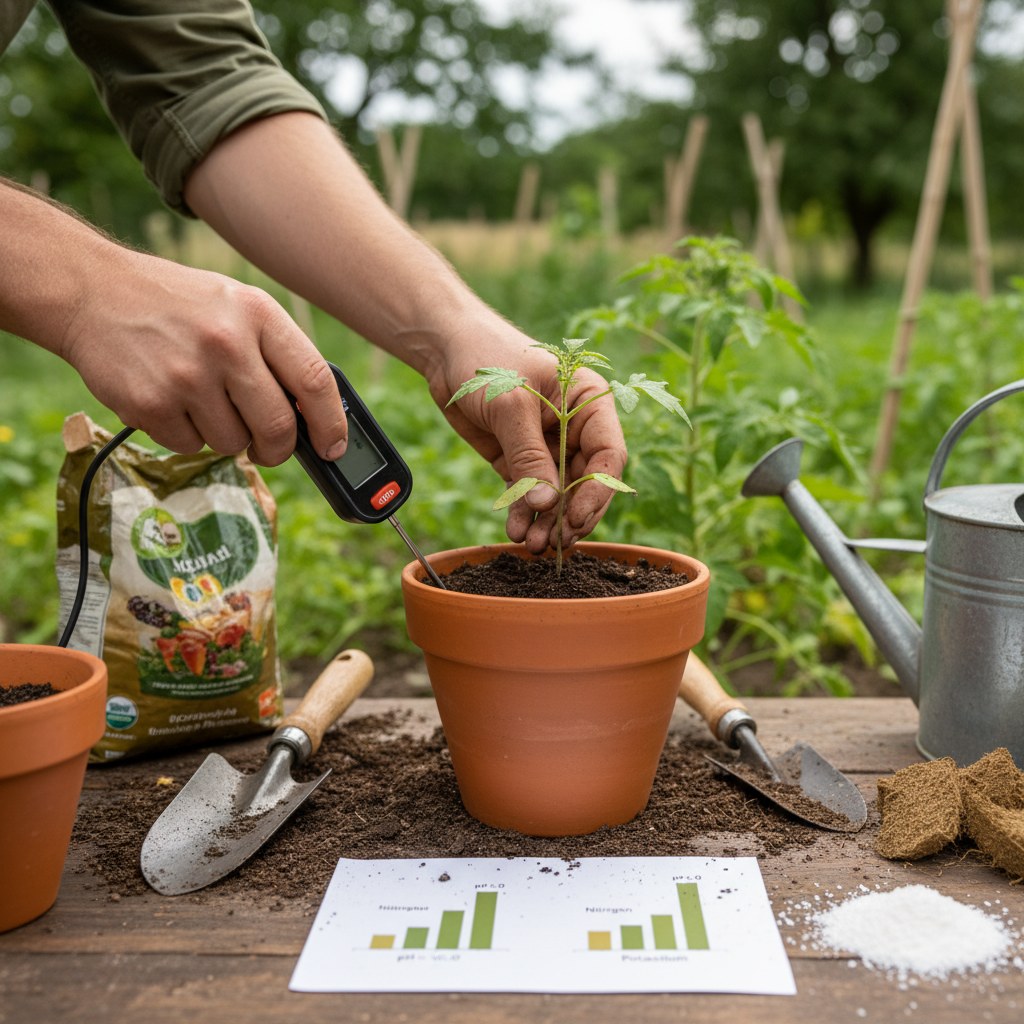
Home pH test kits can determine if your soil pH is within a reasonable margin for the crops you’re growing (University of New Hampshire Extension, 2024). They won’t give you the precision of a lab, but they’ll tell you whether you need to add lime (to raise pH) or sulfur (to lower pH) to test garden soil pH and correct imbalances.
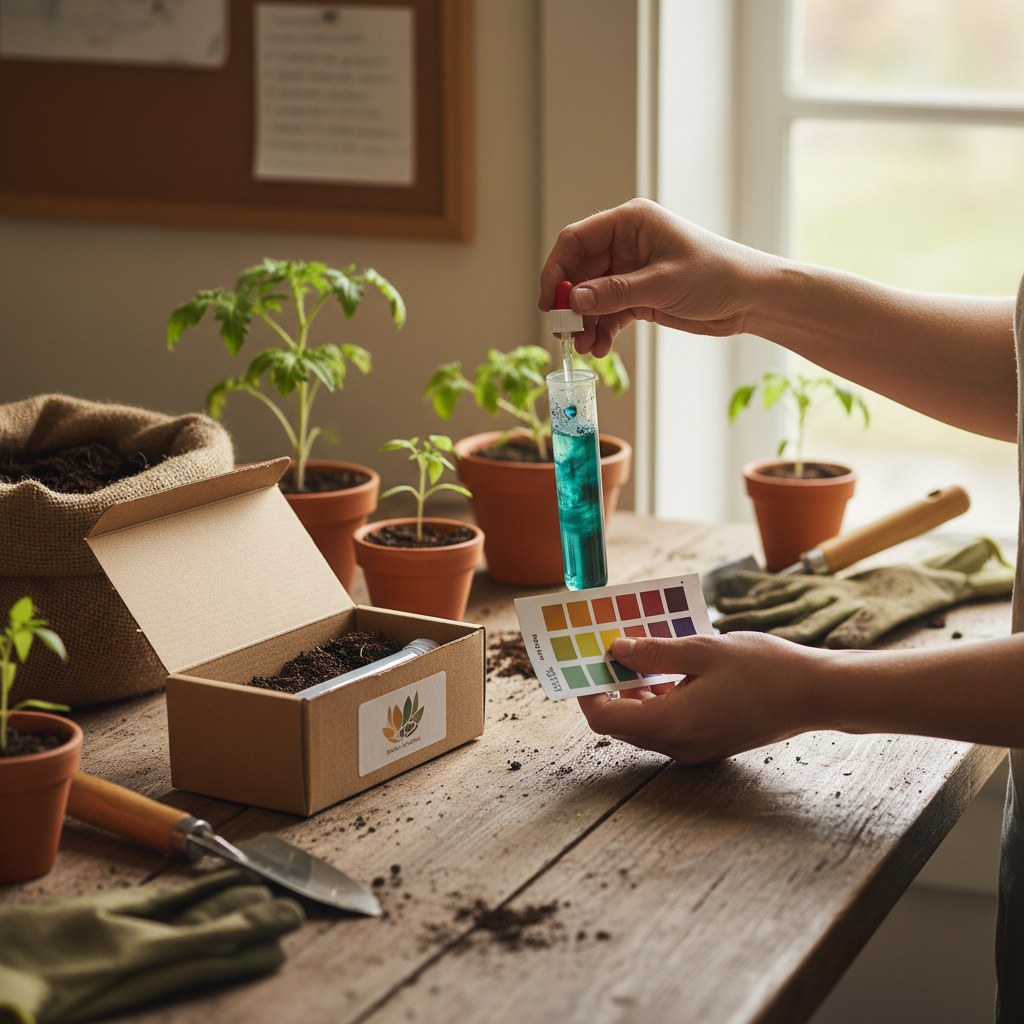
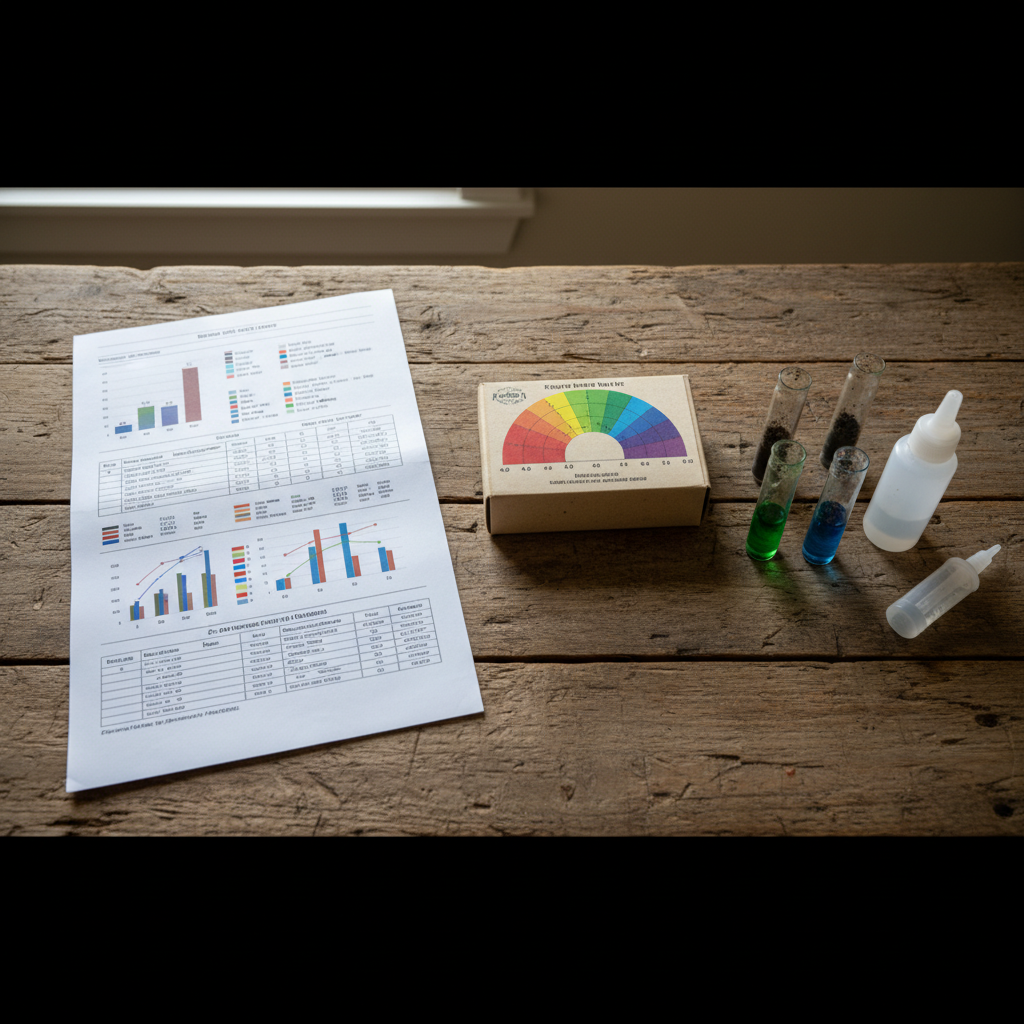
Most kits use either a probe-style meter or chemical test strips. Probe meters give you a digital or dial reading in seconds but need calibration and clean probes to stay accurate. Chemical test kits require mixing soil with distilled water and a reagent powder, then comparing the color to a reference chart.
Here’s how to use a chemical test kit:
- Fill the test tube to the first line with your composite soil sample (dried and crumbled, no chunks).
- Add distilled water to the second line.
- Add the pH test powder (usually a capsule you break open).
- Cap the tube, shake it vigorously for 30 seconds, and let it settle for 1-2 minutes.
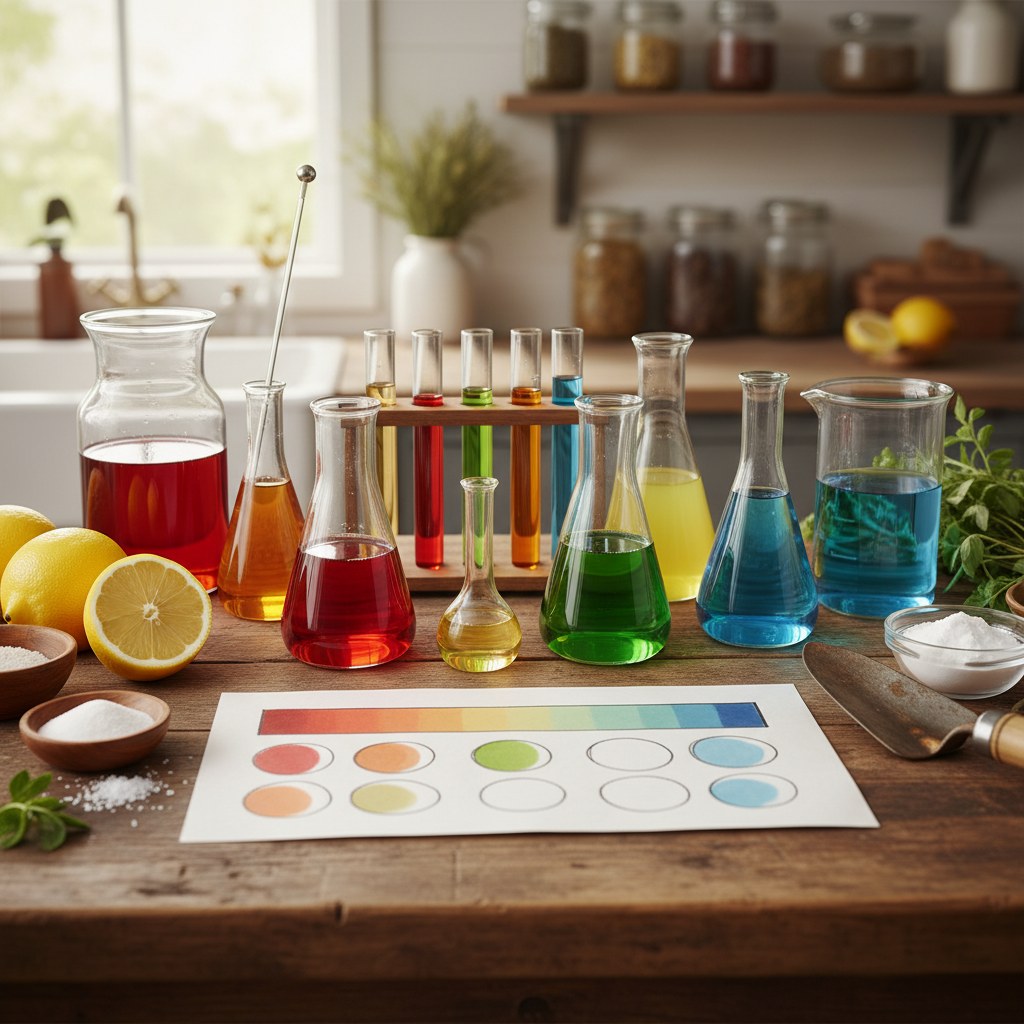
- Compare the liquid color to the reference chart. Green usually means neutral (pH 7), yellow/orange means acidic (below 7), and blue/purple means alkaline (above 7).
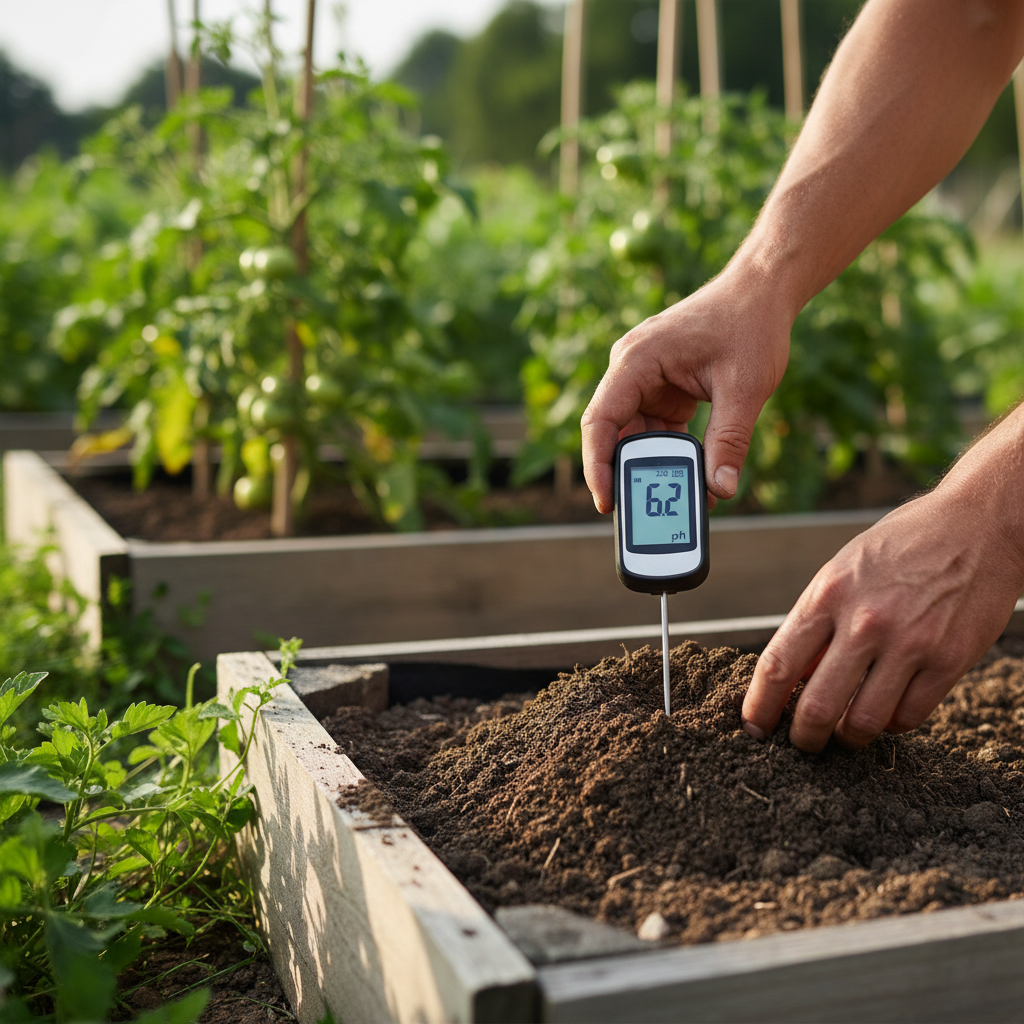
For probe-style meters, insert the clean probe into your soil sample mixed with distilled water at a 1:1 ratio. Wait 60 seconds for the reading to stabilize, then record the result. Don’t trust the first reading, probe meters need time to equilibrate. How long have you been using the same probe without calibrating it? If it’s been more than a month, recalibrate before your next test.
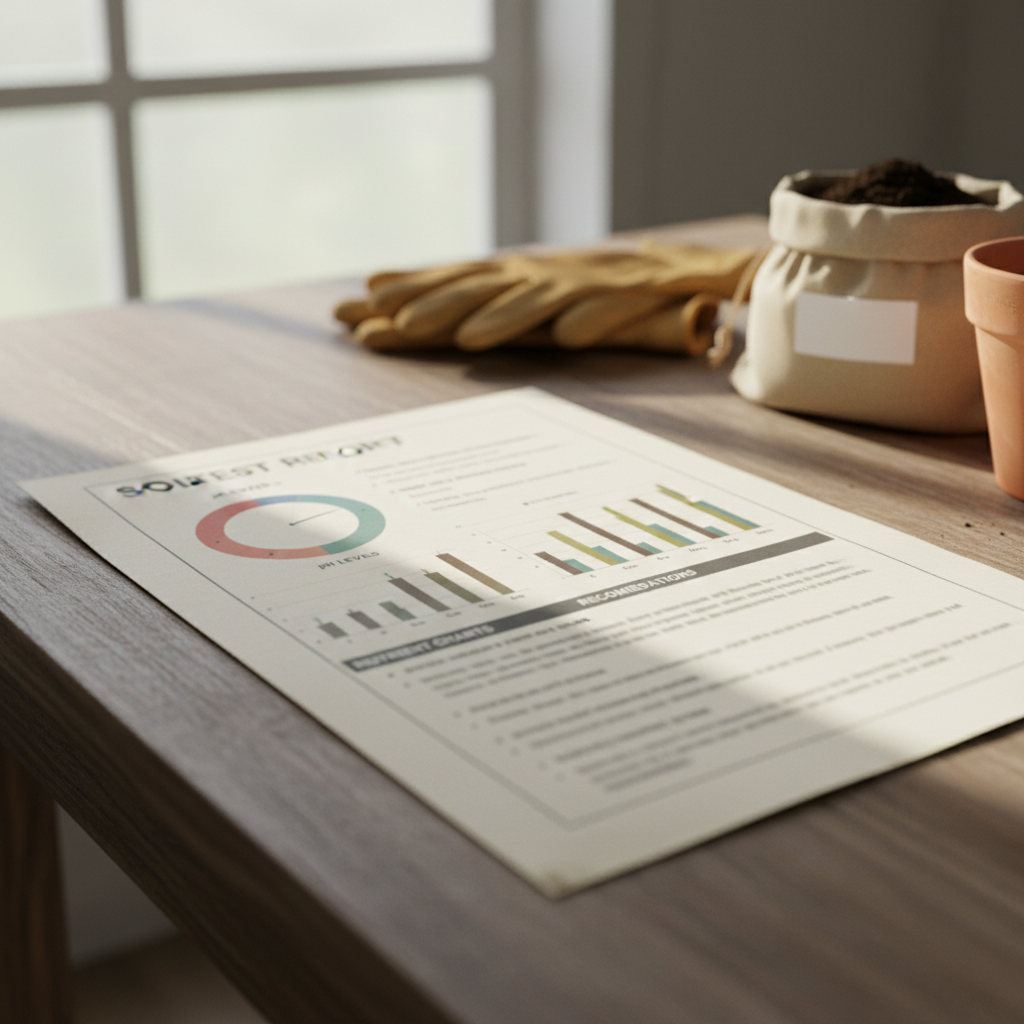
How Do You Send Samples to a Professional Lab?
Your local cooperative extension office can connect you with a soil testing lab that provides pH measurements, nutrient analysis, and customized amendment recommendations. This is the method commercial growers use to test garden soil pH, and it’s worth it if you’re amending a large garden bed or preparing soil for perennials that’ll grow for years.
Most extension labs ask you to fill out a form describing your garden (what you’re growing, how you’ve amended soil in the past, and any problems you’ve noticed). They use that information to tailor their recommendations. When you test garden soil pH through a professional lab, you get specific application rates based on your soil texture and crops, which is more useful than a home kit telling you your pH is “slightly acidic.”
Find your nearest extension office through your state’s land-grant university. In most states, you can download submission forms and mailing instructions online. Lab tests also measure organic matter content, phosphorus, potassium, and micronutrients. That complete picture helps you understand whether poor plant growth is a pH problem, a nutrient deficiency, or both. Home test kits measure pH only and give you no context about what’s actually in your soil.
Understand your soil test reports
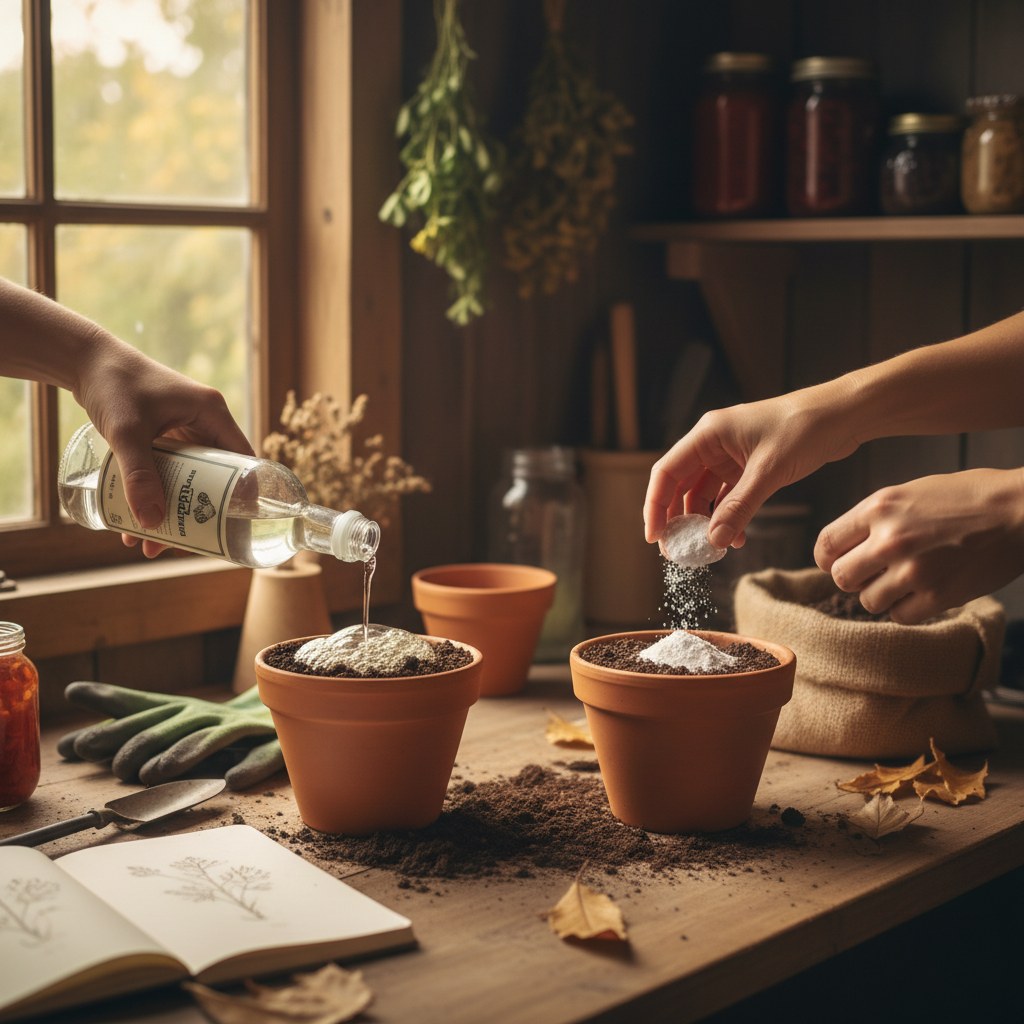
How Does the DIY Vinegar and Baking Soda Test Work?
The DIY vinegar and baking soda test won’t give you a pH number, but it’ll tell you whether your soil is acidic or alkaline in about 5 minutes using ingredients you already own. It’s not a replacement for proper testing, but it’s useful when you’re deciding whether a new garden spot needs immediate attention before you invest in a real test to measure garden soil pH accurately.
Here’s how it works:
- Scoop about 2 tablespoons of soil into each of two small bowls.
- In the first bowl, add 1/2 cup of white vinegar. If it fizzes, your soil is alkaline (pH above 7). The fizz is carbon dioxide released when acid (vinegar) reacts with alkaline minerals in your soil.
- In the second bowl, add 1/2 cup of distilled water to moisten the soil, then add 1/2 cup of baking soda. If it fizzes, your soil is acidic (pH below 7). Baking soda is alkaline, and it reacts with acidic soil to produce carbon dioxide.
- If neither sample fizzes, your soil is probably close to neutral (pH 6.5-7.5), which is ideal for most vegetables.
This test has major limitations. It won’t detect moderately acidic or alkaline soil, only extremes. And it gives you zero information about how far off neutral you are. Still, it’s a good first step when you’re evaluating a new property or trying to figure out why nothing’s growing in a particular spot. Ever tried this test only to get no fizzing at all? That’s actually good news, it means your pH is probably in the sweet spot.
How Do You Interpret Your pH Results?
The pH scale runs from 0 to 14, with 7.0 as neutral, below 7.0 as acidic, and above 7.0 as alkaline (Colorado State Extension, 2024). Most vegetables, fruits, annuals, and perennials grow best in slightly acidic soils with a pH between 6.0 and 7.0 (Iowa State Extension, 2024). When you test garden soil pH and get results in this range, you’ll see optimal nutrient availability and strong microbial activity.
If your test shows pH below 6.0, you’ll need to add lime (calcium carbonate) to raise it. How much depends on your soil texture, clay soils need more lime than sandy soils to achieve the same pH change. When you test garden soil pH through a lab, your report will include specific lime recommendations based on your soil type and target pH. If you’re working with a home test kit result, consult your local extension office for application rate guidance based on your region’s typical soil characteristics.
If your pH is above 7.5, you’ll need elemental sulfur to lower it. Sulfur works slowly, so it’s best to test garden soil pH in late summer or fall and apply amendments before winter. Again, consult lab recommendations or extension guidance for application rates specific to your soil texture and how much you need to lower pH.
Vegetables specifically grow best at pH 6.1 to 6.9 (Ohio State Extension, 2024). Check pH preferences for your specific crops before making amendments, since some plants have different requirements outside this general range.
Vegetable pH Preferences Chart
| Vegetable | pH Range | Notes |
|---|---|---|
| Tomatoes | 5.5–7.5 | Very adaptable, prefer slightly acidic |
| Carrots | 5.5–7.0 | Tolerate mild acidity |
| Lettuce | 6.0–7.0 | Prefers neutral |
| Spinach | 6.0–7.5 | Tolerates slight alkalinity |
| Broccoli | 6.0–7.0 | Standard range |
| Beans | 6.0–7.5 | Fix their own nitrogen at neutral pH |
| Cucumbers | 6.0–7.0 | Standard range |
| Peppers | 6.0–7.0 | Standard range |
| Onions | 6.0–7.0 | Standard range |
Source: University of Connecticut Extension, Iowa State Extension, 2024
See what to plant based on your soil conditions
What Are the Most Common Testing Mistakes?
The biggest mistake? Testing only once and assuming pH stays constant. When you test garden soil pH, you need to retest regularly because soil pH changes over time as you add fertilizers, compost, and mulch. Test every 3 years for lawns and vegetable gardens, and more often if you’re actively amending soil (University of Maryland Extension, 2024). How can you expect to maintain optimal pH if you’ve never retested since your initial garden setup?
Another common error: testing soil right after applying lime or sulfur. These amendments need months to work fully. If you test too soon, you’ll get a false reading and might over-apply amendments, which can lock up nutrients and harm soil structure. Wait at least several months after amendment applications before retesting to see the full effect.
Don’t test when soil is extremely wet or frozen. Moisture affects probe meter accuracy, and frozen soil can’t be collected properly. The best time to test garden soil pH is late summer through fall, when soil moisture is moderate and you have time to apply amendments before spring planting (University of Connecticut Extension, 2024). This timing ensures accurate results when you test garden soil pH.
We once tested a new garden bed in March, got a pH reading of 7.2, and applied sulfur to lower it. When we retested in May, the pH was 6.8, lower than we wanted. Turns out the winter snow melt had temporarily raised pH by concentrating alkaline salts at the surface. Testing in late summer would’ve given us the true baseline pH after moisture had stabilized.
Finally, don’t assume one test represents your entire property. PH can vary dramatically even within a single garden bed, especially if you’ve added different amendments to different areas. When you test garden soil pH, test each distinct growing area separately, one sample for the tomato bed, another for the blueberry patch, and a third for the lawn.
Get the perfect raised bed soil mix
What Tips Improve Testing Accuracy?
Sandy soils need more frequent testing than clay soils. When you test garden soil pH in sandy locations, test every 2 to 3 years; for clay soils, test every 3 to 4 years (Penn State Extension, 2024). Sandy soils have less buffering capacity, so pH changes faster when you add amendments or fertilizers. Are you tracking your soil texture along with your pH results?
Clean your tools between samples. Residue from lime, fertilizer, or even dish soap can contaminate samples and throw off results. Use plastic or stainless steel containers when you test garden soil pH, galvanized metal reacts with soil and skews pH readings.
Label everything. If you’re testing multiple beds, keep samples in separate bags with labels showing the date, location, and depth. It’s easy to mix up samples when you’re testing a large garden, and mislabeling means you’ll apply amendments to the wrong areas.
For probe-style pH meters, calibrate before each use with pH 7.0 buffer solution. Probes drift over time, and an uncalibrated meter can be off by a full pH unit. Most meters come with calibration solution, or you can buy it for a few dollars at garden centers.
Test problem areas separately. If one section of your garden consistently underperforms, test it even if you’ve tested the rest of the bed recently. When you test garden soil pH in problem spots, localized pH issues, from buried construction debris, old tree roots, or concentrated fertilizer spills, become visible.
Frequently Asked Questions
How accurate are cheap soil pH meters you buy online?
Inexpensive probe-style pH meters (the kind with two metal prongs you stick in the soil) are notoriously unreliable. Many don’t require batteries, which means they’re measuring electrical conductivity, not true pH, and their readings can be off by 1-2 full pH units. When you test garden soil pH, spend at least $30 on a probe meter that requires calibration with buffer solution, or stick with chemical test kits that cost $10-15 and give you more consistent results.
Can I test pH using red cabbage juice?
Yes, red cabbage juice works as a pH indicator, it turns pink in acidic soil and blue-green in alkaline soil. Boil shredded red cabbage in distilled water, strain out the solids, and mix the purple liquid with your soil sample. It’s a fun science experiment, but it won’t give you a number, just a color shift. For actual garden decisions, use a proper test kit or lab service to test garden soil pH accurately.
Does pH change with soil depth?
Yes. Topsoil (0-6 inches) is usually different from subsoil (6-24 inches) because that’s where organic matter, fertilizers, and amendments concentrate. Most garden crops have shallow roots, so when you test garden soil pH, test at the depth where roots actually grow, 6-8 inches for vegetables, 4 inches for lawns. If you’re planting deep-rooted perennials like fruit trees, consider testing at 12-18 inches as well.
Should I test pH before or after adding compost?
Test before adding compost so you know your baseline pH. Then when you test garden soil pH again months after incorporating compost, you can see if the compost affected pH. If you’re adding large amounts of compost annually, monitor pH regularly to catch any drift before it affects your plants. Test garden soil pH at least 3-6 months after composting to let the compost stabilize.
How often should I retest soil pH?
Test vegetable gardens and lawns every 3 years (University of Maryland Extension, 2024). Sandy soils every 2-3 years, clay soils every 3-4 years (Penn State Extension, 2024). Test more frequently if you’re actively amending soil, growing acid-loving plants, or experiencing unexplained crop problems.
Learn how to make nutrient-rich compost at home
Conclusion
Learning how to test garden soil pH isn’t complicated, but it makes the difference between plants that struggle and plants that thrive. Most vegetables need pH 6.0-7.0 to access nutrients, and a simple home test kit or professional lab service will tell you whether your soil falls in that range. Collect 10-12 sub-samples from each garden bed, test every 3 years (more often for sandy soils), and apply lime or sulfur as needed based on your results.
Here’s what to remember when you test garden soil pH at home:
- Acidic soils (below pH 6.0) lock up nitrogen, phosphorus, and potassium even when present
- Home test kits are accurate within 1 pH unit, good enough for most garden decisions
- Professional lab testing gives you customized amendment recommendations
- Test in late summer or fall so amendments have time to work before spring planting
- Sandy soils need testing every 2-3 years; clay soils every 3-4 years
Get your soil tested this fall, apply the recommended amendments, and you’ll see stronger plants, better yields, and fewer nutrient deficiency problems next season. Ready to test your garden soil pH and change your harvest?
Ready to fix your pH? See our complete guide to soil amendments