How to Save Heirloom Tomato Seeds for Next Year’s Garden
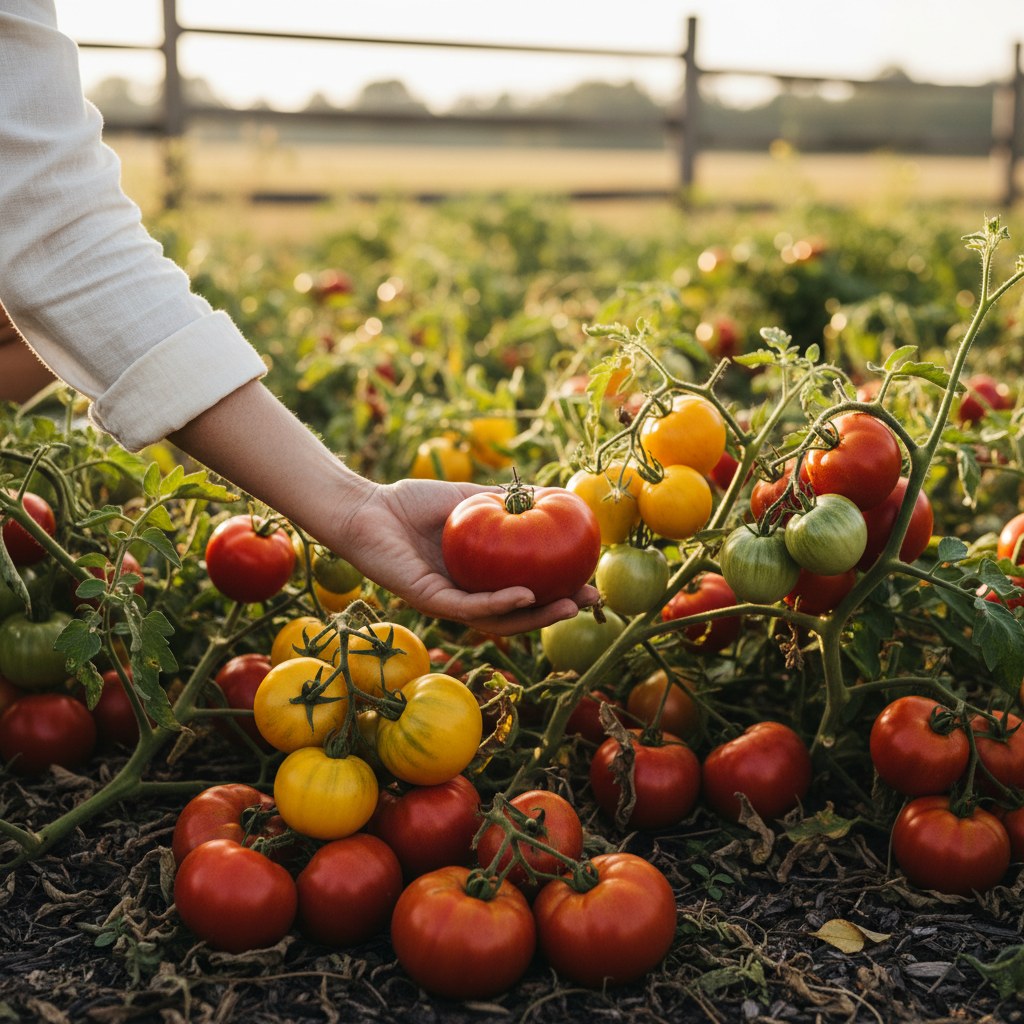
Every summer, somewhere in the garden, there is a tomato that makes you stop. Heavy, deeply red, perfectly ripe, the kind you eat standing over the sink with juice running to your elbows. I always think the same thing: this one deserves to come back next year. Learning how to save tomato seeds is exactly how you make that happen. No catalog order, no shipping wait, just the same tomato, growing again in your own soil next June.
Tomatoes are one of the best vegetables to start saving seeds from. Because their flowers are self-pollinating, they rarely cross with a neighboring plant on their own, and their seeds are large enough to handle without tweezers. According to the University of Minnesota Extension, tomatoes are “good choices for seed saving because they have self-pollinating flowers and seeds that require little or no special treatment before storage.”
The whole process, choosing the right tomato, fermenting the seeds, drying them, and storing them through winter, takes about a week of casual attention spread across the growing season. Here is exactly what to do, step by step.
What You’ll Need to Save Tomato Seeds
- 1–3 fully ripe, open-pollinated or heirloom tomatoes (one large tomato yields plenty)
- A sharp knife and cutting board
- A glass jar (mason jar or similar), 8–16 oz
- Water (non-chlorinated preferred; tap water left to sit overnight also works)
- A fine-mesh strainer or colander
- Parchment paper or a paper plate for drying, not paper towels, which cause seeds to stick
- A marker and labeled paper envelopes or seed storage jars
- Optional: silica gel desiccant packets for long-term storage
How Do You Choose the Right Variety for Seed Saving?
The single most important rule: only save seeds from open-pollinated or heirloom tomatoes. Seeds saved from hybrid varieties, those marked “F1” on the seed packet or plant tag, will not grow true to type. The next generation may produce plants that look completely different from the parent.
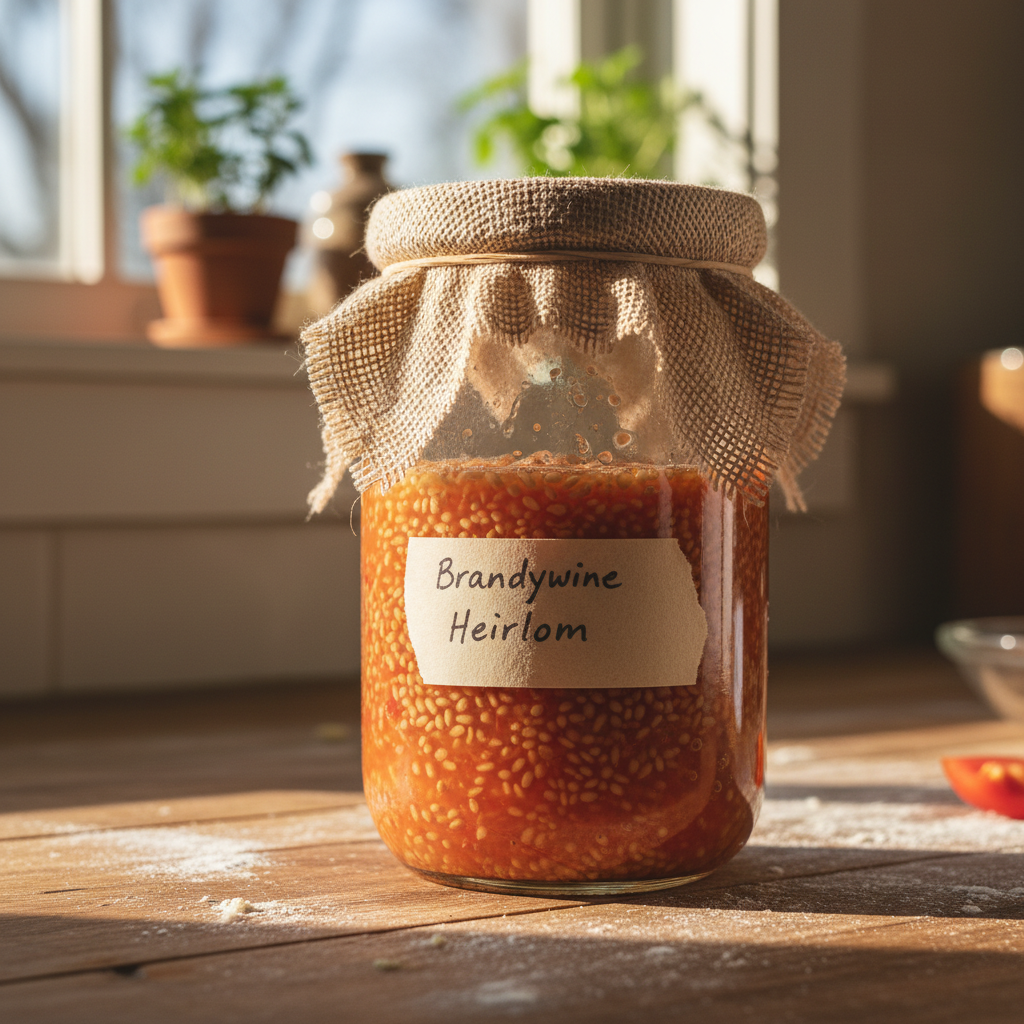
Open-pollinated varieties, including all heirlooms, are genetically stable and replicate faithfully from seed. The University of Minnesota Extension confirms that open-pollinated varieties like ‘Brandywine’, ‘Big Rainbow’, and ‘San Marzano’ “will produce seeds that grow into plants very similar to the parent plants, with nearly identical fruit.” Those are exactly the tomatoes worth carrying forward.
Not sure what you’re growing? Check your original seed packet. “Heirloom,” “open-pollinated,” or “OP” are green lights for seed saving. “Hybrid” or “F1” means skip it this year.
One more thing: tomatoes are primarily self-pollinating, so crossing between nearby varieties happens rarely. Michigan State University Extension recommends keeping different varieties at least 10 feet apart to reduce any chance of bee-assisted cross-pollination. In a typical backyard garden, this usually takes care of itself.
The University of Minnesota Extension confirms that open-pollinated tomato varieties will produce seeds that grow into plants “very similar to the parent plants, with nearly identical fruit.” Heirlooms like ‘Brandywine’ and ‘San Marzano’ are specifically cited as reliable choices for home seed saving (UMN Extension, 2023).
Which Tomatoes Should You Pick for Seed Saving?
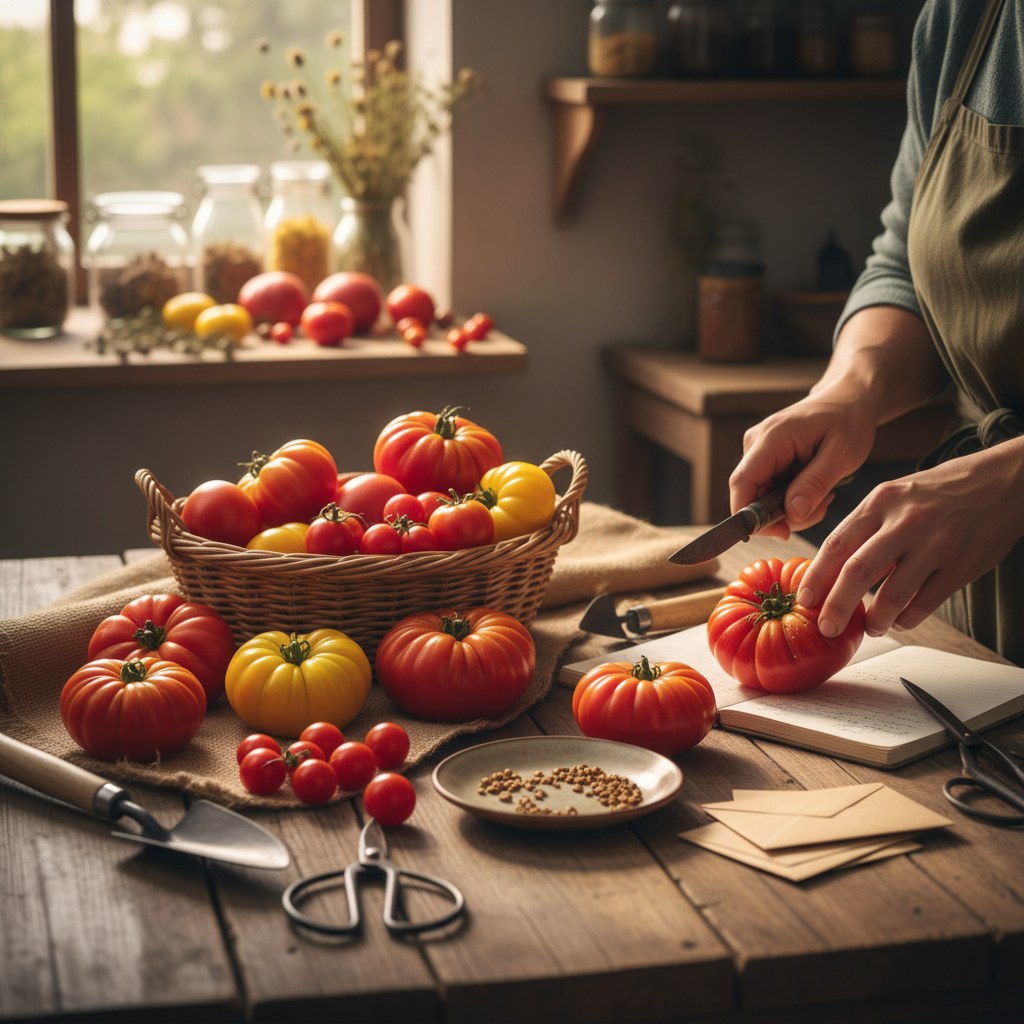
Which plants you save seeds from matters as much as the variety itself. Every year I walk the rows at peak season and look for one or two plants that outperformed the rest, the ones that fruited earlier, held up through a dry spell, or just produced more abundantly. Those are my seed plants.
Choose seeds from:
- The most vigorous plants, those that grew strongly, resisted disease, and yielded generously all season.
- The best-tasting fruit, do not save from misshapen or flavorless tomatoes. Save from the one that made you reach for a second slice.
- Fully ripe fruit, or even slightly past peak eating stage. Seeds mature inside the fruit as it ripens; an underripe tomato may contain seeds that are not yet viable. Let your seed tomato ripen fully on the vine, longer than you would wait for an eating tomato.
Tie a piece of twine or bright yarn around the stem of your chosen tomato early in the season, that way no one else harvests your seed tomato by accident before you are ready. It sounds obvious until the first time it happens.
Select seeds from your most vigorous, disease-resistant plants and wait for fruit to ripen fully on the vine, seeds continue maturing as the tomato ripens, and underripe fruit yields seeds with lower viability. Marking your seed tomato with twine early in the season prevents accidental harvest.
How Do You Ferment Tomato Seeds? (48 to 72 Hours)
Each tomato seed is wrapped in a gelatinous sac containing natural germination inhibitors. This gel must be removed before you save tomato seeds for storage. Fermentation: letting seeds sit in water for a couple of days, dissolves the gel, strips away the inhibitors, and produces compounds that suppress seed-borne pathogens like bacterial spot and speck. University of Georgia Extension notes that the fermentation method “removes any germination inhibitors that may be in the gel surrounding the seeds” and that “the fermentation process produces antibiotics that work to eliminate seedborne pathogens.”
To get started:
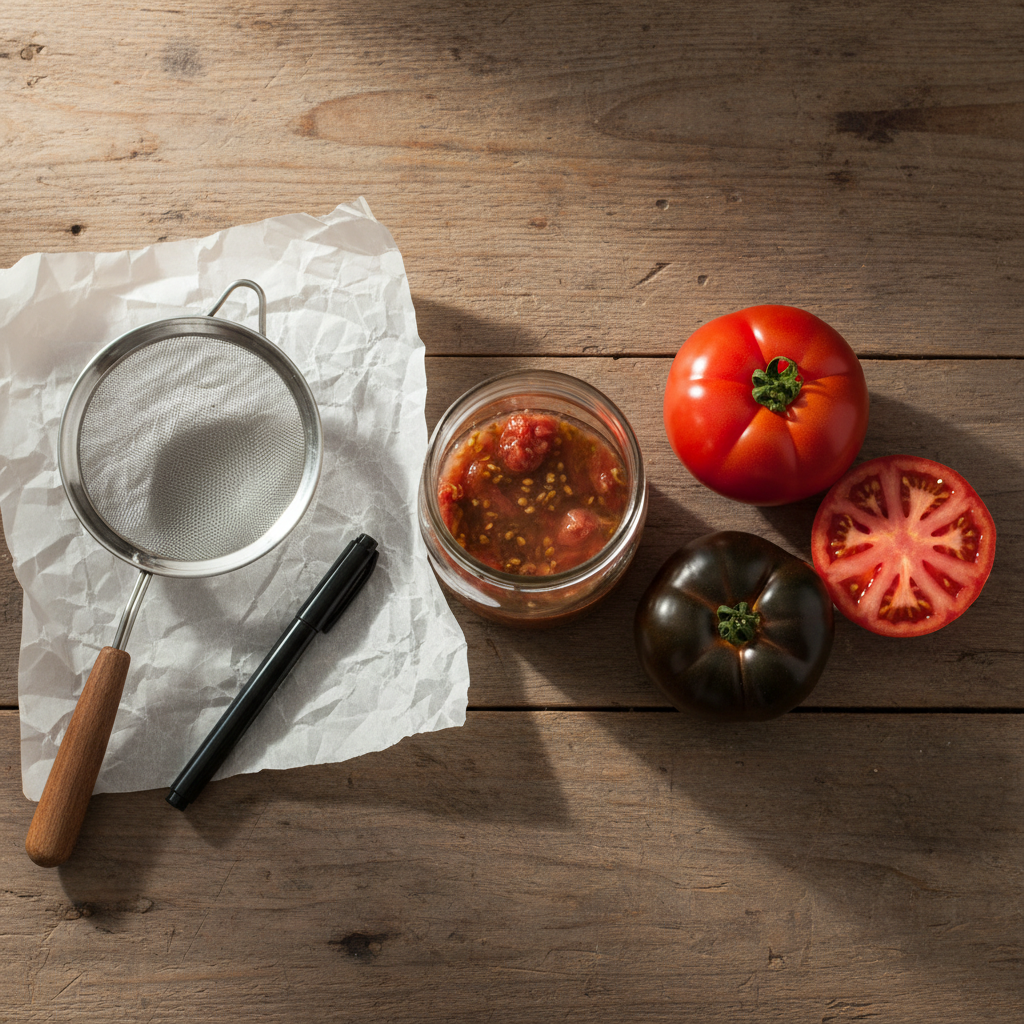
- Cut the tomato in half across its equator (not through the stem end).
- Squeeze or scoop the seed-filled chambers into a glass jar. Use a spoon to scrape out any clinging seeds. Include the gel and juice, this is your fermentation medium.
- Add roughly equal parts water to the seed-and-gel mixture.
- Cover the jar loosely with cheesecloth or rest the lid on top without sealing. Fermentation produces gas.
- Set the jar in a warm spot (72–86°F / 22–30°C) out of direct sunlight, a kitchen counter works perfectly in late summer.
Stir or swirl the jar two to three times a day and watch for signs of progress: a white or gray mold layer forming on the surface, and viable seeds beginning to sink to the bottom while empty seed coats and debris float up.
University of Georgia Extension guidance puts the ideal window at 48 to 72 hours at 72–86°F. Research cited by extension educators has found that fermentation longer than three days can negatively affect germination rates, so err on the shorter side in a warm kitchen; a cooler room may need closer to 72 hours.
I made the mistake of letting a jar go four days once, the seeds still sprouted that spring, but germination was noticeably lower. Two days is enough. When the seeds are done, you will see a distinct mold layer on top, good seeds resting on the bottom, and empty seed coats floating with the debris.
University of Georgia Extension states that fermentation “removes any germination inhibitors that may be in the gel surrounding the seeds” and “produces antibiotics that work to eliminate seedborne pathogens.” The recommended window is 48–72 hours at 72–86°F, beyond three days, germination rates measurably decline (UGA Extension, 2022).
How Do You Rinse and Dry Tomato Seeds After Fermentation?
Once fermentation is done, move quickly:
- Pour the jar’s contents through a fine-mesh strainer. Skim off and discard the mold layer and floating debris.
- Rinse the seeds vigorously under cool running water, rubbing them against the strainer to remove any remaining gel. Keep rinsing until water runs clear and seeds feel clean rather than slippery.
- Tap the strainer to shake off excess water, then spread seeds onto parchment paper or a smooth paper plate. UC ANR specifically advises against paper towels, seeds stick to the fibers and can tear when you try to remove them.
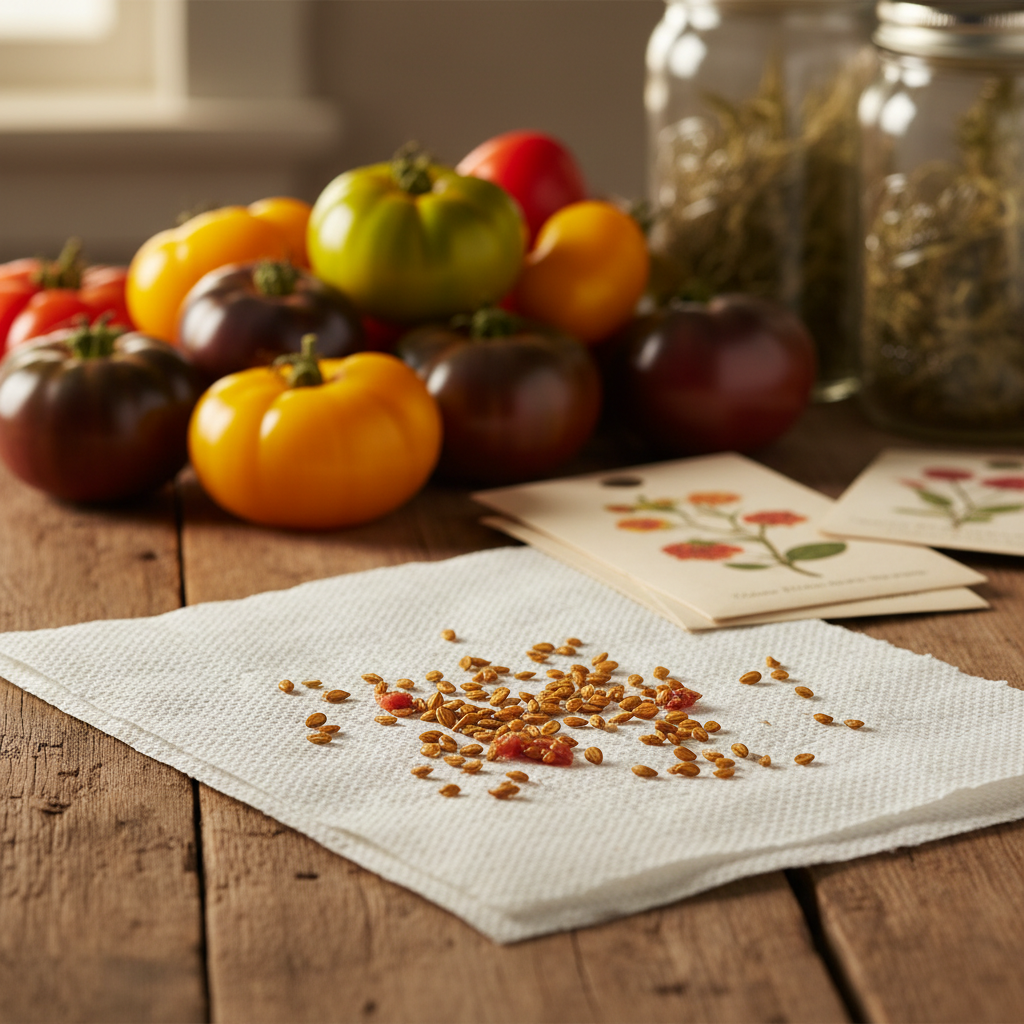
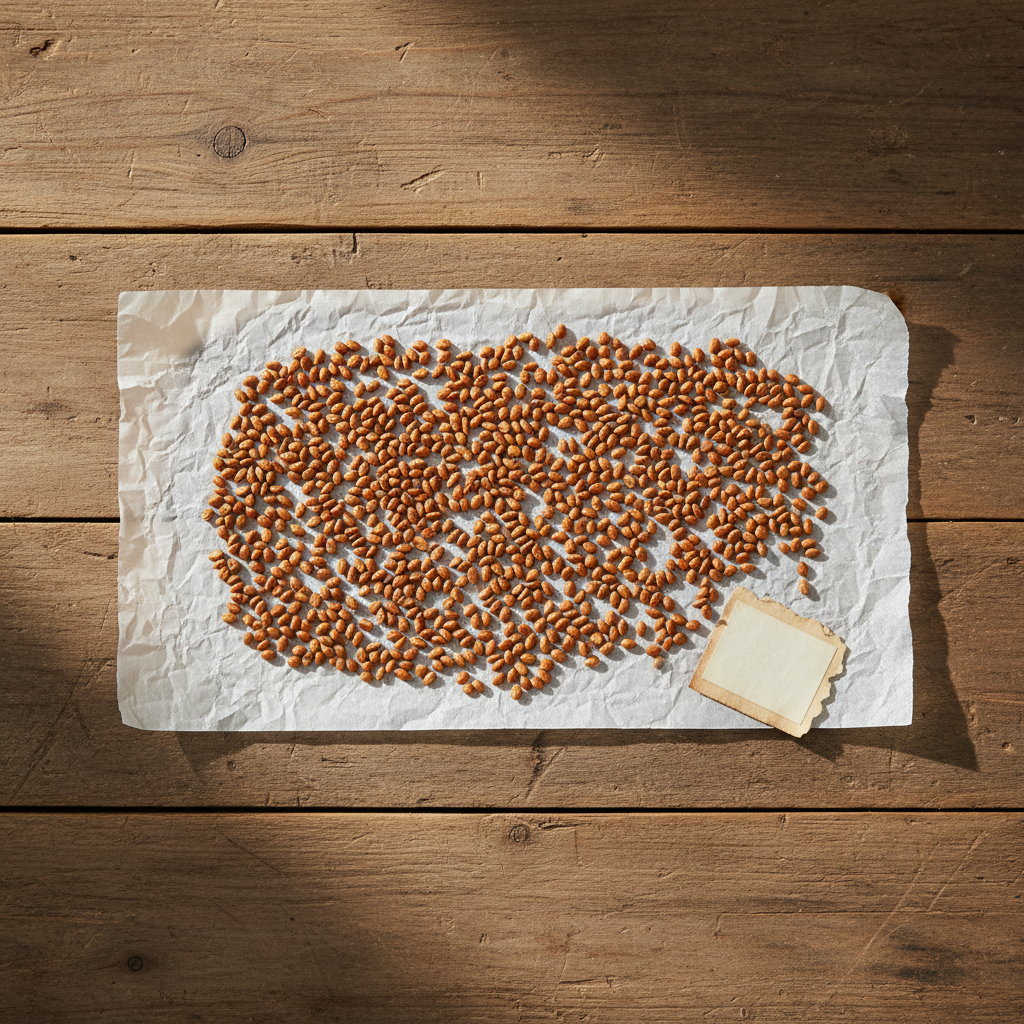
- Spread seeds in a single layer with no clumps touching. Label the paper immediately with variety name and date. Do this now, not later, memory is far less reliable once two or three varieties are drying side by side.
- Allow seeds to dry at room temperature in a well-ventilated spot for one to two weeks. A fan on low nearby speeds things up. Break apart any clumps daily.
- Seeds are fully dry when they snap cleanly if bent sharply. If they squish or bend, give them more time before storing.
UC ANR specifically warns against drying tomato seeds on paper towels, seeds adhere to the fibers and tear on removal. Use parchment paper or a smooth plate, spread in a single layer, and allow one to two weeks of room-temperature drying. Seeds are storage-ready only when they snap cleanly if bent.
How Should You Store Saved Tomato Seeds for Maximum Viability?
Proper storage is what separates seeds that germinate reliably in three years from seeds that fail in the spring. The two enemies of stored seed are heat and moisture, and the relationship between them and seed longevity is steep.

USDA Agricultural Research Service data shows that “seed longevity roughly doubles for every 10°F decrease in temperature and every 1% decrease in seed moisture content”, a seed stored at 40°F lasts approximately four times as long as the same seed at 60°F. That figure matters enormously when you are trying to hold onto a seed variety for multiple seasons.
For home seed saving:
- Short-term (1–3 years): Slip completely dry seeds into a labeled paper envelope, then place envelopes inside a sealed glass jar or metal tin. Store in a cool, dark cabinet below 60°F.
- Medium-term (3–5 years): Add a silica gel desiccant packet to your storage jar, seal tightly, and store in the refrigerator (32–41°F). Illinois Extension lists tomato seed viability at four to five years under good conditions. A practical rule of thumb: the sum of your storage temperature in °F plus the relative humidity percentage should stay below 100. Storing at 60°F with 30% RH (sum = 90) is good; storing at 70°F with 50% RH (sum = 120) degrades seeds quickly.
- Long-term (5+ years): Freeze in a sealed airtight container. Seeds must be completely dry first, any residual moisture expands during freezing and can damage the seed. Bring the sealed container all the way to room temperature before opening to prevent condensation from damaging your seed packet.
For more on planning your seed-to-garden season, including when to start seeds indoors, see our seasonal planting guides.
USDA Agricultural Research Service data shows seed longevity “roughly doubles for every 10°F decrease in temperature and every 1% decrease in seed moisture content.” Illinois Extension lists tomato seed viability at 4–5 years under good conditions. The practical target: storage temperature (°F) plus relative humidity should sum below 100 (USDA ARS; Illinois Extension).
What Are the Most Common Mistakes When Saving Tomato Seeds?
Mistakes to Avoid When Saving Tomato Seeds
- Saving from hybrids. Check the seed packet before you plant, not after. Hybrid seeds produce unpredictable offspring. See our guide to choosing open-pollinated vegetable seeds if you are just getting started.
- Fermenting too long. Three days or more in warm weather measurably lowers germination rates. Set a phone timer, check daily, and stop at 48–72 hours.
- Drying on paper towels. Seeds stick hard and tear on removal. Use parchment paper or a paper plate every time.
- Storing seeds that aren’t fully dry. Even slightly damp seeds will mold in storage. The snap test: seeds should crack when bent sharply, is your clearance signal.
- Skipping the label. Thirty seconds now saves enormous confusion in March when you are standing in front of a dozen mystery envelopes.
- Storing in a warm spot. A cabinet above the stove or beside the dishwasher is far too warm and humid. Choose the coldest, driest location available.
Tips for Better Results
- Save from several fruits, not just one. A handful of tomatoes’ worth of seeds gives you a broader genetic sample and guards against individual fruit variation.
- Test old seeds before starting them indoors. Lay 10 seeds on a damp paper towel, fold it up, and keep it warm for a week. If fewer than seven germinate, sow more densely or source fresh seed that season.
- Date every packet and use oldest seed first. Rotate through your collection the way you would the pantry shelf.
- Keep a simple seed log. A notebook entry recording variety, harvest year, and germination test results pays dividends over multiple seasons of seed saving.

Frequently Asked Questions About Saving Tomato Seeds
Can I save seeds from grocery-store tomatoes?
Maybe: but with significant caveats. Most grocery store tomatoes are hybrid varieties, and seeds saved from them will not grow true. If you find labeled heirloom varieties (such as ‘Cherokee Purple’ or ‘Mortgage Lifter’) at a farmers’ market or specialty grocer, those are worth trying. In general, your most reliable results come from seeds you grew yourself from a known open-pollinated source.
Do I have to ferment, or can I just rinse and dry the seeds?
You can skip fermentation, seeds washed and dried without fermenting will often germinate fine, since the gel inhibitors break down naturally once seeds are planted in moist soil. That said, fermentation is the method most widely recommended by university extension services because it reliably removes the gel coat and reduces seed-borne disease risk. If you are dealing with any bacterial issues in your tomato patch, fermentation is worth the extra two days.
How many seeds does one tomato produce?
Enough for many seasons. A single medium tomato typically yields dozens of viable seeds, often more than you will plant in a year. Paste and beefsteak types vary widely by variety, but you rarely need more than one good fruit to stock up for the following season and share extras with a neighbor.
Will saved seeds produce plants identical to the parent?
With open-pollinated varieties, yes, very closely. Because tomatoes self-pollinate, saved seeds carry nearly the same genetics as the parent plant. Over multiple seasons of selecting from your best performers, the variety can even improve in adaptation to your specific conditions.
My fermentation jar smells terrible. Is that normal?
A sour, yeasty, or earthy smell is completely normal and expected during the two-to-three-day fermentation window. What you do not want is a truly putrid smell combined with dark, mushy seeds, that can signal the seeds themselves are rotting. Keep fermentation short (48–72 hours in warm weather) and you should not encounter this problem.
Can I save seeds from tomatoes that had disease problems?
It depends on the disease. Fungal issues like early blight or septoria leaf spot generally do not affect seeds. Bacterial diseases, particularly bacterial canker, can be seed-borne. Ask Extension recommends selecting seeds only from plants that showed no bacterial disease symptoms. Fermentation helps reduce bacterial load on seeds, but it is not a complete guarantee.
Saving tomato seeds is one of those quiet, unhurried tasks that connects the end of one season directly to the beginning of the next. You spend a few days with a jar on the counter and a week with seeds drying on the table, and in exchange you carry forward the exact flavor and character of the tomato that stopped you in the garden this August. Start with one variety, learn the feel of it, and you will find yourself saving more every year, that is how it always goes.