How to Grow Pumpkins and Winter Squash: From Seed to Storage
How Do You Start Pumpkin and Squash Seeds and Get Transplants Off to a Strong Start?
Start seeds indoors 2–3 weeks before your last expected frost date, using 4-inch peat pots or biodegradable containers that go directly into the ground, squash roots dislike disturbance. Sow two seeds per pot, ½ inch deep, in a seed-starting mix. Keep soil at 70–95°F for germination, which typically occurs in 5–10 days. Thin to the strongest seedling once both have sprouted. Harden off transplants over 7–10 days before moving them outside.
For direct sowing, the method most gardeners with long seasons prefer, wait until soil temperature reaches at least 60°F and all frost risk has passed. Sow 3–4 seeds per hill, 1 inch deep, spacing hills 6–8 feet apart for large pumpkins or 4–5 feet for bush-type winter squash. Thin to 2 plants per hill after germination.
Variety selection matters. Butternut squash and acorn squash are compact enough for smaller spaces. Atlantic Giant and Cinderella pumpkins need 50+ square feet per plant. If garden space is limited, choose vining types you can train along a fence or trellis. Days to maturity ranges from 75 days (acorn) to 120+ days (large carving pumpkins), so match your choice to your frost-free window.
According to the University of Minnesota Extension, cucurbits transplanted with disturbed roots show significantly higher transplant failure rates, another reason biodegradable pots are preferred over plastic cell trays for this crop family.
How Should You Prepare Soil and Feed Pumpkins All Season Long?
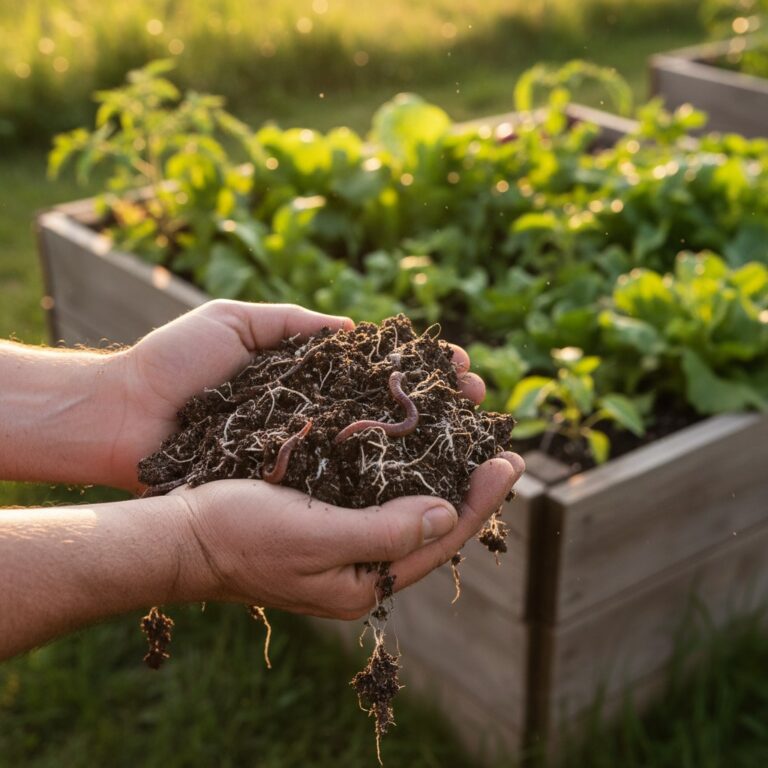
Pumpkins and winter squash are heavy feeders that reward generous soil preparation. Before planting, work 3–4 inches of finished compost into the top 12 inches of soil. Aim for a soil pH between 6.0 and 6.8. If your soil is compacted clay, raised mounds (hills) improve drainage and warm faster in spring, build them 8–10 inches tall and 2 feet across.
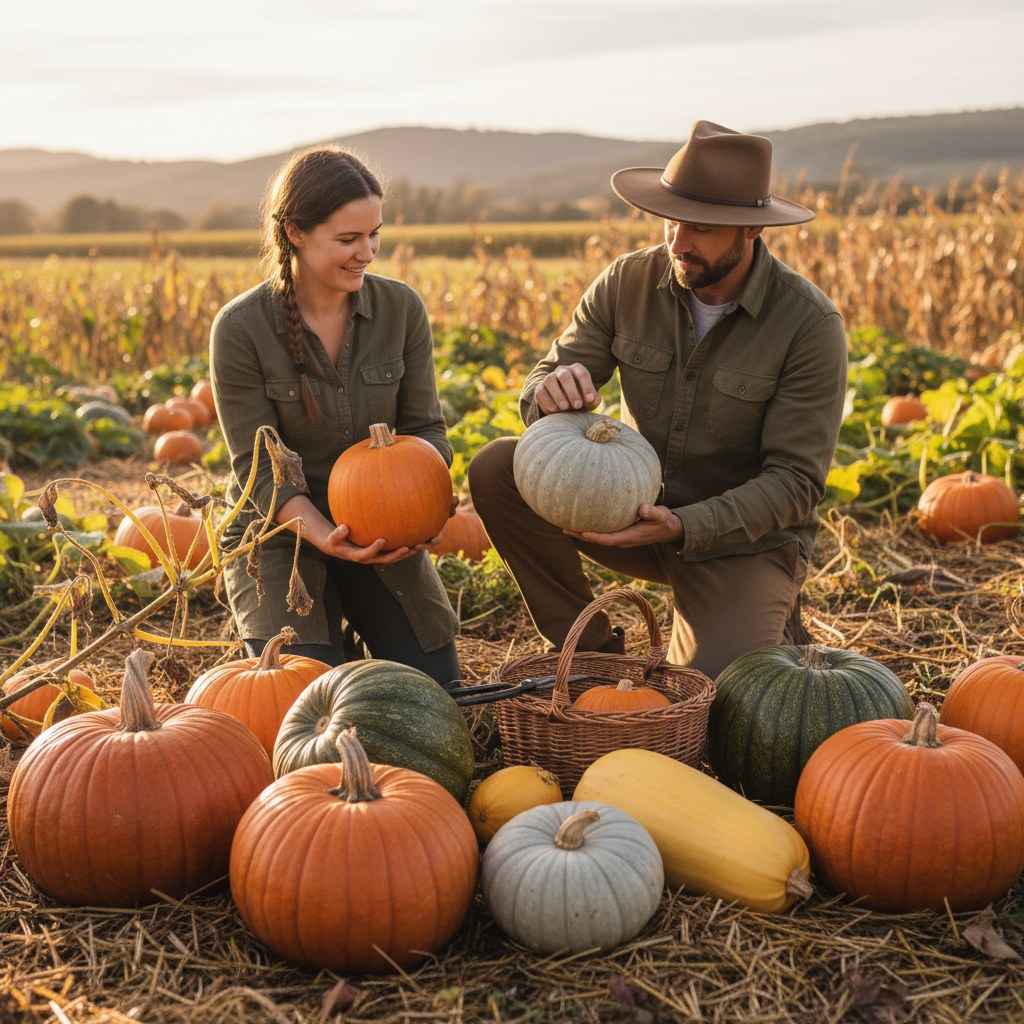
For a full guide on building soil fertility with homemade compost, see Composting 101: How to Turn Kitchen Scraps into Garden Gold. Rich compost reduces the need for synthetic inputs and feeds the beneficial soil biology that supports plant health through the full growing season.
At planting time, side-dress each hill with a balanced granular fertilizer (10-10-10) or an organic equivalent like composted chicken manure. Once vines begin to run (around 4–6 weeks after germination), switch to a lower-nitrogen feed such as 5-10-10. Excess nitrogen at this stage pushes leafy vine growth at the expense of fruit set. When fruits are actively sizing up, roughly 6–8 weeks before harvest, a potassium-rich amendment like greensand or wood ash supports skin hardening and sugar development.
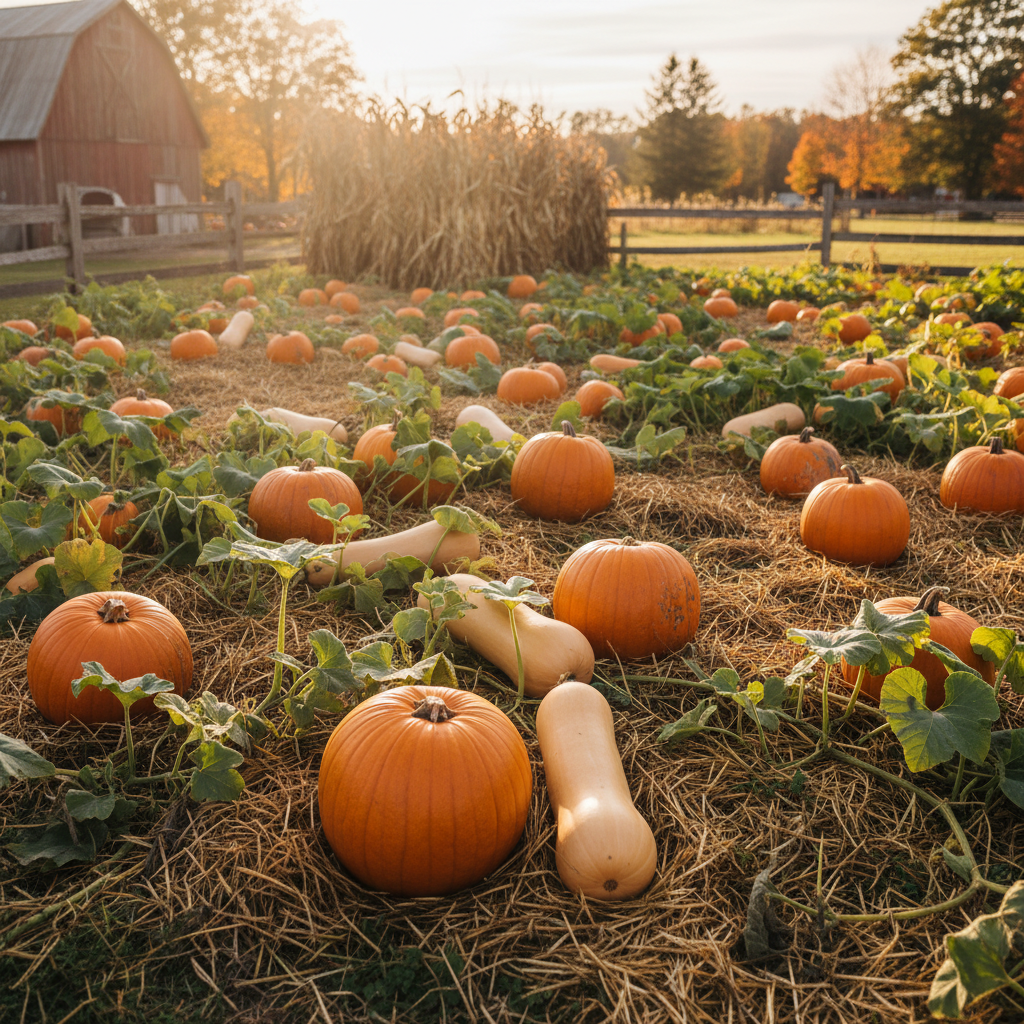
Water deeply and consistently, delivering 1–2 inches per week directly to the root zone. Drip irrigation or soaker hoses placed under the foliage canopy reduce foliar moisture that leads to disease. Avoid overhead watering whenever possible. Mulch with 3–4 inches of straw around each plant to conserve soil moisture, moderate soil temperature, and suppress weeds.
Why Should You Hand Pollinate Squash Flowers, and How Do You Do It?
Hand pollination is the fastest fix when you see fruits forming and then shriveling at the stem end, a sign of pollination failure. Squash and pumpkins produce separate male and female flowers on the same plant. Male flowers appear first, typically 1–2 weeks before female flowers. Female flowers are identifiable by a small immature fruit at the base of the blossom; male flowers sit on plain stems.
To hand pollinate, wait for both flower types to be fully open, which happens in the morning between roughly 6–10 a.m. Use a small clean paintbrush or simply pluck a male flower, peel back its petals, and brush the pollen-covered anther directly against the center of the female flower’s stigma. One male flower can pollinate 2–3 female flowers. Repeat on successive mornings for a given female flower if it hasn’t closed yet.
Low pollinator activity, due to cool mornings, rain, or a lack of flowering companion plants nearby, is the most common cause of poor fruit set. Planting borage, nasturtiums, and calendula around squash hills attracts bees at peak flowering hours. See our Companion Planting Guide: What to Grow Together and What to Keep Apart for specific planting combinations that draw pollinators and deter pests simultaneously.
If you grow only one plant of a given variety, you still get both male and female flowers, hand pollination works just as well as bee pollination for fruit set. The only scenario where cross-pollination between plants matters is seed saving: pumpkins and squash in the same species will cross-pollinate freely and produce variable seeds.
What Pests and Diseases Should You Watch For, and How Do You Manage Them?
The two most damaging threats to pumpkins and winter squash are squash vine borers and powdery mildew. Catching both early determines whether you save the crop or lose it.
Squash vine borer (Melittia cucurbitae) is a moth whose larvae tunnel into the base of stems in midsummer. The first sign is sudden wilting of an otherwise healthy vine and a sawdust-like frass at the stem base. Prevention is more effective than treatment: row cover from transplant until flowering blocks adult moths from laying eggs. If you choose not to use row cover, inspect stems daily starting in early summer. When you find an entry hole, use a thin knife to slit the stem lengthwise, remove the larva, and mound soil over the wound, the vine often re-roots. Succession planting a second crop in late June can provide a second chance after early plants are lost.
Powdery mildew appears as white powdery patches on leaf surfaces, typically in late summer when nights cool and humidity rises. It rarely kills plants outright but reduces photosynthesis and can shorten the season. Spray affected leaves with a solution of 1 tablespoon baking soda + 1 teaspoon horticultural oil per gallon of water, or use a diluted milk spray (40% milk, 60% water) at weekly intervals. Remove heavily infected leaves. Choose mildew-resistant varieties when possible. Butternut ‘Waltham’ and acorn ‘Table Ace’ have better resistance ratings than many older varieties.
Other pests to monitor: squash bugs cluster and lay bronze egg masses on the undersides of leaves in summer. Scrape off egg masses by hand and drop adults into soapy water. Cucumber beetles chew flowers and foliage and vector bacterial wilt, yellow sticky traps and row covers reduce pressure. Aphid colonies on young growth are usually controlled by beneficial insects; blast with water before resorting to any spray.
| Problem | Symptoms | Management |
|---|---|---|
| Squash vine borer | Wilting vines, stem frass | Row cover, stem surgery, succession planting |
| Powdery mildew | White powder on leaves | Baking soda spray, milk spray, resistant varieties |
| Squash bug | Wilting, bronze egg clusters | Hand-remove eggs, trap adults, neem oil |
| Cucumber beetle | Chewed flowers, bacterial wilt | Yellow traps, row cover, kaolin clay |
| Aphids | Curled leaves, sticky residue | Water blast, beneficial insects, insecticidal soap |
How Do You Train and Support Vines to Maximize Yield in Limited Space?
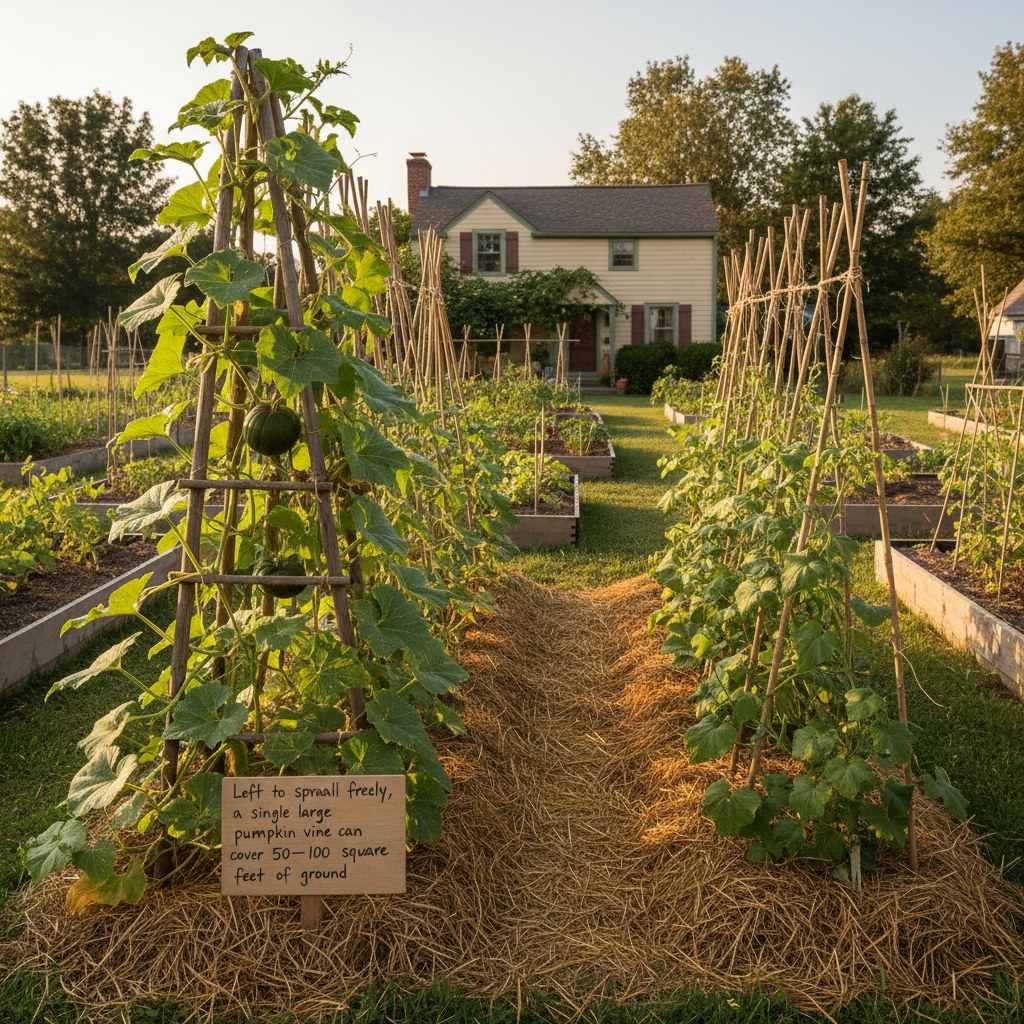
Left to sprawl freely, a single large pumpkin vine can cover 50–100 square feet of ground. Training and supporting vines allows most home gardeners to reclaim space while improving airflow, reducing disease pressure, and making fruit monitoring much easier.
The simplest method is directional training: guide vines away from pathways and other crops as they extend. Do this gently every few days while stems are still flexible. Pinch off secondary side vines once 2–3 fruits have set on the main vine, this concentrates the plant’s energy into sizing up existing fruits rather than setting new ones that won’t have time to mature.
For vertical growing, a sturdy trellis or cattle panel arch can support most winter squash varieties and small pumpkins up to about 10 pounds. Weave vines up the structure as they grow. Once fruits form, support each one in a sling made from old pantyhose, netting, or strips of fabric tied to the trellis above, the sling bears the fruit’s weight so the stem doesn’t snap. Large pumpkins (over 10–15 pounds) are not suitable for vertical growing; their weight will break stems or slings regardless of support.
Where space is genuinely tight, choose bush varieties: ‘Bush Delicata’, ‘Bush Buttercup’, or ‘Baby Bear’ pumpkin all stay under 4 feet in spread and produce full-sized edible fruits. These can be grown in raised beds, large containers (minimum 15-gallon), or at the edges of mixed planting beds.
Slip a tile, board, or piece of cardboard under fruits resting on the ground to prevent soil contact. Soil moisture invites rot on the bottom skin of developing fruits, especially during rainy periods.
How Do You Know When Pumpkins and Winter Squash Are Ready to Harvest?
Harvesting at the right time is critical, picking too early means immature flesh with poor flavor and short storage life; waiting too long risks frost damage or stem rot. The indicators are consistent across most varieties, though you should always note the days-to-maturity for your specific variety and count from transplant date.
Rind hardness: Press your thumbnail firmly against the skin. A ripe pumpkin or winter squash resists puncture. If your nail dents the skin easily, leave the fruit on the vine for another week.
Stem condition: The peduncle (the stem connecting fruit to vine) should be dry, brown, and corky at harvest time. A green, moist stem means the fruit is still immature regardless of how the rind looks.
Color: Pumpkins should be uniformly orange (or the variety’s mature color). Butternut should be tan with no green stripes. Acorn squash is ready when the orange ground spot on the bottom covers roughly 50% of the fruit surface.
Vine condition: When the vine nearest the fruit begins to yellow and die back, the fruit is nearing or at maturity.
Harvest with a clean sharp knife or pruners, cutting the stem 3–4 inches above the fruit. Never carry pumpkins by the stem, it can snap and leave a wound that allows rot to enter. Handle fruits gently to avoid nicking the rind, and harvest before the first hard frost, which damages skin and dramatically shortens storage life.
How Do You Cure Pumpkins and Squash to Extend Storage Life?
Curing is a post-harvest process that hardens the skin, heals any surface wounds, and converts starches to sugars, improving both shelf life and flavor. Most winter squash and pumpkins benefit from curing; acorn squash is the main exception, as curing can actually make it starchy and reduce quality.
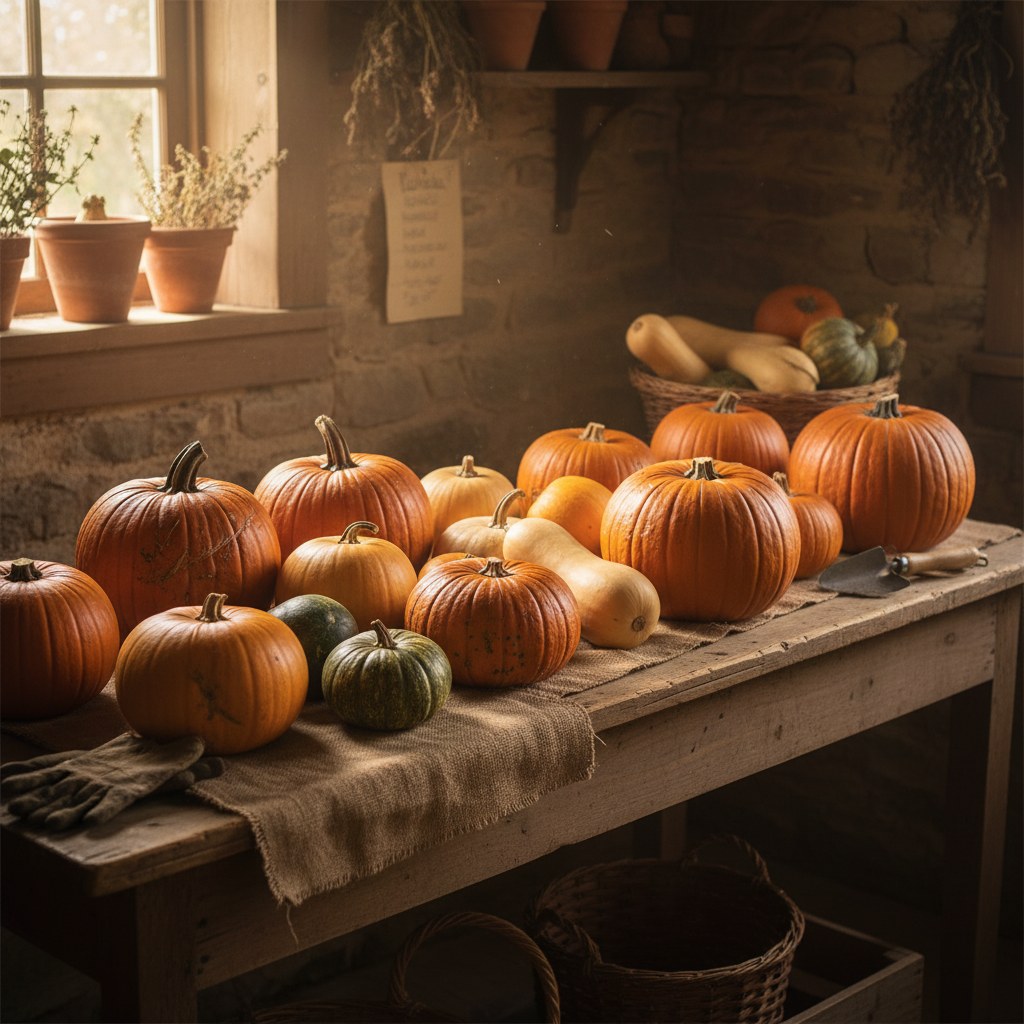
Place freshly harvested fruits in a warm (80–85°F), humid (80–85% relative humidity), well-ventilated location for 10–14 days. A greenhouse, sunny spare room, or heated garage works well in fall. Set fruits on a rack or wooden slats so air circulates underneath, do not stack them. A portable fan set to low keeps air moving and reduces the risk of mold on fruit surfaces during curing.
After curing, wipe each fruit with a cloth dampened in a diluted bleach solution (1 tablespoon per gallon of water) to kill surface mold spores. Let surfaces dry completely before moving to storage.
Butternuts and delicata squash cure well and store the longest. Large carving pumpkins typically store for 2–3 months; sugar pumpkins for 3–4 months. Hubbard squash and kabocha can last 4–6 months under ideal conditions. Label each fruit with variety and harvest date.
| Variety | Cure Temp | Cure Duration | Storage Life |
|---|---|---|---|
| Butternut | 80–85°F | 10–14 days | 4–6 months |
| Hubbard | 80–85°F | 10–14 days | 4–6 months |
| Sugar Pumpkin | 80–85°F | 10 days | 3–4 months |
| Acorn | No curing needed | , | 1–2 months |
| Delicata | 80–85°F | 10 days | 3–4 months |
| Carving Pumpkin | 80–85°F | 10 days | 2–3 months |
How Do You Store Pumpkins and Winter Squash Through Winter Without Losing Them to Rot?
Proper storage conditions are straightforward but non-negotiable. The two main killers in storage are temperature extremes and poor airflow. Keep these variables under control and most varieties will hold for months.
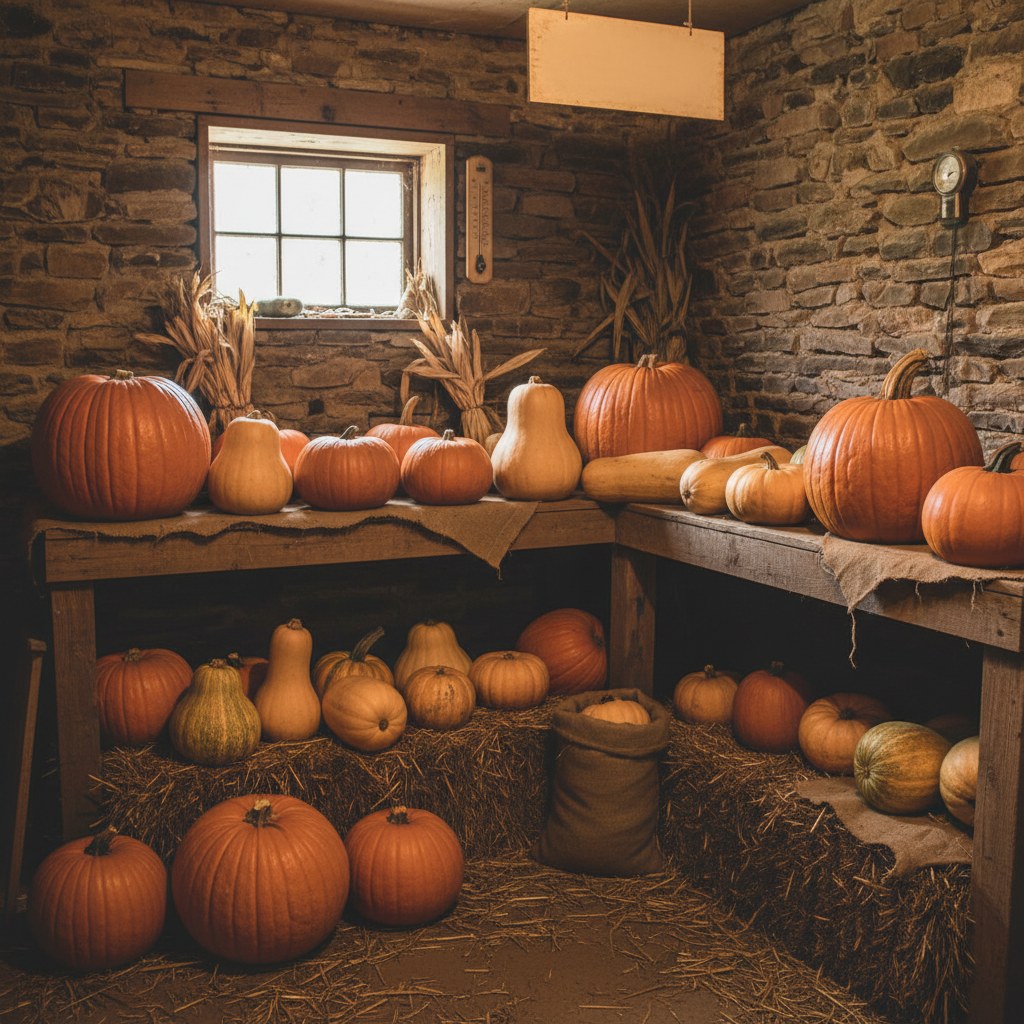
Store cured fruits at 50–60°F with 60–70% relative humidity. A cool pantry, basement shelf (away from the floor to avoid cold concrete chilling the fruit), or unheated spare bedroom typically falls in this range in autumn and winter. Avoid storing near apples or pears, these fruits emit ethylene gas that accelerates ripening and shortens squash storage life.
Do not store squash in a refrigerator. Temperatures below 50°F cause chilling injury, which manifests as soft spots and accelerated decay. The freezer is only appropriate for cooked, pureed squash, not whole fruits.
Arrange fruits in a single layer, not touching each other. Check your storage area every 1–2 weeks. Remove any fruit that shows soft spots, mold, or decay immediately, before it spreads to neighbors. A single rotting pumpkin can contaminate an entire shelf in under a week.
If a squash develops a soft spot but the flesh inside is still firm and bright, cut away the damaged area immediately, cook and eat the rest, or freeze the cooked flesh for later use. Nothing about a small surface blemish renders the flesh inedible, but once rot advances to the center, the fruit is lost.
Track your storage inventory by variety and harvest date. Eat fruits with shorter expected shelf lives first (acorn, small pumpkins) and save longer-storing types (butternut, Hubbard) for late winter use.
Frequently Asked Questions
Can pumpkins and winter squash cross-pollinate with each other?
Yes: but only varieties within the same species. Cucurbita pepo (most pumpkins, acorn, delicata) will cross freely with other C. Pepo varieties. C. Maxima (Hubbard, kabocha, Atlantic Giant) and C. Moschata (butternut) do not cross with C. Pepo. This matters only for seed saving, fruit quality in the current season is never affected by cross-pollination.
Why are my pumpkin vines growing vigorously but producing no fruit?
The most common causes are: only male flowers have opened so far (female flowers follow 1–2 weeks later), insufficient pollinator activity, or high-nitrogen soil driving leafy growth at the expense of fruiting. Back off nitrogen fertilizer once vines are established and ensure the garden has flowering plants to attract bees.
How many pumpkins does one plant produce?
Most large pumpkin varieties produce 2–5 fruits per plant. Small sugar pumpkins can yield 5–10 per plant. Winter squash like butternut typically produces 3–5 fruits. Pinching secondary vines and limiting fruits per plant to 2–3 produces larger, better-quality individual fruits.
Can I grow pumpkins in a raised bed?
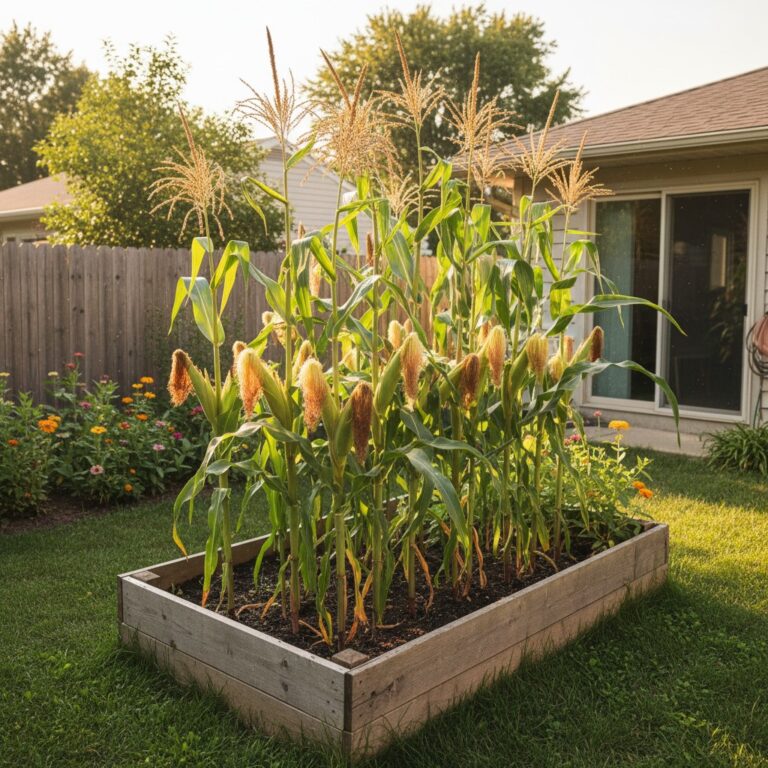
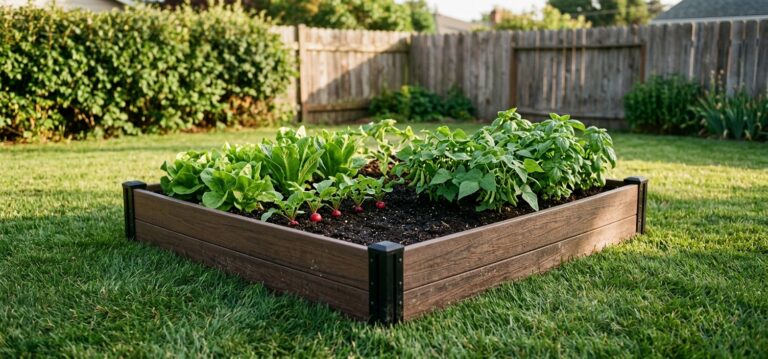
Yes, with planning. Choose a compact or bush variety and train vines over the edge of the bed and along the ground or up a trellis. A 4×8 raised bed can support one large-vining pumpkin if you’re willing to let the vine run outside the bed, or 2–3 bush-type squash plants grown vertically.
What causes pumpkin skin to turn orange before the vine dies?
Early color change can indicate the fruit is nearing maturity, especially if the stem is also drying. It can also signal stress: vine borer damage, root stress from drought, or disconnection of the fruit from the plant’s vascular system. Check the stem connection and the base of the main vine for borer damage. If the plant is otherwise healthy, early coloring may simply mean your variety is maturing on the early end of its range.