Growing Garlic: The Easiest Crop You Can Plant This Fall
Why Grow Garlic? The Case for the Easiest Allium
Garlic has been going into the in-ground row by the back fence every Columbus Day weekend for the past eight years, and it has never failed to come back. The one tweak that made a real difference was switching from grocery-store cloves to certified seed garlic in 2019. The bulbs came out noticeably larger and more uniform, and I saved the best heads each summer to replant, so that planting stock has effectively been adapting to Rhode Island winters ever since.
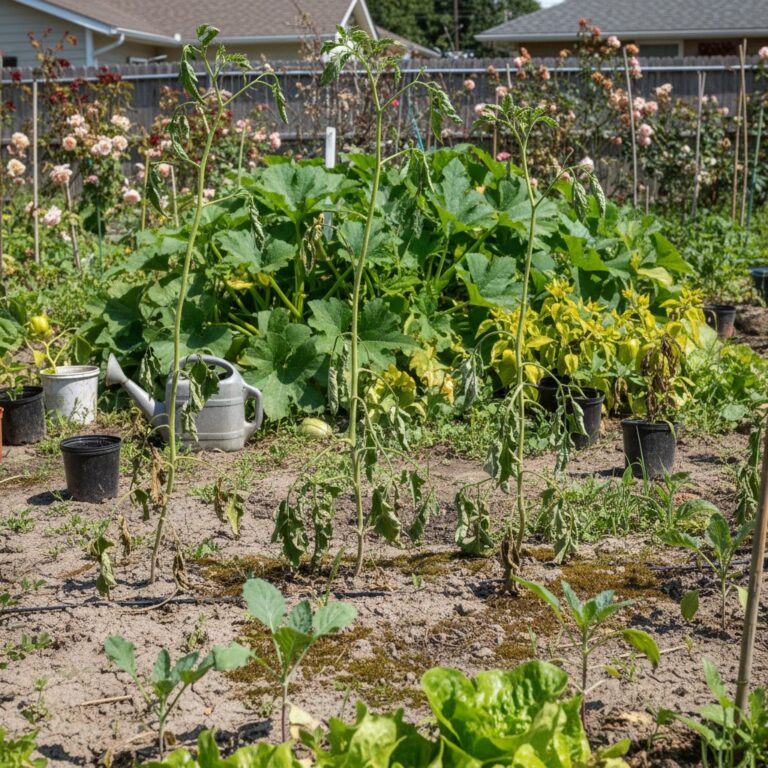
Garlic punches well above its weight in the homestead garden. A single 5-pound bag of seed garlic planted in fall reliably returns 40–50 bulbs the following summer, each one far larger and more flavorful than anything sold in a grocery store. Better still, garlic is almost entirely hands-off from November to June. You plant it, mulch it, and let winter do the heavy lifting while you do other things.
Garlic is also one of the only crops that improves your soil while it grows. The deep, fibrous roots of hardneck varieties help break up compacted ground, and the canopy shades out early spring weeds. From a pest standpoint, few insects or mammals bother garlic; the allicin compounds that make it delicious also act as natural deterrents.
For new homesteaders nervous about crop failure, garlic is an ideal confidence builder. Germination rates are high (you’re planting cloves, not seeds), winter cold is not a threat, it’s actually required, and the harvest window is forgiving. Even if you pull bulbs a week or two late, you’ll still have usable garlic.
Source: University of Vermont Extension, Growing Garlic in the Home Garden.
When Should You Plant Garlic? (Fall Is the Window)
Timing is the most critical decision in the garlic calendar. Cloves need 4–6 weeks of root establishment before the ground freezes solid, but they should not be so well-established that a warm November tricks them into sending up green tops that frost will kill. The sweet spot, in most of North America, is 3–6 weeks before your average first hard frost (28°F / -2°C).
For most of the northern US and Canada, that means mid-October to mid-November. Zones 5–7 hit October 1–15. Zones 3–4 need late September. Zones 8–9 can push planting all the way to January, though expect smaller bulbs because cloves get less vernalization time before the soil warms.
Why fall and not spring? Garlic cloves require a period of cold, called vernalization, to trigger bulb formation. Without it, you get a single, undivided “round” instead of a proper multi-clove head. Spring-planted garlic produces rounds; fall-planted garlic produces full bulbs. The difference in yield and flavor is significant.
Rule of thumb: In zone 6, plant garlic on Columbus Day weekend. Mark it on your calendar each year, it rarely fails.
Source: Cornell Cooperative Extension, Garlic Production for the Gardener.
Hardneck vs. Softneck: Which Garlic Variety Is Right for You?
Walk into any seed garlic supplier and you’ll face two main camps, hardneck and softneck, with dozens of cultivars within each. The right choice depends on your climate, culinary preferences, and storage goals.
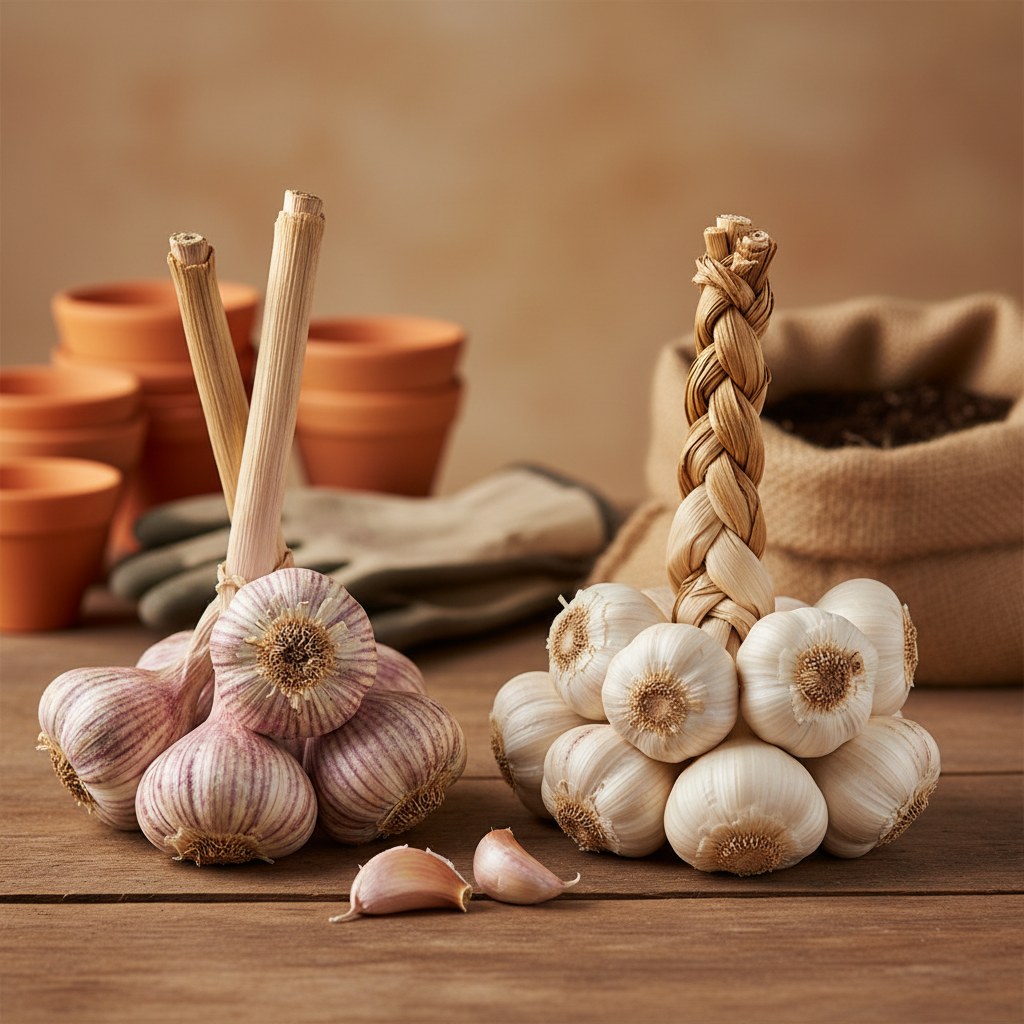
Hardneck garlic (Allium sativum ophioscorodon) develops a rigid central stalk (the “scape”) and typically produces 4–12 large, easy-to-peel cloves per bulb. It is more cold-hardy, making it the go-to for zones 3–6. Popular varieties include Rocambole (exceptional flavor, medium storage), Purple Stripe (long storage, beautiful), and Porcelain (fewest cloves per head but the largest, ideal for cooking). The flavor of hardneck garlic is generally considered more complex and pungent than softneck.
Softneck garlic ( Allium sativum sativum ) has no hard central stalk. That matters. It produces 10–20 cloves per bulb, more than a hardneck, though each runs smaller, and stores for up to 12 months under cool, dry conditions, making it the better choice if shelf life is your priority. Softneck thrives in zones 7–9. Artichoke and Silverskin are the most common subtypes; Silverskin is what you usually find in grocery stores.
If you’re in a cold climate, start with a Porcelain or Purple Stripe hardneck. If you want to braid garlic or live in a mild-winter area, a Silverskin softneck is your best bet.
Source: Rodale’s Organic Life, A Guide to Garlic Varieties.
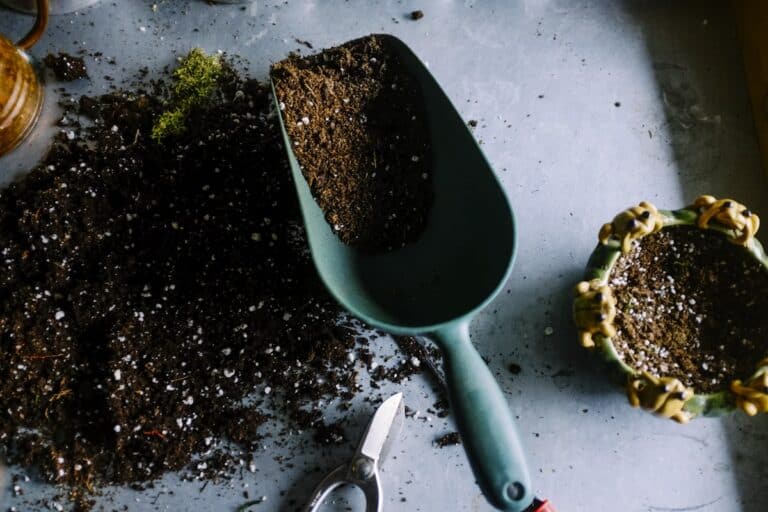
How to Prepare Your Soil for Garlic
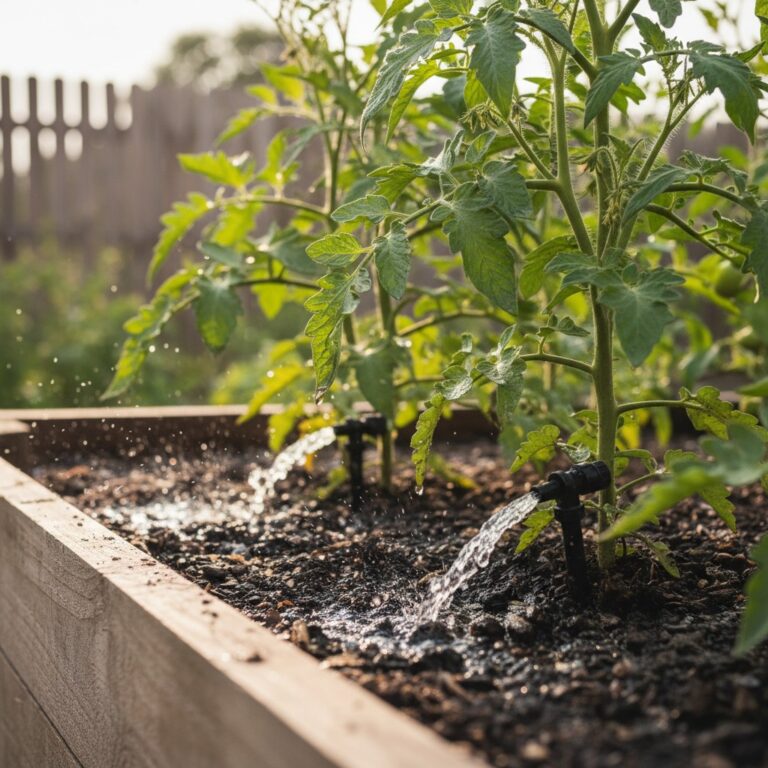
Garlic is not a heavy feeder, but it is extremely sensitive to waterlogged roots. The single most important soil requirement is good drainage. Cloves sitting in wet soil through a winter thaw will rot before spring, a silent, devastating failure you won’t discover until June.
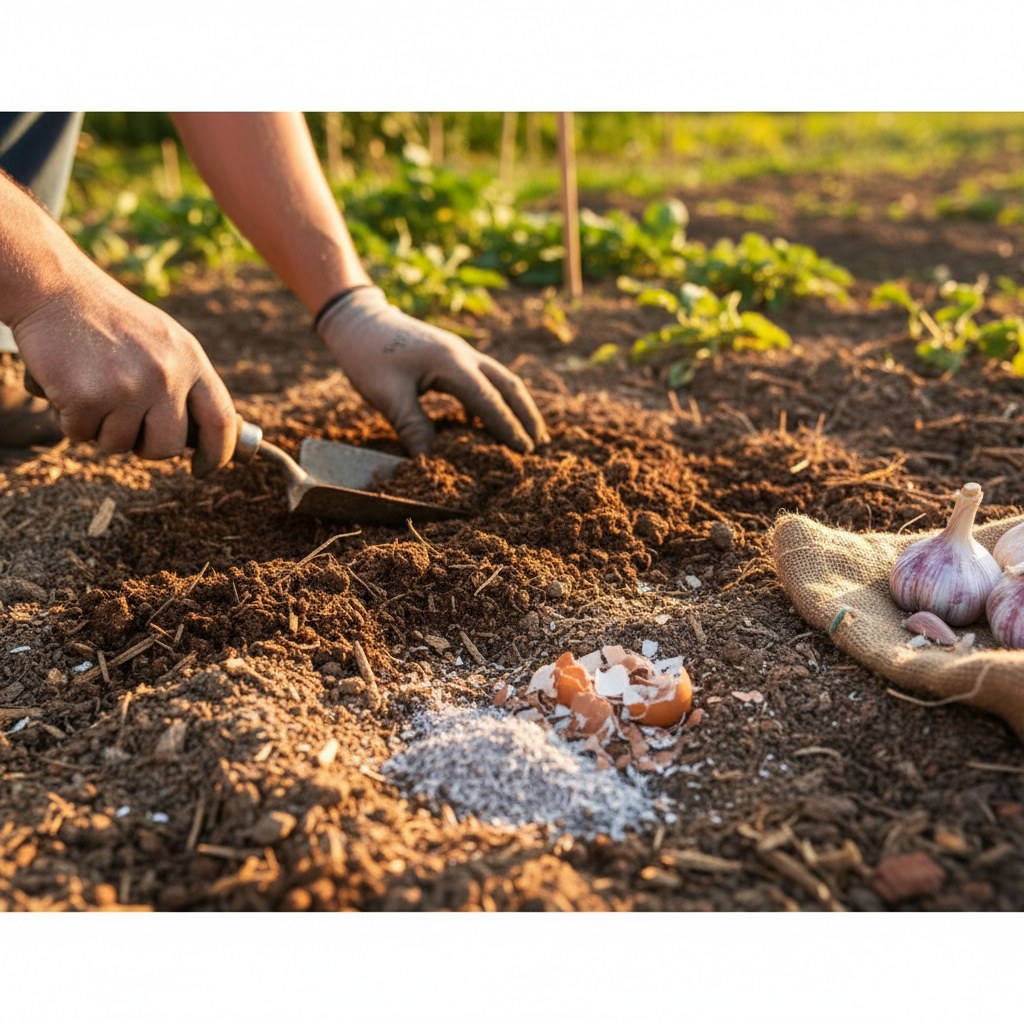
Target pH 6.0–7.0. Garlic handles slightly acidic soil better than most alliums do, but once you dip below 5.5 the chemistry actively works against bulb development and you’ll lose yield you can’t get back. A $15 test kit before planting is cheap insurance. See our guide on how to test and amend your garden soil for step-by-step instructions.
Work the bed to a depth of 8–10 inches, breaking up any clods. Incorporate 2–3 inches of mature compost or aged manure. Garlic benefits from phosphorus and potassium for root and bulb development, so a handful of bone meal or greensand per square foot is a worthwhile addition. Avoid fresh manure, the nitrogen is too hot and can burn emerging roots.
If your native soil is heavy clay, consider building a raised bed or mounding the garlic rows 4–6 inches above grade to encourage drainage. Even a slight elevation makes a meaningful difference in wet winters. For building excellent soil amendments, see our complete guide to composting kitchen scraps into garden gold.
Source: Penn State Extension, Garlic.
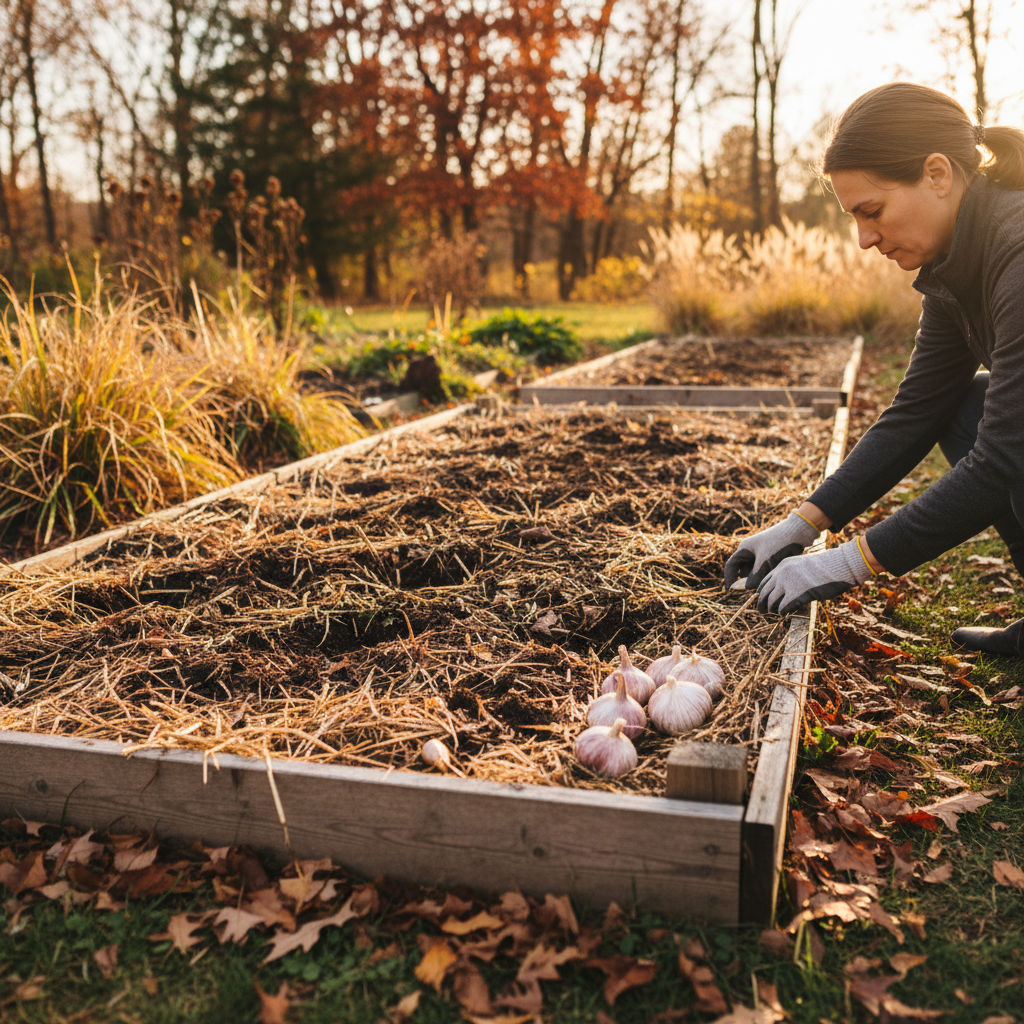
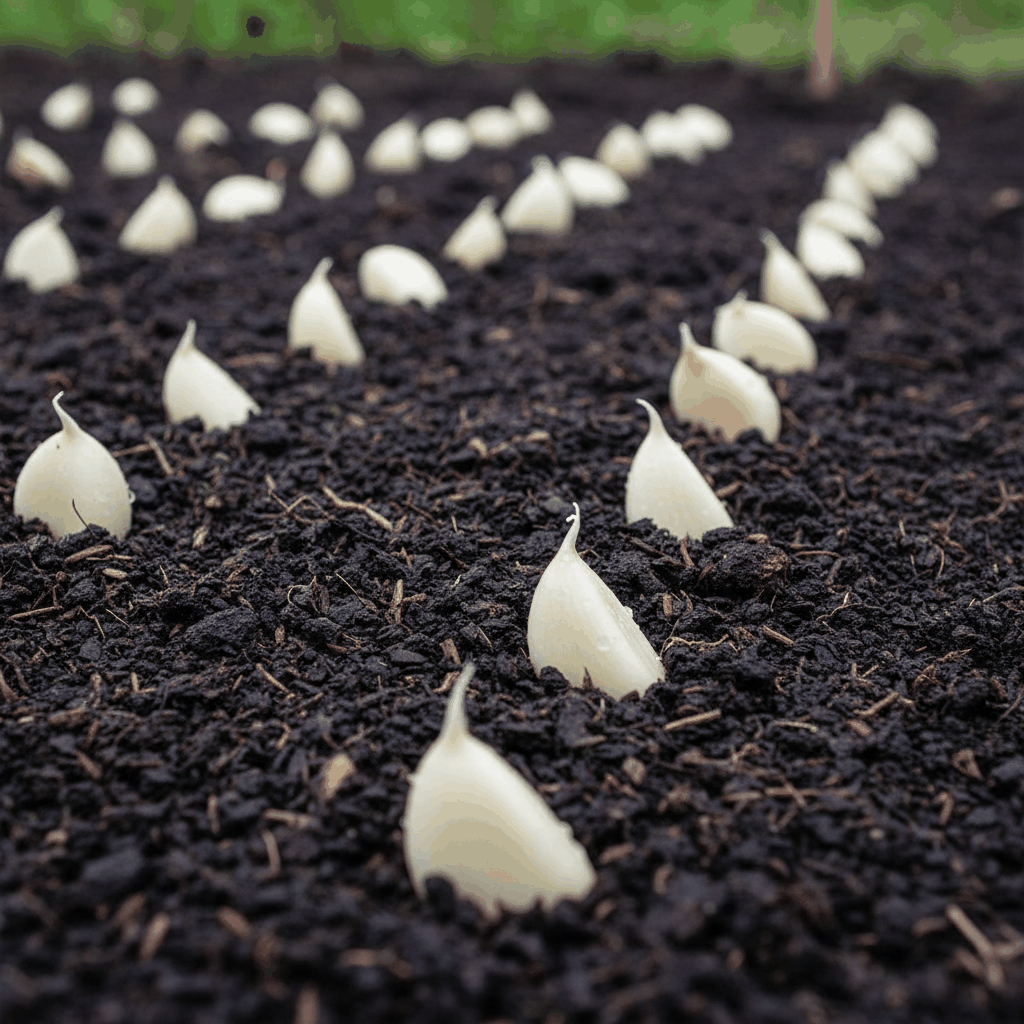
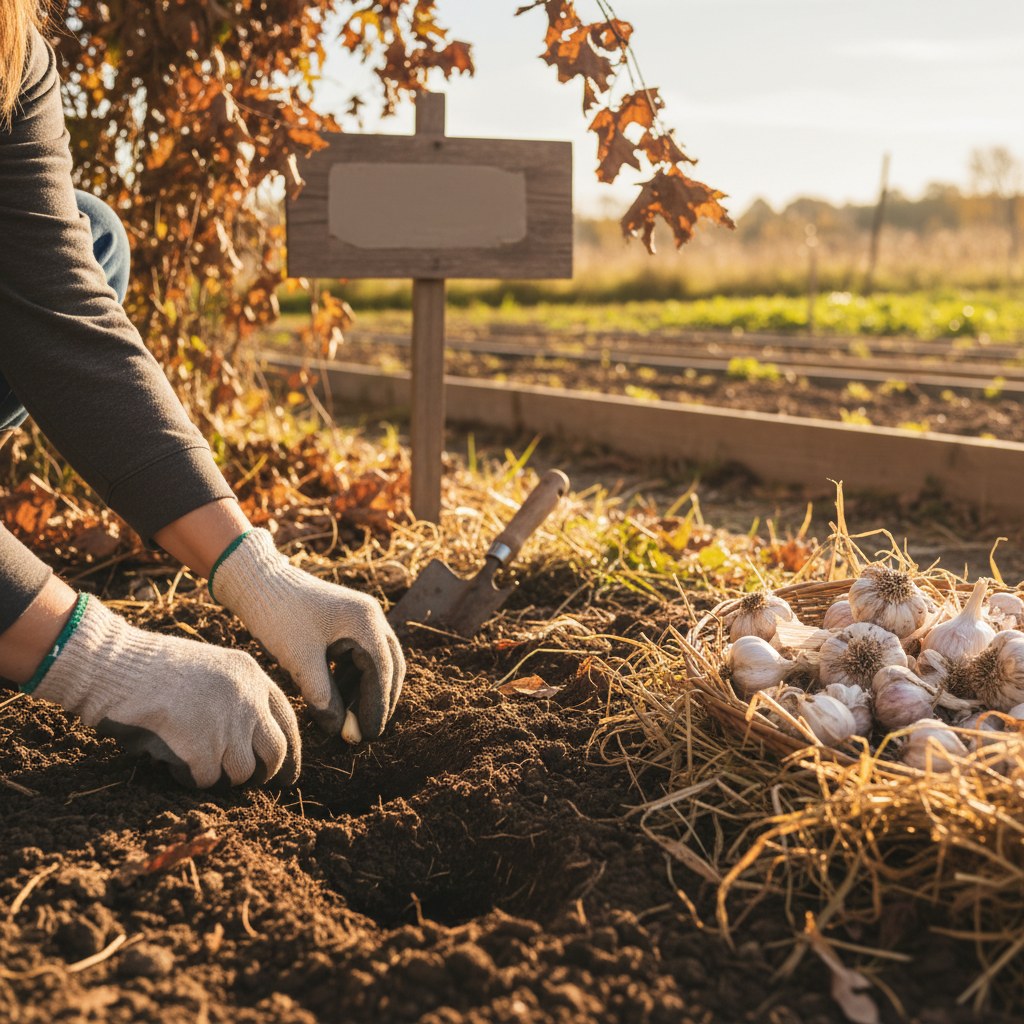
How to Plant Garlic: Pointy End Up, 2 Inches Deep, 6 Inches Apart
Planting garlic is gratifyingly simple once your bed is prepared. The cardinal rules are three: pointy end up, 2 inches deep, 6 inches apart.
Start by separating your seed garlic into individual cloves no more than 24 hours before planting, the papery skin helps protect the clove during its first weeks in the ground, and cracking bulbs too early dries them out. Discard any cloves that feel soft or show mold; only firm, healthy cloves will produce a good bulb. Generally, the largest cloves in a head produce the largest bulbs. Save your biggest cloves for planting and eat the small ones.
Use a dibble, finger, or trowel handle to make holes 2 inches deep in rows spaced 12 inches apart. Drop one clove per hole, flat root-plate down, pointed tip facing up. The pointed tip is where the shoot will emerge; if planted upside down, the clove will still grow, but it will expend extra energy correcting itself and may produce a deformed bulb. Cover with soil and firm gently.
Space cloves 6 inches apart within the row. Closer spacing (4 inches) is sometimes used where space is premium, but bulbs will be noticeably smaller. For large hardneck varieties like Porcelain, 8 inches gives the best results.
Water in after planting if the soil is dry. Then apply mulch immediately (see next section).
Source: Organic Gardening, How to Plant Garlic.
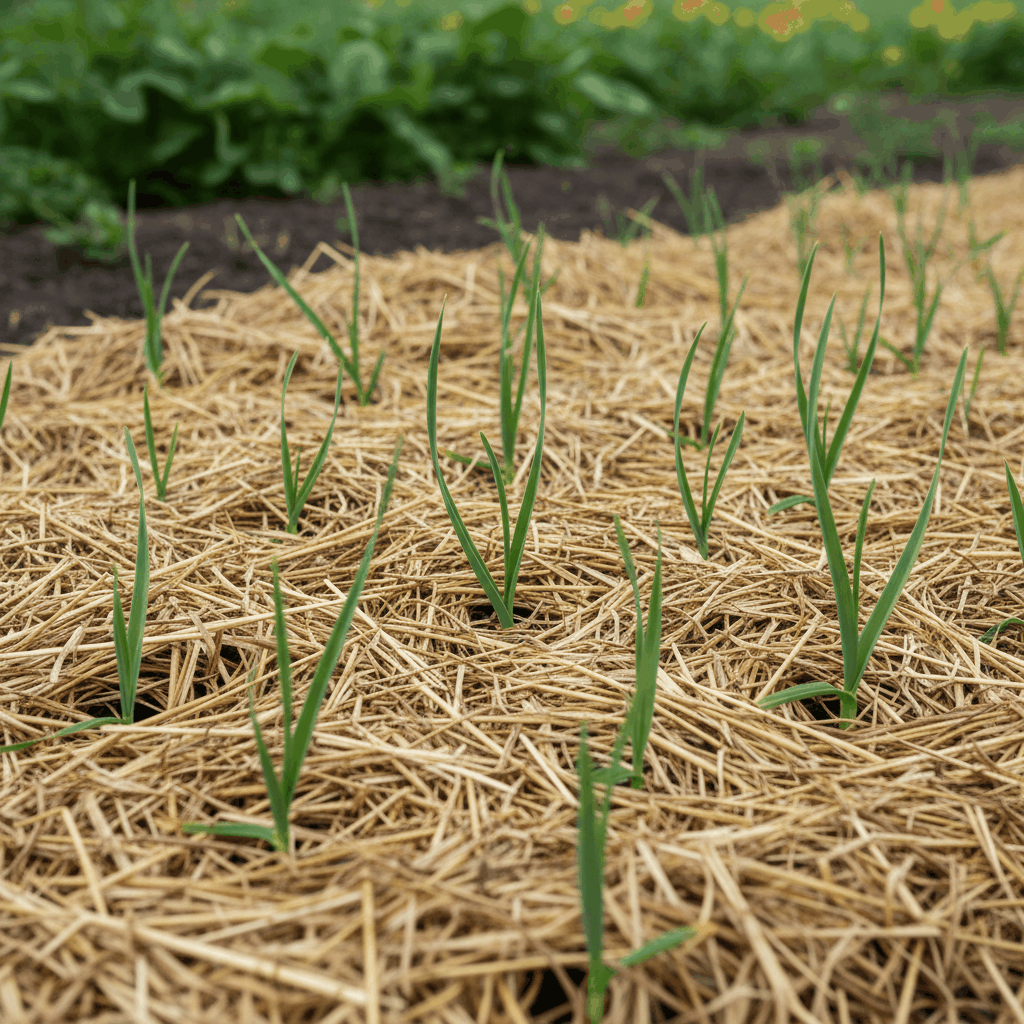
Winter and Spring Care: Mulch, Scapes, and Patience
Once planted, garlic needs two things through fall and winter: a good mulch layer and your confidence that nothing is happening on the surface even though plenty is happening underground.
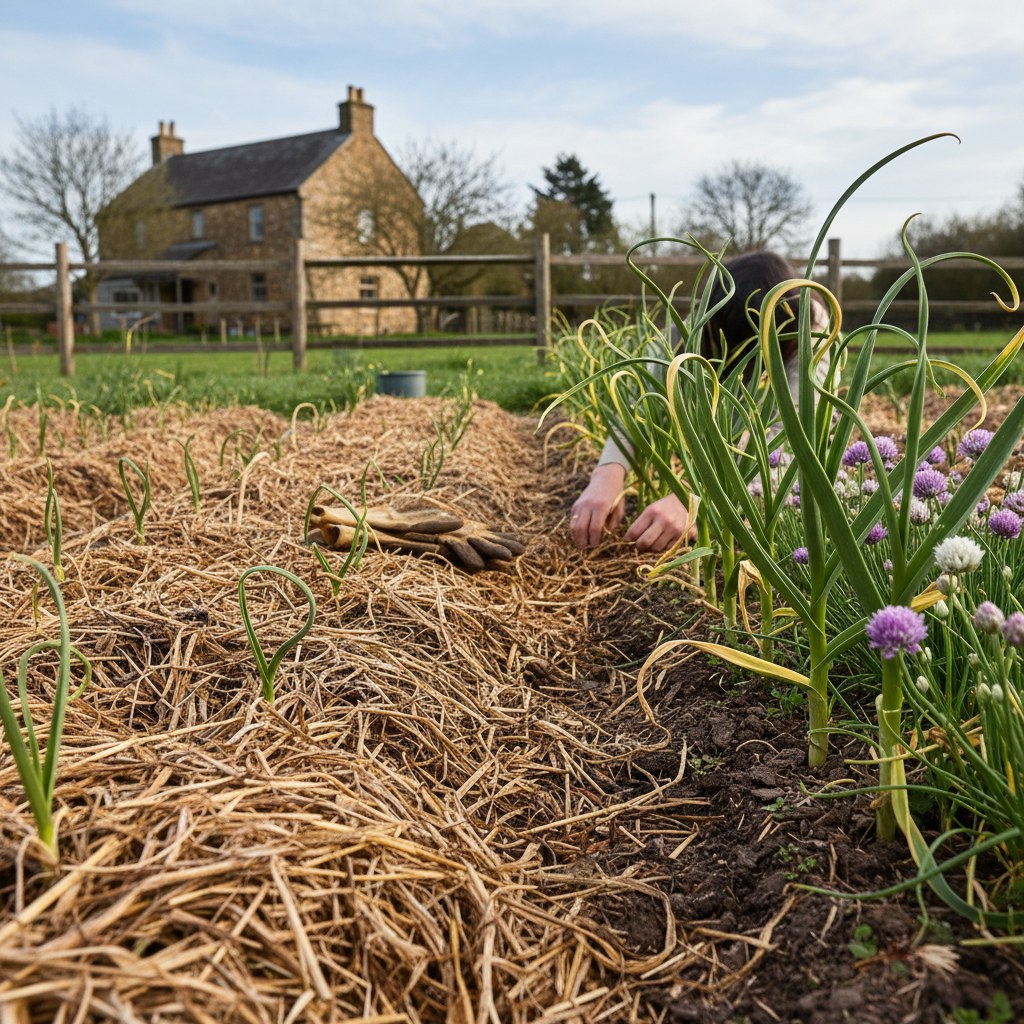
Mulching: Apply 4–6 inches of straw, shredded leaves, or wood chip mulch immediately after planting. The mulch serves multiple purposes: it moderates soil temperature during freeze-thaw cycles (the real killer of overwintering garlic), suppresses spring weeds, and retains moisture during the dry spells of early spring. In zones 3–5, 6 inches is the minimum. Pull the mulch back slightly in early spring once shoots are 2–3 inches tall to prevent fungal issues, then push it back around the plants as temperatures stabilize.
Feeding: Garlic appreciates a top-dress of balanced fertilizer or compost tea in early spring when shoots are actively growing. A nitrogen boost in March or April, when green growth is rapid, translates directly into larger bulbs. Stop all fertilizing by June 1. Late-season nitrogen encourages leaf growth at the expense of bulb development.
Scapes: Sometime in late May or June, hardneck plants will push up a curlicue green stem from the center, that’s the scape, and you want it off. Snap or cut it right at the base. Left alone, the scape forms a seed head (umbel) and pulls energy that should be building your bulb. Don’t waste them, though. Harvested scapes are a genuine early-summer treat: raw in pestos, tossed in a stir-fry, or thrown on the grill where they pick up a light char and taste like the mildest garlic you’ve ever eaten.
Softneck varieties don’t produce scapes, so this step is hardneck-specific.
Source: Mother Earth News, Growing Garlic.
When and How to Harvest Garlic
Harvest timing is where many first-time growers stumble, either pulling too early (small, undeveloped bulbs) or too late (cloves that have begun to separate, splitting the wrapper and reducing storage life). The reliable signal is the leaves.
Count the leaves. A garlic plant carries 8–10 of them, and each leaf maps to exactly one wrapper layer hugging the bulb, pull too early and you’re robbing yourself of protection that keeps it through winter storage. When the lower 4–5 have gone brown while the upper 3–4 stay green, dig. Zones 5–7 land in late June for softneck, mid-July for hardneck. Warmer gardens run 2–4 weeks earlier.
Don’t rely on calendar dates alone, soil temperature, rainfall, and the specific variety all affect timing. When in doubt, dig a test bulb from the edge of the row and cut it open. You should see fully formed, papery-wrapped cloves with no visible air gaps between cloves and wrapper.
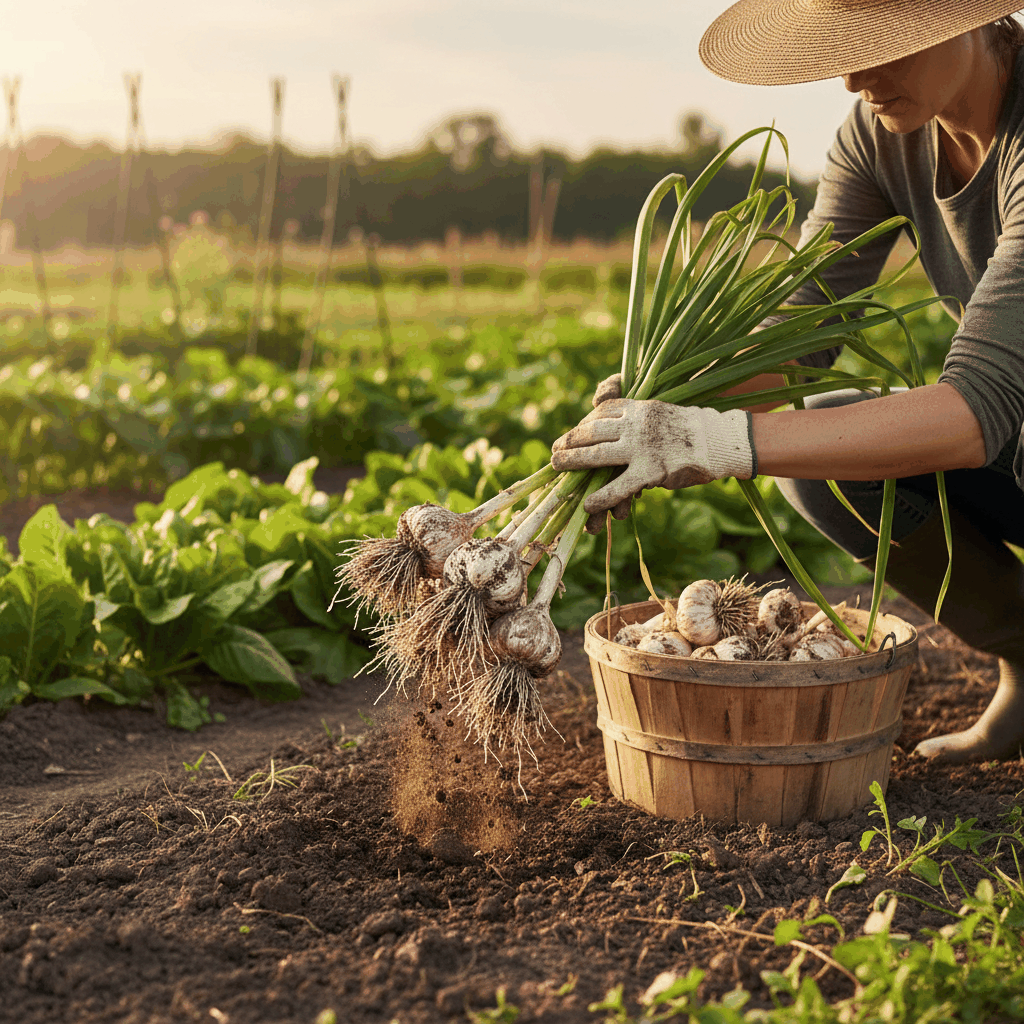
To harvest, loosen the soil with a garden fork 6 inches from the plant to avoid stabbing bulbs, then pull the entire plant by grasping the base of the stem. Shake off excess soil gently, don’t bang bulbs together, as bruising accelerates spoilage. Lay harvested plants flat in a shaded, well-ventilated area immediately. Never leave freshly harvested garlic in direct sun for more than an hour; the skin bleaches and quality declines.
Source: National Gardening Association, Growing Garlic.
How to Cure and Store Garlic So It Lasts All Year
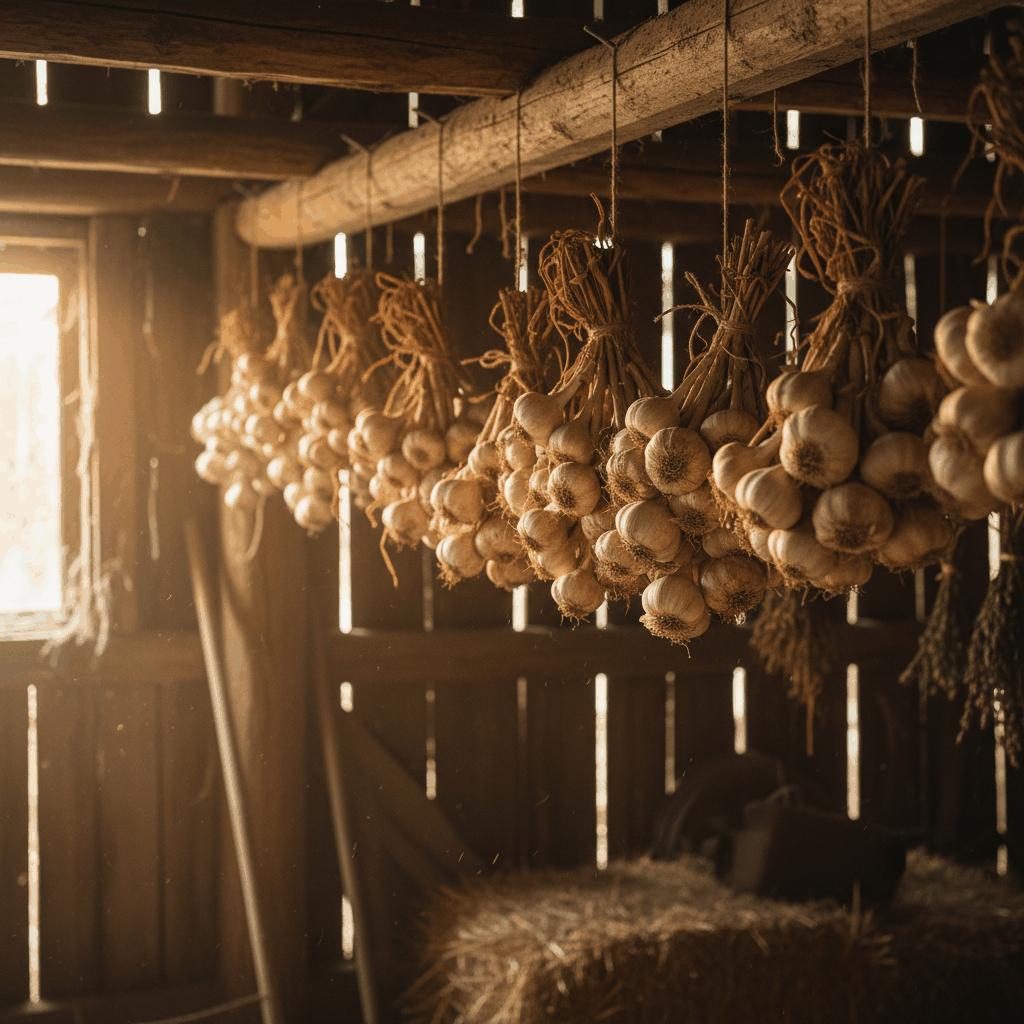
Curing is the final, non-negotiable step. Freshly harvested garlic contains significant moisture in the neck and outer wrappers. If you store it immediately, that moisture creates conditions for mold and bacterial rot. Curing dries and tightens the wrapper, creating the papery shell that protects the bulb for months.
Cure garlic by hanging bundles of 10–15 plants (tied at the stems with twine) in a shaded, dry, well-ventilated location, a barn, shed, covered porch, or garage works well. Aim for air temperatures of 75–80°F and good airflow; a box fan running on low nearby dramatically speeds the process. Alternatively, lay plants in single layers on wire racks or screens.
Curing takes 3–4 weeks for most hardneck varieties and up to 6 weeks for softneck. The bulbs are ready when the neck (the stem above the bulb) is completely dry and stiff with no flexibility, the wrappers are papery and tight, and the stems have lost their green color entirely.
Once cured, trim the roots to ½ inch and cut the stems to 1 inch above the bulb (or braid softneck varieties). Store in mesh bags, open baskets, or paper bags in a cool (55–65°F), dry, dark location with good airflow. Avoid plastic bags, which trap humidity. Properly cured and stored hardneck garlic lasts 4–6 months; softneck varieties last 6–12 months.
Reserve your largest, healthiest bulbs as seed garlic for next fall’s planting, the cycle continues indefinitely, and your garlic will adapt to your specific soil and climate over time.
Source: USDA Agricultural Research Service, Garlic Production and Postharvest Management.
Frequently Asked Questions About Growing Garlic
Can I plant garlic from the grocery store?
Technically yes, but it’s not recommended. Grocery store garlic is often treated with growth inhibitors to extend shelf life, and most is grown in China from varieties not adapted to North American climates. Seed garlic from a reputable supplier costs slightly more but is untreated, variety-labeled, and selected for vigor. You’ll get dramatically better results.
What happens if I plant garlic in spring instead of fall?
Spring-planted garlic misses the vernalization (cold exposure) required for bulb formation. Instead of dividing into cloves, the garlic grows as a single undivided round, edible, but much smaller than a proper bulb. If you missed fall planting, you can still plant in early spring; just expect “rounds” rather than full heads. Refrigerate your cloves for 4–6 weeks before spring planting to simulate vernalization.
How deep do I plant garlic cloves?
Plant garlic cloves 2 inches deep (measured from the tip of the clove to the soil surface). In colder climates (zones 3–4), plant 3 inches deep for extra frost protection. Too shallow and cloves may heave out of the ground during freeze-thaw cycles; too deep and emergence is sluggish.
What are garlic scapes and should I remove them?
Scapes are the curly flower stalks that hardneck garlic sends up in late spring or early summer. Yes, remove them, cutting or snapping the scape off redirects the plant’s energy from seed production back to bulb development, resulting in noticeably larger bulbs. Scapes are delicious: use them like green onions in stir-fries, pestos, or grilled as a side dish.
How do I know when garlic is ready to harvest?
Count the leaves. When the lower 4–5 leaves have turned brown and dried while the upper 3–4 leaves remain green, the garlic is ready. This typically happens in late June (softneck) or mid-July (hardneck) in zones 5–7. When uncertain, dig a test bulb from the edge of the row and inspect the clove development before harvesting the whole crop.