How to Build a Rain Garden: A Step-by-Step Guide for Your Yard
Every time it rains, water that once soaked peacefully into meadow and forest now has nowhere to go. Your roof, driveway, and sidewalks shed water fast, sending it rushing into storm drains, carrying fertilizers, motor oil, pet waste, and sediment straight into local creeks and rivers.
Learning how to build a rain garden is among the most impactful things a homesteader or home gardener can do for their land and watershed. A rain garden is a shallow, planted depression that captures runoff from impervious surfaces and lets it soak slowly into the soil. It is not a pond, water drains away within 24 to 48 hours after a storm, making it inhospitable to mosquitoes and safe for plant roots.
Research from the University of Minnesota Extension shows that a properly designed rain garden allows approximately 30% more water to infiltrate into the ground compared to a conventional lawn, recharging underground aquifers and reducing peak runoff flows. The U.S. EPA reports that rain gardens can filter roughly 90% of chemicals and 80% of sediments that would otherwise pollute waterways.
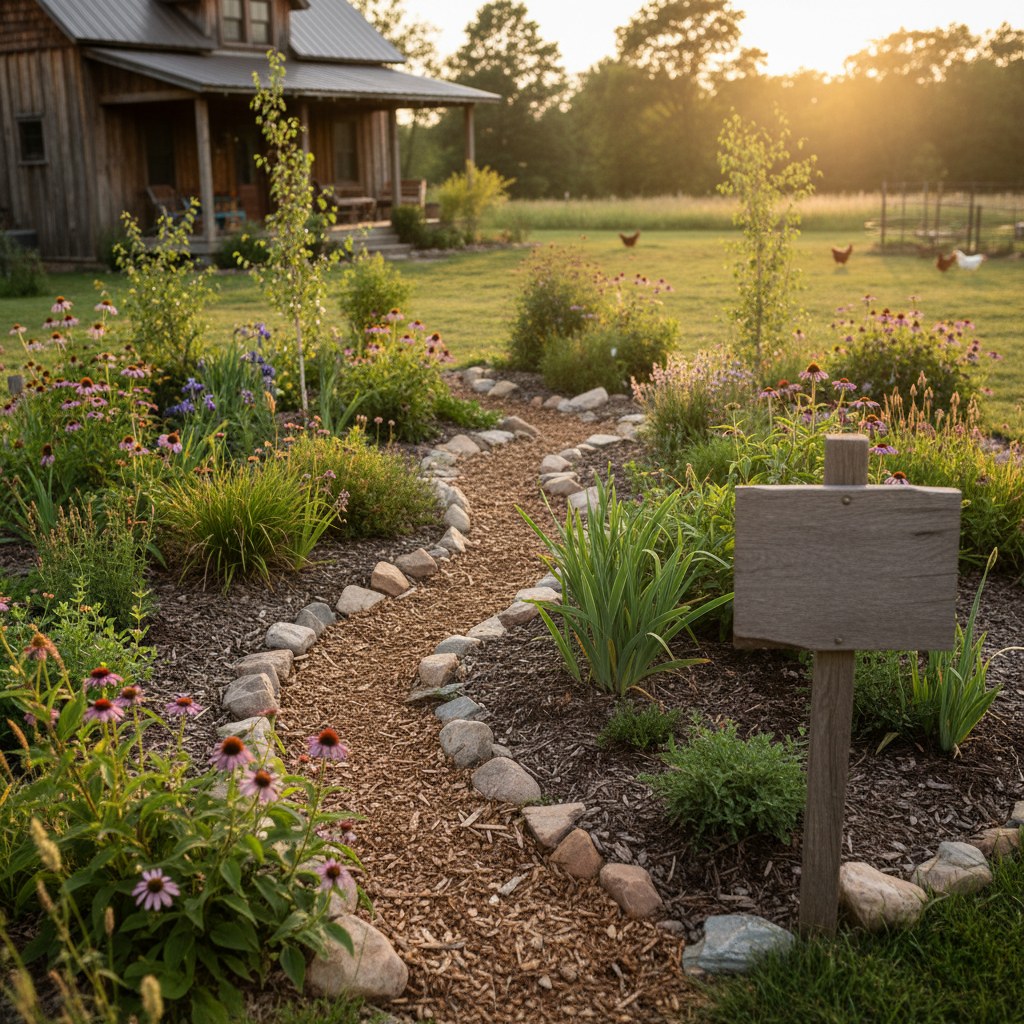
Beyond water quality, a rain garden fills a corner of your yard with beauty, native wildflowers that feed pollinators, deep-rooted grasses that hold soil, and seasonal interest from spring through fall. Once established (typically after the first growing season), they are remarkably low-maintenance.
This guide walks you through every step: choosing the location, testing your soil, sizing the garden, excavating, planting, and maintaining your rain garden for years of success. Whether your yard slopes gently toward the street or you have a problem low spot that turns into a temporary lake after every storm, there is a rain garden design that can work for you.
Before you break ground, take a moment to review how your yard handles water. Walk outside during a heavy rain and watch where water flows and collects. That observation will inform every decision you make in the steps below.
What You’ll Need: Rain Garden Tools and Supplies
Gather these materials before starting. The total cost for a typical 150-square-foot rain garden runs between $200 and $600, depending on plant choices and whether you amend the soil.
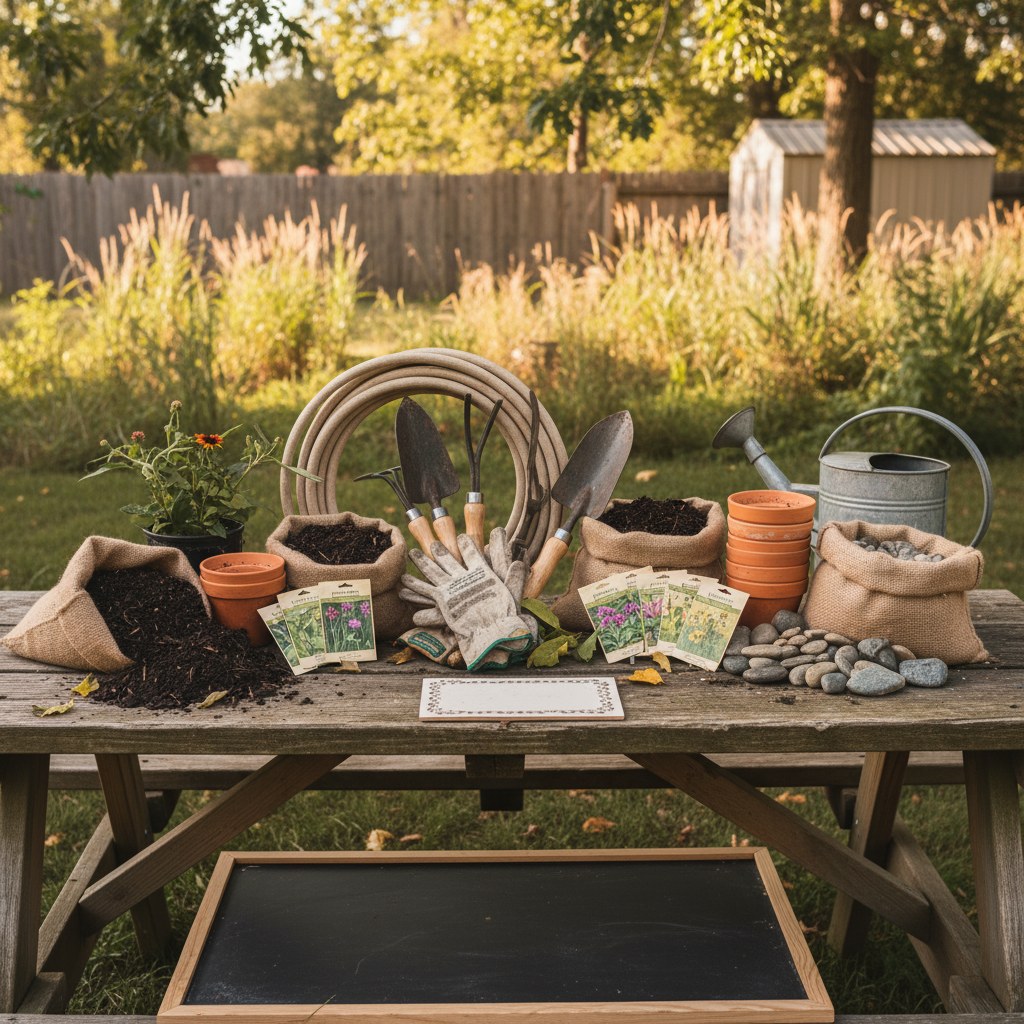
Tools
- Shovel or spade (flat-edged works best for cutting straight edges)
- Garden fork or tiller for loosening subsoil
- Wheelbarrow for moving soil and mulch
- Measuring tape and stakes with string for layout
- Level or laser level to ensure a flat basin bottom
- Perforated drain pipe (optional, for clay soil overflow)
- Garden hose for watering and for the simple percolation test
Materials
- Amended soil mix for clay sites: 50% coarse sand, 25% compost, 25% topsoil
- 2–3 inches of shredded hardwood or cedar mulch
- Native plants suited to your region and rain garden zones (see planting section below)
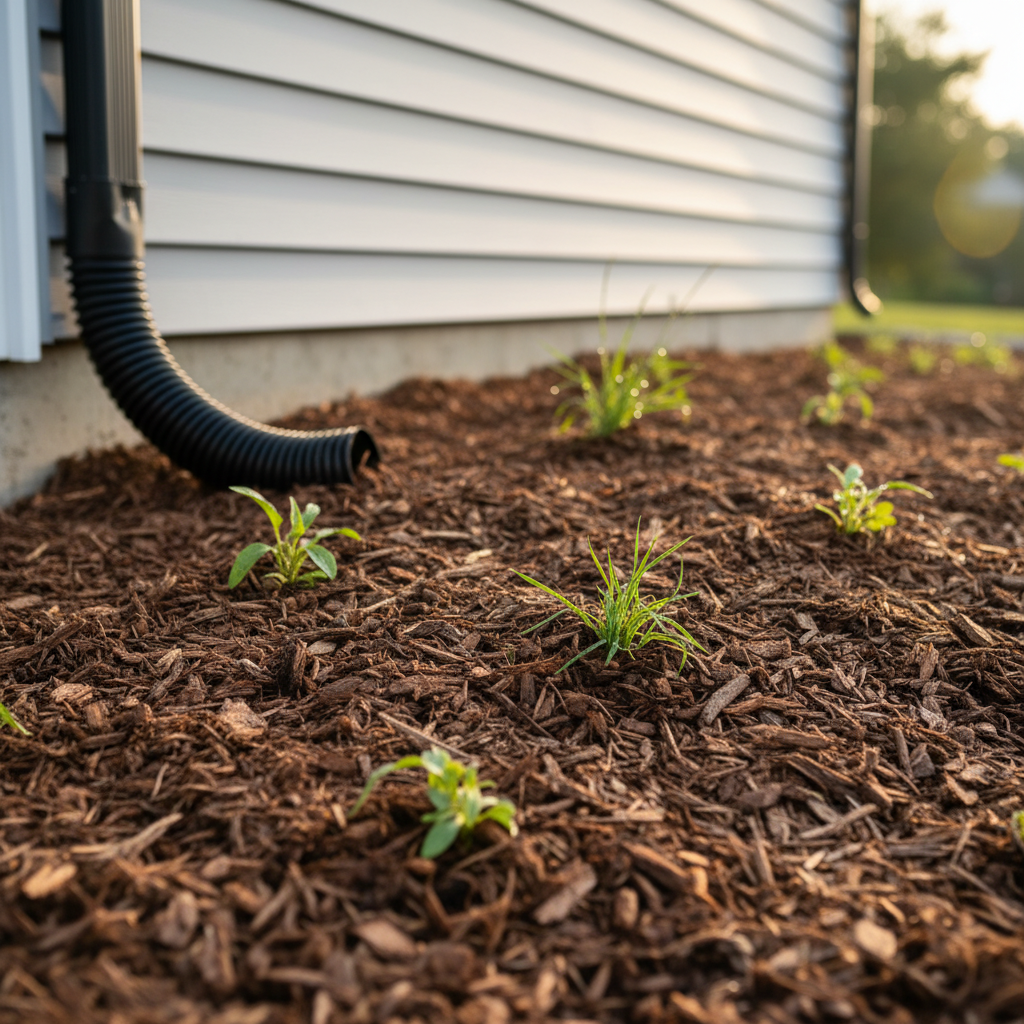
- Flexible downspout extension or corrugated drainage pipe to direct roof water to the garden
- Edging material (optional: stones, steel edging, or a planted grass border)
Sources: University of Minnesota Extension; Penn State Extension rain garden construction guides.
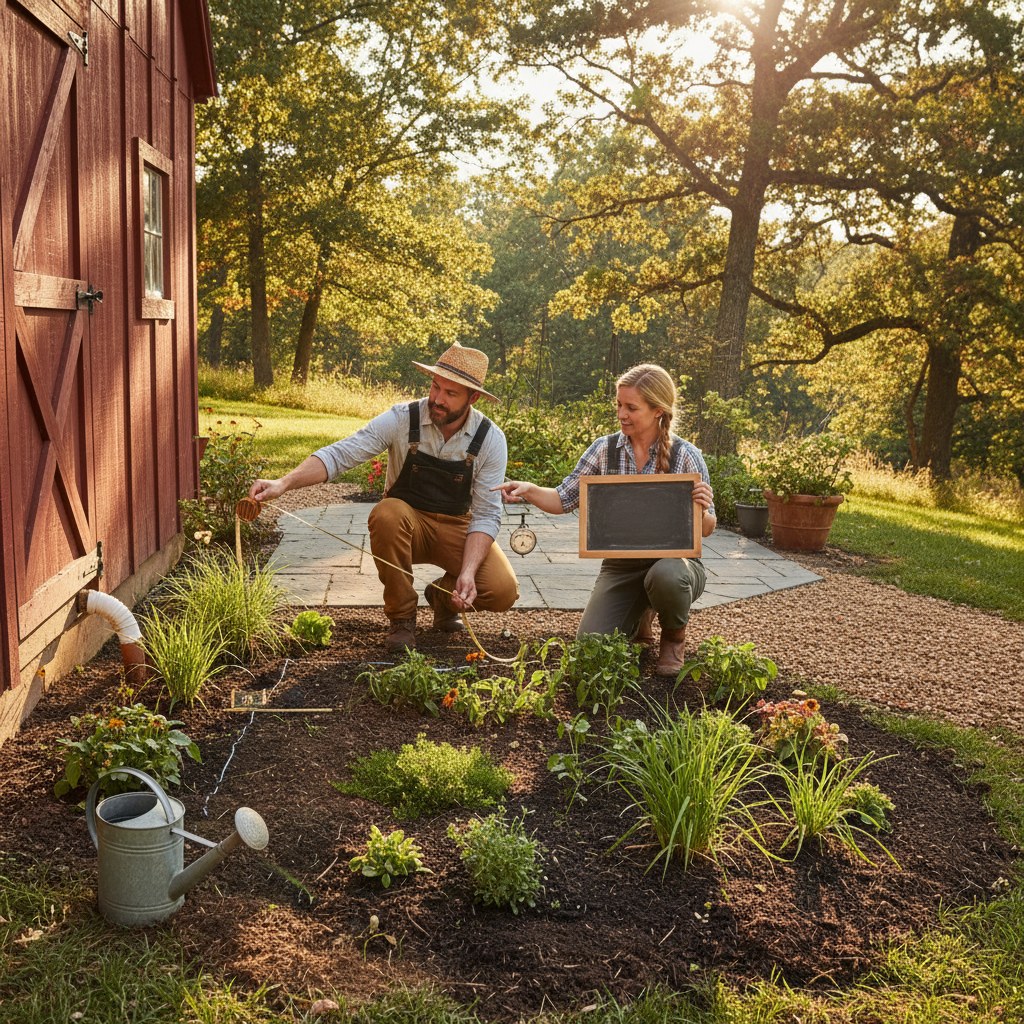
How Do You Choose the Right Location for a Rain Garden?
The right location is the single most important factor in a rain garden’s success. Follow these placement rules before you dig.
Required Setbacks
According to the University of Minnesota Extension and Penn State Extension, your rain garden must be:
- At least 10 feet from any building foundation. Water pooling next to your house can damage basements and cause structural problems. The farther the better, 20 feet is ideal if space allows.
- At least 35 feet from a septic system drain field. Additional water near a drain field can saturate the soil and prevent it from processing wastewater properly.
- At least 100 feet from a drinking water well. This protects groundwater from surface contaminants that rain gardens filter.
- Not over underground utility lines. Call 811 (the national “Call Before You Dig” number) at least three business days before excavating. This service is free and legally required in most states.
Where to Direct Runoff From
Rain gardens work best when they receive runoff from a defined impervious surface: a downspout, a driveway edge, a patio, or a path. Identify which surface you want to manage, then place the rain garden downhill from it, ideally 10 to 30 feet away, close enough to divert water with a simple pipe, far enough for safety setbacks.
A gentle slope (2–8% grade) is ideal, enough for water to flow toward the garden naturally but not so steep that it scours through the basin. If your yard is flat, you can still build a rain garden fed by a downspout extension.
If you’re also thinking about capturing roof water for garden irrigation, see our guide on backyard rainwater harvesting, these two systems work well together on a homestead.
Sources: University of Minnesota Extension; Penn State Extension; U.S. EPA “Soak Up the Rain” program.
How Do You Test Whether Your Soil Is Suitable for a Rain Garden?
Before sizing and building, you must know how fast your soil drains. A site where water does not drain within 24 hours is unsuitable for a standard rain garden, standing water longer than that drowns plant roots and creates mosquito habitat.
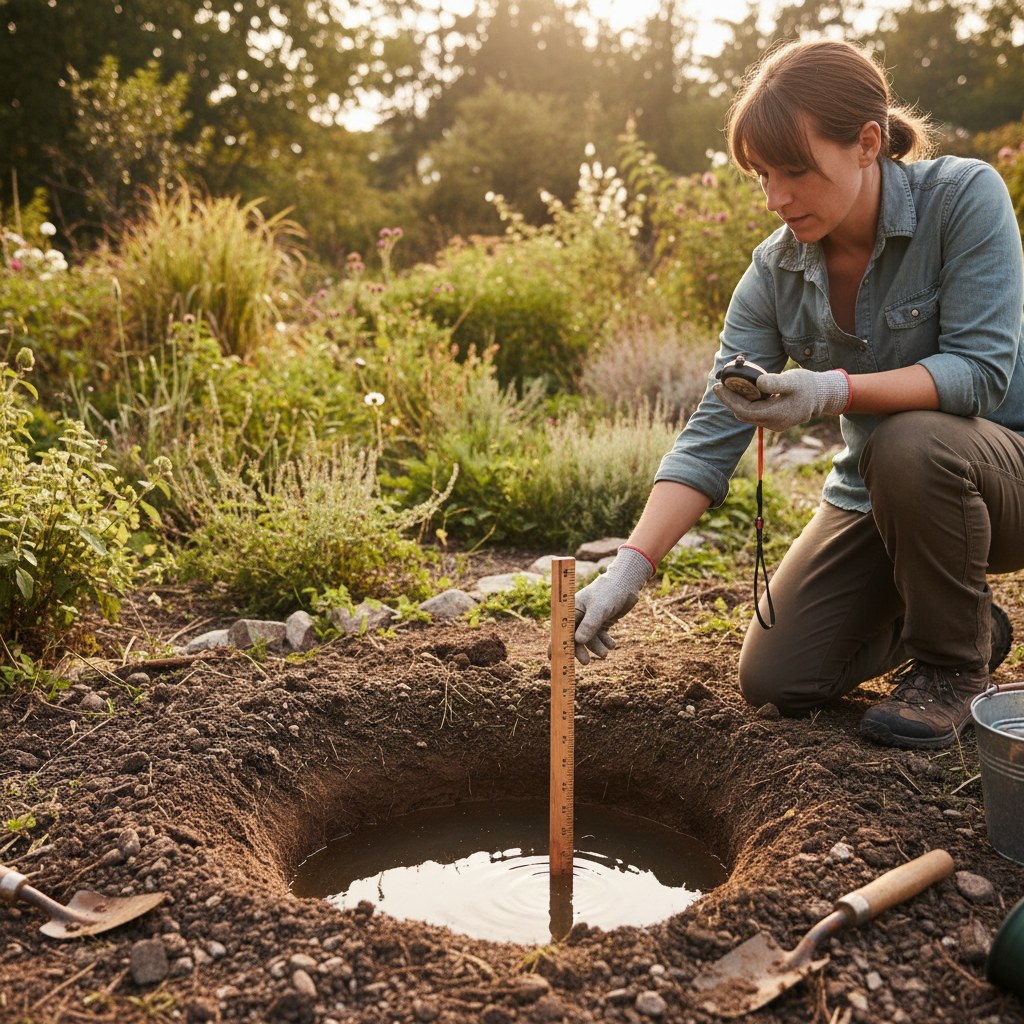
Simple Percolation Test (15 Minutes)
- Dig a hole at the proposed rain garden location, 12 inches deep and about 6 inches wide.
- Fill the hole with water and let it drain completely. This saturates the soil (pre-soaking).
- Fill the hole with water a second time. Mark the water level with a stick or pencil pushed into the side of the hole.
- Wait four hours. Measure how far the water dropped.
- Divide the drop (in inches) by four to get your infiltration rate in inches per hour.
Interpreting results:
- More than 0.5 in/hr: Sandy or loamy soil, ideal. Use standard 4–6 inch basin depth.
- 0.25–0.5 in/hr: Clay-loam, workable. Use 3–4 inch depth and monitor drain time.
- Less than 0.25 in/hr: Heavy clay, excavate 12–18 inches and replace with amended soil mix (see excavation step below).
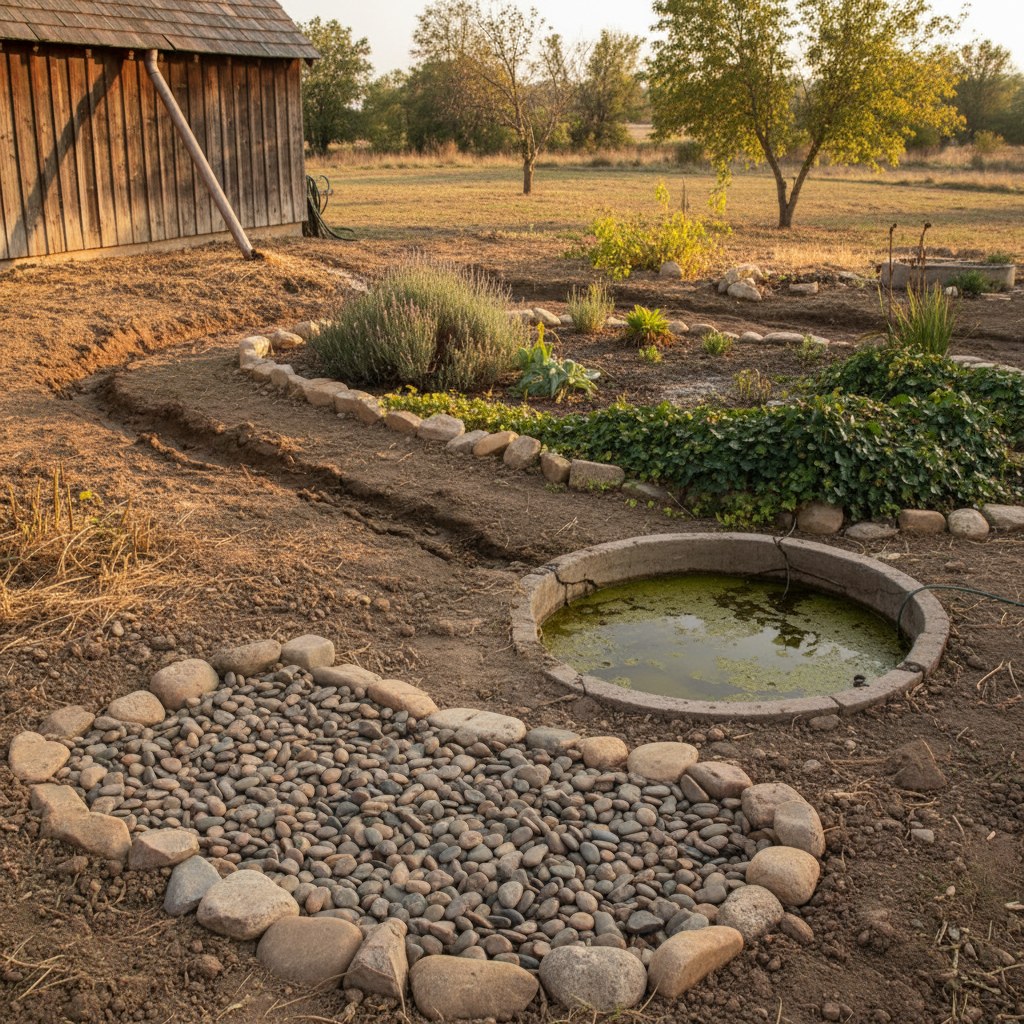
- Water still present after 24 hours: This location is not suitable. Test a different spot or consider a different approach such as a gravel garden or dry creek bed.
For context, sandy soils drain at roughly 2.5 inches per hour, while dense clay soils drain at only about a third of an inch per hour. Clay soils require more preparation but are not disqualifying, many successful rain gardens are built in clay with proper amendment.
Sources: Oklahoma State Extension infiltration rate benchmarks; University of Minnesota Extension percolation test protocol.
How Do You Size a Rain Garden Correctly?
Rain gardens are sized to capture 1 inch of runoff from the contributing impervious surface, because roughly 90% of all rainfall events produce 1 inch or less of rain (UConn NEMO Program). Sizing to that threshold means your garden handles the vast majority of storms while letting the rare large storm event safely overflow.
Simple Sizing Method
Measure the length and width of the impervious surface draining to the garden (e.g., your roof section above a downspout). Multiply to get the area in square feet.
Then use these rules from the UConn NEMO Program:
- 3-inch basin depth: Divide the impervious area by 10 to get the rain garden’s minimum square footage.
- 6-inch basin depth: Divide the impervious area by 20.
Example: A 30 × 40 ft section of roof = 1,200 sq ft of impervious area. At 3-inch depth, you need at least 120 sq ft of rain garden (roughly a 10 × 12 ft oval). At 6-inch depth, 60 sq ft is sufficient. Most homeowners find 100–300 square feet works well for a single downspout (University of Minnesota Extension).
Penn State Extension recommends sizing the rain garden at 10–20% of the total impervious area draining into it, so adjust within that range based on your available space and soil drainage rate.
Sources: UConn NEMO Program rain garden sizing guide; Penn State Extension; University of Minnesota Extension rain garden design manual.
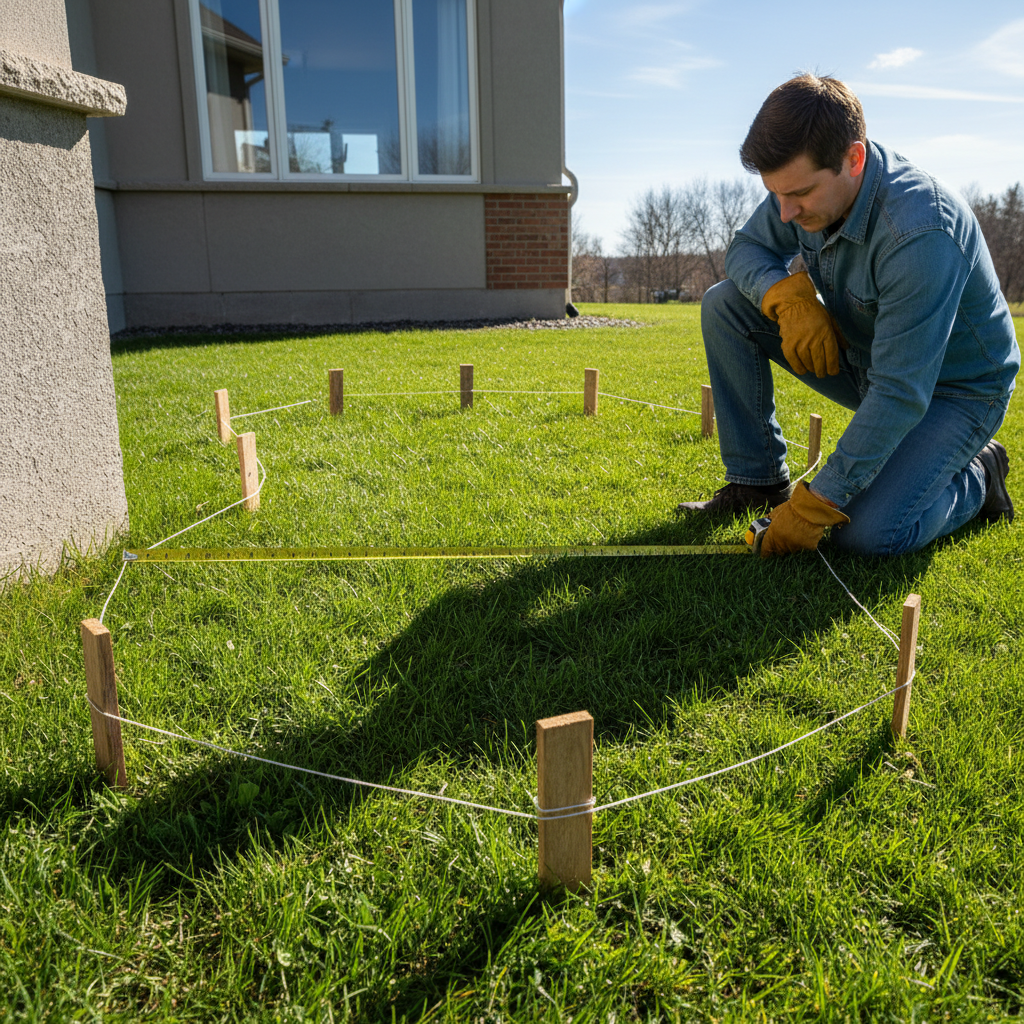
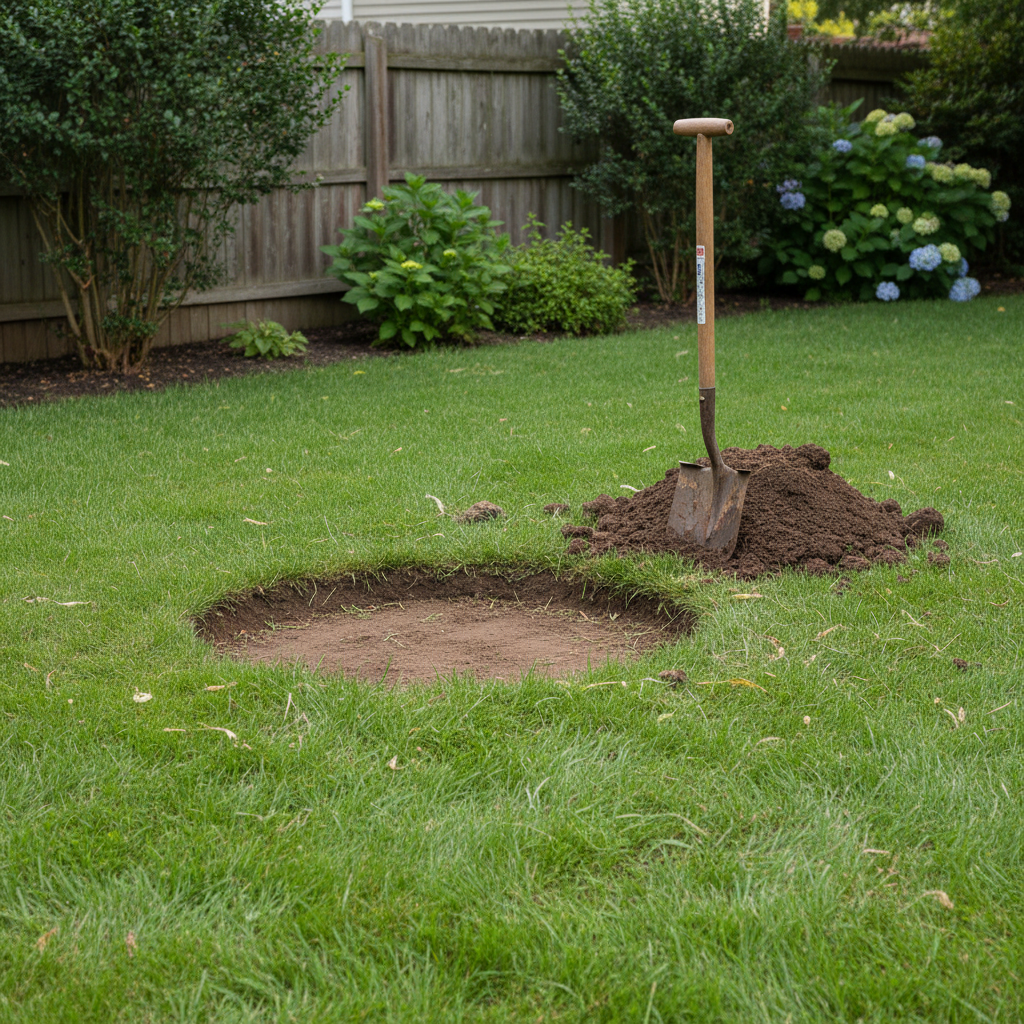
How Do You Excavate the Rain Garden Basin?
Before you dig: Call 811 (the national “Call Before You Dig” hotline) at least three business days before any excavation. This free service dispatches locators to mark buried gas, electric, water, and sewer lines. Striking a buried gas line can cause explosion; striking electrical conduit can cause electrocution. Calling 811 is legally required in most U.S. States.
Mark the outline of your rain garden with spray paint, garden hose, or a rope. Aim for an organic oval or kidney shape, irregular margins look more natural and are more attractive than rectangles. The downhill side should become your berm (the raised lip that holds water in).
Excavation for Good-Draining Soils
Dig a flat-bottomed basin 4–6 inches deep. The key word is flat, a flat bottom distributes water evenly so it soaks in uniformly rather than pooling in one corner. Slope the sides gently (2:1 or shallower) to prevent erosion. Pile excavated soil on the downhill side to form the berm, which should be 6–8 inches high after compaction.
Excavation for Clay Soils
If your infiltration test showed drainage below 0.25 in/hr, dig 12–18 inches deep and remove the native clay completely. Backfill with an amended soil mix of 50% coarse sand, 25% compost, and 25% topsoil. This is more labor-intensive but creates a functional rain garden in sites where the native soil would otherwise waterlog plants.
Critical construction tip: Avoid walking through the excavated basin or running equipment across it. Soil compaction destroys the pore structure you need for drainage. Work from outside the garden area. If you must enter, use planks to distribute your weight.
Overflow Route
Before planting, establish an overflow outlet in the downhill berm, a low spot or a short piece of PVC pipe, so excess water from a large storm can safely exit to a lower point in the yard (not toward the foundation). Without an overflow, a major storm can erode or undercut your berm. Seed the berm with a tough native grass immediately after shaping.
For more soil preparation guidance, see our article on how to test and amend your garden soil.
Sources: USDA NRCS rain garden construction standards; Penn State Extension excavation guidelines.
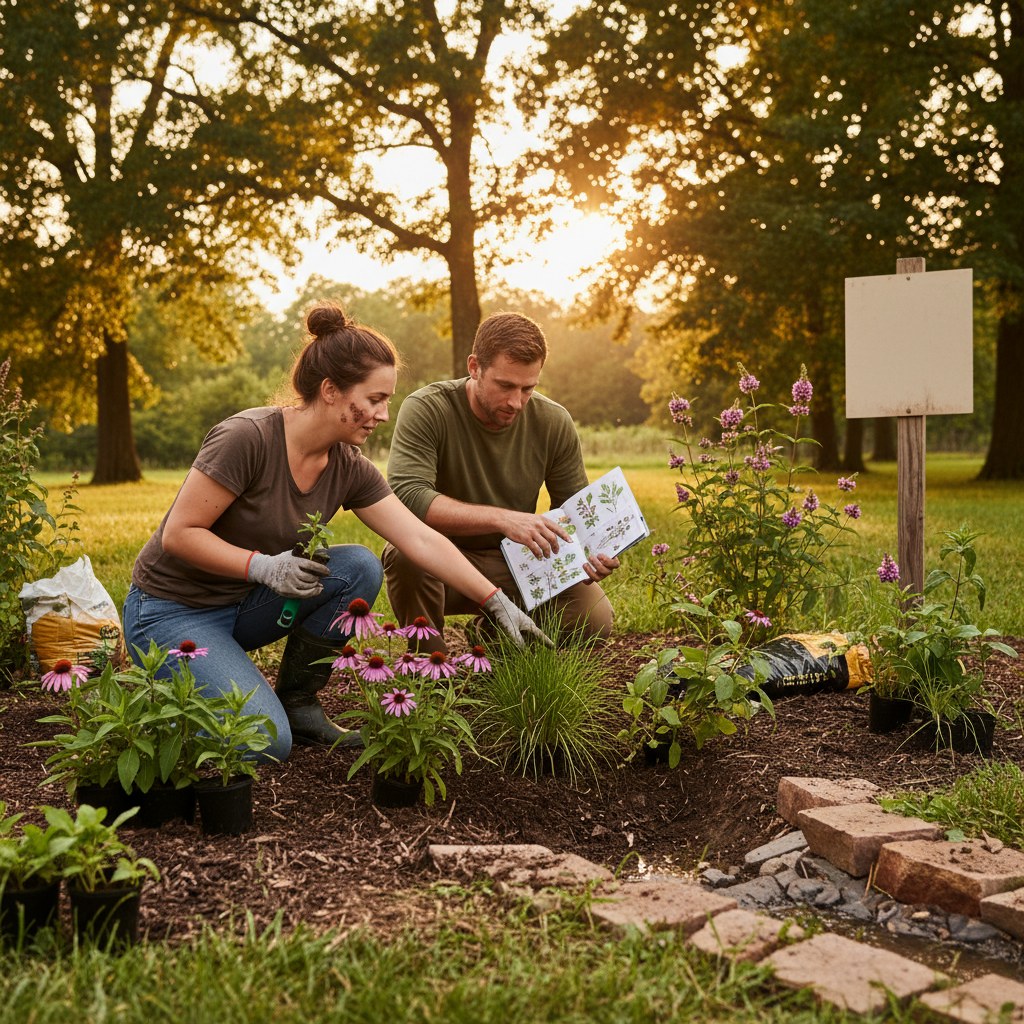
How Do You Choose and Plant Native Plants in a Rain Garden?
Plant selection is where a rain garden goes from a functional hole in the ground to a living, thriving ecosystem. Native plants are the clear choice for rain gardens: their deep fibrous roots dramatically enhance infiltration over time, and they are evolved to handle the wet–dry cycles that characterize rain gardens. Many prairie natives send roots several feet into the ground, far deeper than lawn grasses or annual vegetables, opening channels that help water move through the soil profile even as the garden matures. According to the University of Nebraska Extension, “regionally native plants are typically best suited to the variable conditions found in rain gardens, and their rooting depth, habit and growth cycle are conducive to enhancing soil drainage and water percolation and storage as the garden matures.”
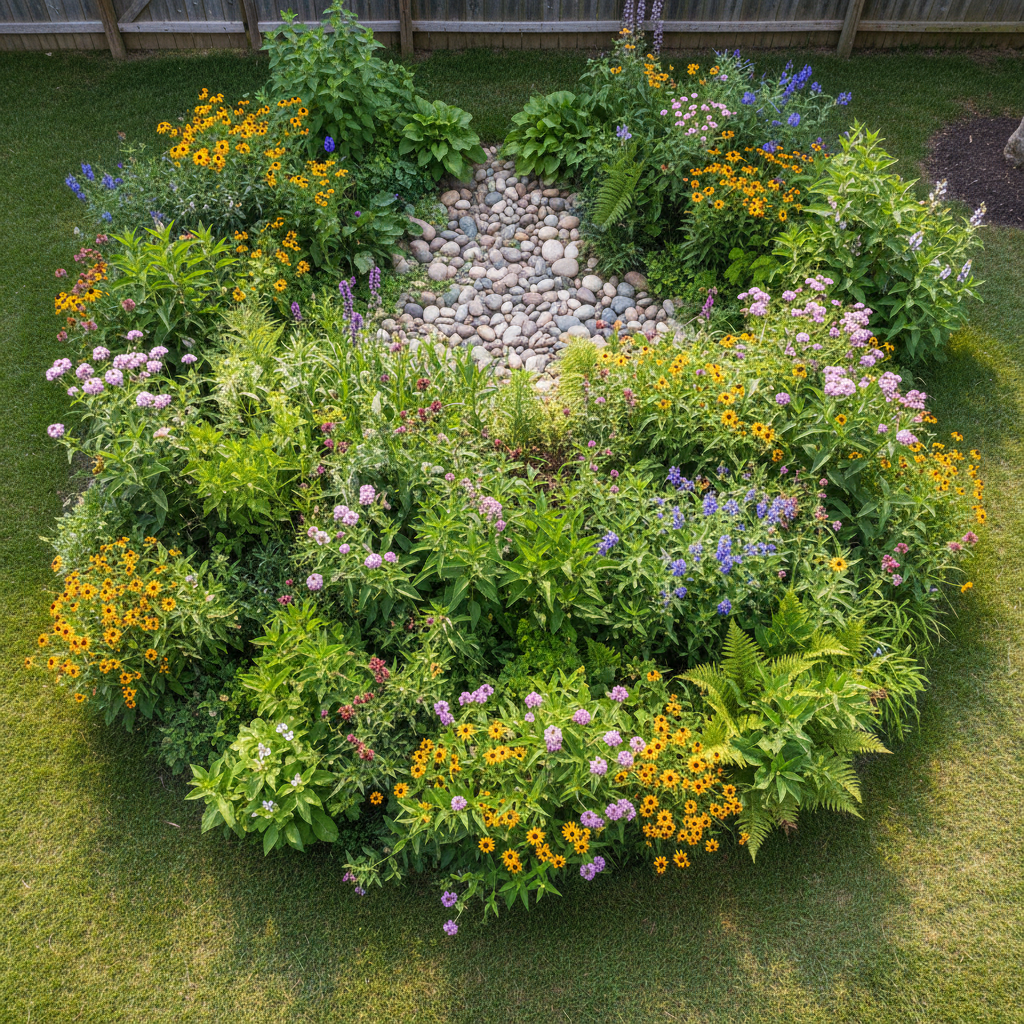
Understand the Three Planting Zones
Rain gardens have three moisture zones, each requiring different plants:
- Zone 1 (Center/Wet Zone): The lowest part of the basin that holds water longest after storms. Plant species that tolerate temporary flooding and saturated soil: Swamp Milkweed (Asclepias incarnata), Cardinal Flower (Lobelia cardinalis), Blue Vervain (Verbena hastata), Marsh Mallow (Hibiscus moscheutos). Safety note: Swamp Milkweed and Cardinal Flower are toxic if ingested by humans, dogs, or cats. Wear gloves when handling, wash hands after planting, and keep children and pets from consuming any plant parts.
- Zone 2 (Middle/Moist Zone): The mid-slope of the basin that is moist after rain but dries out between events. Most workhorses go here: Purple Coneflower (Echinacea purpurea), Joe Pye Weed (Eutrochium purpureum), Black-Eyed Susan (Rudbeckia hirta), Bee Balm (Monarda spp.), Switchgrass (Panicum virgatum).
- Zone 3 (Outer/Drier Zone): The rim and berm where soil dries quickly between rains. Use drought-tolerant species: Goldenrod (Solidago spp.), Wild Bergamot (Monarda fistulosa), Little Bluestem (Schizachyrium scoparium), Butterfly Weed (Asclepias tuberosa).
Purdue University’s Extension program recommends planting plugs or potted plants rather than direct-seeding, especially in the wet zone, for better establishment. Space plants 18–24 inches apart for most perennials; grasses can go 24–36 inches apart. They will fill in by year two or three.
A well-planted rain garden creates exactly the kind of habitat described in our guide to pollinator gardens, monarchs, native bees, and hummingbirds will find it quickly. You can also integrate it with a broader wildflower meadow approach to extend the habitat across more of your property.
Sources: University of Nebraska Extension native plant guidance; Purdue University Extension planting recommendations.
How Do You Mulch, Connect Your Downspout, and Establish Your Rain Garden?
With plants in the ground, two final steps complete the installation: adding mulch and connecting the water source.
Mulching
Apply 2–3 inches of shredded hardwood or cedar mulch throughout the rain garden, keeping mulch 2–3 inches away from plant stems. (Note: if you have free-roaming cats, shredded hardwood mulch is a safer choice than cedar, as cedar aromatic oils can be irritating to cats that roll in or ingest it.) Mulch serves multiple purposes: it retains moisture for new transplants, suppresses weeds during establishment, prevents surface crust formation that slows infiltration, and adds organic matter as it breaks down. The University of Wisconsin Arboretum recommends replenishing mulch once or twice a year to maintain a 3-inch depth.
Connecting the Downspout
Use flexible corrugated drainage pipe (available at home improvement stores) to extend your downspout to the rain garden’s inlet point. Direct water to the edge of the garden, not directly into the center, so it flows across the inlet zone and slows before reaching the basin. Divert the pipe so it can easily be disconnected if you need to route water away during heavy maintenance or very large storms.
If the distance from downspout to garden is long, bury the pipe 4–6 inches underground and daylight it just upslope of the garden’s edge. Secure the outlet with a splash stone to dissipate energy.
Year-One Watering
New rain gardens need supplemental watering during the establishment period, typically the first full growing season. Clemson University’s Home and Garden Information Center recommends watering new rain garden plants to an equivalent of 1 inch per week until established. Once established, native plants rarely need supplemental irrigation except during prolonged drought.
Sources: University of Wisconsin Arboretum rain garden management guide; Clemson University Home and Garden Information Center.
Common Rain Garden Mistakes to Avoid
Even well-intentioned projects can fall short. These are the mistakes most commonly seen in failed rain gardens:
- Building too close to the foundation. This is the most common and costly error. Always maintain the 10-foot minimum setback, preferably more.
- Skipping the percolation test. Building in clay soil without amending it results in a garden that holds water for days, drowning plants and breeding mosquitoes.
- Forgetting the overflow outlet. Without a defined overflow path, a large storm will carve its own exit through your berm, often in the worst possible direction.
- Planting non-native ornamentals. Daylilies and hostas look good in a rain garden initially but lack the deep root systems needed to maintain infiltration rates and don’t provide the same wildlife benefits as native species.
- Compacting the soil during construction. Walking in the excavated basin or driving equipment nearby collapses the soil pores you need for drainage. Work from outside the perimeter.
- Using non-native invasive species. Japanese iris and purple loosestrife are sometimes sold as rain garden plants but are invasive in many regions. Check your state’s invasive species list before purchasing.
- Skipping the 811 call. Utility strikes during digging are dangerous and expensive. Call at least three business days before you dig, it’s free.
Tips for Long-Term Rain Garden Success
- Weed aggressively in year one. New plants need space, light, and water. Check for weeds every two weeks from April through November in the first year. By year two, dense native plants will shade out most weeds naturally.
- Skip the fertilizer. Native plants are adapted to lean soils and can be harmed by excess nitrogen. Clemson Extension notes that “native plants typically do not require fertilization other than periodic addition of compost for healthy soil.” Adding fertilizer also risks washing nutrients into your watershed, the opposite of what a rain garden is designed to prevent.
- Cut back in late winter, not fall. Leave plant stems standing through winter to provide overwintering habitat for native bees and food for birds. Cut stems back to 6–8 inches in late February or early March before new growth begins.
- Inspect the berm after major storms. Check for erosion or settlement in the berm and repair any scour immediately. In the first year, a thin mulch layer on the berm may wash away, reapply as needed.
- Top-dress with compost every 2–3 years. As mulch breaks down, a thin layer (1 inch) of finished compost in spring feeds soil organisms and maintains the healthy soil structure that supports infiltration.
- Document the drain time after major storms. Water should clear the basin within 24–48 hours. If you notice drainage slowing over years, gently aerate the center zone with a garden fork in early spring to break up surface crust.
Frequently Asked Questions About Building a Rain Garden
How long does it take to build a rain garden?
A typical 100–150 square foot rain garden takes one weekend for a pair of adults working steadily, about 6–8 hours of physical work spread over two days. Excavating clay soil or dealing with large trees adds time. Planning, sourcing plants, and calling 811 should happen in the week before you dig.
Will a rain garden attract mosquitoes?
A properly designed rain garden will not breed mosquitoes. Mosquito larvae require multiple days of standing water to develop, far more than the 24–48 hours a properly draining rain garden holds water. Because rain gardens are engineered to empty quickly after storms, they don’t provide suitable breeding habitat. If your rain garden holds water for more than 48 hours after a rain event, recheck your percolation rate and soil mix, as prolonged standing water can support mosquito breeding. The trick is ensuring adequate soil infiltration, which is why the percolation test is mandatory before building.
Can I build a rain garden in clay soil?
Yes, but with extra preparation. Excavate 12–18 inches deep, remove all the native clay, and replace it with an amended soil mix of 50% coarse sand, 25% compost, and 25% topsoil. This creates drainage even where native soils are nearly impermeable.
How much does a rain garden cost?
A DIY rain garden typically costs $200–$600 for a 100–200 square foot garden, with plants being the largest variable cost. Native plant plugs cost $3–$8 each; you’ll need 30–60 plants for a typical rain garden. Soil amendment (if needed) and mulch add $50–$150. Professional installation for a similar-sized garden costs $1,500–$4,000 depending on your region.
What’s the difference between a rain garden and a bioswale?
A rain garden is a static planted depression, water flows in, soaks in, and leaves by infiltration. A bioswale is a linear planted channel that slows and filters water as it flows from one point to another. Both treat stormwater, but bioswales are used more often for large parking lots or roadside drainage, while rain gardens suit residential downspout and driveway runoff.
Do I need a permit to build a rain garden?
Most jurisdictions do not require permits for residential rain gardens under a certain size, but some municipalities with strict stormwater ordinances may require review. Check with your local planning department or county extension office. Many areas actually offer rebates or cost-share programs for homeowners who install rain gardens, ask before you build.
How do I know if my rain garden is working?
After a significant rain event (at least 0.5 inches), check the garden. Water should be visible in the basin or recently drained. Soil should be moist but not waterlogged for more than 48 hours. Over the first season, you’ll also notice fewer puddles in the areas you’ve diverted away from the storm drain.
Building a rain garden is among the most satisfying homestead projects, it improves your yard’s beauty, supports pollinators, and connects your daily life to the health of your watershed. Start small if you’re uncertain: a single downspout, a modest oval, 30 plants. That first garden will teach you more than any guide, and you’ll likely be planning a second one before the season is out.
For additional guidance on rain garden design and plant selection specific to your region, the USDA Natural Resources Conservation Service offers free resources including site assessment guides and enhanced rain garden design standards for wildlife.