How to Grow Microgreens in Mason Jars: A Windowsill Garden Anyone Can Start
⚠️ SAFETY UPDATE: This Is a Sprouting Method, Not True Microgreens
The mason jar rinse-and-drain technique described below produces sprouts, seeds germinated in water and eaten whole, including the root. True microgreens are grown in a medium (soil, coir, or a hemp mat) and snipped above the medium after their first true leaves emerge. The distinction matters for food safety.
The warm, humid conditions that germinate seeds in a jar also germinate bacteria. The U.S. FDA and CDC have linked raw sprouts to more than 50 documented foodborne illness outbreaks since 1996, primarily Salmonella and E. Coli O157:H7. Please read the guidance below before growing or eating any jar-sprouted seeds.
📚 Official sources:
• FDA. Sprouts: What You Should Know
• CDC. Sprouts and Food Safety
FDA at-risk advisory: Children under 5, pregnant women, adults over 65, and people with weakened immune systems should NOT eat raw or lightly cooked sprouts of any kind. Cook sprouts thoroughly to reduce risk.
🌿 Key Takeaways
- Microgreens contain up to 40x more nutrients than mature plants (USDA research)
- Ready to harvest in just 7–14 days from soaking
- All you need: mason jar, sprouting lid, seeds, water, and a sunny windowsill
- Best beginner seeds: broccoli, radish, alfalfa, and mung bean
- Avoid nightshade seeds (tomato, pepper, eggplant), they produce toxic alkaloids as sprouts
If you have a sunny windowsill, a mason jar, and about ten minutes, you can grow your own microgreens at home. These tiny powerhouses of nutrition are one of the easiest things you can grow, no garden bed required, no special equipment, and they are ready to eat in as little as 7 to 14 days. I keep three jars rotating on my kitchen windowsill year-round, and it is one of the simplest ways I have found to add fresh homegrown food to every meal.
🌱 From Our Homestead
I started growing microgreens on our kitchen windowsill when I ran out of garden space in January. Within a week I was snipping fresh greens onto everything, and my grocery bill for salad greens dropped to almost zero.
What Are Microgreens and Why Are They So Nutritious?
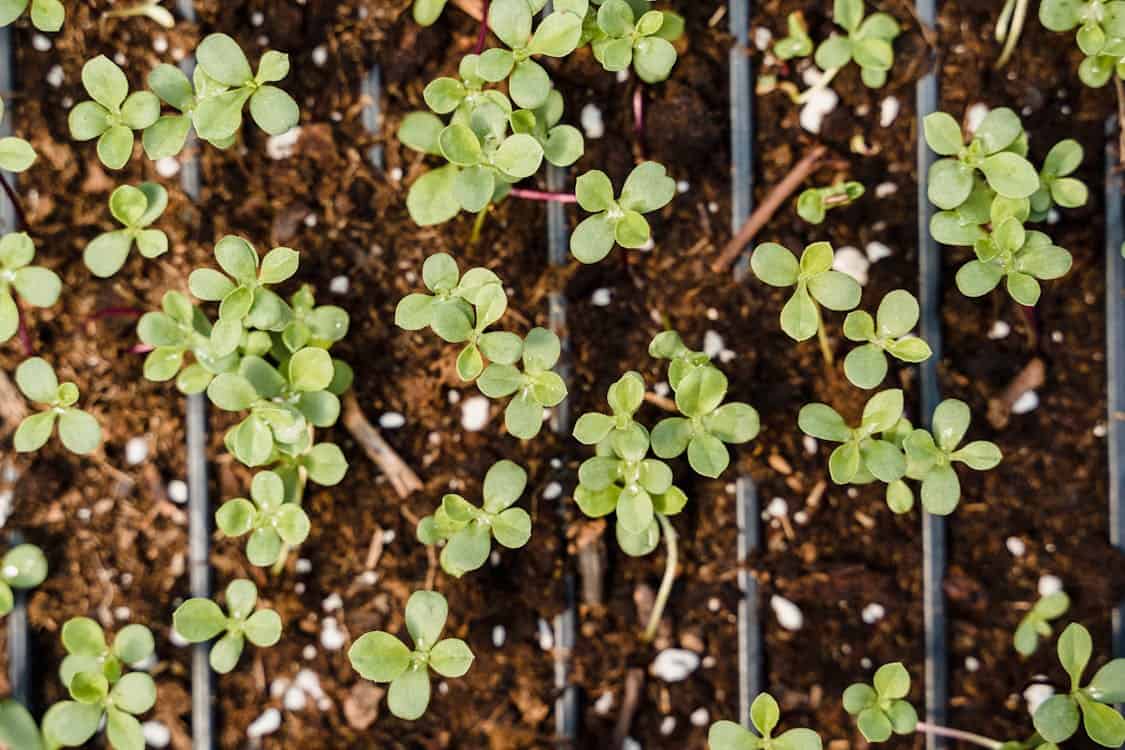
Microgreens are young seedlings harvested just after they develop their first true leaves, and USDA research shows they can contain up to 40 times more nutrients than mature plants. They are not the same as sprouts: microgreens grow in light and develop tiny leaves, while sprouts germinate in water in the dark. A small handful of broccoli microgreens packs a serious punch of vitamins C, E, and K.
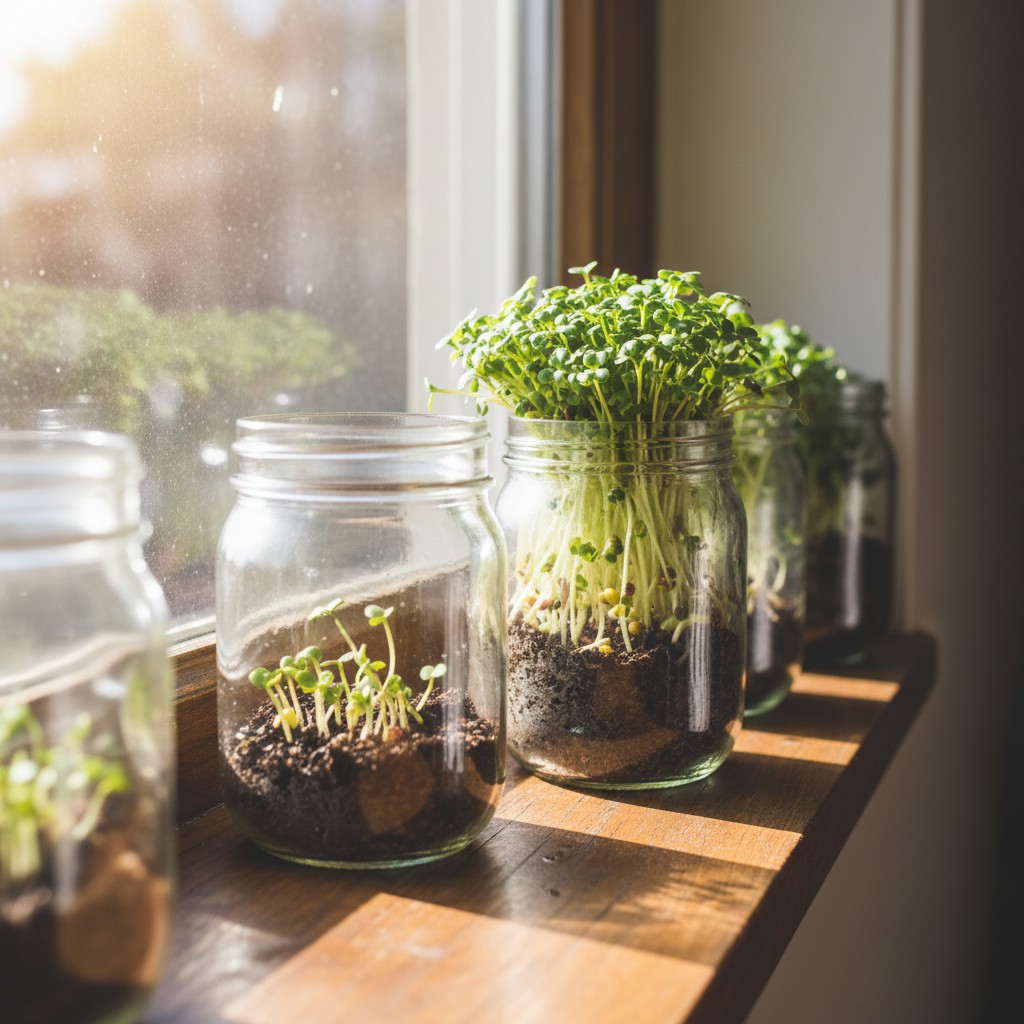
What Supplies Do You Need?
- Wide-mouth mason jars (pint or quart size)
- Sprouting lids or cheesecloth secured with rubber bands
- Organic sprouting seeds (broccoli, radish, alfalfa, clover, or mung bean are beginner-friendly)
- Fresh water
- A bowl or dish rack for draining
- A sunny windowsill or grow light
Important: Always use seeds labeled specifically for sprouting or microgreens. Regular garden seeds may be treated with chemicals not safe to eat.
🌱 Sprouts vs. True Microgreens. Know the Difference
Sprouts (what the jar method produces): seeds germinated in water, harvested in 5–10 days, eaten whole including the root and seed hull. Higher pathogen risk because the entire warm, moist germination environment is consumed.
True microgreens: grown in soil, coco coir, or a hemp mat under light, harvested 10–21 days in once the first true leaves appear, and snipped above the medium. The root and any bacteria in the growing medium are left behind, which is why public-health agencies consider soil-grown microgreens substantially lower risk than jar sprouts.
If you are in an FDA at-risk group, or simply want the safer option, use a shallow tray with moistened coco coir or organic seed-starting mix instead of the jar method.
How Do You Grow Microgreens Step by Step?
The entire process takes 7–14 days and requires only minutes of daily attention, here is exactly how to do it.
Step 0. Sanitize the seed (do not skip): The FDA advises that all sprouting seed be treated before germination to reduce Salmonella and E. Coli risk. Commercial growers use a 20,000 ppm calcium hypochlorite soak (15 minutes, then thorough rinse). For home use, either (a) soak seeds in 3% food-grade hydrogen peroxide for 5 minutes and rinse three times with potable water, or (b) dip seeds in 185°F (85°C) water for 30 seconds, immediately plunge into cold potable water, and drain. Use only potable drinking water for every rinse, and never reuse rinse water. Buy seed from suppliers that pathogen-test their sprouting lots. See the FDA sprout safety guidance for details.
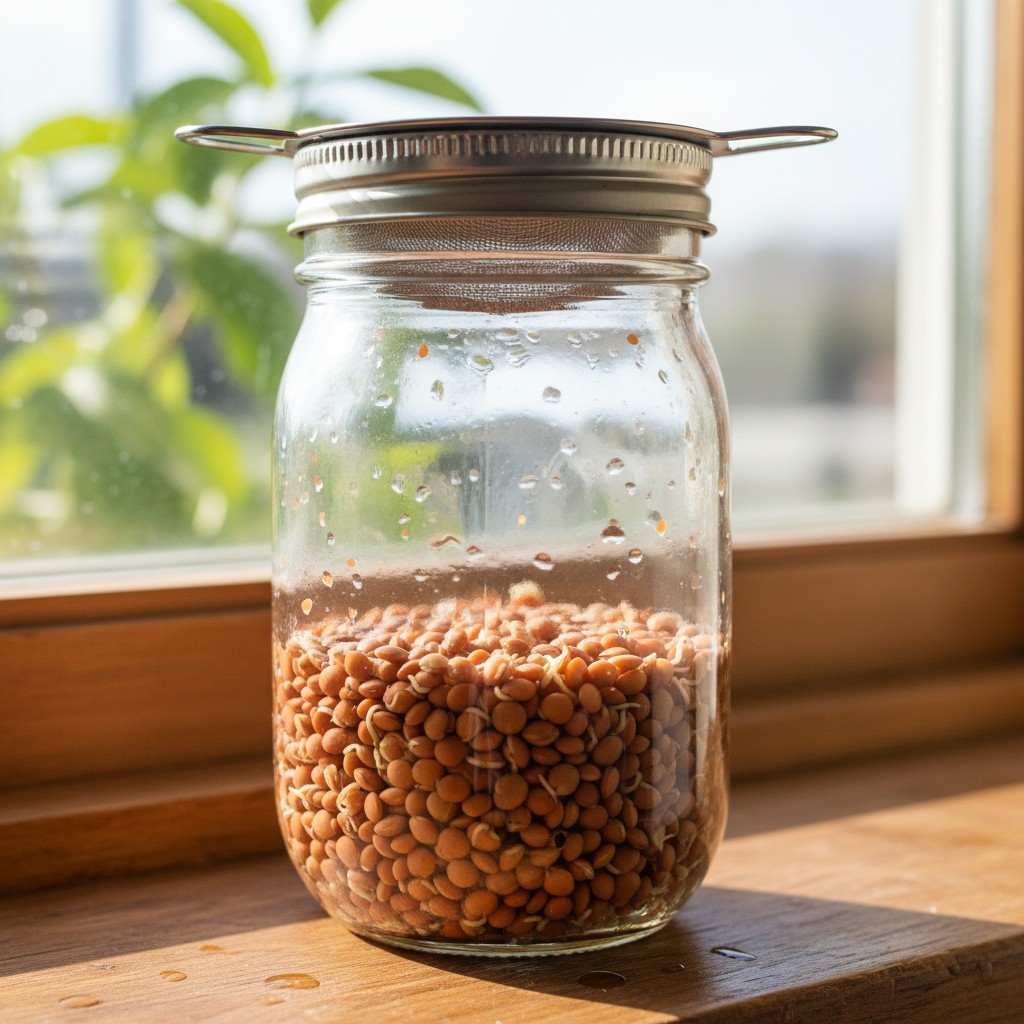
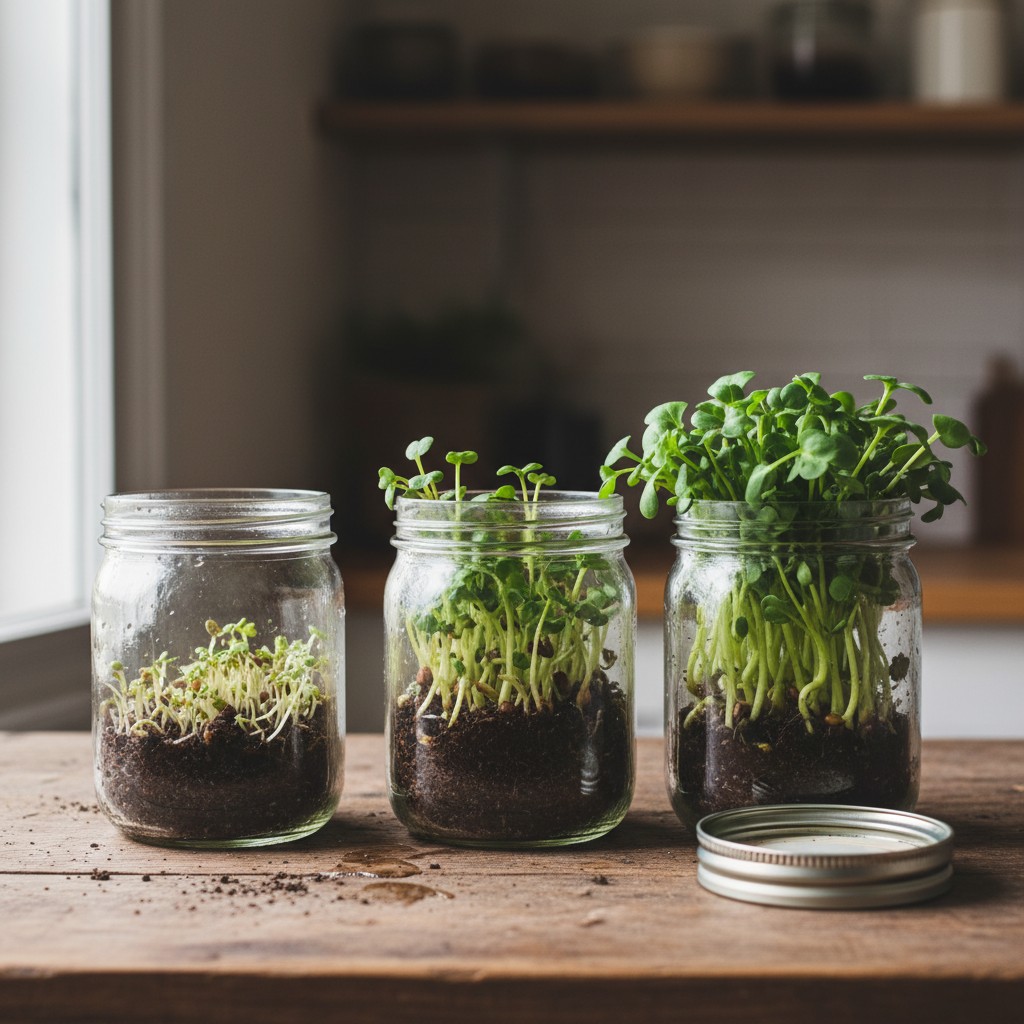
Step 1: Soak: Add 1 to 2 tablespoons of seeds to your jar, cover with a few inches of cool water, and soak 8 to 12 hours (overnight is easiest).
Step 2: Drain and rinse: Drain through your sprouting lid, rinse with fresh water, and prop the jar upside-down at an angle so water drips out and air circulates. This prevents mold.
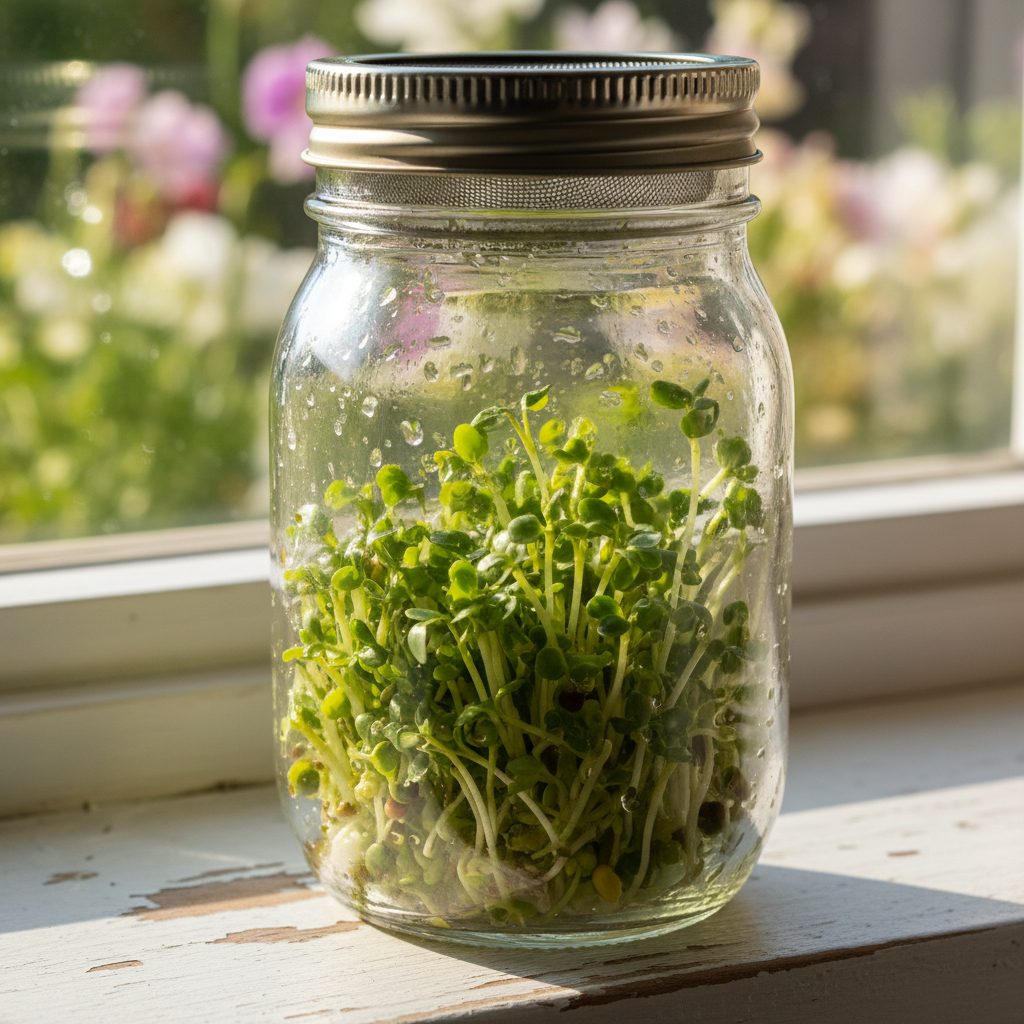
Step 3. Keep them dark: For the first 3 to 4 days, keep the jar in a cupboard or closet. Darkness encourages strong roots and tall stems. Continue rinsing twice daily.
Step 4. Move to light: When sprouts are about an inch tall with tiny yellow leaves, move the jar to a bright windowsill. Within a day or two, leaves turn vibrant green through photosynthesis.
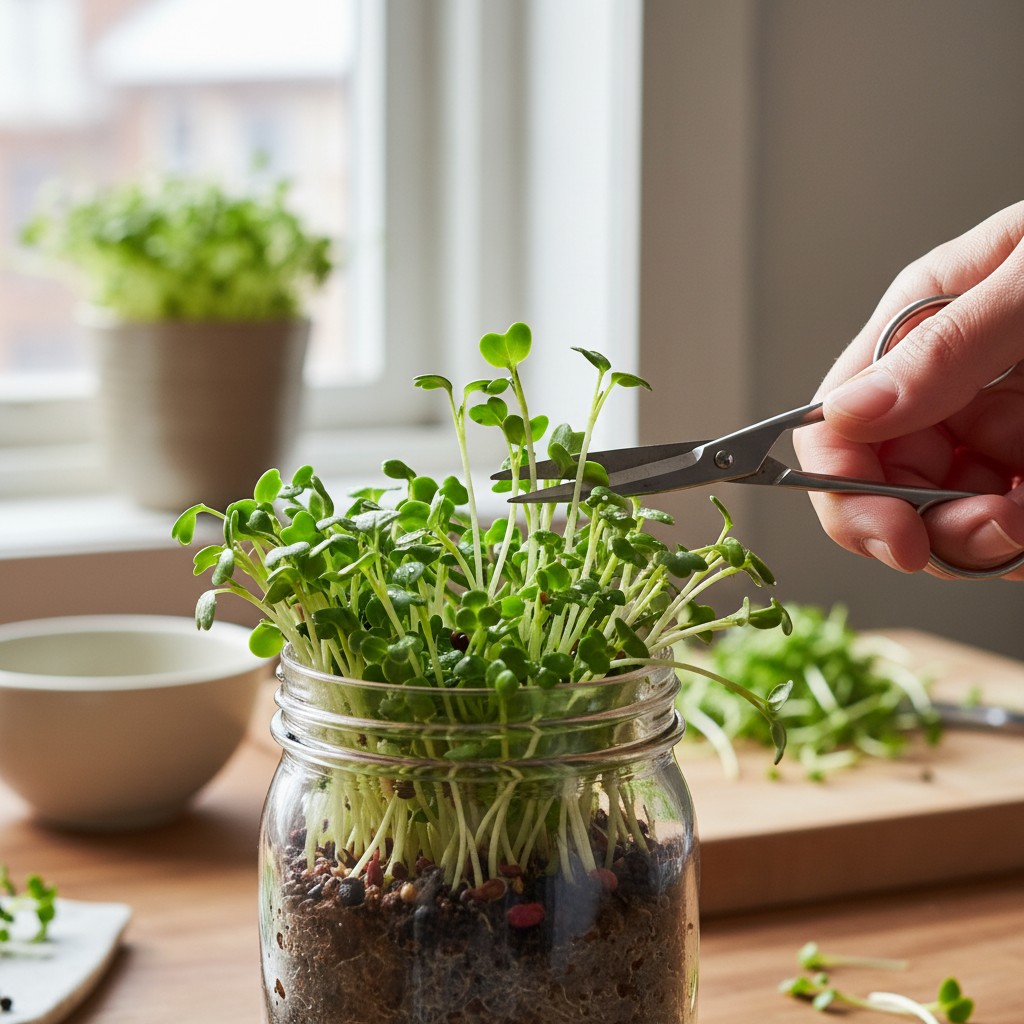
Step 5. Harvest: When first true leaves appear (7–14 days from soaking), snip with clean scissors or pull gently. Rinse, pat dry, and enjoy immediately.
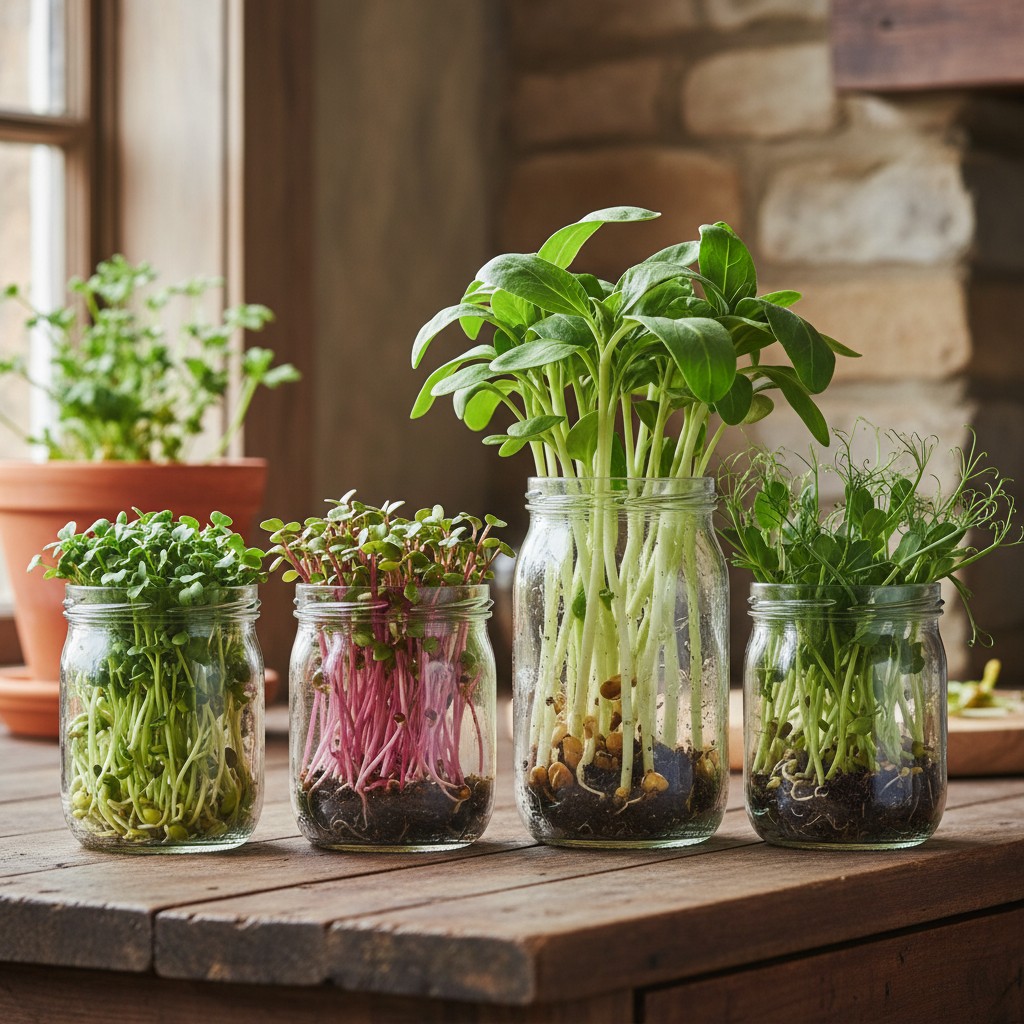
Which Seeds Are Best for Mason Jar Microgreens?
| Category | Seeds | Flavor Profile | Days to Harvest |
|---|---|---|---|
| Easiest for beginners | Alfalfa, mung bean, broccoli | Mild, slightly nutty | 5–7 days |
| Bold flavor | Radish, mustard, arugula | Peppery, spicy | 7–10 days |
| Nutty and satisfying | Sunflower, pea shoots | Sweet, crunchy | 8–12 days |
| Avoid, toxic as sprouts | Tomato, pepper, eggplant, potato | N/A | N/A |
What Are the Best Tips for Success?
- Drainage is everything. Mold is the top enemy, always prop your jar at an angle so water drains completely
- Rinse twice daily. Morning and evening rinses keep things fresh without waterlogging
- Sterilize jars before starting a new batch, hot soapy water or the dishwasher works perfectly
- Start multiple jars a few days apart so you always have a fresh batch coming along
- Store harvested microgreens in a container lined with paper towel in the fridge for 3 to 5 days
- Discard the entire batch at the first sign of off smell, sliminess, or pink/black discoloration, these are warning signs of bacterial contamination
- Cook to reduce risk. FDA advises cooking sprouts thoroughly to kill Salmonella, E. Coli, and Listeria; children under 5, pregnant women, adults over 65, and immunocompromised people should not eat them raw
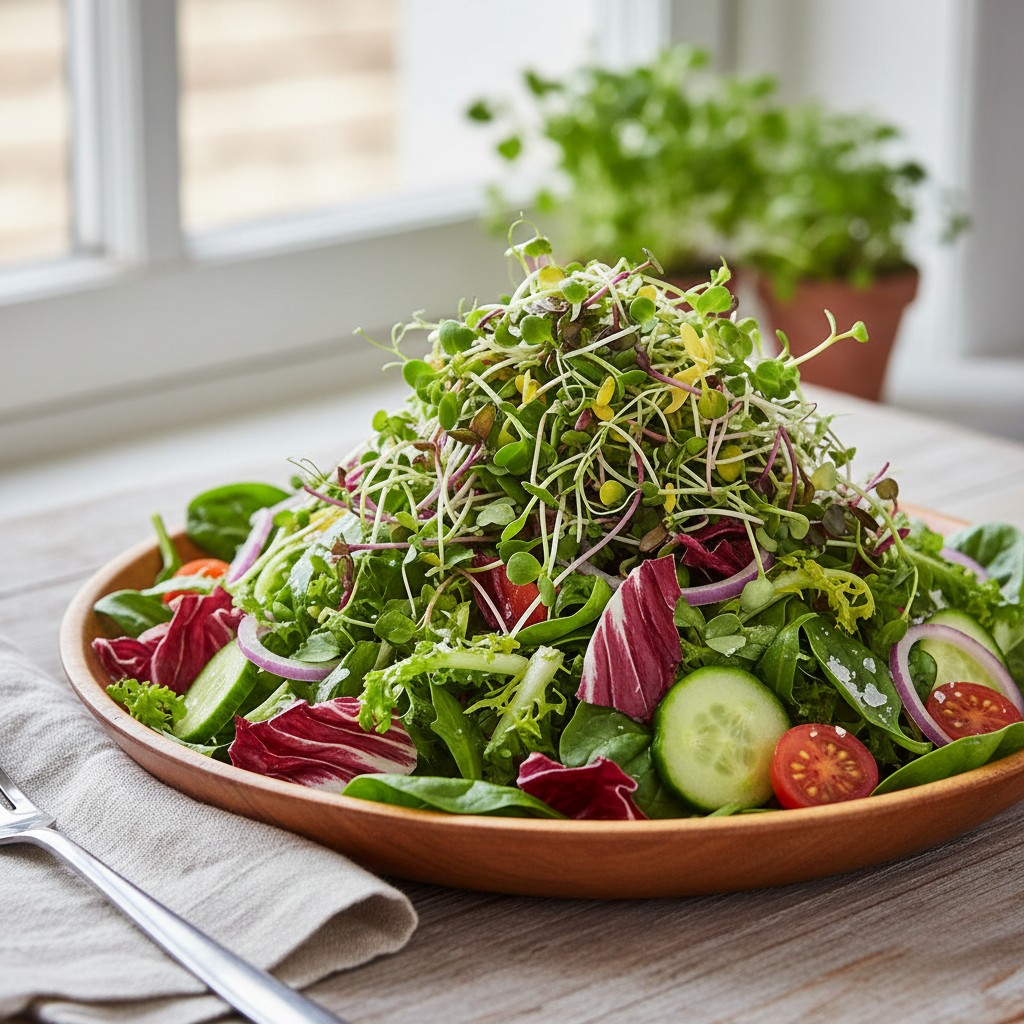
How Can You Use Your Microgreens?
Microgreens are incredibly versatile, toss them on salads, soups, sandwiches, avocado toast, scrambled eggs, or grain bowls. Blend them into smoothies for a nutrient boost. I add a handful to almost every meal, they make even a simple sourdough toast feel restaurant-worthy. Pair them with a fresh herb garden and you will never run out of ways to garnish your cooking. The Johnny’s Selected Seeds growing library has great variety-specific tips if you want to explore further.
Growing microgreens in mason jars is one of those small acts that makes you feel a little more connected to your food, a little more self-sufficient, and a whole lot more excited about lunch. Give it a try this week, your windowsill is waiting.
Frequently Asked Questions
Are microgreens and sprouts the same thing?
No. Sprouts are germinated in water in the dark and eaten whole (root and all). Microgreens are grown in light, develop true leaves, and are snipped at the stem. Microgreens have more flavor and nutrition.
Can I grow microgreens without soil?
Yes! Mason jar microgreens grow in water alone using the rinse-and-drain method. You can also grow them on damp paper towels or coconut coir mats.
How much do microgreens cost to grow at home?
A tablespoon of organic sprouting seeds costs roughly $0.25–$0.50 and produces a full jar of microgreens, compared to $3–$5 for a small clamshell at the grocery store.
Are microgreens safe to eat?
Yes, when grown from food-safe sprouting seeds and rinsed properly. Avoid nightshade family seeds (tomato, pepper, eggplant, potato) as they produce toxic alkaloids in the sprout stage.