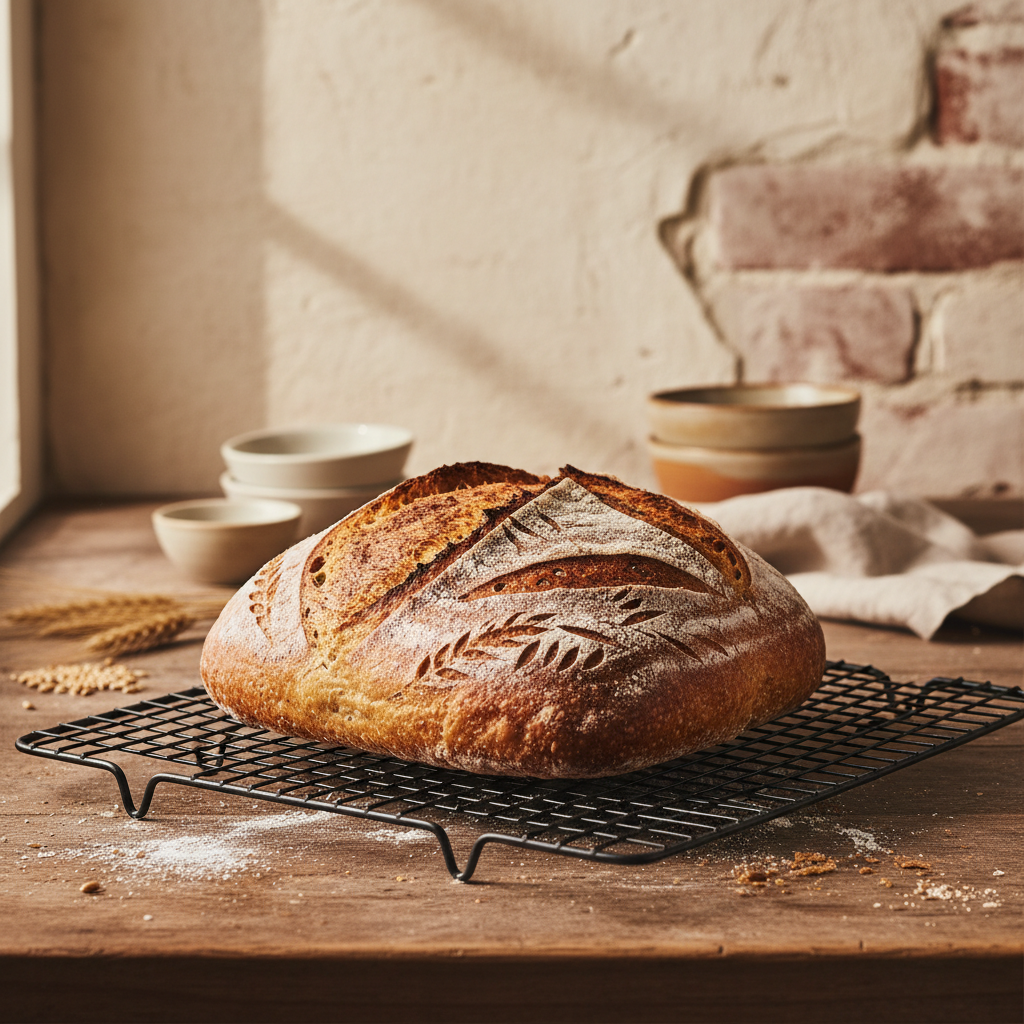
How to Bake Your First Loaf of Sourdough Bread (A Simple Recipe)
- Sourdough bread requires just 4 ingredients: flour, water, salt, and an active starter.
- The full process takes 12-24 hours, but only about 30 minutes is active hands-on time.
- Sourdough has a lower glycemic index than commercial yeast bread, thanks to the long fermentation.
- An imperfect first loaf is still delicious, don’t wait for perfection to start baking.
I’m going to be honest: my first sourdough loaf was a dense, lopsided disk that my husband kindly called “rustic.” But you know what? We ate the whole thing. Toasted with butter, it was still better than anything from the grocery store. That first imperfect loaf was the beginning of a baking journey that's become one of my favorite parts of homestead life. If you’ve been intimidated by sourdough, let me walk you through it, it’s much more forgiving than the internet would have you believe.
What Do You Need to Start Baking Sourdough?
You need an active, bubbly sourdough starter, bread flour, water, and salt, plus a Dutch oven for the best crust. If you don’t have a starter yet, check out our sourdough starter guide, it takes about 7 days to build one from scratch. The King Arthur Baking Company has been an invaluable reference throughout my sourdough journey.
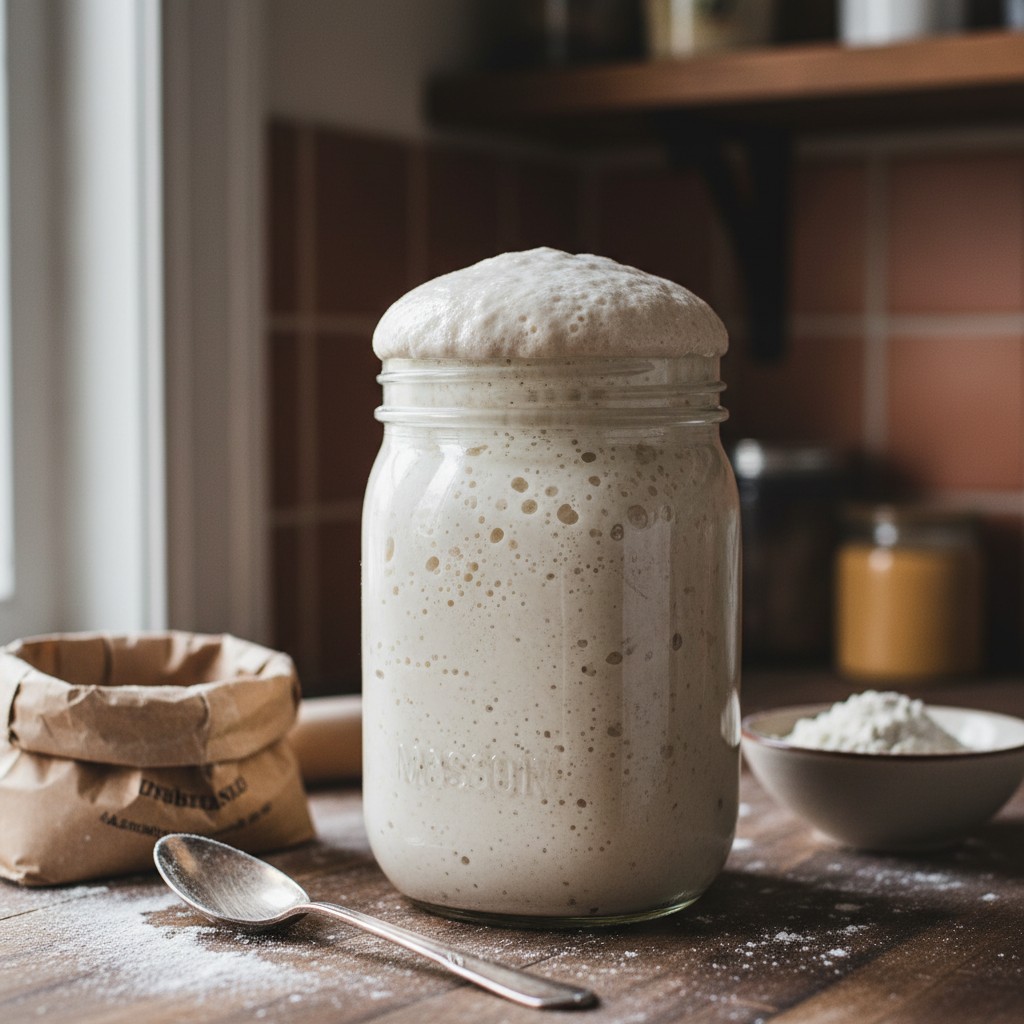
Your starter is ready to bake with when it reliably doubles in size within 4-8 hours of feeding. I test mine with the “float test”, drop a small spoonful in water, and if it floats, you’re good to go.
What Is the Basic Sourdough Timeline?
The typical beginner sourdough timeline is: mix dough in the morning, stretch and fold over 4 hours, shape in the afternoon, cold-proof overnight in the fridge, and bake the next morning. This schedule fits beautifully into a homesteading day, the bread works around your life, not the other way around.
| Time | Step | Hands-On Time | Notes |
|---|---|---|---|
| 9:00 AM | Mix dough (autolyse) | 10 min | Flour + water rest 30 min, then add starter + salt |
| 10:00 AM – 1:00 PM | Stretch & fold (4-6 sets) | 2 min each | Every 30 min, then let rest |
| 3:00 PM | Pre-shape & shape | 10 min | Bench rest 20 min between |
| 3:30 PM – Next AM | Cold proof in fridge | 0 min | 8-16 hours, develops flavor |
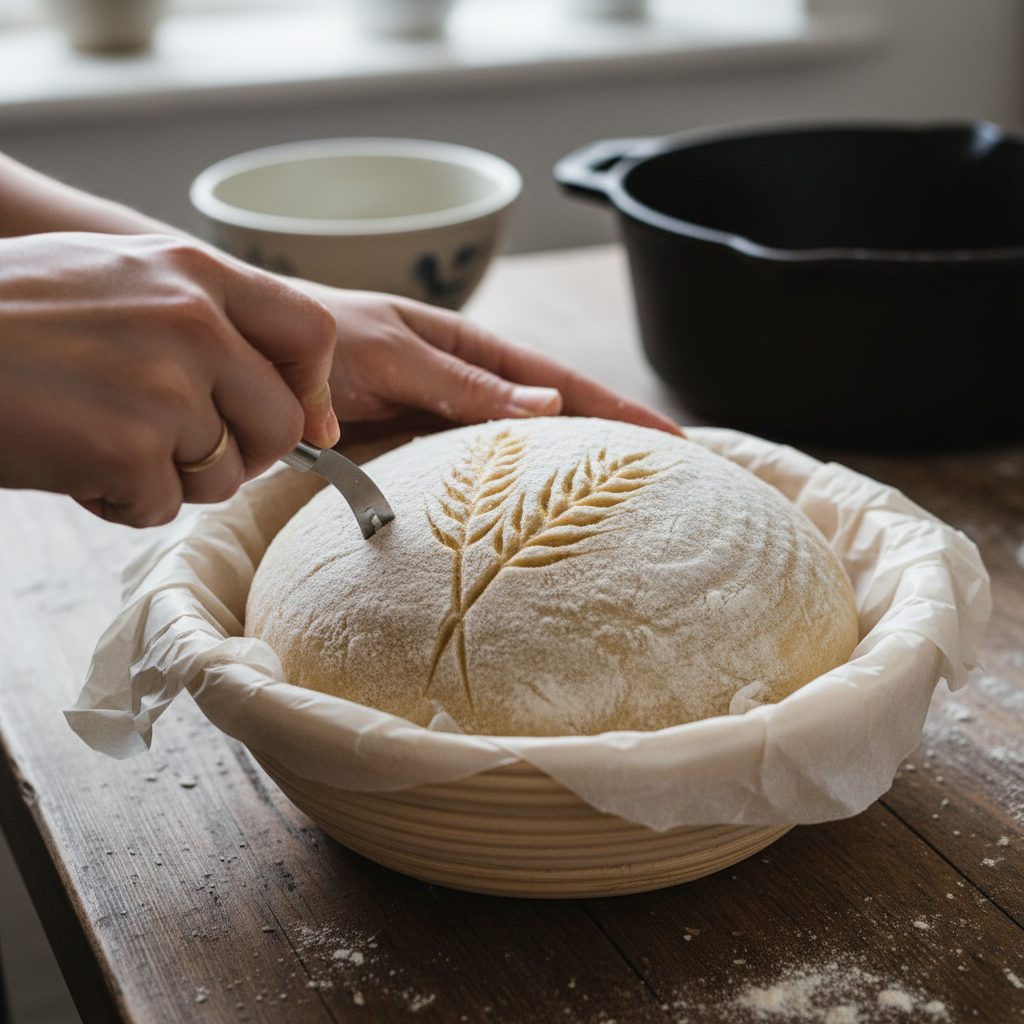
| Next morning | Score & bake | 5 min | 500°F covered 20 min, 450°F uncovered 25 min |
How Do You Mix and Develop the Dough?
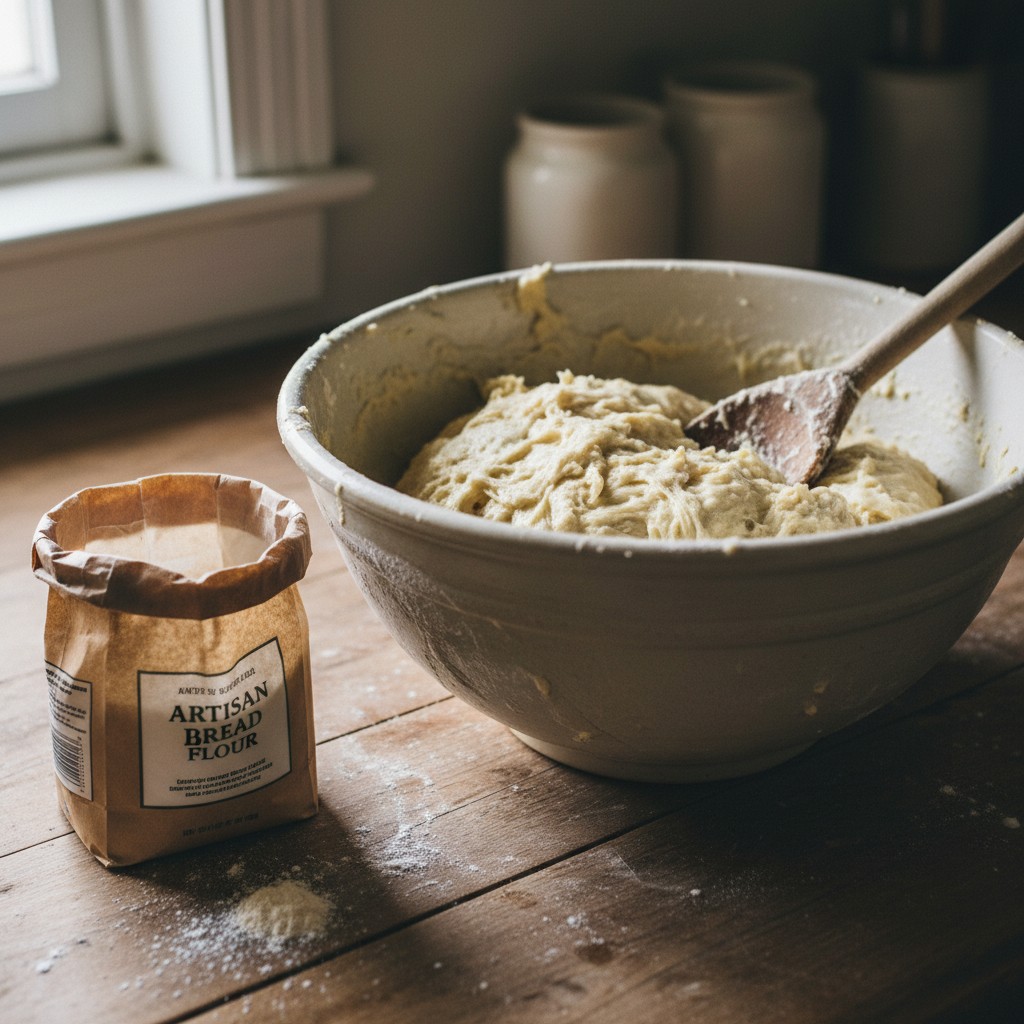
Combine 375g bread flour, 275g water, 75g active starter, and 9g salt, then build gluten through a series of gentle stretch-and-folds rather than kneading. The The Fresh Loaf community (a wonderful resource for bakers) recommends the stretch-and-fold method for beginners because it’s gentle, effective, and hard to mess up.
Flour protein content matters: Sourdough performs best with bread flour that has 12–13% protein content. Higher protein means more gluten, which means better gas retention, more oven spring, and an open crumb. All-purpose flour (10–12% protein) works but produces a tighter, denser crumb, still tasty, but noticeably different. Check the bag: King Arthur Bread Flour is 12.7% protein and is a reliable benchmark. If your loaves are consistently flat or dense despite good starter and fermentation, switching from all-purpose to a higher-protein bread flour is one of the simplest improvements you can make.
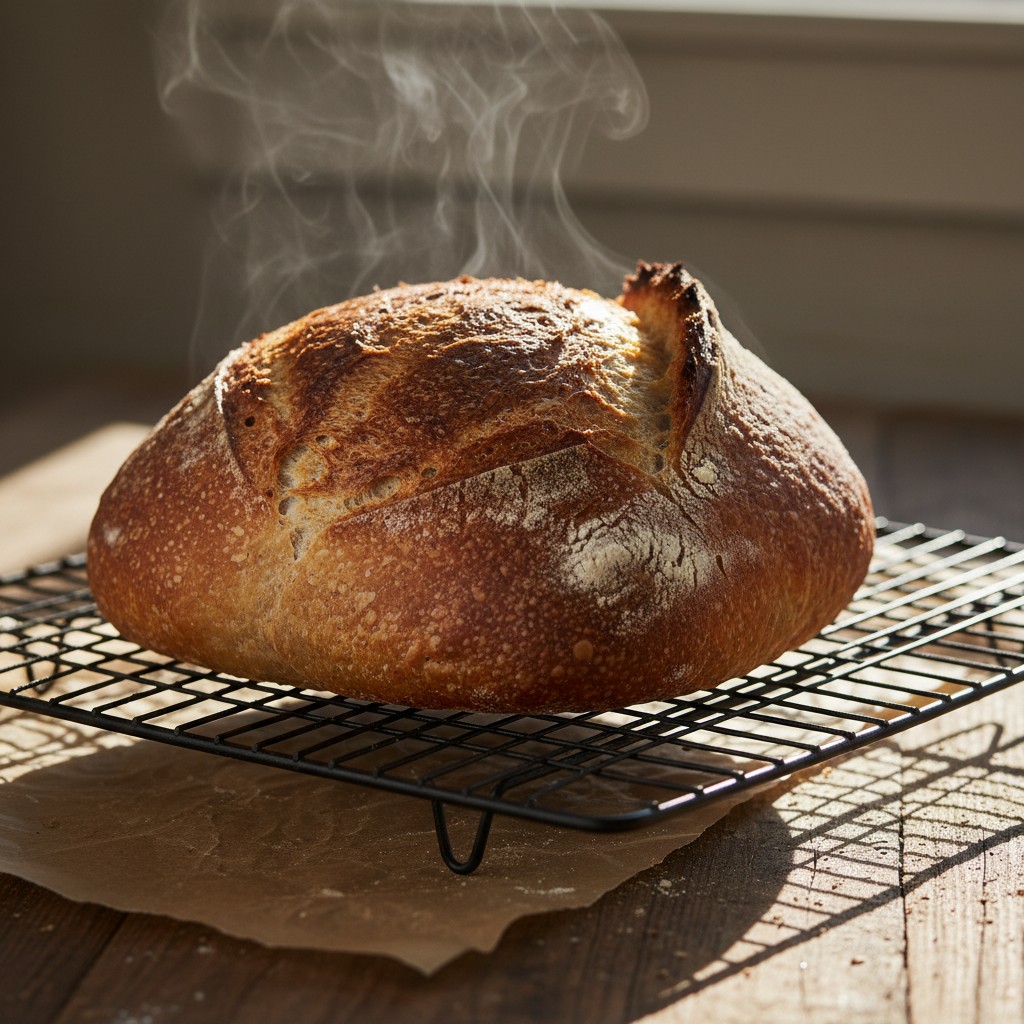
From our homestead: My first sourdough loaf was a dense, lopsided disk that my husband kindly called ‘rustic.’ My tenth loaf had ears, an open crumb, and a crackly crust. The only difference was practice.
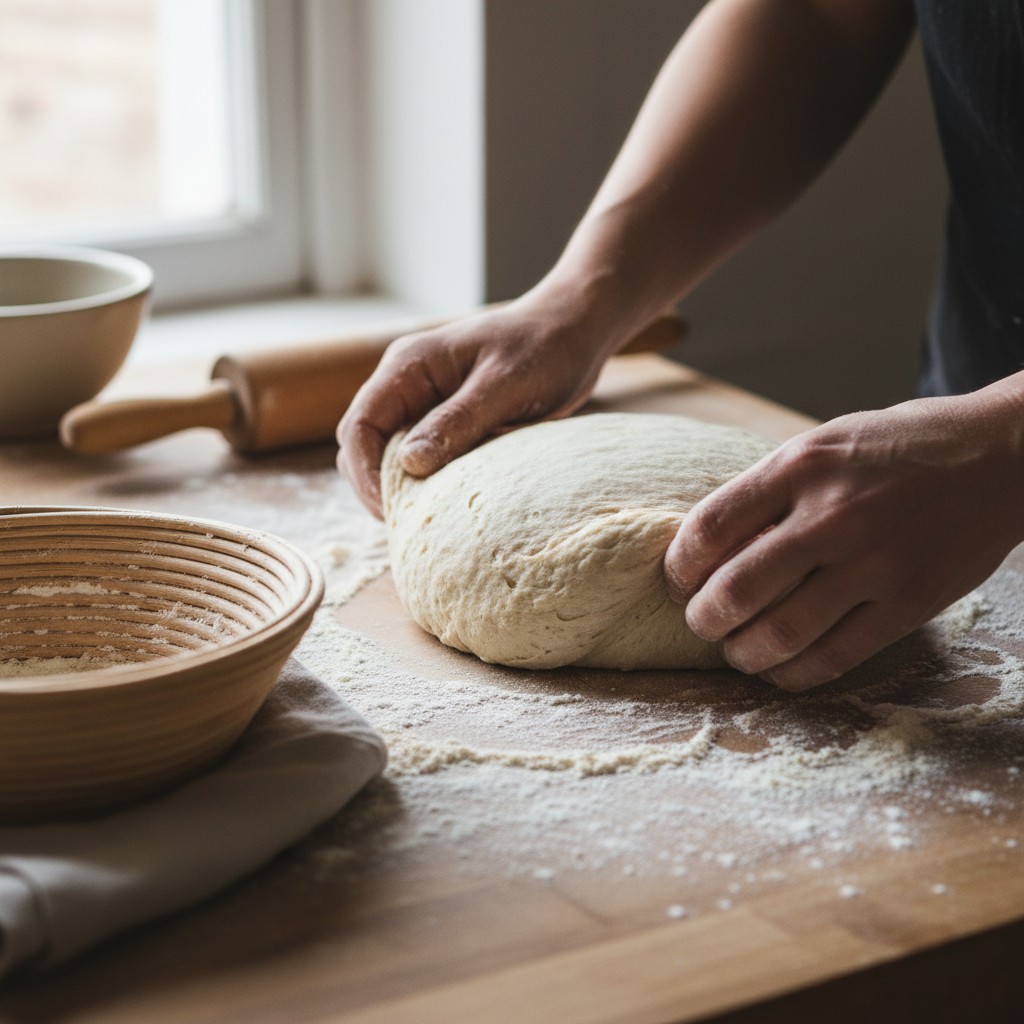
I start by mixing just the flour and water (called autolyse), letting them rest for 30 minutes so the flour fully hydrates. Then I add the starter and salt, squeeze everything together until combined, and begin my stretch-and-fold sets every 30 minutes. You’ll feel the dough transform from shaggy and sticky to smooth and elastic, it’s deeply satisfying.
How Do You Know When the Dough Is Ready to Shape?
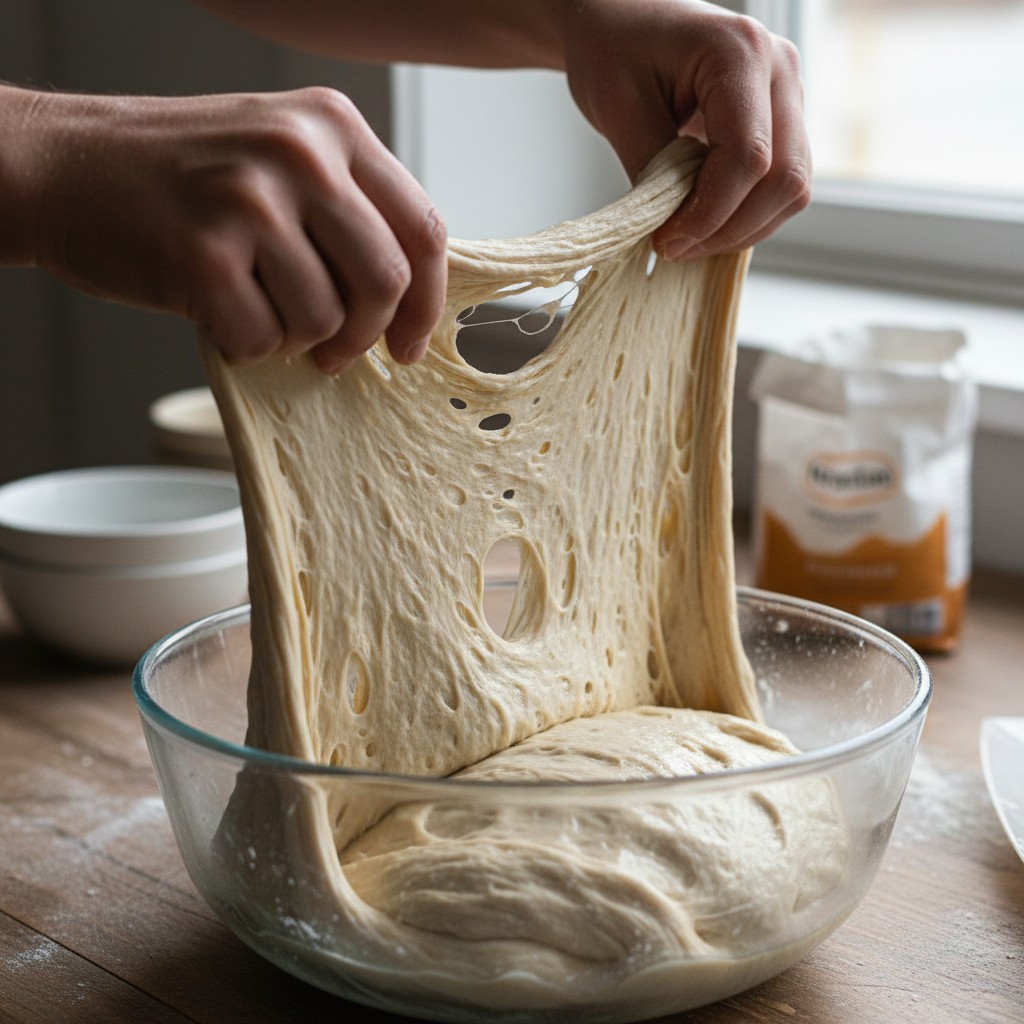
Your dough is ready to shape when it has increased in volume by about 50%, feels airy and jiggly, and passes the “windowpane test”, you can stretch a small piece thin enough to see light through without it tearing. After bulk fermentation, I gently turn the dough out onto a lightly floured surface, pre-shape into a round, let it rest 20 minutes, then do my final shaping.
This step took me several loaves to get comfortable with. My advice: watch a few YouTube videos of shaping technique and don’t be afraid to handle the dough confidently. A well-shaped loaf holds its form better in the oven and gives you that beautiful ear on top.
What Are the Most Common Beginner Mistakes?
The three most common beginner sourdough mistakes are: using a starter that isn’t active enough, under- or over-fermenting the dough, and baking without enough steam. According to King Arthur Baking’s troubleshooting guide, most flat or dense loaves come down to starter strength or fermentation timing.
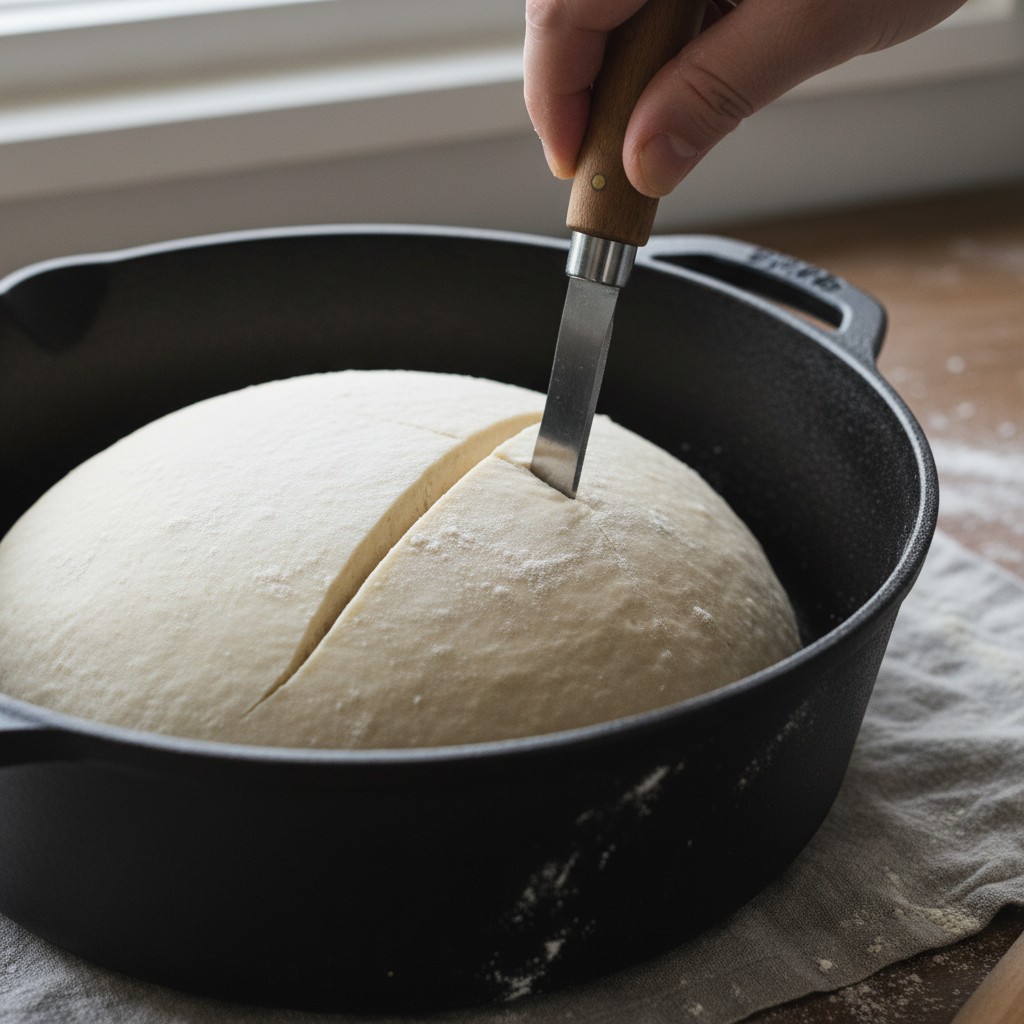
My biggest early mistake was not preheating the Dutch oven long enough. A screaming hot pot creates the steam environment that gives sourdough its signature crust and oven spring. I preheat mine for a full hour at 500°F. If you’re looking for more from-scratch kitchen projects, sourdough pairs beautifully with homemade yogurt and herb compound butter, there’s nothing quite like fresh bread with homemade butter.
How Do You Get an Open Crumb and Crispy Crust?
A well-fermented dough, proper shaping, a cold final proof, and baking in a preheated Dutch oven are the four keys to an open crumb and shattering crust. The cold overnight proof in particular makes a huge difference, it develops flavor and makes the dough easier to score. The Oregon State Extension food science resources explain how the long fermentation breaks down complex starches, contributing to better flavor and digestibility.
My emergency food pantry always includes bread flour and salt, so I can bake sourdough any time, it’s become a true staple in our home.
Frequently Asked Questions
Yes! You can bake on a sheet pan with a metal bowl inverted over the loaf, or place a pan of water in the bottom of the oven for steam. The results won’t be quite as dramatic, but you’ll still get great bread.
Excessive sourness usually comes from over-fermentation or a very mature starter. Try using your starter earlier (when it’s just peaked), reducing fermentation time, or proofing at a cooler temperature. Warmer conditions and longer times produce more acetic acid (sour flavor).
Absolutely! Add seeds, dried herbs, olives, cheese, or roasted garlic during the last set of stretch and folds. I love a rosemary-olive oil loaf and a seeded multigrain variation. Just keep add-ins to about 15-20% of the flour weight for best results.
Cut side down on a cutting board at room temperature for 2-3 days. For longer storage, slice and freeze in a zip-top bag, toast slices straight from the freezer. Never refrigerate sourdough, as it stales faster in the fridge.