Similar Posts
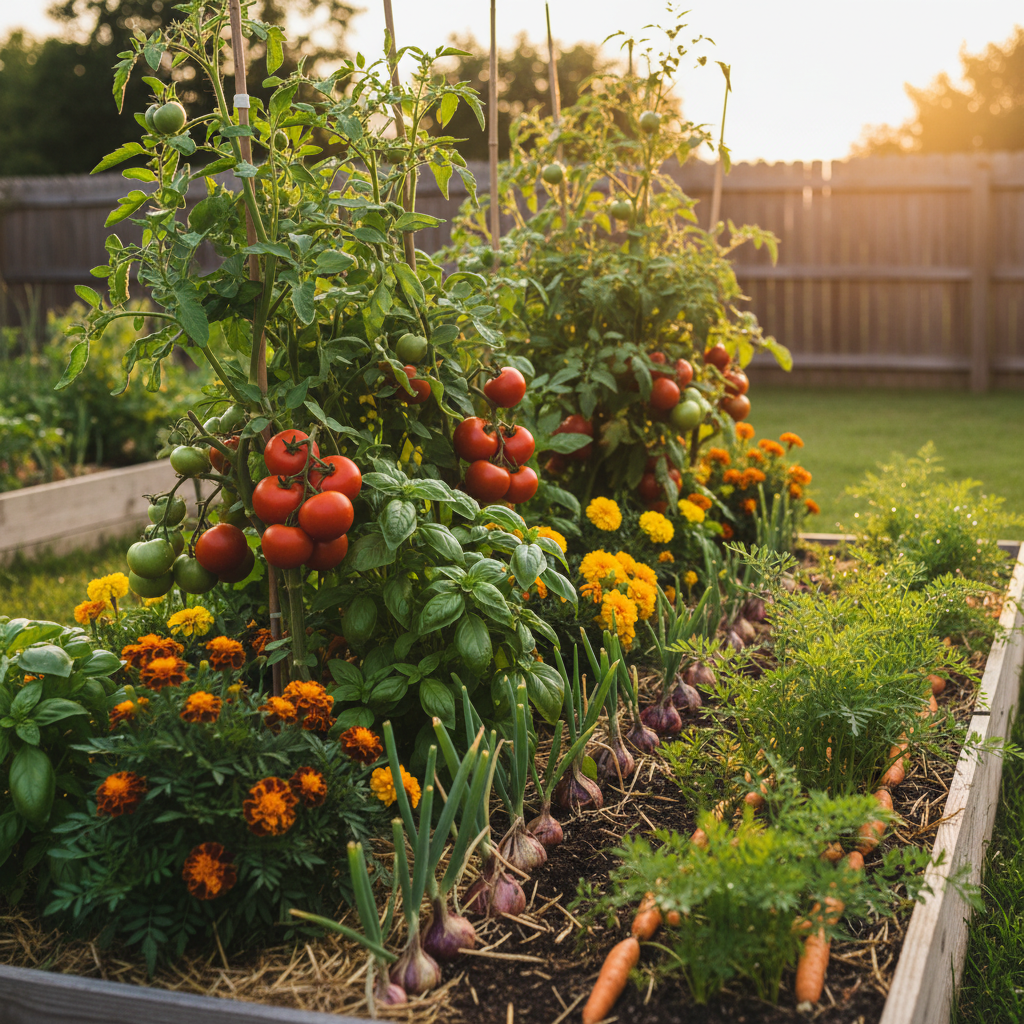
Companion Planting Guide: What to Grow Together (and What to Keep Apart)
A note on the science: Most companion planting lore is traditional and anecdotal. The pairings below are widely recommended and practiced, but they have varying levels of scientific support. Some: like the Three Sisters nitrogen-fixation mechanism, or marigolds suppressing nematodes when grown as a dense pre-crop, are well-documented in peer-reviewed research. Others (basil improving tomato…
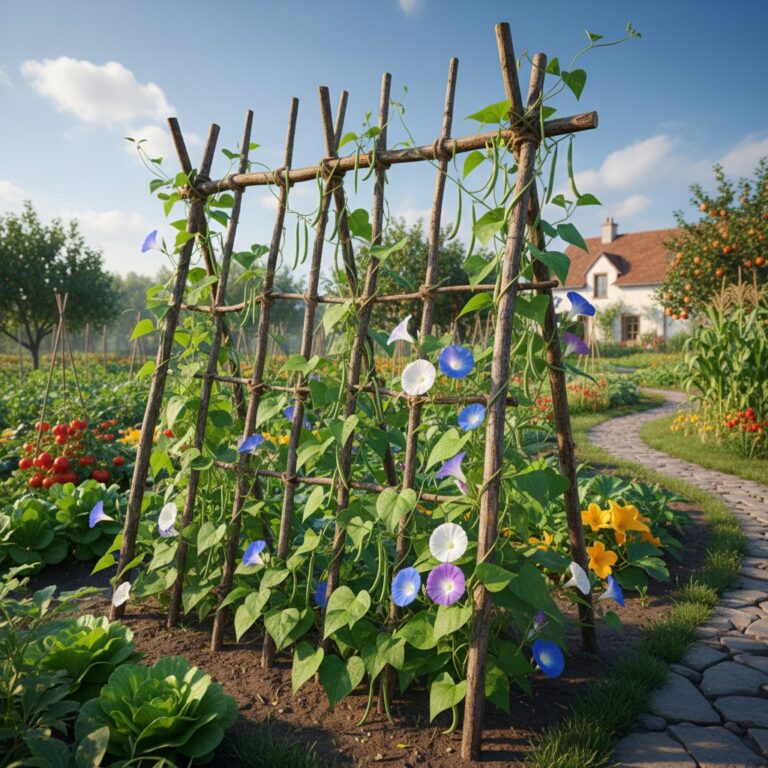
How to Build and Use a Garden Trellis: 5 Easy DIY Designs
Five DIY trellis designs from cattle panels to teepees. Materials, instructions, and the best crops to grow vertically.
Growing Corn in a Small Garden: Is It Worth It?
An honest look at growing corn in limited space. Block planting, three sisters method, varieties, and whether the yield justifies the space.
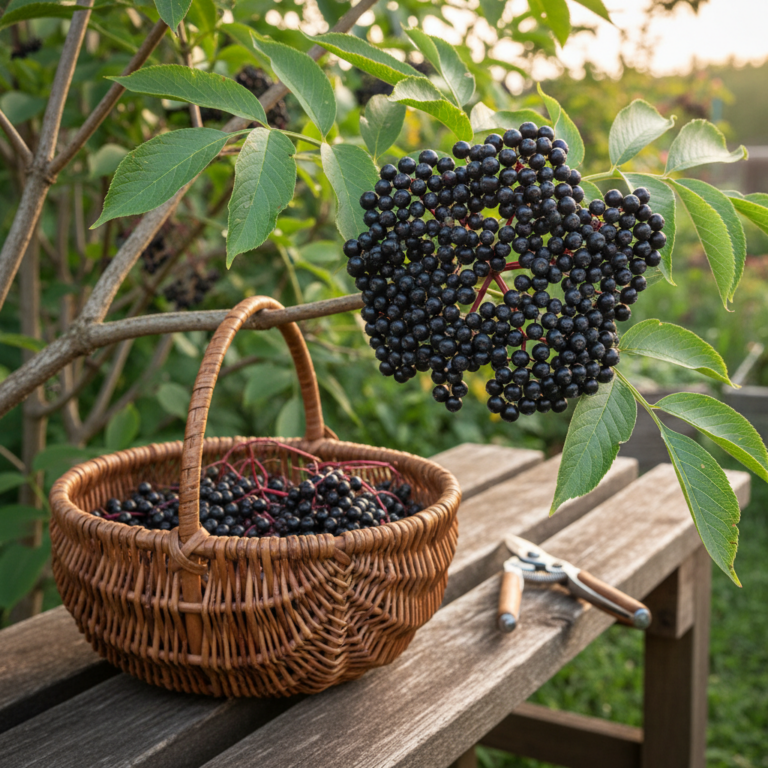
Elderberry: How to Forage, Grow, and Turn the Berries Into Immune Syrup
Elderberry: How to Forage, Grow, and Turn the Berries Into Immune Syrup TL;DR: Wild American elderberry (Sambucus canadensis) grows in USDA zones 3 through 9 and ripens dark purple in late summer. Raw berries contain cyanogenic glycosides and must be cooked. A traditional 1:1 berry-to-honey syrup keeps roughly three months refrigerated and may shorten cold…
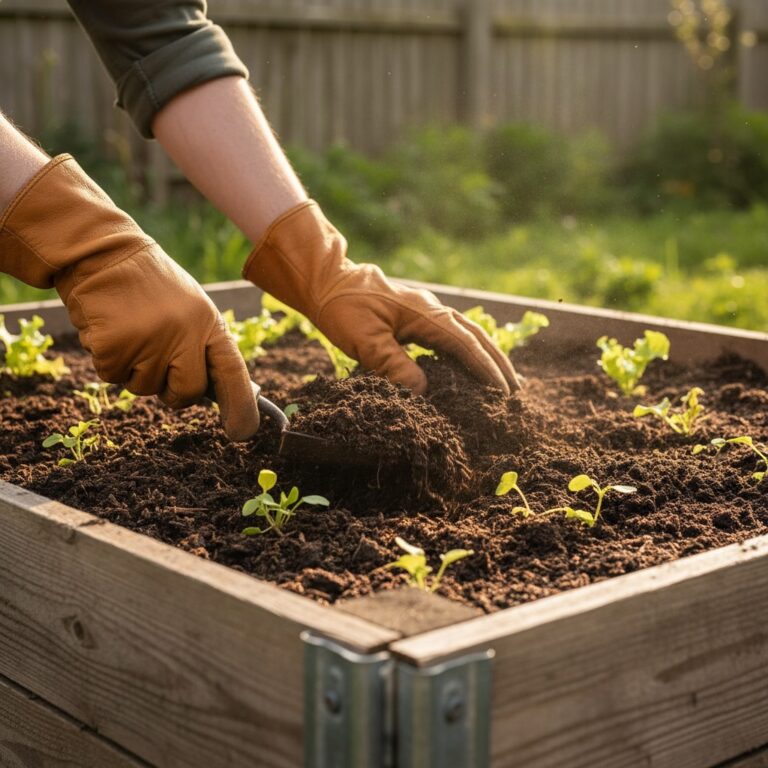
The Perfect Raised Bed Soil Mix: A Simple Recipe for Explosive Growth
The three-part soil recipe that outperforms anything from the garden center. Plus cost breakdowns, amendments, and the no-dig approach to building soil over time.
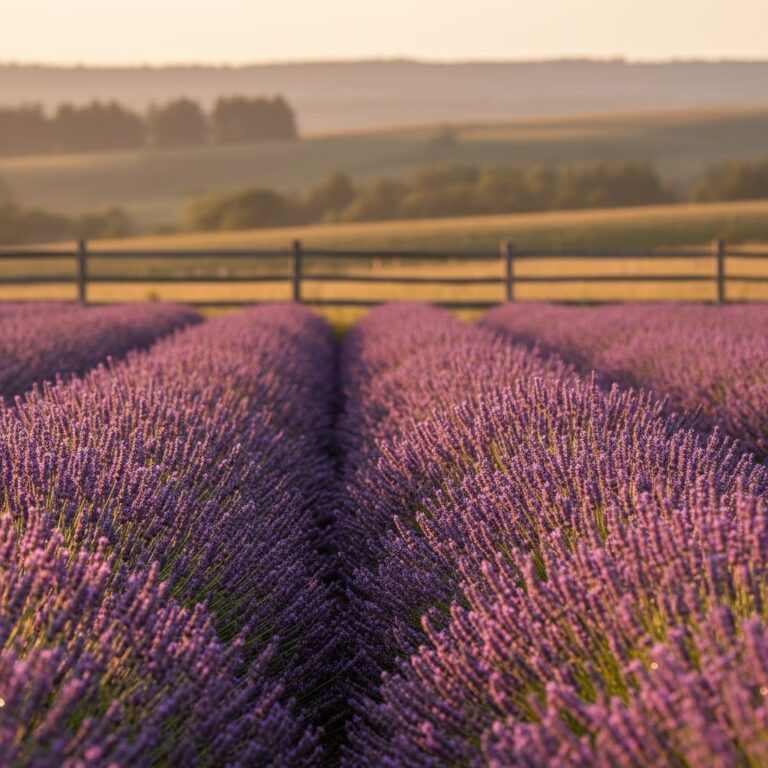
How to Grow Lavender: The Complete Guide to Planting, Care, and Harvesting
Everything you need to know about growing lavender — varieties, planting, pruning, harvesting, and uses. A Mediterranean native that thrives on neglect.