Homemade Sauerkraut: A Simple Fermentation Guide
Key Takeaways
- Sauerkraut requires only two ingredients: cabbage and salt. No vinegar, no special cultures, no fancy equipment.
- The key ratio is about 2% salt by weight: roughly 1½ teaspoons (9g) of fine sea salt per pound of shredded cabbage, or follow the NCHFP tested ratio of 3 tablespoons pickling salt per 5 pounds of cabbage.
- Fermentation takes 1 to 4 weeks depending on temperature and your taste preference.
- Homemade sauerkraut is rich in probiotics, supporting gut health in ways pasteurized store-bought versions cannot.
- Common problems like mold, soft texture, or bad smells are easy to prevent and often easy to fix.
The Simplest Fermented Food You Can Make
Sauerkraut has been around for thousands of years. Long before refrigeration, long before canning, people across Europe and Asia were preserving cabbage in salt, and the result was so delicious it became a dietary staple rather than just a survival food.
What makes sauerkraut remarkable isn’t just the flavor. It’s that the process is absurdly simple. You shred cabbage. You add salt. You wait. The bacteria naturally present on the cabbage (primarily Lactobacillus) do all the work, converting the cabbage’s sugars into lactic acid. That acid preserves the cabbage, gives it that characteristic tangy bite, and creates a food teeming with beneficial probiotics.
Research published in the journal Applied and Environmental Microbiology has identified up to 28 distinct bacterial strains in traditionally fermented sauerkraut. That’s a level of microbial diversity no probiotic supplement can match. But here’s the catch, the sauerkraut you buy at most grocery stores has been pasteurized, which kills those beneficial bacteria. If you want the probiotic benefits, you need raw sauerkraut, either from the refrigerated section of a health food store (at $7 to $10 per jar) or from your own kitchen (at pennies per serving).
What You Need
Ingredients
- 1 medium head of green cabbage (about 2 pounds). Look for tight, heavy heads. Older cabbage that’s been in storage works fine. Red cabbage works too and produces a beautiful magenta kraut.
- About 1½ teaspoons fine sea salt or pickling salt per pound of cabbage (roughly 9 grams per pound, or ~2% of the cabbage’s weight). For a 2-pound head, that is about 1 tablespoon total. If you prefer a tested reference recipe, the National Center for Home Food Preservation calls for 3 tablespoons of pickling salt per 5 pounds of cabbage (~1.5% by weight).
That’s it. Seriously.
Equipment
- A large mixing bowl
- A sharp knife or mandoline
- A wide-mouth quart mason jar (or a fermentation crock if you want to go traditional)
- Something to press the cabbage down, a smaller jar filled with water works perfectly
- Optional: a fermentation weight and airlock lid (helpful but not essential)
Step-by-Step: Making Your First Batch
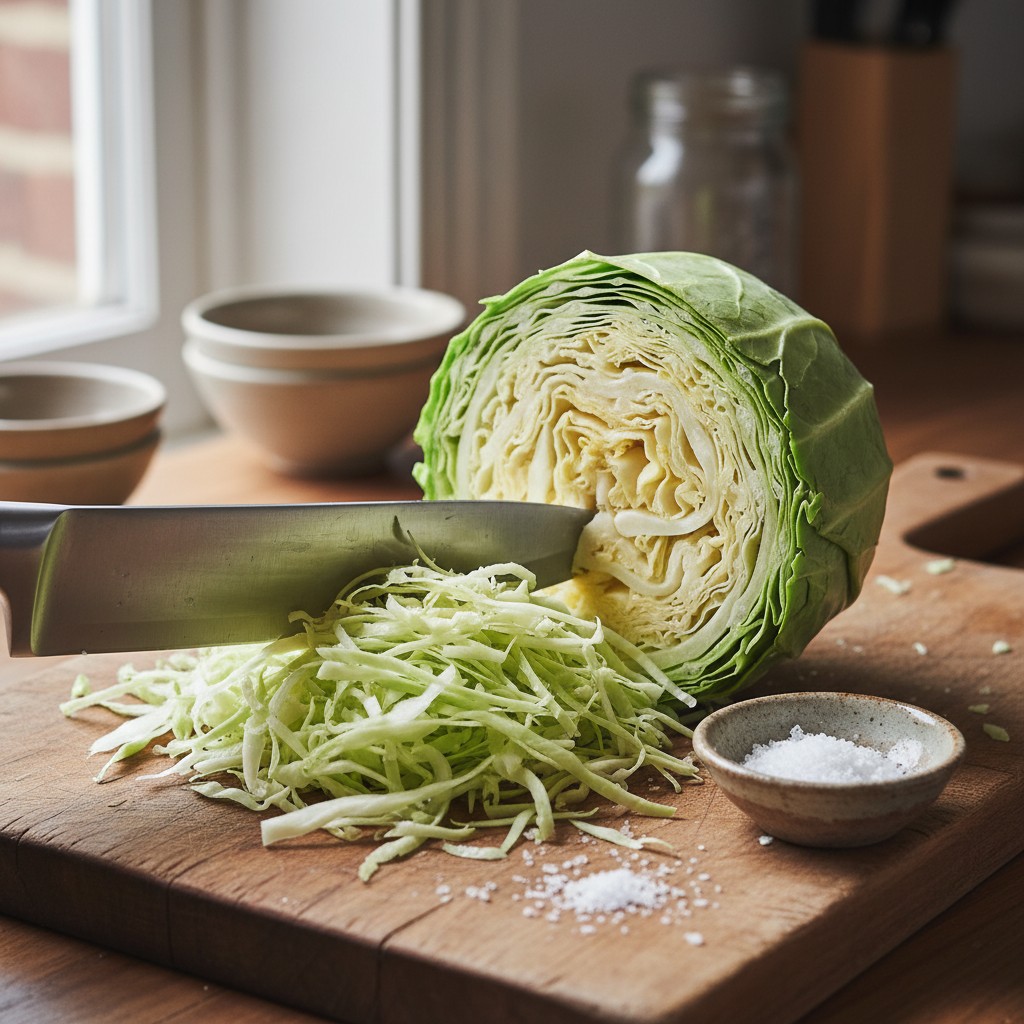
Step 1: Prep the Cabbage
Remove the outer leaves and set one aside, you’ll use it later. Quarter the cabbage, cut out the core, and shred it thinly. A knife works fine; a mandoline makes faster work of it. Aim for strips about ⅛ inch wide. Thinner shreds ferment faster and produce a more tender kraut. Thicker cuts stay crunchier.
Weigh your shredded cabbage, this is the step that matters most. For every pound (454g) of cabbage, use about 9 grams of salt (~2% by weight). In volume, that works out to roughly 1½ teaspoons of fine sea salt or pickling salt per pound, or about 1 tablespoon of Diamond Crystal kosher salt per pound (kosher flakes are about half the density of fine sea salt, so the same weight takes up more spoon).
Why weighing beats measuring: salt crystal size dramatically changes volume measurements. A tablespoon of fine sea salt weighs about 18 grams, a tablespoon of Morton kosher weighs about 15 grams, and a tablespoon of Diamond Crystal kosher weighs about 9 grams. That is a 2x difference from the same spoon. A cheap kitchen scale removes all the guesswork and is the single best upgrade for fermenting at home. If you would rather follow a tested reference recipe by volume, NCHFP calls for 3 tablespoons of pickling salt per 5 pounds of shredded cabbage.
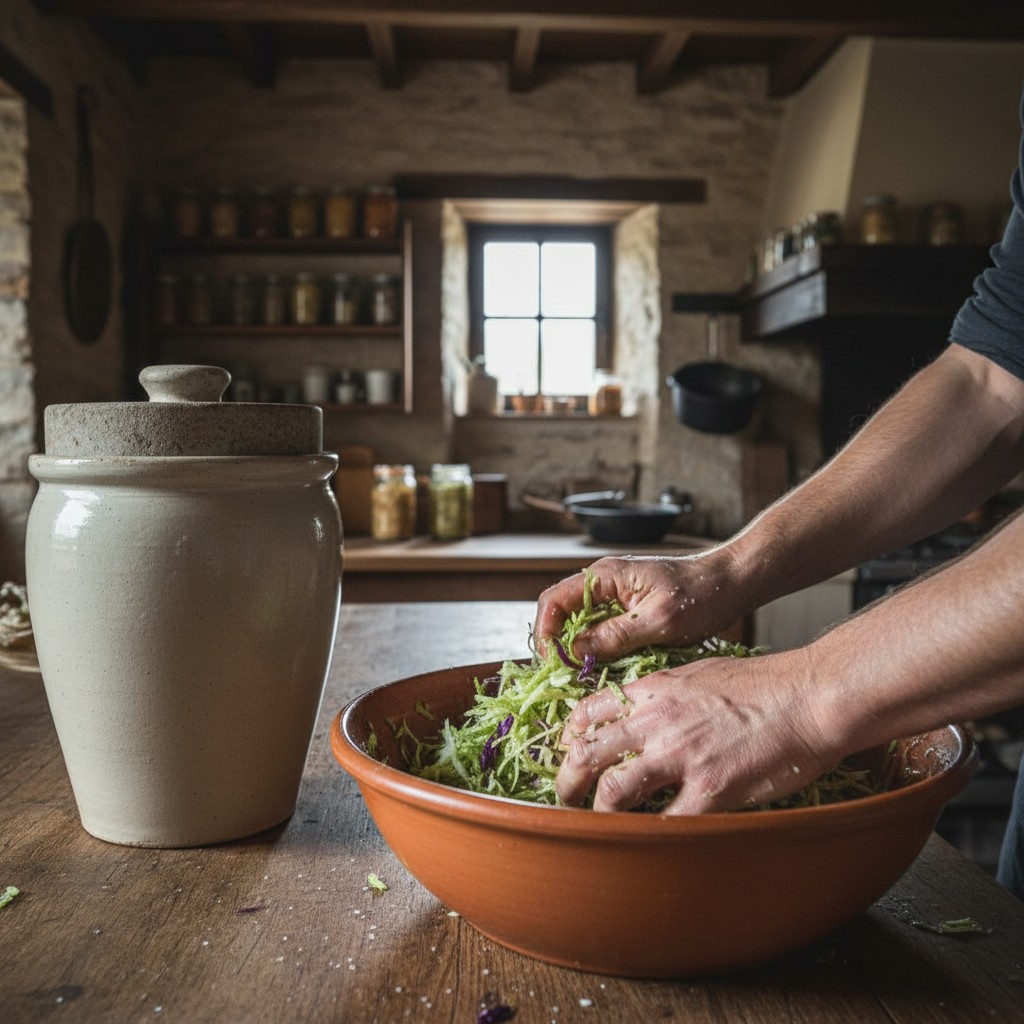
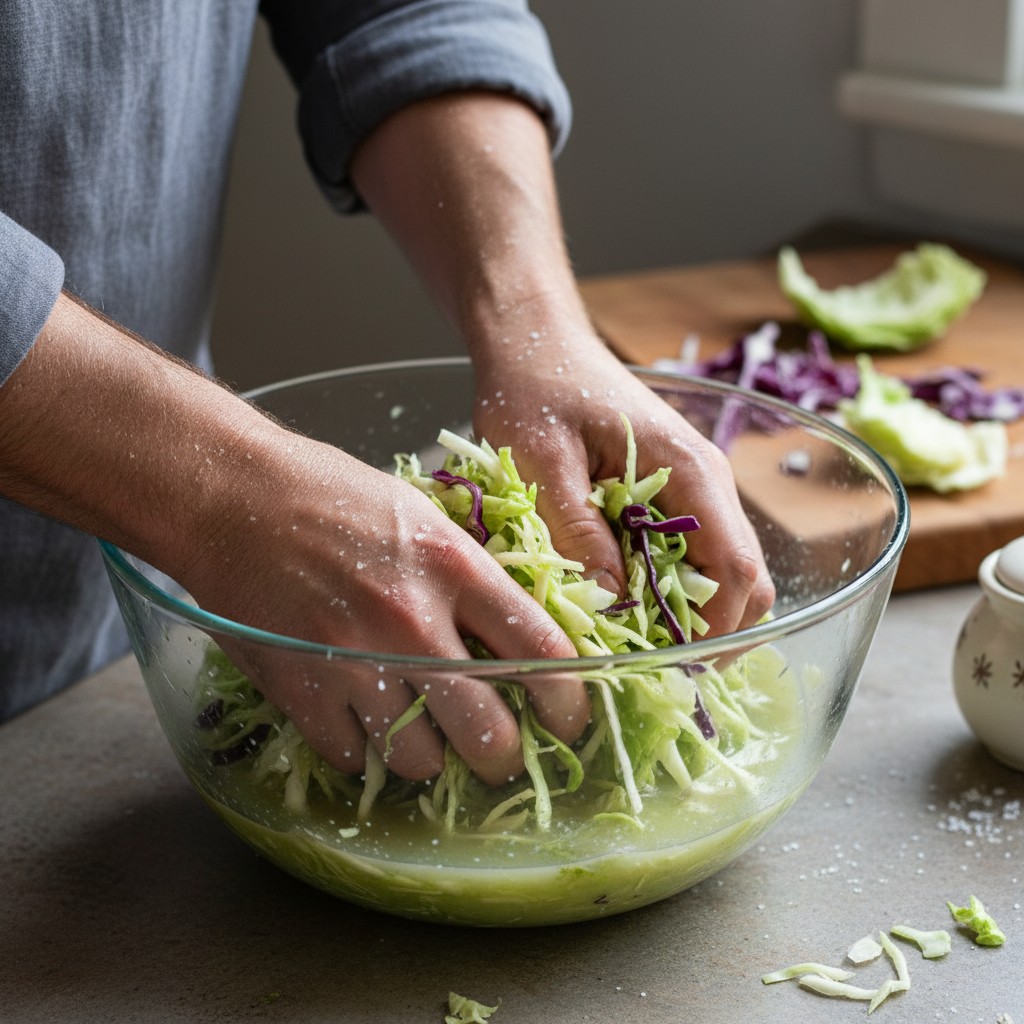
Step 2: Salt and Massage
Put the shredded cabbage in a large bowl and sprinkle the salt over it. Now comes the part that surprises first-timers: you massage it. Squeeze, press, and work the salt into the cabbage with your hands for 5 to 10 minutes.
At first nothing happens. Then the cabbage starts to soften. Then it gets wet. By the end of 10 minutes, there should be a substantial pool of liquid in the bottom of the bowl. This liquid is your brine, and it’s everything. The cabbage must stay submerged in this brine throughout fermentation.
If your cabbage is older or a bit dry and isn’t releasing enough liquid after 10 minutes of massaging, let it sit for 30 minutes and try again. You can also add a tablespoon of water, but only as a last resort, usually patience and elbow grease are enough.
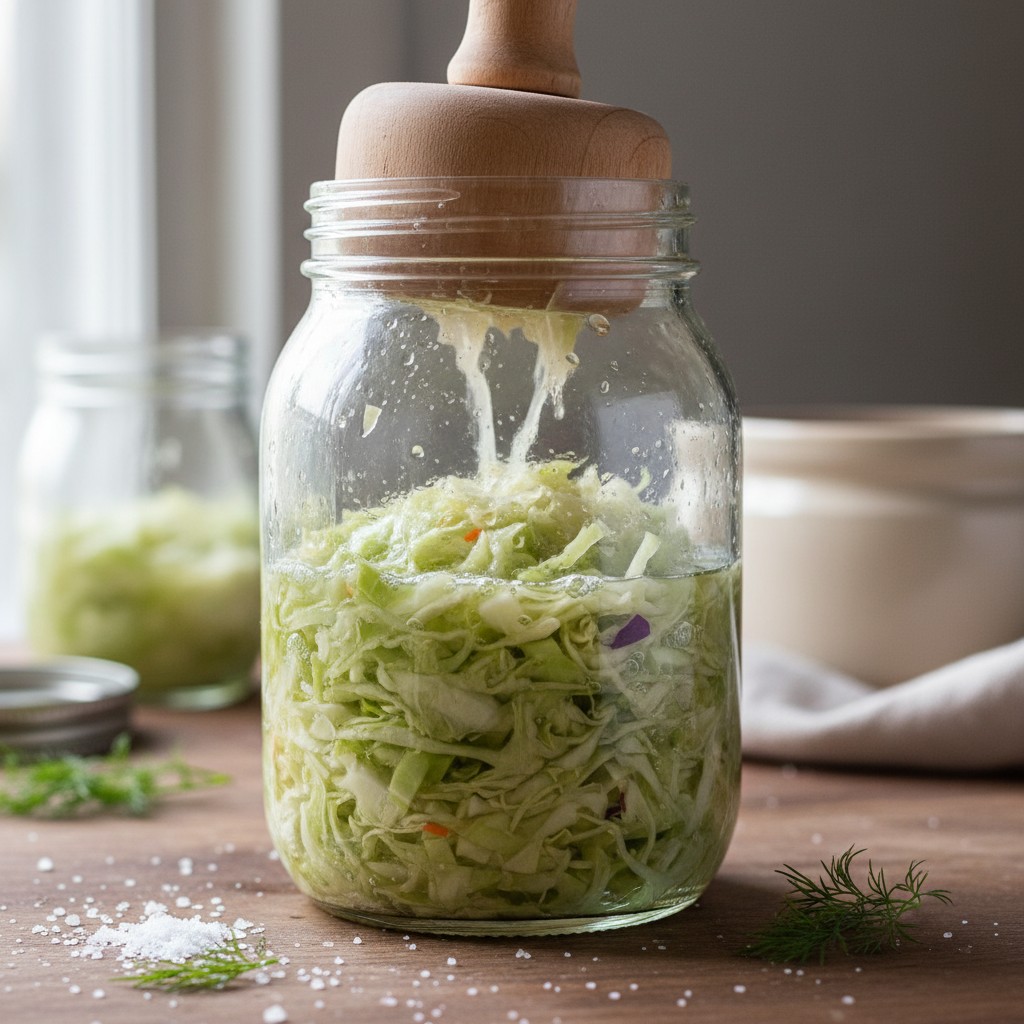
Step 3: Pack the Jar
Transfer the cabbage and all its liquid into your jar. Pack it down firmly with your fist or a wooden spoon. Really press it. You want to eliminate air pockets and force the brine up and over the cabbage. The brine should rise above the cabbage level by at least half an inch.
Take that reserved outer leaf and trim it to fit inside the jar, pressing it down on top of the shredded cabbage. This acts as a natural barrier that keeps small shreds from floating up.
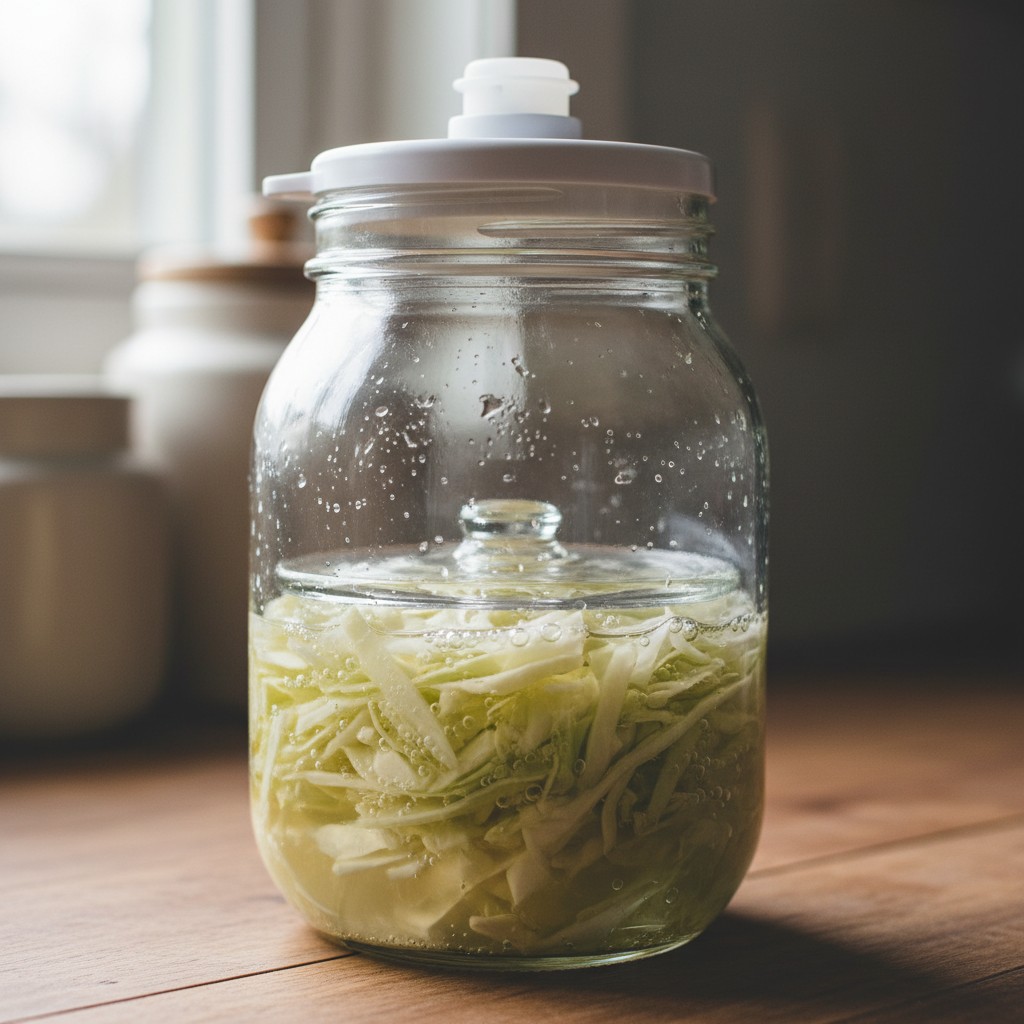
Place a weight on top to keep everything submerged. A small jar filled with water, a zip-top bag filled with brine (use brine, not water, so if it leaks you haven’t diluted your salt content), or a purpose-made glass fermentation weight all work.
Step 4: Cover and Wait
Cover the jar loosely. You need to let carbon dioxide escape, fermentation produces gas, and a sealed jar will build pressure. Options include:
- A piece of cloth or coffee filter secured with a rubber band
- The jar’s lid, set on top but not screwed tight
- A fermentation airlock lid (the most elegant solution)
Place the jar on a plate or in a bowl to catch any overflow, actively fermenting kraut sometimes bubbles over. Put it somewhere at room temperature, out of direct sunlight.
Step 5: Monitor the Ferment
For the first few days, press the cabbage down once or twice daily to keep it submerged. You’ll see bubbles forming, that’s the fermentation in action. It’s working.
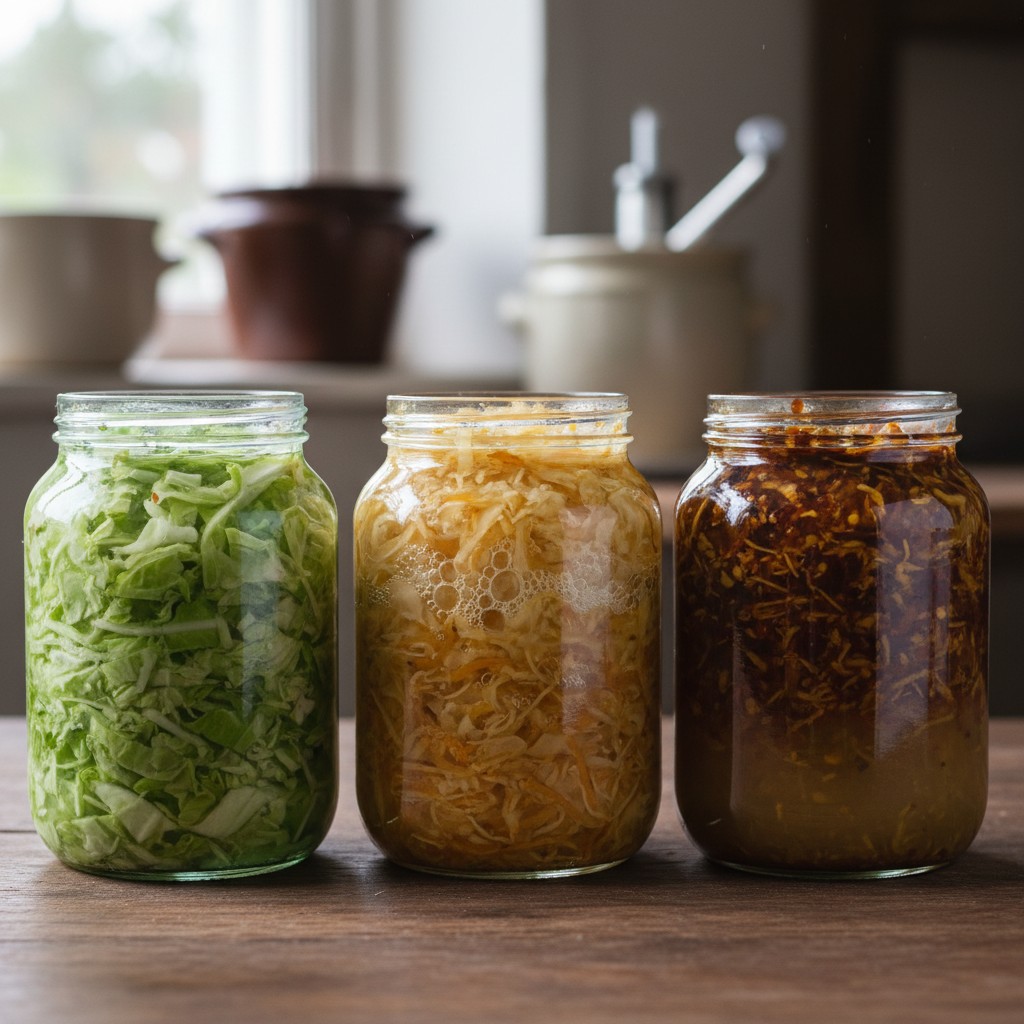
The kraut is technically edible after just 3 days, but it won’t have much depth yet. Here’s a general timeline:
- Days 1–3: Fermentation begins. Bubbles appear. The brine may turn cloudy. Completely normal.
- Days 4–7: The cabbage starts to taste sour. It’s young kraut at this point, mild and still crunchy.
- Weeks 2–3: The sourness deepens. The texture softens. The flavor becomes more complex. This is the sweet spot for most people.
- Week 4 and beyond: Very tangy, very soft. Some people love long-fermented kraut. Others find it too sour. Taste it every few days starting at week one and refrigerate it when it hits your preferred flavor.
Temperature matters. Fermentation is faster in warm conditions (above 75°F) and slower in cool conditions (60–65°F). Cooler, slower fermentation generally produces better flavor and texture. If your kitchen runs warm, a basement or cool closet is a better spot.
Fermentation Vessel Options
A mason jar works beautifully for small batches. But if you want to make larger quantities, you have options.
Ceramic fermentation crocks are the traditional choice. They come with water-sealed lids that allow gas to escape without letting air in. They’re heavy, durable, and look gorgeous on a counter. The downside is cost, a quality crock runs $50 to $150.
Food-grade plastic buckets work for large batches. Restaurant supply stores sell them cheaply. Cover with a plate weighted down and a towel over the top.
Multiple mason jars are the most practical option for most home fermenters. A single head of cabbage fills one quart jar nicely.
Health Benefits
The probiotic content of raw sauerkraut is genuinely impressive. A single serving can contain millions of colony-forming units of beneficial bacteria. These bacteria support digestive health, may boost immune function, and contribute to the gut microbiome diversity that researchers increasingly link to overall health.
Sauerkraut is also an excellent source of vitamin C, historically, it was a crucial scurvy preventive for sailors on long voyages. Captain James Cook credited sauerkraut with keeping his crew healthy during his circumnavigation of the globe in the 1770s. One cup of sauerkraut provides roughly 35% of the daily recommended intake of vitamin C, plus meaningful amounts of vitamin K, iron, and manganese.
Calorie-wise, sauerkraut is negligible, about 27 calories per cup. It’s naturally low in fat and provides 4 grams of fiber per cup.
Flavor Variations
Once you’ve mastered the basic recipe, try adding other ingredients to the jar before fermentation.
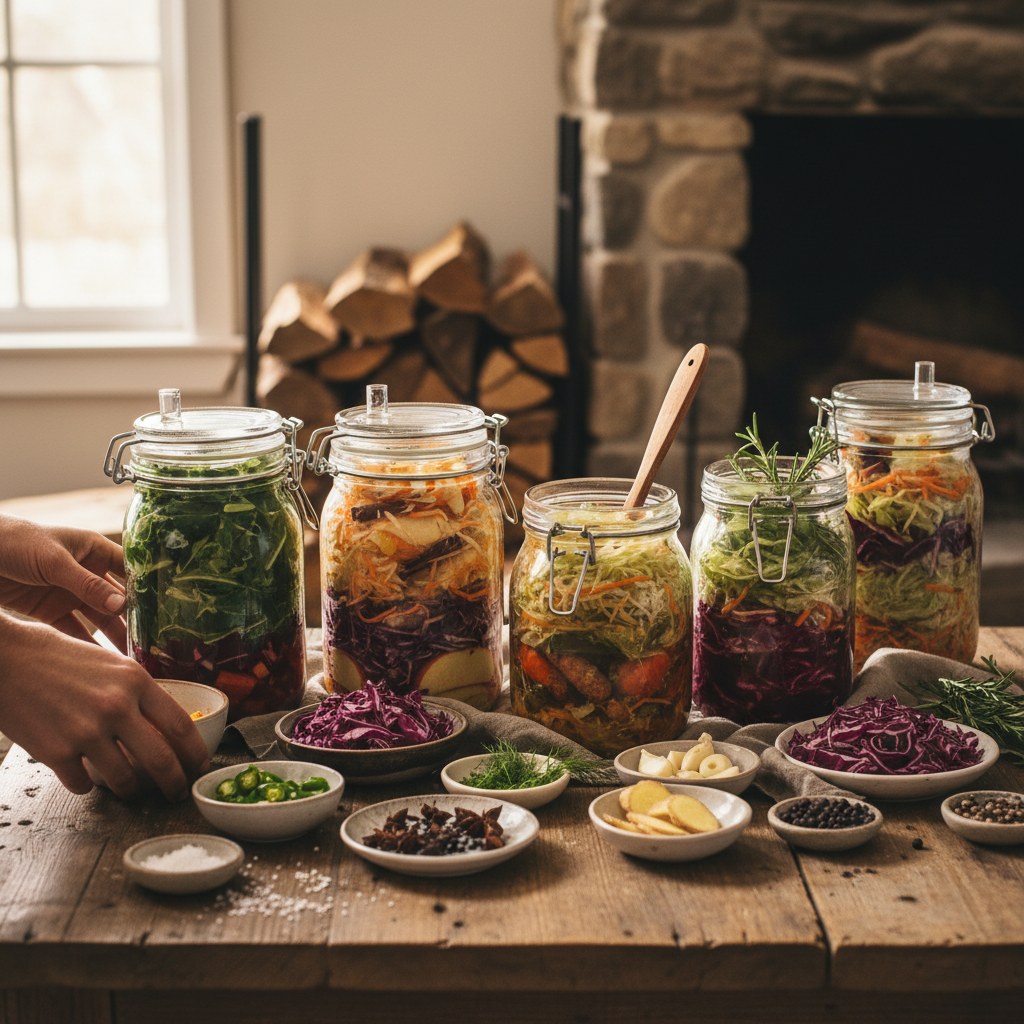
- Caraway seeds: The classic German addition. Use 1 teaspoon per quart. Adds a warm, earthy flavor.
- Juniper berries, 5 or 6 per quart. Subtle, piney, and traditional in Alsatian sauerkraut.
- Garlic: 2 to 3 cloves, thinly sliced. Mellows during fermentation.
- Ginger and turmeric, 1 tablespoon each, grated. Produces a golden kraut with anti-inflammatory benefits.
- Jalapeño and red pepper flakes. For a spicy kraut that’s incredible on tacos.
- Apples: Shred a tart apple and mix it in. Adds sweetness that balances the tang.
- Red cabbage with beets. Stunning deep purple color. Slightly sweeter flavor profile.
Troubleshooting
White Film on the Surface
This is almost always kahm yeast, a harmless film that sometimes develops when the surface is exposed to air. Skim it off and press the cabbage back under the brine. The kraut underneath is fine. Kahm yeast isn’t dangerous, but it can introduce off-flavors if left unchecked.
Actual Mold (Fuzzy, Black, Green, or Pink)
This is different from kahm yeast. If you see fuzzy mold, remove it immediately along with any discolored cabbage beneath it. If the mold is only on the surface and the kraut below smells and looks normal, the rest is generally safe. If the entire jar smells bad or the mold has penetrated deep, discard the batch. Better safe than sorry.
To prevent mold: keep the cabbage submerged, use enough salt, and ensure your equipment is clean.
Sauerkraut is Too Soft or Mushy
Usually caused by too much salt (which slows the beneficial bacteria and leads to enzymatic breakdown) or fermenting at too high a temperature. Aim for ~2% salt by weight (about 9g per pound of cabbage) and temperatures in the 60 to 75 Fahrenheit range, with 70 to 75 being NCHFP’s optimal window for 3 to 4 week ferments.
Sauerkraut Smells Terrible
It should smell sour and tangy, like vinegar or pickles. A mild sulfurous smell in the first day or two is normal, it dissipates. But if it smells rotten, putrid, or like something died in the jar, trust your nose and discard it. Good fermentation smells sharp but clean.
Storing Your Finished Sauerkraut
Once the flavor is where you want it, cap the jar tightly and move it to the refrigerator. The cold doesn’t stop fermentation entirely, but it slows it to a crawl. Refrigerated sauerkraut keeps for 6 months or longer, and the flavor continues to develop slowly.

pH as a safety confirmation: Properly fermented sauerkraut should have a pH below 4.0, the threshold below which most foodborne pathogens (including Listeria and E. Coli) cannot survive. Fully fermented kraut typically reaches pH 3.4–3.6. If you want to verify your batch, an inexpensive pH meter (under $15 online) or pH strips designed for fermentation will confirm it. Your nose is the easiest indicator: properly acidified sauerkraut smells sharply sour and clean, like a good pickle. If the flavor is pleasantly tangy and the smell is right, the chemistry is almost certainly where it needs to be.
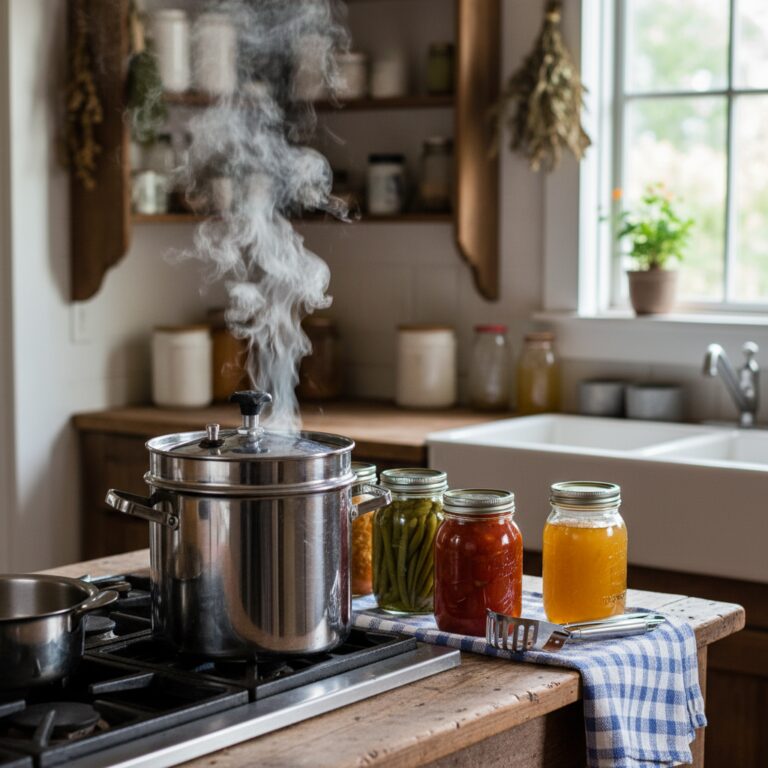
You can also can sauerkraut in a water bath for shelf-stable storage, but the heat kills the probiotics. If gut health is your motivation, stick with raw refrigerator storage.
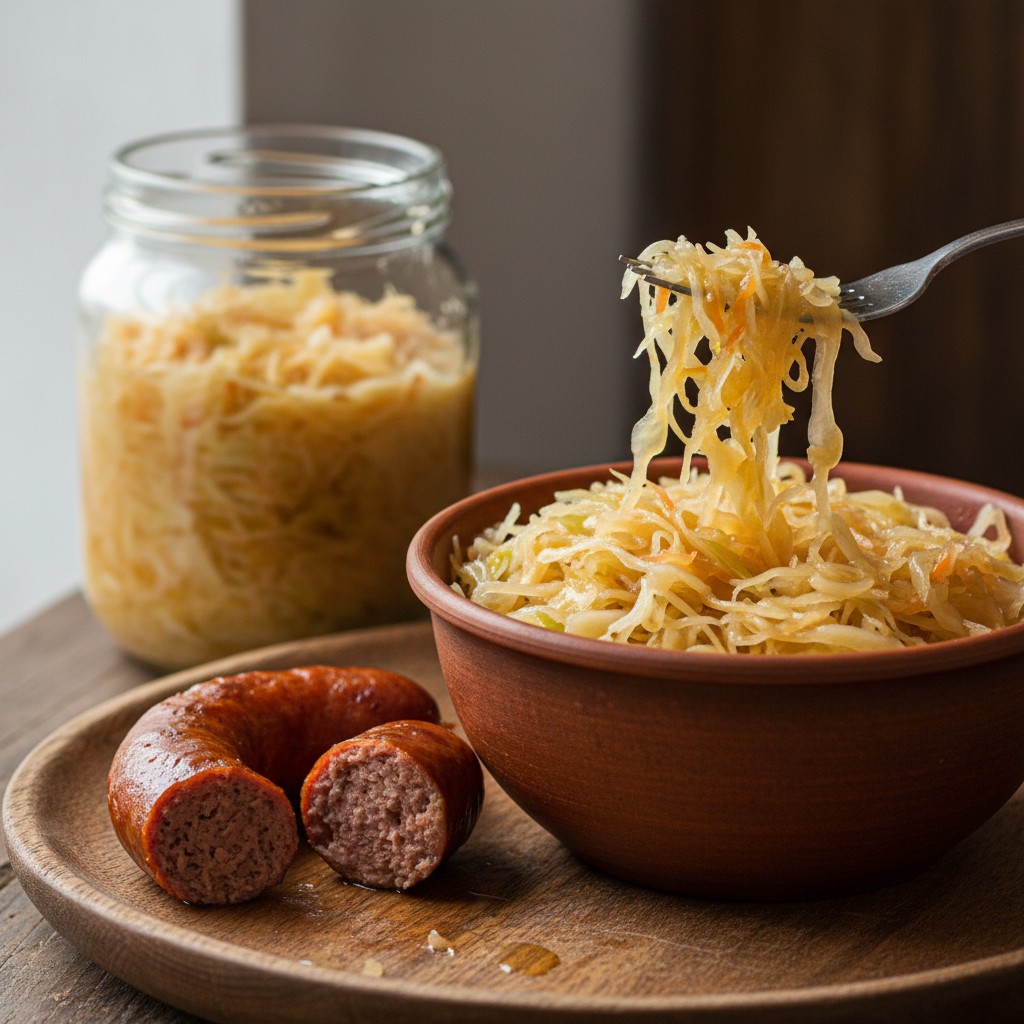
🌱 From Our Homestead
Our first batch of sauerkraut was a leap of faith, just cabbage and salt, left to sit on the counter for weeks. It turned out perfectly tangy and crunchy, and now we always have a jar fermenting because we go through it so fast.
Frequently Asked Questions
Can I use regular table salt for sauerkraut?
It’s not recommended. Table salt contains iodine and anti-caking agents that can inhibit the beneficial bacteria responsible for fermentation and turn the brine cloudy. Fine sea salt and pickling salt are both inexpensive and work perfectly. Kosher salt works too, just use about 50% more by volume since the flakes are less dense.
My cabbage didn’t release enough brine. What do I do?
Let it sit, covered, at room temperature for a few hours after salting and massaging. Often more liquid releases on its own. If it’s still not enough, dissolve 1 teaspoon of salt in 1 cup of water and add just enough to cover the cabbage. This is common with very fresh cabbage or in dry winter months when stored cabbage has lost some moisture.
Is the liquid in the sauerkraut jar good for anything?
That brine is liquid gold. It’s packed with the same probiotics as the kraut itself. Some people drink a small shot of it daily as a probiotic tonic. It’s also an excellent starter for your next batch of sauerkraut, add a few tablespoons to the new jar to jump-start fermentation. You can use it in salad dressings, marinades, or anywhere you’d use vinegar.
How can I tell if my sauerkraut is fermenting properly?
Look for bubbles. Within the first day or two, you should see small bubbles rising through the brine or collecting along the surface. The brine will turn cloudy, that’s a good sign, not a problem. The cabbage will start to smell sour rather than raw. If you see no activity after 3 days at room temperature, your kitchen may be too cold or you may have used too much salt. Move the jar to a warmer spot and give it another day or two.