Homemade Vanilla Extract: Just 2 Ingredients
Key Takeaways
- Homemade vanilla extract requires just two ingredients: vanilla beans and alcohol (vodka, bourbon, or rum).
- The standard ratio is 5 to 6 vanilla beans per 8 ounces (1 cup) of alcohol.
- Steeping takes at least 2 months for usable extract, with 6 months being ideal for full flavor development.
- A bottle of homemade extract costs about $8–$15 to make, compared to $10–$20 for a 4-ounce bottle of pure extract at the store.
- You can keep the extract going indefinitely by topping off with fresh alcohol and adding new beans periodically.
Why Pure Vanilla Costs a Fortune
Vanilla is the second most expensive spice in the world, right behind saffron. A single 4-ounce bottle of pure vanilla extract at the grocery store costs $10 to $20, and premium brands charge even more. There’s a good reason for this: real vanilla is incredibly labor-intensive to produce.
Vanilla beans come from an orchid. Vanilla planifolia, that grows only in a narrow tropical band near the equator. Each flower opens for a single day. Miss that window and there is no bean. After pollination, the pods spend 9 months maturing on the vine, then pass through a months-long curing process of sweating and drying before they are ready to sell.
About 80% of the world’s vanilla comes from Madagascar, where production is vulnerable to cyclones, political instability, and crop theft. A series of devastating cyclones in 2017 drove vanilla bean prices to over $600 per kilogram, more expensive than silver at the time. Prices have moderated since then but remain high.
Making your own extract is one way to get premium-quality vanilla without the premium price tag. And the process could hardly be simpler.
Choosing Your Vanilla Beans
Madagascar Bourbon Vanilla
This is the variety most people think of when they think of vanilla. Rich, creamy, sweet, with that classic vanilla flavor that works in everything. The name “Bourbon” refers to the island of Réunion (formerly Île Bourbon), where this cultivation method originated, it has nothing to do with the whiskey.
Madagascar beans are the most widely available and the most versatile. If you’re making one bottle of extract, this is where to start.
Tahitian Vanilla
Tahitian beans (Vanilla tahitensis) are a different species entirely. They’re plumper, more moist, and have a floral, fruity, almost cherry-like aroma. The flavor is more delicate and nuanced than Madagascar vanilla.
Tahitian vanilla is gorgeous in custards, fruit desserts, and anything where the vanilla is a prominent flavor. It’s less ideal for strongly flavored baked goods like chocolate cake, where its subtlety gets lost.
Mexican Vanilla
Vanilla is native to Mexico, and Mexican beans have a bold, spicy, slightly smoky character. They work beautifully in chocolate-based recipes and warm, spiced dishes. If you like complex, assertive vanilla flavor, try Mexican beans.
Where to Buy
Skip the grocery store for beans, the markup is enormous. A single bean at the supermarket costs $8 to $15. Online vendors sell beans in bulk for a fraction of that price. Look for Grade B beans (also called “extract grade”). These are drier and less pretty than the plump Grade A beans used in cooking, but they have the same flavor compounds and are specifically intended for extract-making. Expect to pay $15 to $30 for 10 to 15 Grade B beans online.
Why Grade B outperforms Grade A for extract: Grade A beans are prized for their high moisture content (around 25–35%), which makes them plump and pliable, ideal for scraping into pastry cream or custard. But in extract-making, that moisture is a liability: it dilutes the alcohol, slows extraction, and shortens shelf life. Grade B beans have lower moisture (15–25%), so the alcohol more efficiently pulls the flavor compounds. The result is a stronger, more shelf-stable extract at a lower cost per batch.
Choosing Your Alcohol
The FDA requires that vanilla extract contain at least 35% alcohol and a minimum of 13.35 oz of vanilla beans per gallon of extract (FDA 21 CFR 169.175). Any spirit at 70 proof (35% ABV) or higher works. Here are your best options:
Vodka
The most popular choice, and for good reason. Vodka is neutral, it contributes no flavor of its own, letting the vanilla beans shine. The result is a clean, pure vanilla extract that works in any recipe. Use a mid-range vodka. The cheap stuff is fine; the expensive stuff is wasted here.
Bourbon
Bourbon adds warm, caramel-and-oak notes that complement vanilla beautifully. Bourbon vanilla extract has a deeper, more complex flavor that’s spectacular in baked goods, especially brown butter cookies, pecan pie, and banana bread. Use a decent bourbon, not your top-shelf sipper, but not the bottom shelf either.
Rum
Rum produces a rich, almost tropical extract with molasses undertones. It’s particularly good in recipes that already call for rum or in tropical-flavored desserts. Dark rum gives the most character; white rum is more neutral, similar to vodka but with a slight sweetness.
Brandy
Fruity and mellow. Brandy vanilla extract is lovely in fruit desserts, custards, and cream-based sauces. It’s a less common choice but worth trying if you enjoy brandy’s flavor profile.
You can also blend spirits. Half vodka, half bourbon is an excellent combination, clean vanilla flavor with a touch of warmth and depth.
Spirit choice at a glance: Vodka contributes nothing of its own. That neutrality is exactly what makes it work in every recipe, from delicate vanilla custards to boldly spiced holiday cookies, without nudging the flavor in any direction. Bourbon and rum are different, both bring real character (caramel-oak and molasses-tropical, respectively), which can be a feature in the right recipe and a distraction in the wrong one. If your baking ranges across many different flavor profiles, stick with vodka. Pull out the bourbon or rum extract when you specifically want that extra warmth.
Making Your Extract: Step by Step
Ingredients
- 5 to 6 vanilla beans (Grade B is ideal)
- 1 cup (8 ounces) of your chosen alcohol
Equipment
- A clean glass bottle or mason jar with a tight-fitting lid. An 8-ounce bottle works perfectly for a single batch.
Instructions
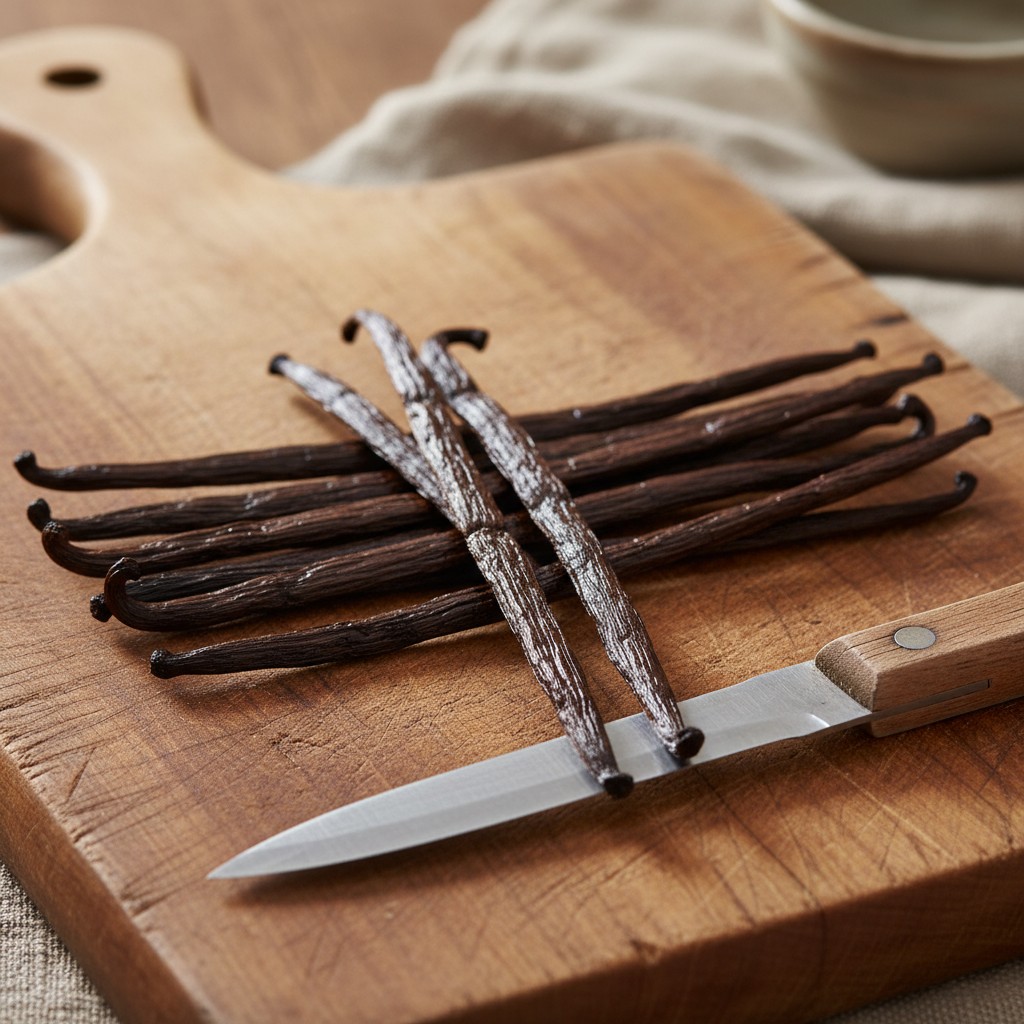
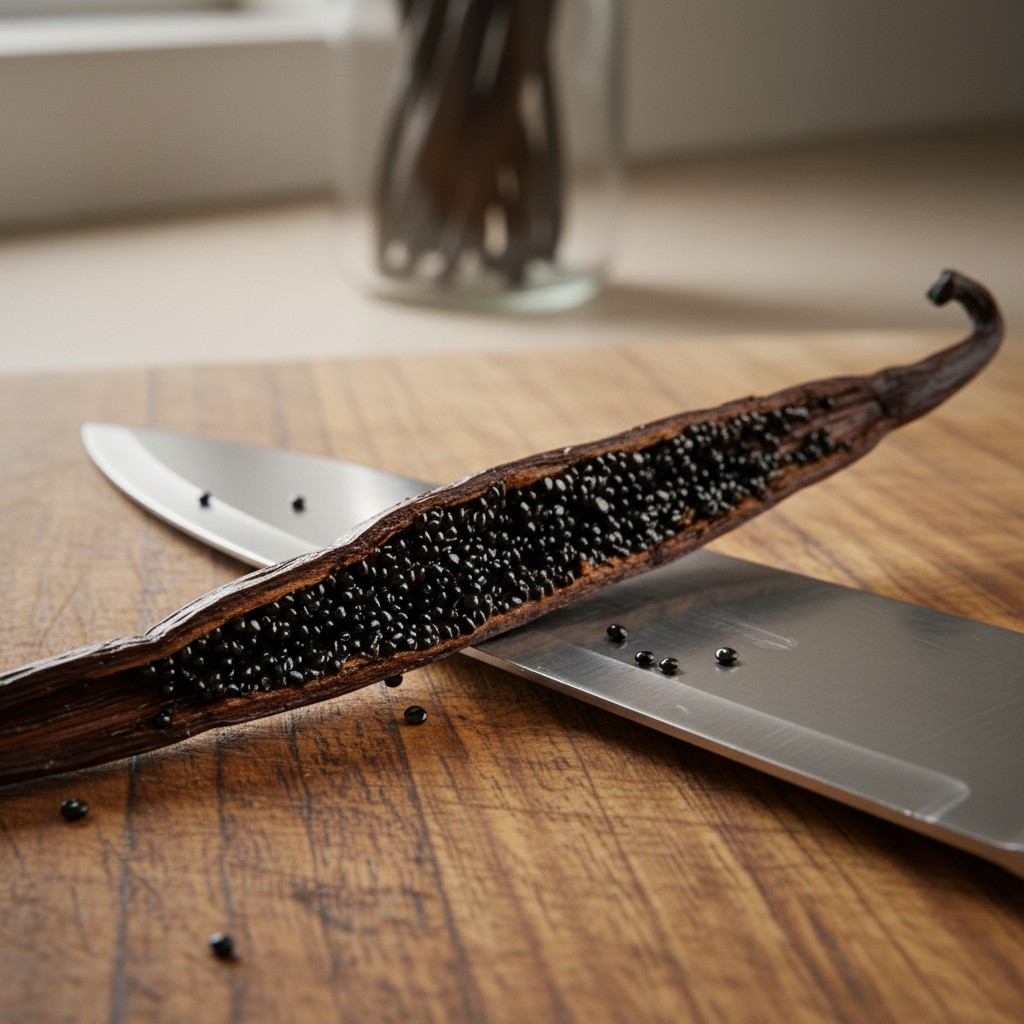
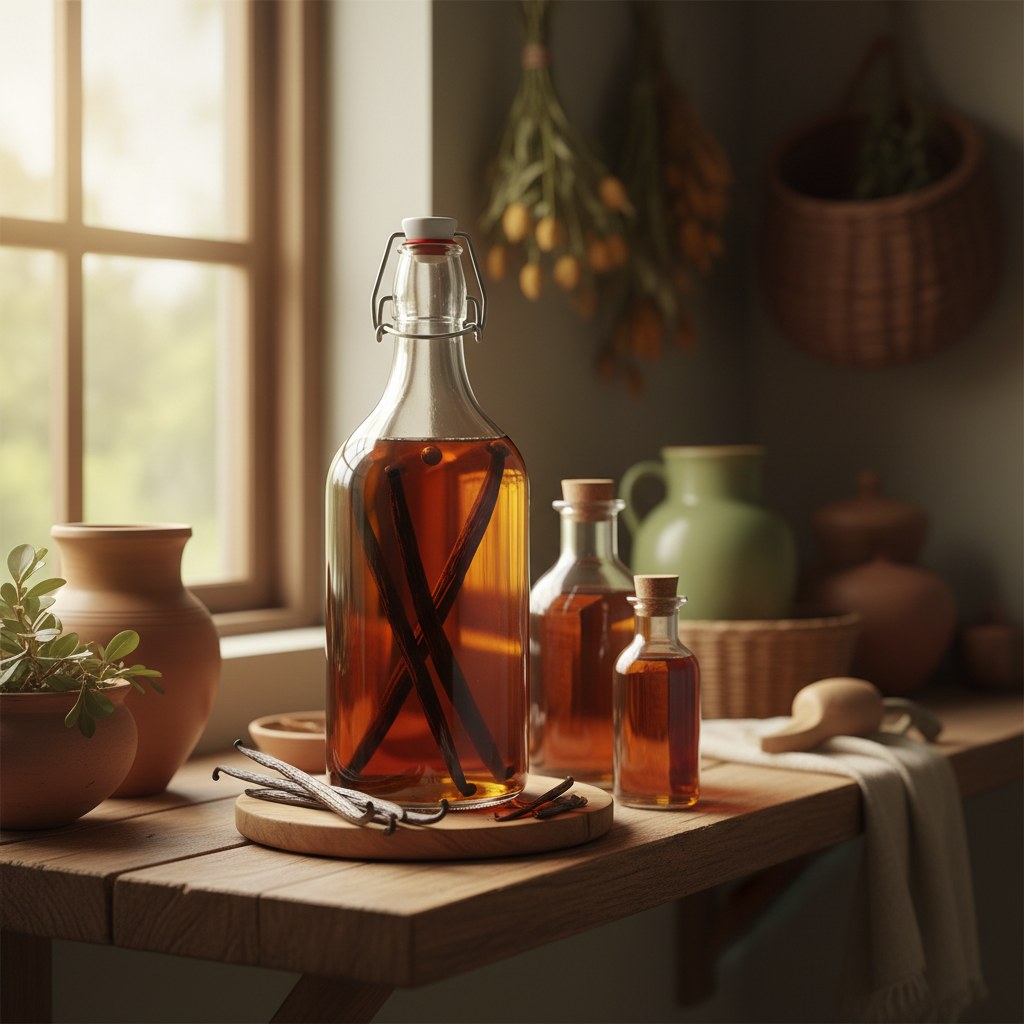
- Prepare the beans. Using a sharp paring knife, split each bean lengthwise down the center, leaving about half an inch intact at one end so the bean stays in one piece. This exposes the tiny seeds (the “caviar”) inside and dramatically increases the surface area in contact with the alcohol.
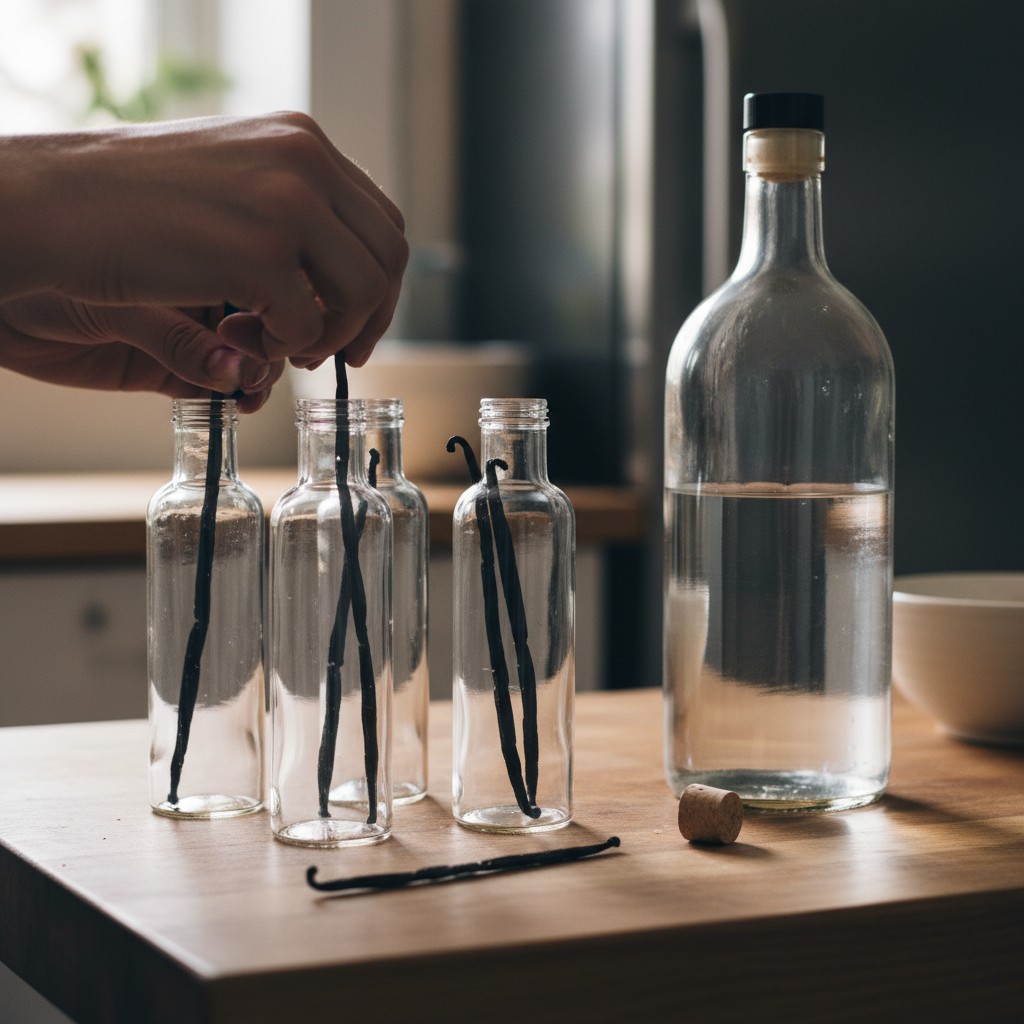
- Place beans in the bottle. Tuck the split beans into your glass container. If they’re too long, cut them in half, there’s no impact on flavor.
- Add alcohol. Pour the alcohol over the beans until they’re completely submerged. The beans should be covered by at least an inch of liquid.
- Seal and store. Cap the bottle tightly and place it in a cool, dark spot. A pantry cupboard is perfect. Avoid heat and direct sunlight, which degrade the flavor compounds.
- Shake weekly. Give the bottle a gentle shake once a week to redistribute the extracting compounds. This isn’t strictly necessary, but it helps speed the process slightly.
- Wait. This is the hard part.
The Waiting Game: How Long to Steep
Patience is the only real ingredient you need beyond the beans and alcohol.
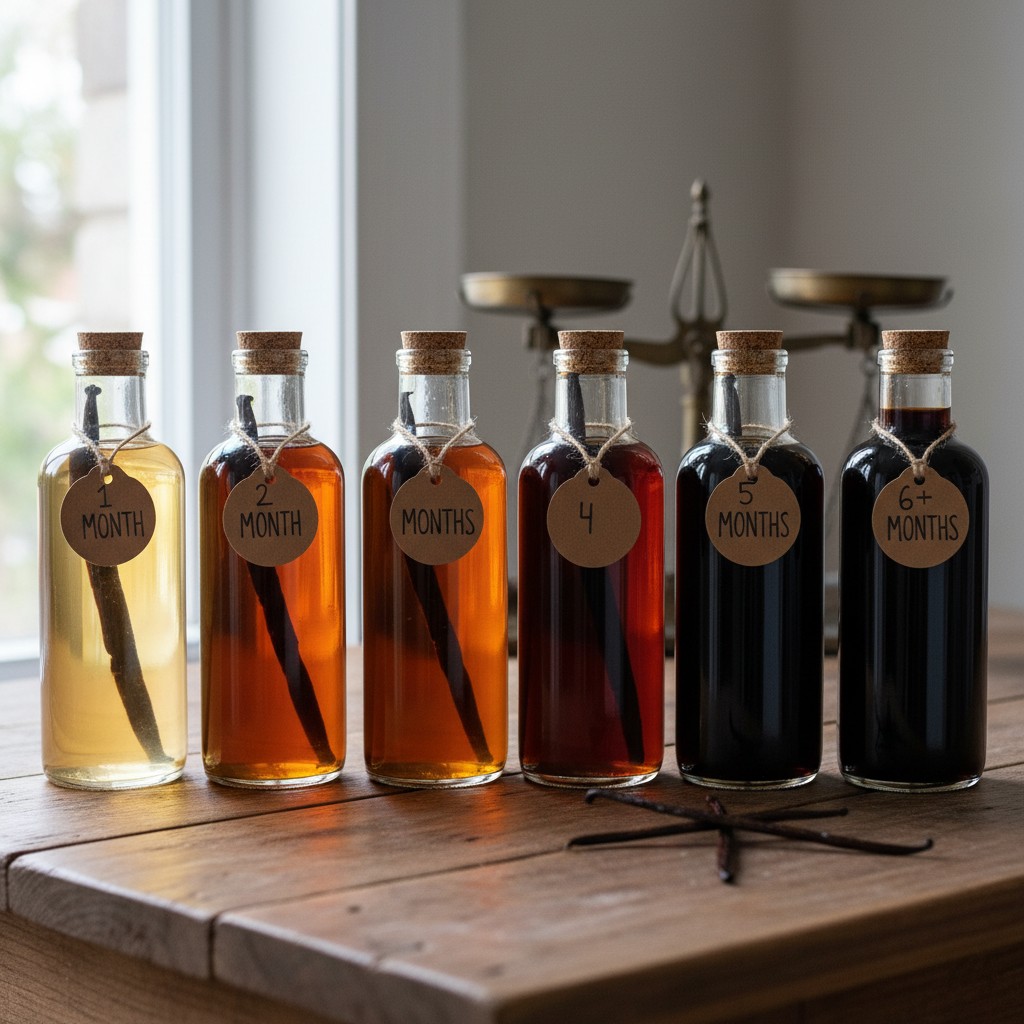
- 4 weeks: The extract is lightly flavored. Usable in a pinch but thin.
- 2 months: Noticeably aromatic and reasonably flavorful. This is the minimum I’d recommend for baking.
- 4 months: Rich and dark. Most people would be happy with the extract at this stage.
- 6 months: Deep, complex, full-bodied. This is the sweet spot. The extract has had time to develop layers of flavor that short-steeped versions lack.
- 12 months and beyond: Intensely flavored. Longer steeping doesn’t hurt, it just keeps getting better, up to a point.
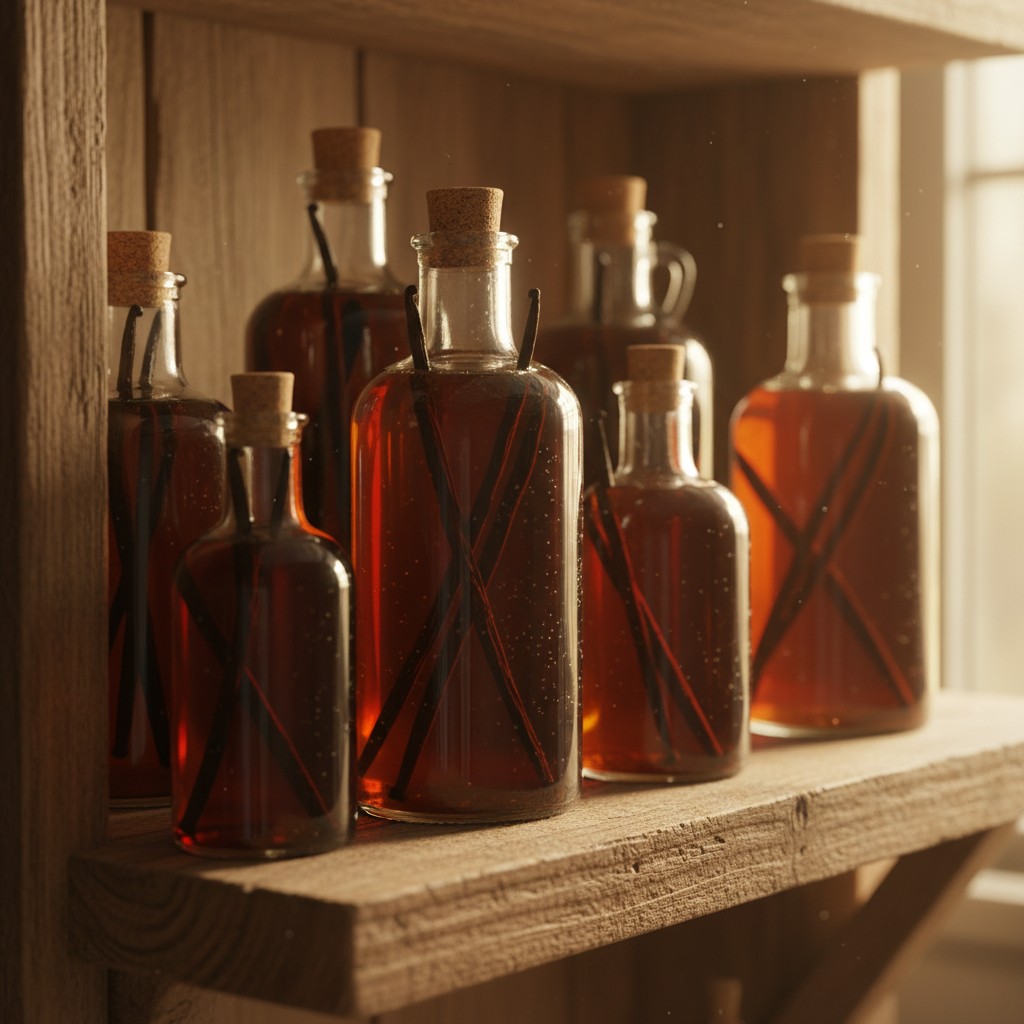
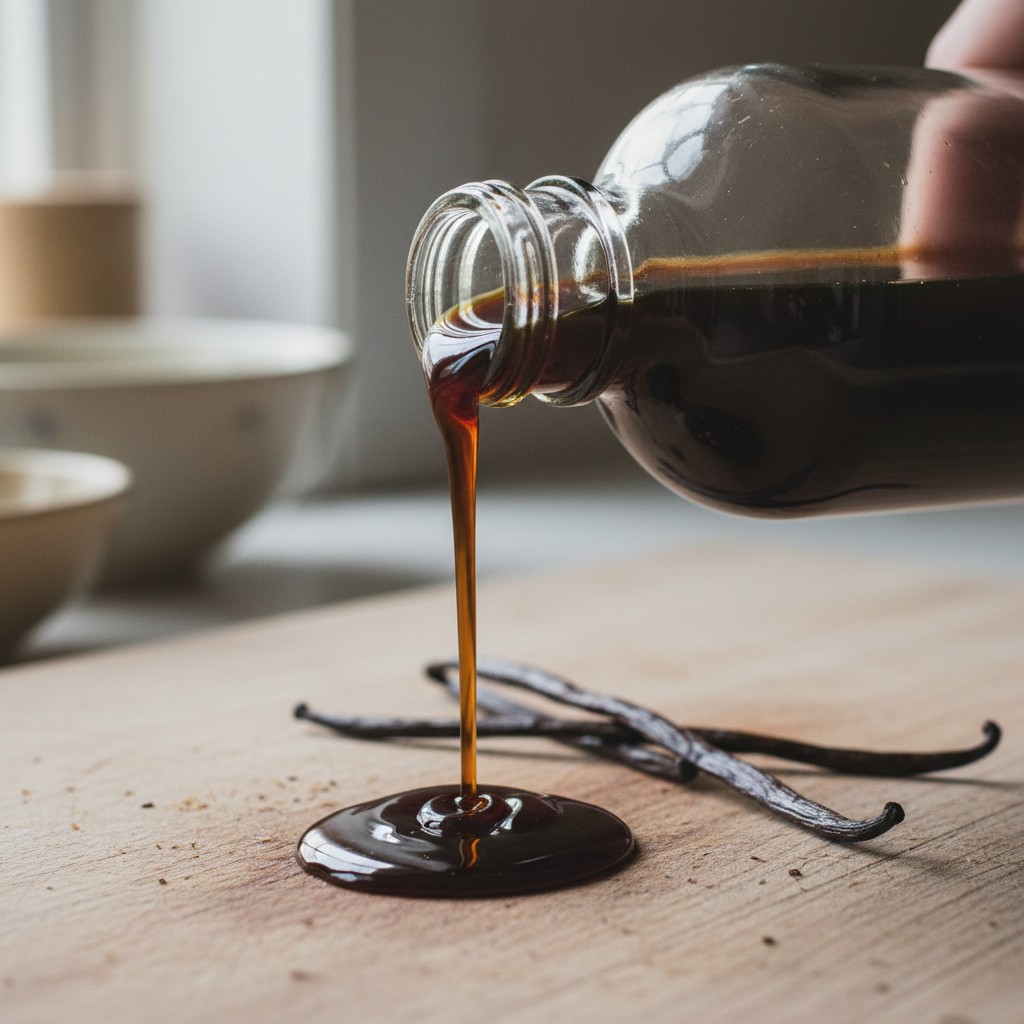
You’ll watch the alcohol transform from clear (or amber, if using bourbon) to a deep, rich brown. That color is vanillin and hundreds of other flavor compounds leaching out of the beans. When the extract is opaque and deeply colored, it’s ready.
The Perpetual Bottle: Extract That Never Runs Out
Here’s the beautiful thing about homemade vanilla extract: you never have to start from scratch again.
When the bottle drops to about half full, pour in fresh alcohol and keep going. The existing beans and the extract already in the bottle will carry that flavor right into the new batch, no waiting required. Every 6 months or so, drop in one or two fresh split beans to maintain intensity. Once a bean has steeped for more than a year and gone pale and limp, pull it out. It has nothing left to give.
I have a bottle of extract that I started over three years ago. It’s never run out because I keep topping it off. The flavor is incredibly deep, years of steeping have produced something no store-bought extract can match.
Cost Comparison
Let’s break down the numbers for a standard batch:
- 6 Grade B vanilla beans (ordered online): $6 to $10
- 1 cup vodka (from a mid-range 750ml bottle): $2 to $4
Total cost: $8 to $14 for 8 ounces of extract.
At the grocery store, 8 ounces of pure vanilla extract costs $20 to $40 depending on the brand. The homemade version is comparable in quality to the premium brands.
The savings compound over time because of the perpetual bottle method. After the initial investment, you’re only adding a couple of beans and a few ounces of alcohol periodically, maybe $5 to $8 per year to maintain an endless supply.
Compare that to imitation vanilla extract, which costs $2 to $4 for a large bottle. Imitation extract is made from synthetic vanillin, usually derived from wood pulp or petrochemicals. It has one flavor note. Real vanilla extract contains over 200 flavor compounds beyond vanillin, which is why it tastes so much more complex. For recipes where vanilla is a background note, imitation might do. But for anything where vanilla is a star, custard, vanilla cake, ice cream, butter cookies, the real thing is worth every penny.
Homemade Vanilla Extract as Gifts
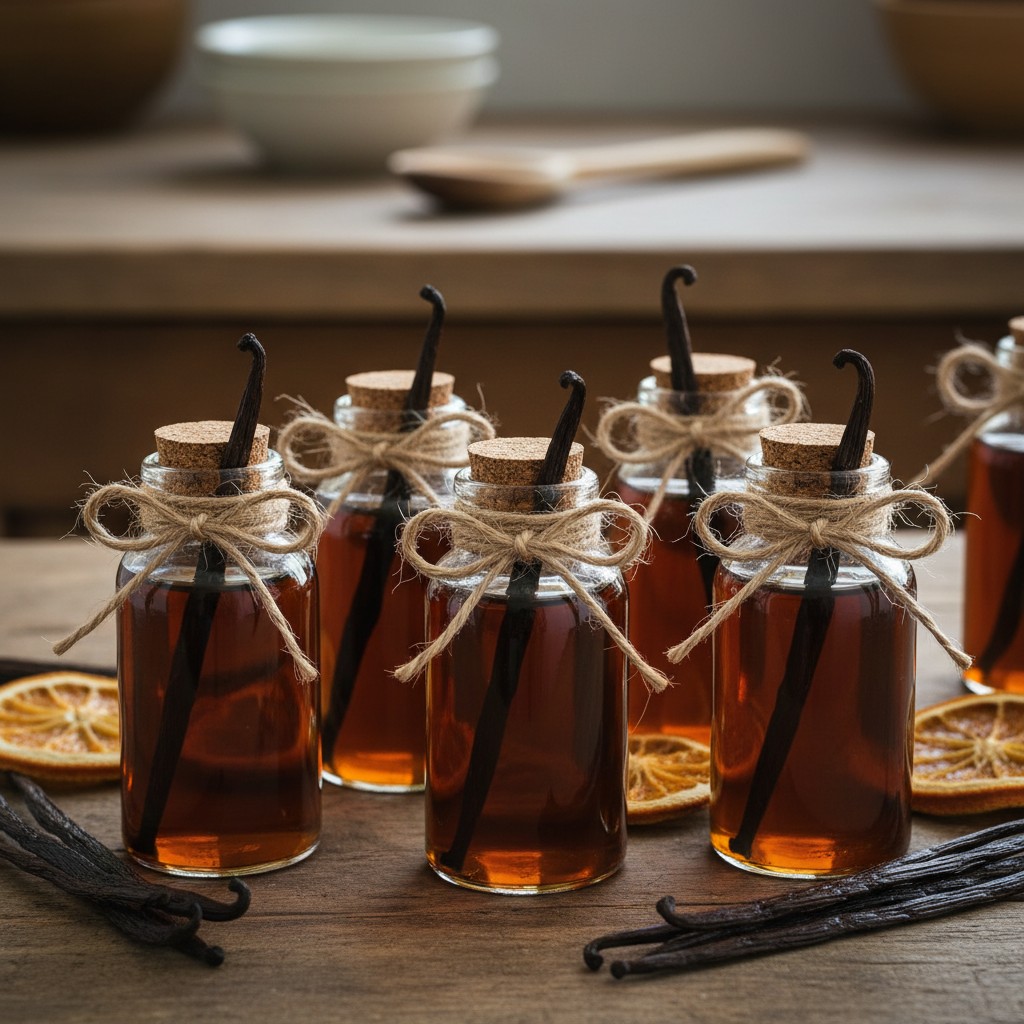
A bottle of homemade vanilla extract is one of the best homemade gifts you can give. It’s practical, it’s luxurious, and it shows genuine thought and effort.
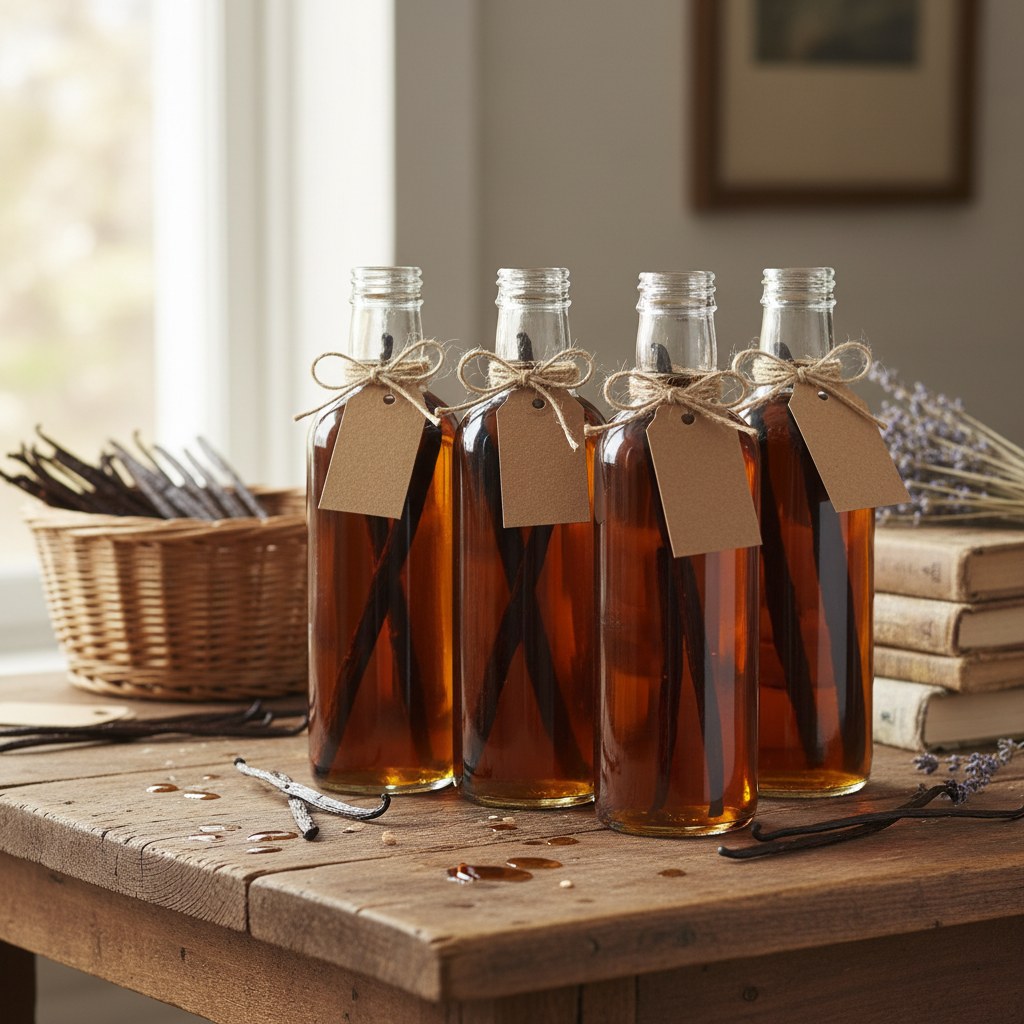
Start gift bottles at least 3 months ahead, you need that lead time for full flavor development. Use attractive glass bottles, amber or clear, 4 to 8 ounces, with cork or screw-top lids. Leave the beans in. Finish with a handwritten label noting the date, the alcohol, and the bean type.
Gift-giving occasions to plan for: Christmas, birthdays, housewarming gifts, teacher appreciation, bridal showers. Start a batch in September and they’ll be ready by Christmas.
Beyond Extract: Using Spent Beans
Once your vanilla beans have been steeping for a year or more and have lost most of their flavor, they still have uses:
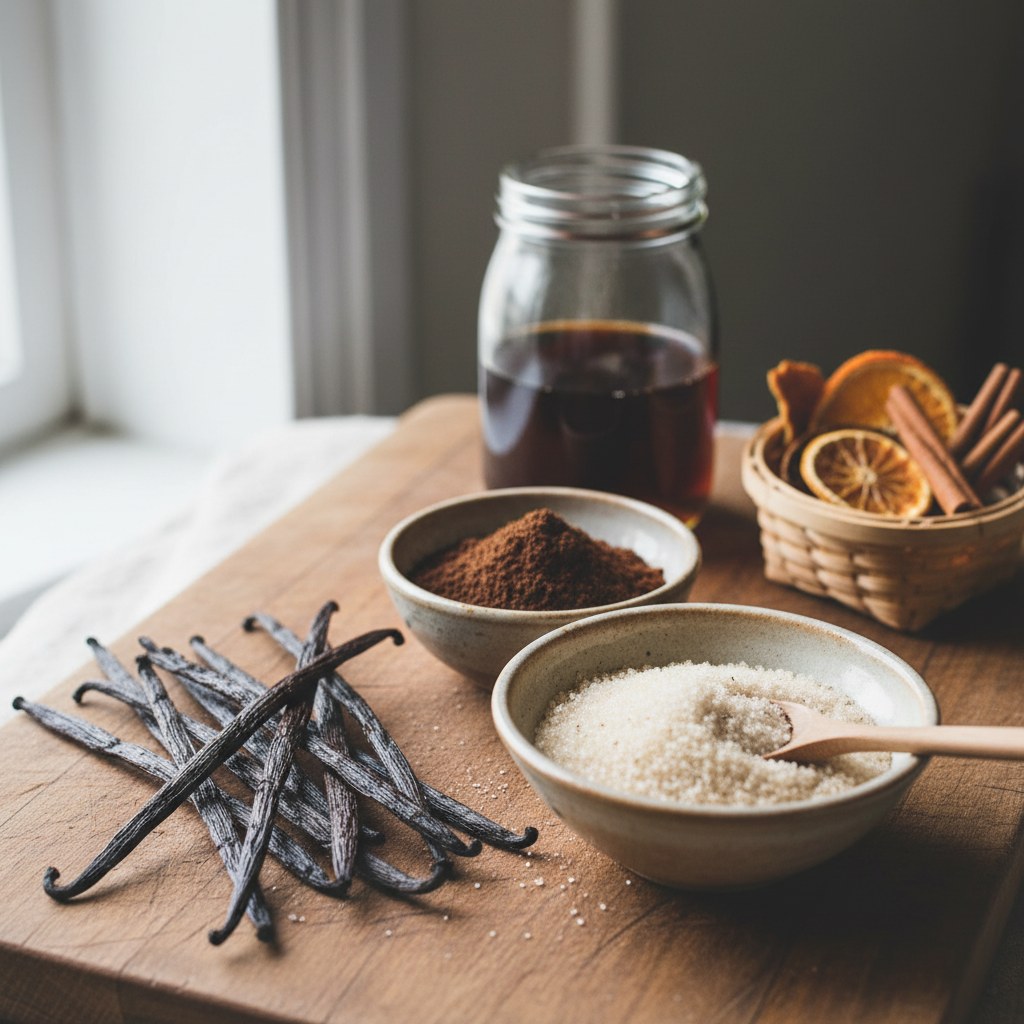
- Vanilla sugar: Bury spent beans in a jar of granulated sugar. After a week, the sugar absorbs the remaining vanilla aroma. Use in baking, coffee, or on top of French toast.
- Vanilla salt: Same concept, with flaky sea salt. Sprinkle on caramel, chocolate desserts, or fresh fruit.
- Compost: When they’ve truly given everything, the beans decompose readily in a compost pile.
🌱 From Our Homestead
I started a batch of homemade vanilla extract two years ago and it is still going strong. I just top it off with vodka whenever the level gets low. The flavor is deeper and more complex than any extract I have ever bought, and it makes a wonderful homemade gift.
Frequently Asked Questions
Can I make vanilla extract without alcohol?
You can make a vanilla-flavored liquid using food-grade vegetable glycerin instead of alcohol. Split the beans and submerge them in glycerin, shaking weekly. The glycerin method takes longer (4 to 6 months minimum) and produces a milder flavor since glycerin is a less effective solvent than alcohol. The result is technically “vanilla flavoring” rather than “vanilla extract” by FDA standards. It works fine for baking but lacks the complexity of alcohol-based extract.
How should I store vanilla extract?
In a cool, dark place, a pantry cabinet is perfect. Avoid storing near the stove or in direct sunlight, as heat and light break down the flavor compounds over time. The alcohol acts as a preservative, so vanilla extract never spoils. It can last for years and actually improves with age, similar to a fine wine. There’s no need to refrigerate it.
Can I use the vanilla bean seeds and the extract in the same recipe?
Absolutely. For recipes where you want visible vanilla bean specks (like vanilla ice cream or crème brûlée), scrape the seeds from a fresh bean and add them along with a teaspoon or two of extract. The seeds provide visual appeal and a burst of concentrated flavor, while the extract provides aromatic depth throughout the dish.
My extract has been steeping for months but still tastes like alcohol. What went wrong?
A strong alcohol taste almost always means too few beans for the volume of alcohol, or beans that weren’t split open far enough to expose the seeds. Add 2 to 3 more split beans and give it another month. Don’t panic. Straight extract will always taste sharply of alcohol, that’s normal. The alcohol cooks off in baked goods and disperses in no-bake recipes when mixed with other ingredients. Judge it by your baking results, not by tasting it straight.