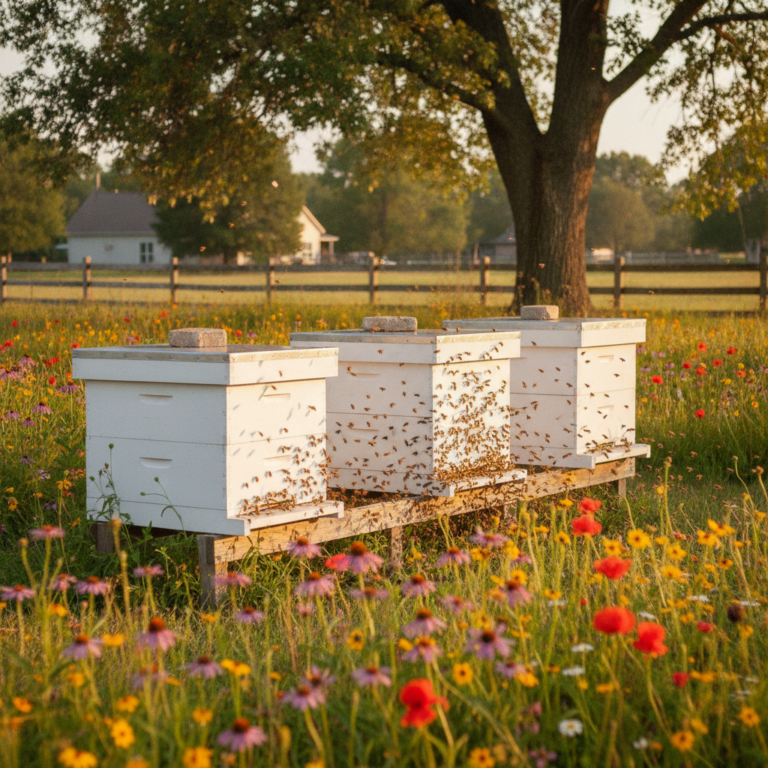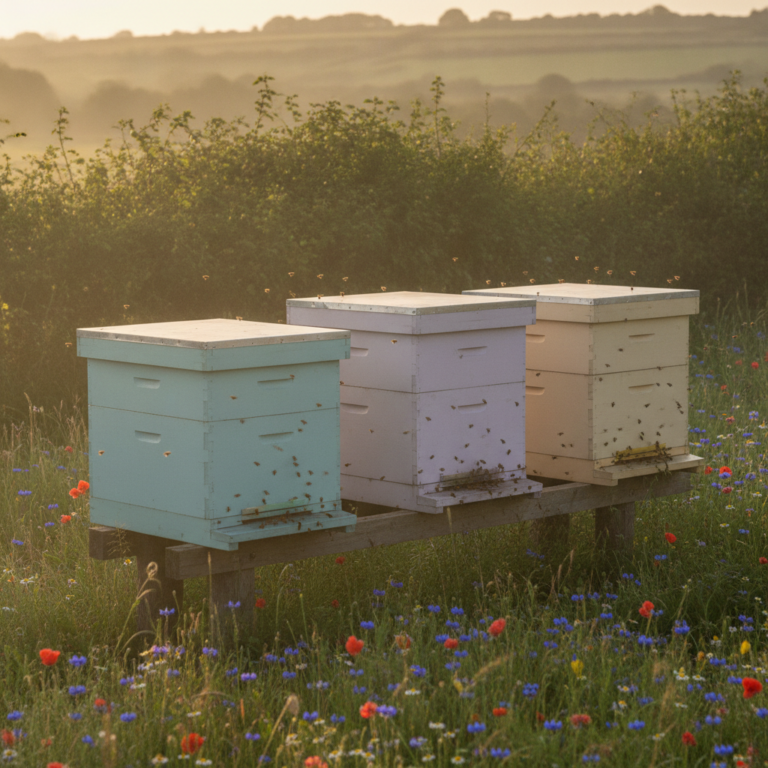
How to Extract Honey at Home Without an Expensive Extractor (3 Methods That Actually Work)
A centrifugal honey extractor costs $300 to $600 for a decent hand-crank model. For a first-year beekeeper managing one or two hives, that price tag makes no sense. According to a 2026 Texas A&M AgriLife Extension survey, small-scale beekeepers reported yields of 20 to 40 pounds per colony, and many first-year keepers harvest nothing at all while colonies build up. Spending more on equipment than the honey is worth defeats the purpose of backyard beekeeping.
The good news: people extracted honey for thousands of years before anyone invented a centrifuge. Three proven methods let you harvest every drop without specialized machinery. Each one uses equipment you can find at a hardware store or already own. After two seasons of backyard beekeeping, I have used all three approaches on our small homestead in the Mid-Atlantic, and the total investment was under $35.
This guide walks through each method step by step, covers the critical moisture and temperature rules that prevent spoilage, compares straining materials, and flags the mistakes that waste honey or ruin a batch. If you have been following our beekeeping month-by-month calendar and honey flow season has arrived, this is what comes next.
Tools and Supplies for Extractor-Free Harvesting
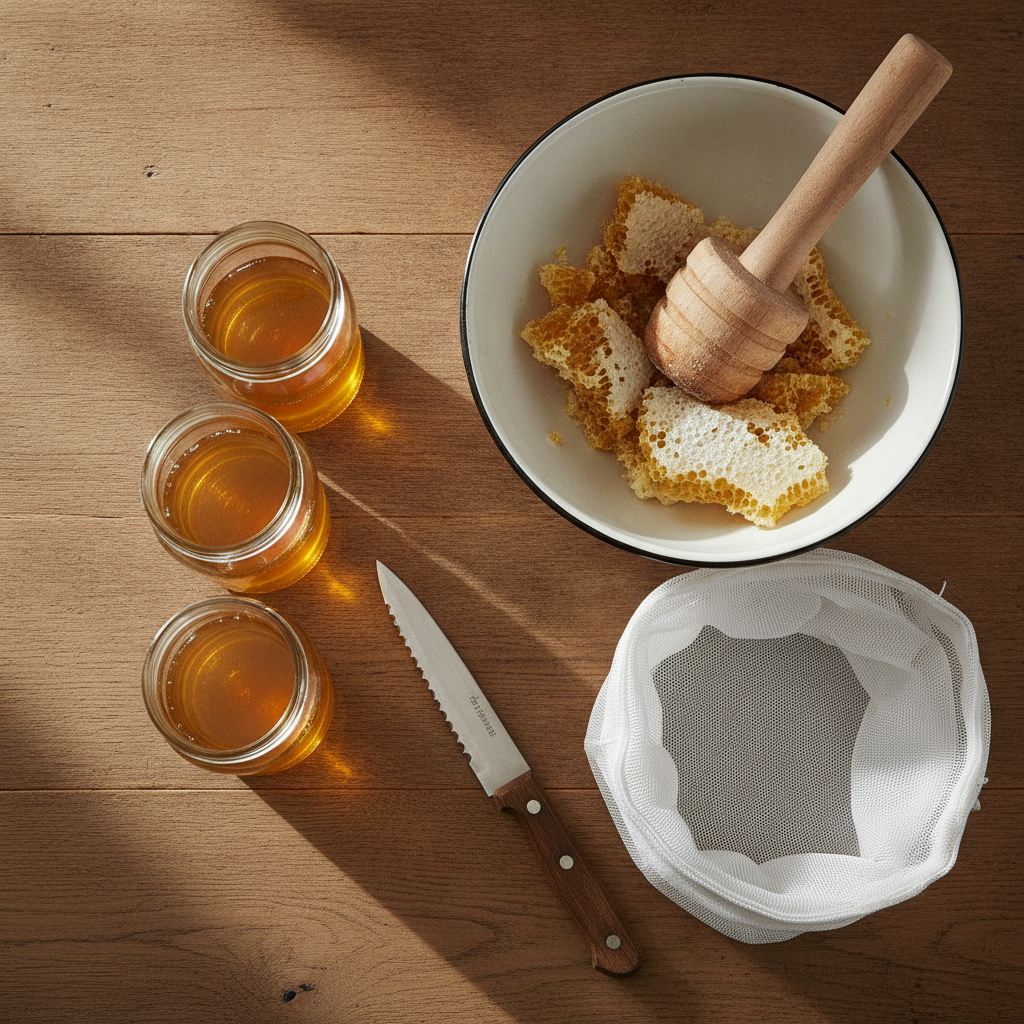
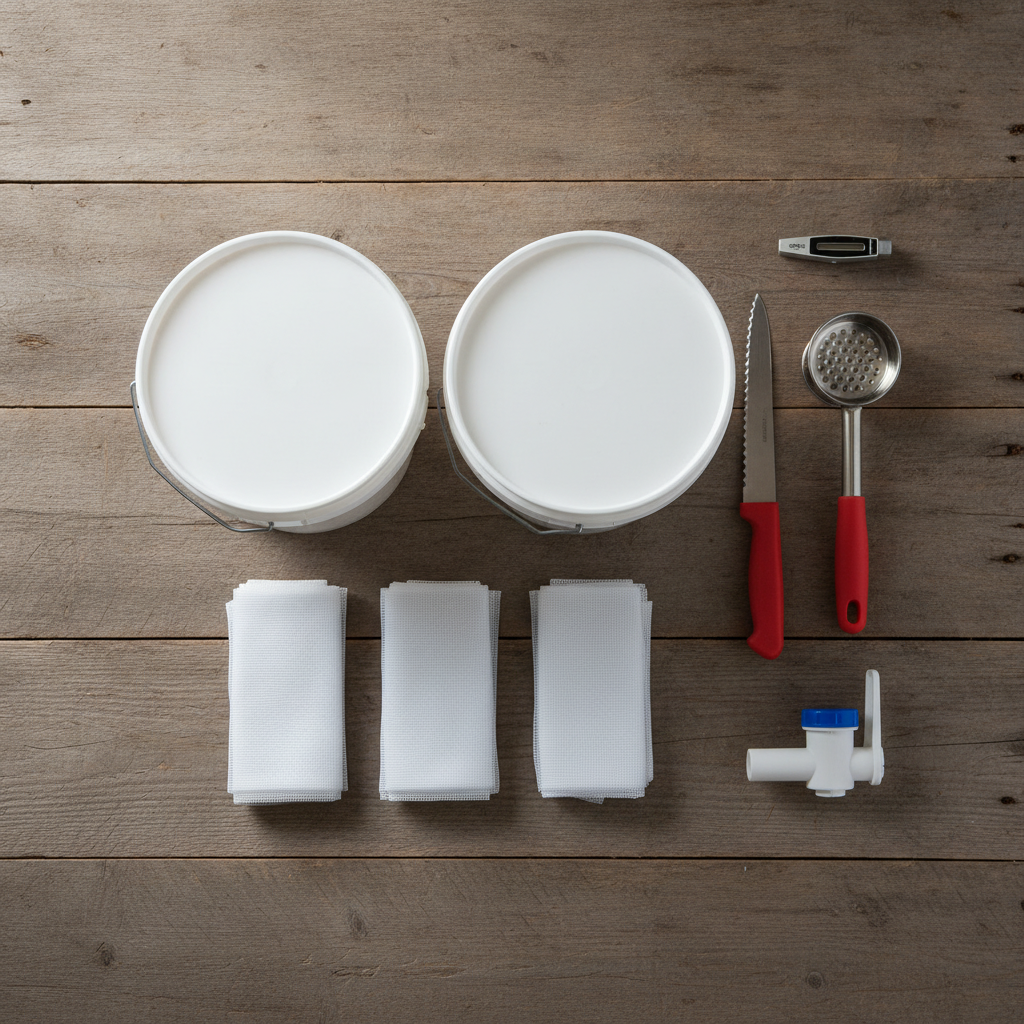
Every method in this guide shares a short list of common supplies. You will need a long serrated bread knife for cutting comb from frames, a large food-grade bucket or stainless steel pot, a potato masher or sturdy fork, and a straining setup. According to Oklahoma State University Extension, the crush-and-strain method requires just “two food-grade plastic buckets, a potato masher, a honey strainer, and a long-serrated knife.” Most kitchens already have half of these items.
Beyond the basics, pick up a few extras. A refractometer ($20 to $30 online) lets you verify moisture content before bottling. Nylon paint strainer bags from the hardware store cost about $1 each and outperform cheesecloth. A honey gate valve ($10 to $12 from beekeeping retailers) threads into a hole drilled near the bottom of your collection bucket, making bottling far cleaner than ladling. Finally, keep a spray bottle of water handy to dampen any surfaces where honey drips; it prevents stickiness from setting.
How Does the Crush-and-Strain Method Work?
Crush-and-strain is the simplest, cheapest way to separate honey from comb. You cut the honeycomb from the frame, crush it to rupture every wax cell, then let gravity pull the honey through a strainer while the wax stays behind. The University of Georgia College of Agricultural and Environmental Sciences describes this as a method requiring “little specialized equipment,” making it ideal for hobbyist beekeepers with one to three hives.
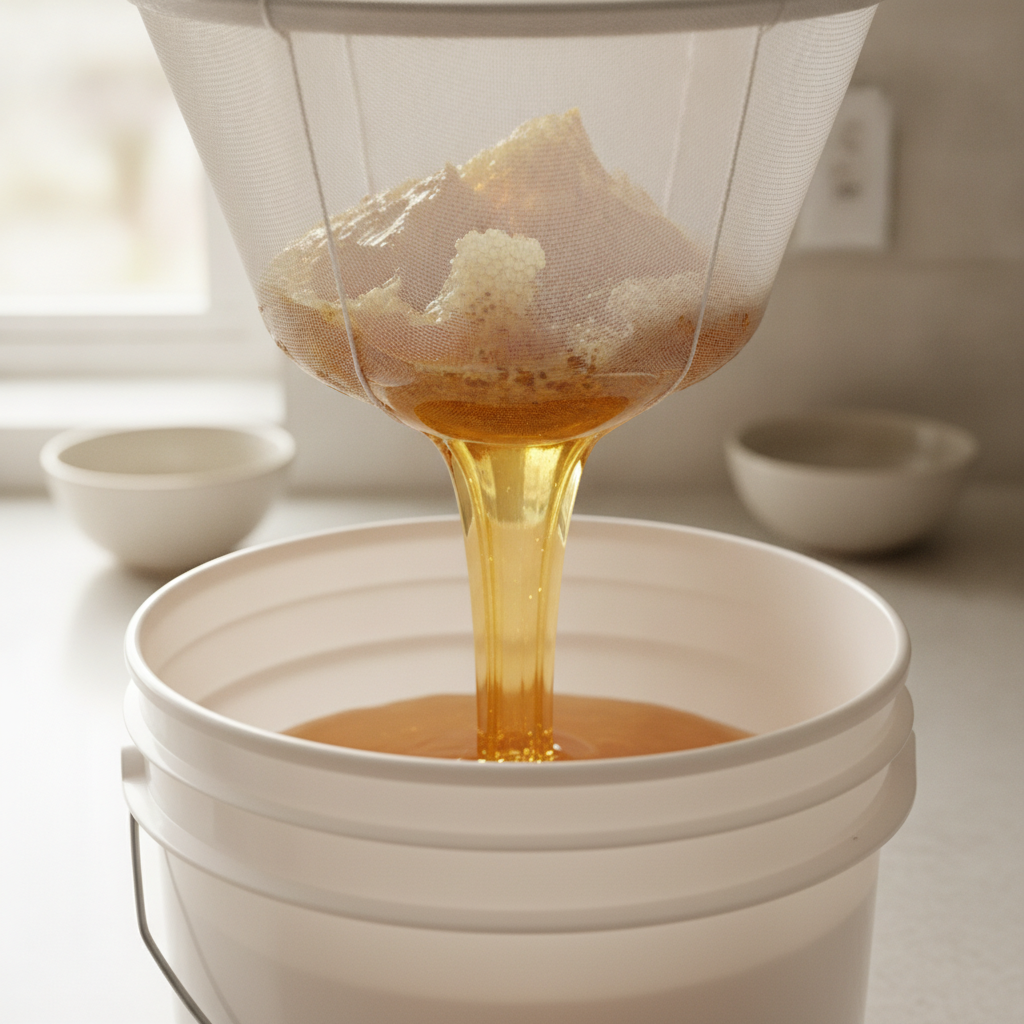
Start by slicing the comb off the frame into a clean food-grade bucket. Use a potato masher to crush everything thoroughly; every unopened cell is honey left on the table. Once the comb is fully mashed into a slurry, pour it into a second bucket fitted with a nylon paint strainer bag draped over the rim. Cover the setup with a towel to keep dust and insects out, and let it drain overnight. The next morning, gather the bag and twist it gently to squeeze out residual honey.
Expect roughly 80 to 90 percent recovery of the frame’s honey. The tradeoff is significant: crush-and-strain destroys the drawn comb entirely. According to Purdue University’s entomology department, bees consume at least eight pounds of honey to produce one pound of wax. That means your colony will spend weeks rebuilding comb that a centrifugal extractor would have preserved. For a small operation where frames are inexpensive and the beeswax itself has value, this cost is manageable. Save that leftover wax for homemade beeswax food wraps or beeswax soy candles.
What Is the Chunk Honey Method?
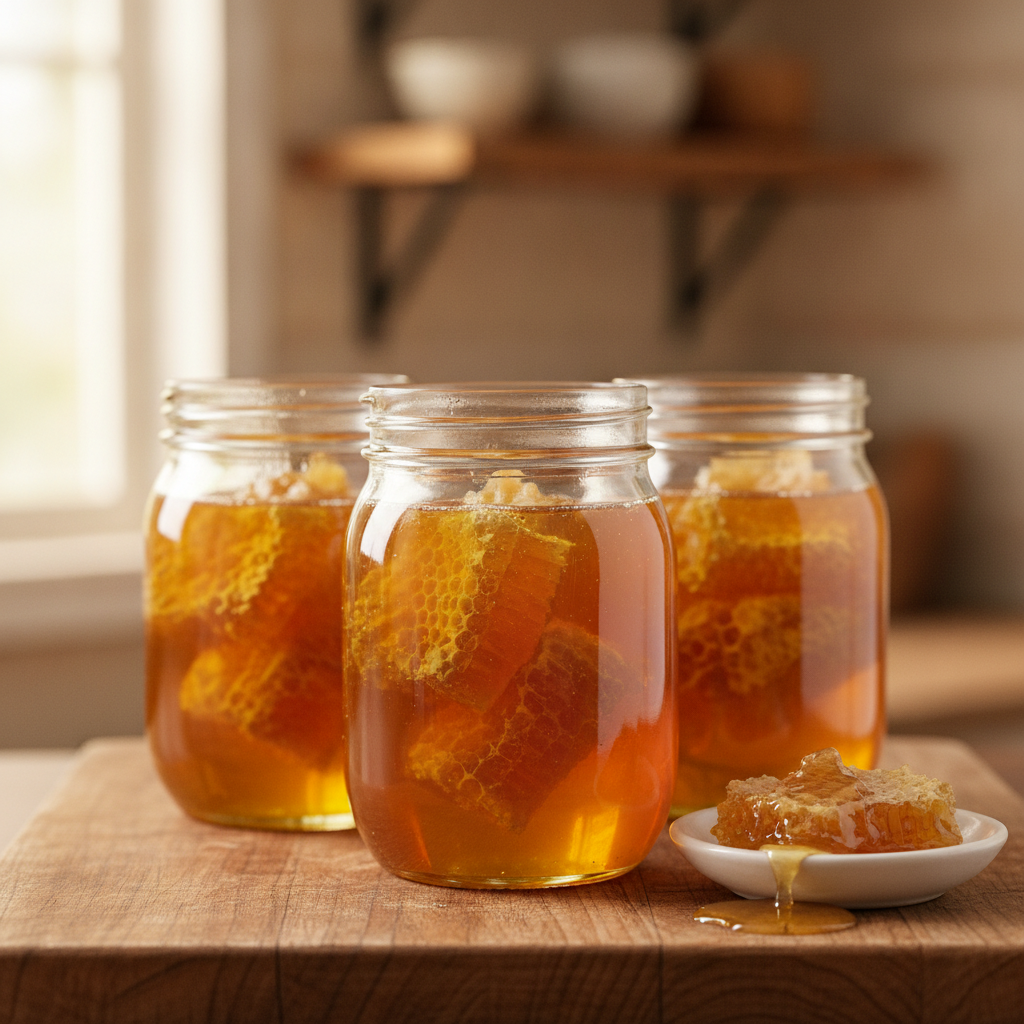
Chunk honey skips extraction almost entirely. You cut clean sections of capped comb, place them in jars, and fill the remaining space with liquid honey (from a crush-and-strain batch or a purchased jar of local raw honey). The University of Georgia CAES notes that “chunk honey is made by placing a piece of cut comb honey in a jar and filling up the rest of the jar with extracted honey.” The result is a premium product that commands higher prices at farmers markets and makes a striking gift.
To get clean cuts, use a sharp knife dipped in warm water and slice the comb into rectangles that fit your jar size. Wide-mouth pint or half-pint Mason jars work best. Press the comb piece gently against one side of the jar, then pour strained honey around it to fill gaps. Cap tightly and store at room temperature. According to the University of Kentucky Extension, comb honey is “one of the first products to sell out” at state fair booths, so consider setting aside a few frames specifically for chunk production each season.
One important step: freeze finished chunk honey jars overnight before storing or selling. This kills any wax moth eggs or larvae that may be present in the comb. Thaw at room temperature before displaying.
How Do You Build a DIY Bucket Gravity Drain?
A gravity drain rig gives you a semi-permanent extraction station for about $30. You need two food-grade five-gallon buckets, one lid, a nylon paint strainer bag, and a honey gate valve. This setup handles larger batches than the simple crush-and-strain bowl method and keeps everything contained.
Drill approximately 15 to 20 quarter-inch holes in the bottom of the first bucket (the strainer bucket). Cut the center out of the lid, leaving a one-inch rim around the edges to support the strainer bucket. Snap this modified lid onto the second (collection) bucket, then nest the drilled bucket on top. Line the strainer bucket with a paint strainer bag, draping excess fabric over the rim. Drill a hole near the bottom of the collection bucket and thread in a honey gate valve, available from beekeeping supply shops for $10 to $12.
To use the rig, cut comb from frames directly into the lined strainer bucket and crush with a potato masher. Cover and let the honey drain overnight. The next day, twist the strainer bag to press out the last of the honey. Open the gate valve to fill jars directly from the collection bucket. According to beekeeping educator Kumu Aina Farm, the whole system “can cost about $20 or less and will take an hour or two to put together.” Adding the gate valve brings total cost to roughly $30. This rig stores flat and lasts for years.
When Is Honey Ready to Harvest?
Honey is ready when bees have capped at least 80 to 85 percent of the cells on a frame with a thin layer of white wax. Those wax caps are the colony’s seal of approval. According to the University of Arkansas Division of Agriculture, “bees fan the nectar until the water content reaches about 19 percent, when they will cap the honey-filled cells with a thin wax layer, letting beekeepers know it is ready to harvest.” Pulling frames before that threshold risks fermentation.
Fermentation happens because naturally occurring airborne yeast becomes active when honey moisture exceeds roughly 20 percent. The USDA grading standard sets 18.6 percent moisture as the maximum for Grade A extracted honey. A refractometer lets you check this in seconds: place a drop of honey on the prism, close the cover plate, and read the scale. If the reading comes back above 18.6 percent, the honey needs more time in the hive or must be used quickly rather than stored long-term.
Do not harvest every frame at once. Check each one individually. On our homestead, I often find three frames fully capped and two still open on the same super. Pull only what is ready and give the rest another week.
What Temperature Should Your Extraction Room Be?
Warm honey flows faster. Keep your workspace between 80 and 95 degrees F (27 to 35 degrees C) during extraction. A beehive’s internal temperature sits around 95 degrees F naturally, so honey at that warmth moves like thick syrup rather than cold molasses. Below 80 degrees, flow slows dramatically, and a crush-and-strain batch that would drain in eight hours at 90 degrees may take 24 hours in a 65-degree basement.
Heat is helpful, but too much destroys what makes raw honey valuable. Peer-reviewed research published in the Journal of Food Science and Technology found that temperatures exceeding 40 degrees C (104 degrees F) degrade enzymes like diastase and invertase, which contribute to honey’s antimicrobial and digestive properties. Keep your room warm, but never set space heaters pointing directly at open honey, and never use an oven to speed things up. A warm summer kitchen or a closed garage on a July afternoon provides the ideal range without any risk to quality.
Last spring I crushed a full deep frame in our kitchen at about 82 degrees F. The honey drained through a paint strainer bag overnight, fully separated by morning. On a cooler fall day (68 degrees), the same process took nearly 20 hours. Patience or warmth; pick one.
Which Straining Material Works Best?
Nylon paint strainer bags outperform cheesecloth for honey extraction. Cheesecloth sheds tiny lint fibers into the finished honey, giving it a slightly cloudy appearance and occasionally leaving visible threads in the jar. Experienced beekeepers on the Beesource forums consistently recommend nylon because it “will not leave tiny lint pieces in the honey” the way cotton cheesecloth does. Paint strainer bags are sold in packs of 25 at hardware stores for a few dollars.
For beekeepers who want finer filtration, mesh strainers rated by micron size offer more control. The 400-micron filter is the most common choice: it catches wax particles and bee parts while letting pollen grains pass through. Stainless steel double-sieve strainers designed to sit on a bucket rim are available from beekeeping suppliers for $15 to $25.
| Material | Approx. Cost | Filtration | Lint Risk | Reusable |
|---|---|---|---|---|
| Cheesecloth | $3-5/yard | Coarse | High | No |
| Nylon paint strainer | $0.50-1 each | Medium | None | Yes (3-5 uses) |
| 400-micron mesh | $15-25 | Fine | None | Yes (years) |
| Nylon stocking | $0.25 each | Fine | None | No |
Common Mistakes That Ruin a Honey Harvest
The most frequent mistake is harvesting too early. Frames with fewer than 80 percent capped cells contain honey with moisture above 20 percent, and that honey will ferment in the jar. The University of Arkansas Extension warns that “if honey was harvested before capping occurred, the honey would ferment because the water content would be too high.” Always check the cappings frame by frame before pulling a super.
Overheating is the second biggest error. Setting honey near a heat source above 110 degrees F to speed flow kills the enzymes that give raw honey its health benefits. You end up with a product no different from the ultra-filtered, pasteurized honey on grocery store shelves.
Other common mistakes: crushing comb with dirty or wet hands (any water introduced raises moisture content), using cheesecloth that sheds lint, failing to cover straining honey (fruit flies appear within minutes), and skipping the wax moth freeze step on chunk honey. One more to watch for: bottling honey in containers that are not completely dry. Even a few drops of water clinging to the inside of a Mason jar can create a fermentation pocket at the surface.
Tips for a Smooth First Extraction
Plan your extraction for a warm day. A kitchen at 85 degrees F makes every step faster. Set up all equipment before you bring frames inside, because once comb is exposed, the clock starts; the longer it sits, the more it cools and thickens. Have jars, lids, labels, and a damp towel ready before cutting the first frame.
Work in small batches. Crush three or four frames at a time rather than dumping an entire super into one bucket. Smaller batches drain faster and give you a chance to adjust your technique between rounds. If you are new to beekeeping and still building your pollinator garden to support the colony, your first harvest may only be a few frames anyway.
Save every scrap of beeswax. After straining, spread the wax on parchment paper to dry. Rinse it lightly and store it in a zip-lock bag. Bees consumed roughly eight pounds of honey to build that wax, according to Purdue University, so it carries real value. Render it later for wraps, candles, or lip balm.
How Much Honey Can a Single Hive Produce?
A first-year hive may yield 15 to 30 pounds of surplus honey, or nothing at all. Bees spend their first season drawing comb, building population, and storing enough reserves to survive winter. According to a Texas A&M AgriLife Extension survey, established colonies among small-scale beekeepers produce 20 to 40 pounds per colony annually. Strong colonies in regions with abundant nectar flow can exceed 60 pounds in a good year.
Remember that your bees need honey too. Leave at least 60 to 70 pounds in the hive going into winter in cold climates; the colony will starve without those reserves. A refractometer reading and a scale (even a bathroom scale) help you make informed decisions about how much to take and how much to leave. Taking too much in year one is the fastest way to lose a colony.
Set realistic expectations and enjoy the process. Even a modest 20-pound harvest from crush-and-strain fills about 26 to 27 half-pint jars. That is enough to stock your pantry, share with neighbors, and still have a few jars to sell at a local market. One safety note if you share or sell: never give honey, raw or processed, to a child under 12 months old, as it can carry Clostridium botulinum spores that cause infant botulism.
Frequently Asked Questions
Can You Reuse Frames After Crush-and-Strain?
Yes, but the frames will need new foundation or starter strips. Crush-and-strain removes all the drawn comb, so bees must rebuild from scratch. This costs the colony energy; bees consume about eight pounds of honey to produce one pound of wax, according to Purdue University. Many hobbyist beekeepers accept this tradeoff because they also want the beeswax for crafts and household projects.
Is Crush-and-Strain Honey Considered Raw?
Crush-and-strain honey is raw as long as it was never heated above 104 degrees F (40 degrees C). The method itself involves no heat. Straining through a coarse filter like a nylon paint strainer bag removes wax debris while preserving pollen, enzymes, and other compounds that define raw honey. Ultra-fine filtration (under 50 microns), on the other hand, removes pollen and is not considered “raw” by most definitions.
How Long Does It Take for Crushed Honey to Drain?
At room temperatures between 80 and 95 degrees F, most of the honey will drain through a nylon strainer in 8 to 12 hours. Cooler rooms slow the process to 18 to 24 hours. Twisting the strainer bag after the initial drain releases another 5 to 10 percent of the total yield. Do not rush the process by squeezing too hard; excessive pressure forces fine wax particles through the strainer.
What Should You Do With Leftover Beeswax?
Leftover beeswax from crush-and-strain has dozens of uses. Rinse the strained wax lightly with cool water, let it dry on parchment paper, and store it in a bag until you have enough to render. Melt it in a double boiler, strain through cheesecloth (cheesecloth is fine for wax), and pour into molds. Use rendered beeswax for food wraps, candles, wood polish, leather conditioner, or lip balm. One frame of crushed comb yields roughly two to four ounces of usable wax.
Do You Need a Refractometer to Extract Honey?
A refractometer is not strictly required, but it removes guesswork. The USDA sets 18.6 percent moisture as the maximum for Grade A honey. Without a refractometer, you must rely on the shake test (hold a frame horizontally and shake; if honey drips out, it is too wet) and the 80 to 85 percent capping rule. A refractometer costs $20 to $30 and pays for itself the first time it saves you from bottling honey that would ferment in storage.