How to Build a Simple Cold Frame and Extend Your Growing Season
- A cold frame is a bottomless box with a transparent lid that traps heat and protects plants from frost.
- Build one in an afternoon for $0–$60 using salvaged lumber and an old storm window.
- Extends the growing season 2–4 weeks on each end (spring and fall), per Iowa State and UMN Extension.
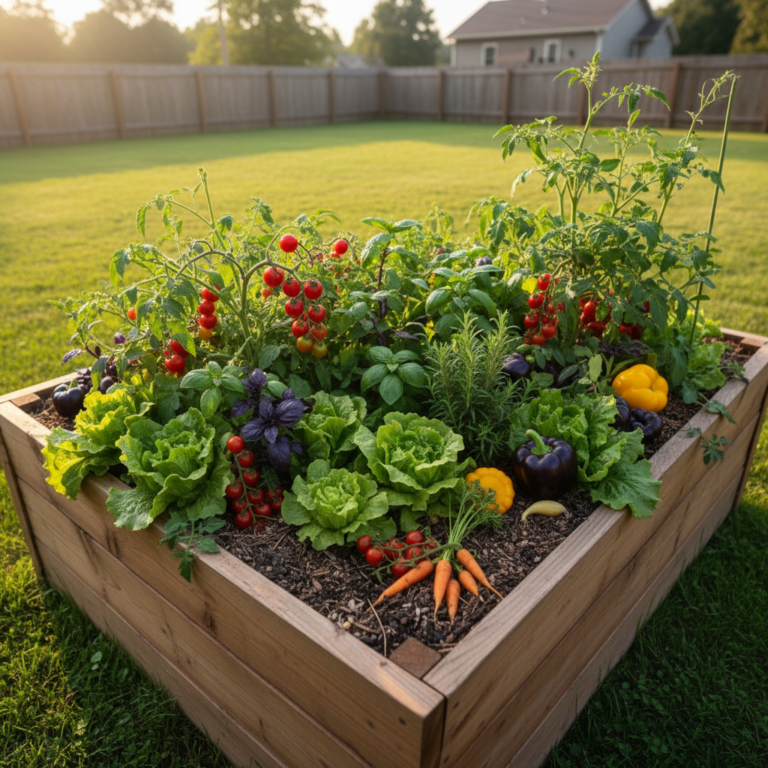
- Ideal for cool-season crops: lettuce, spinach, kale, broccoli, radishes.
- Must be vented on sunny days, a closed frame above 75°F will stress plants fast.
A cold frame is among the most cost-effective tools a home gardener can own. It costs next to nothing to build, requires no electricity, and can push your growing season 2 to 4 weeks in each direction, earlier in spring, later in fall. If you already start seeds indoors, a cold frame is the natural next step for hardening off seedlings and protecting transplants before your last frost date.
What Is a Cold Frame and How Does It Work?
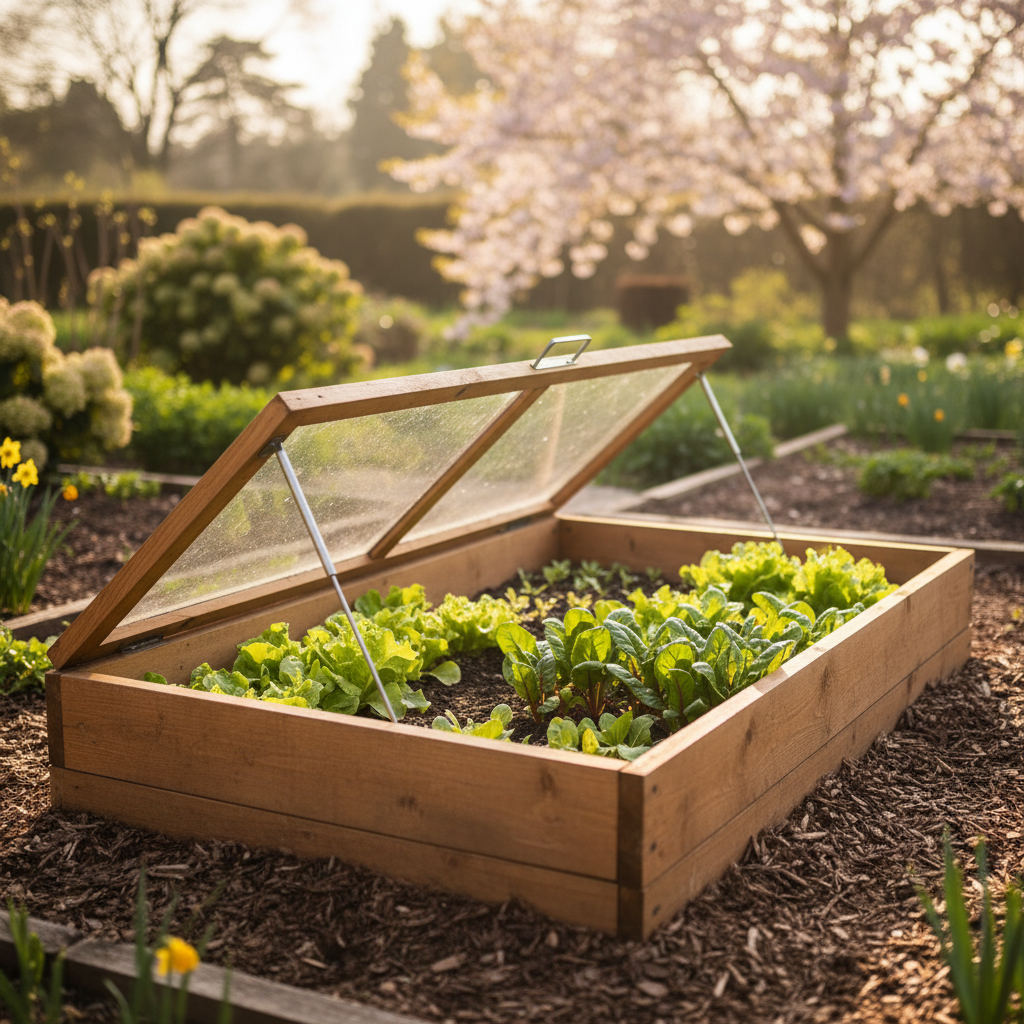
A cold frame is a passive solar mini-greenhouse, a low, bottomless wooden box topped with a clear glass or polycarbonate lid. Sunlight passes through the lid, warms the soil and air inside, and the walls trap that heat overnight. There is no electricity, no plumbing, and no thermostat. The only moving part is the lid itself.
According to Iowa State University Extension, cold frames “protect plants from wind, rain, snow, ice, and cool temperatures” and typically extend “the growing season by two to four weeks in both the fall and the spring.” That two-to-four-week window is the most reliable number to plan around, some gardeners report six weeks in favorable sites, but it is safer to aim for the tested range.
Nighttime temperatures inside a well-built cold frame stay roughly 5–10°F warmer than the outside air. Against a south-facing wall, daytime temperatures can climb 20–30°F above ambient on sunny days, which is exactly why venting is so important (more on that below).
What Can You Do with a Cold Frame?
A cold frame earns its keep in at least five distinct ways across the calendar year. University of Minnesota Extension notes that “cool-season crops such as lettuce, kale, cabbage, cauliflower or broccoli will perform well when grown in cold frames during cool months.”
Here is what a cold frame can realistically do for your garden:
- Harden off seedlings. Move transplants from indoors to the cold frame for a week before putting them in the ground. UMN Extension confirms you can “use cold frames to harden-off heat-loving seedlings such as tomatoes, peppers or eggplants, acclimating them to outdoor conditions.”
- Start cool-season crops early. Sow seeds of lettuce, spinach, radishes, and Asian greens 2–4 weeks ahead of your normal outdoor planting date.
- Extend the fall harvest. Keep established greens producing well past your first frost. Spinach and mâche can survive in a cold frame down to 10°F in favorable microclimates.
- Overwinter root vegetables. Carrots, parsnips, and leeks left in the ground under a cold frame stay harvestable through winter in zones 5–7.
- Root cuttings and propagate perennials. The stable moisture and temperature environment is ideal for rooting woody herb cuttings.
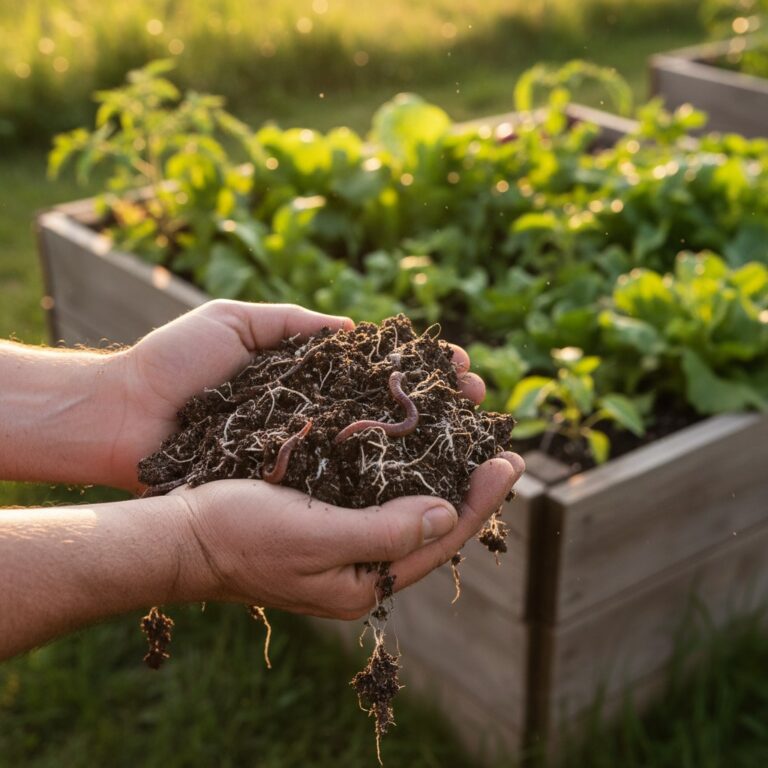
Cold frames are particularly valuable for gardeners who practice low-input growing. Unlike a heated greenhouse, a cold frame requires no energy input at all, just solar gain and good positioning. Pair it with good compost (our composting guide walks through the basics) and you have a nearly self-sustaining season-extension system.
How Do You Build a Cold Frame Step by Step?
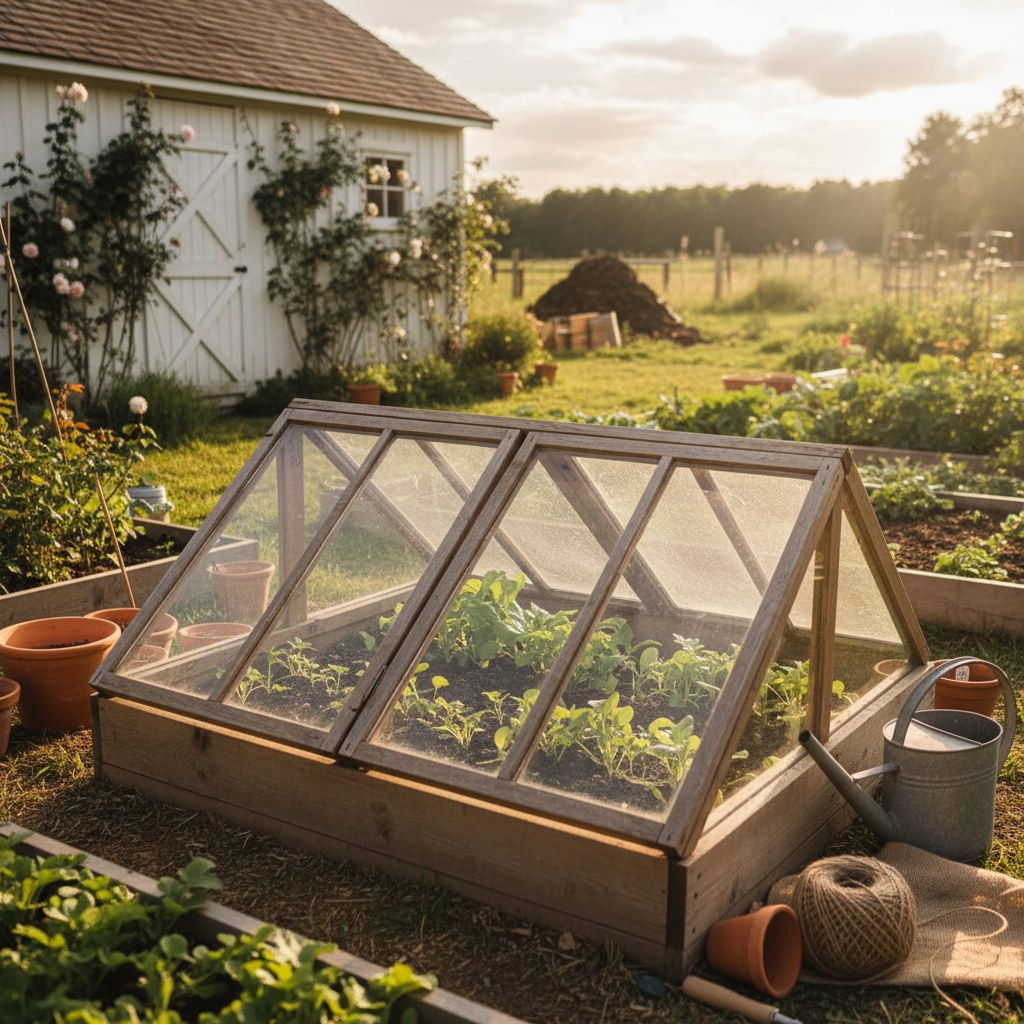
Building a cold frame takes two to three hours and costs between $0 and $60 depending on whether you use salvaged materials. The basic structure is a rectangular bottomless box, taller at the back than the front so the angled lid sheds rain and maximizes solar gain.

Iowa State Extension recommends sizing the frame at “no more than 3 feet deep to allow you to easily reach the back without stepping inside. Ideally, the frame is about 12 inches high in front and 18 inches high in the back.” That 12-in./18-in. Geometry creates roughly a 12–20 degree slope, enough to shed rain and catch low-angle winter sun. Penn State Extension points out that cold frames “can be used to effectively grow cool-season crops in the fall and in the spring” and can be home-built or purchased as a kit.
Materials You Will Need
- Two 2×10 or 2×12 boards, 6 feet long (front and back walls)
- Two 2×10 or 2×12 boards, 3 feet long (side walls, cut at an angle to create the slope)
- One old storm window, shower door, or sheet of polycarbonate glazing, approximately 3×6 feet
- 16 to 20 exterior screws (2.5 inch)
- 2 hinges (optional but highly recommended)
- A stick or prop rod for venting
- Exterior wood sealant or paint (optional)
Step 1: Cut the Side Walls at an Angle
Mark a diagonal cut on each side board so one end is 12–18 inches tall (the back) and the other is 6–8 inches tall (the front). A circular saw or hand saw works fine. This angled cut is the only technically demanding part of the build.
Step 2: Assemble the Box
Screw the front and back boards to the side boards. Pre-drill to avoid splitting. The result should be a sturdy rectangular box with sloped sides. Check that the corners are square before the screws go all the way in. If you are using salvaged wood, check for rot at the ends before assembling.
Step 3. Attach the Lid
Hinge the glazing panel to the back wall of the box. This allows you to prop it open for ventilation and swing it fully open for access. If you do not hinge it, simply set the lid on top, but a hinged lid is safer in wind and easier to manage in daily use.
Step 4: Site and Install
Place the cold frame on level ground against a south-facing wall or fence if possible. The wall reflects additional heat into the frame and provides wind protection. Set the box directly on the soil so that ground heat conducts into the interior. If your soil freezes hard in winter, place the frame over existing beds rather than moving soil inside it.
Step 5. Seal Gaps (Optional)
Check for large gaps between boards where cold air can infiltrate. A bead of exterior caulk or a strip of weatherstripping along the lid edge makes a meaningful difference on very cold nights. Do not seal it completely airtight, some air exchange prevents fungal problems on humid days.
How Do You Manage Cold Frame Temperature?
Building the cold frame is the easy part. Managing the temperature inside it is where new cold frame users most often run into trouble. On a sunny February day, the interior of a closed cold frame can reach 80°F or higher, hot enough to stress or kill the very seedlings you are trying to protect. Consistent venting and monitoring are the keys to success.
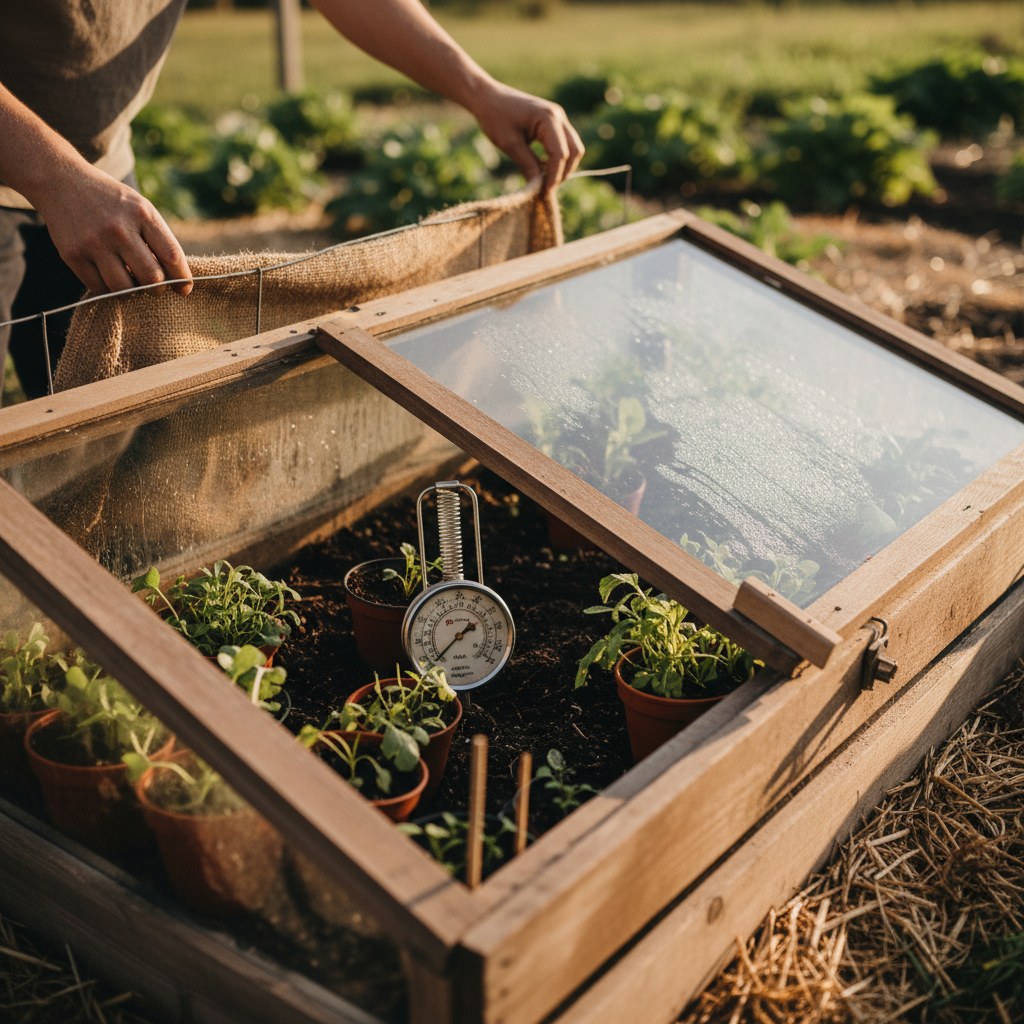
Utah State University Extension is direct about this: “cold frame lids must be opened or removed during the day to prevent excessive temperature buildup and then closed again at night.” The target interior daytime temperature for cool-season crops is roughly 45–65°F. Above 75°F, lettuce bolts and spinach begins to show heat stress.
Daytime Venting
On any day when outdoor temperatures are above 40°F and the sun is out, crack the lid open by 2–4 inches. On warm spring days (above 50°F outdoor temp), open the lid fully. A simple stick prop works fine.
More advanced gardeners use an automatic vent opener, a wax-cylinder device that expands with heat and lifts the lid without any manual intervention. These cost $20–40 and are worth every penny if you forget to vent.
Nighttime Insulation
Close the lid every evening before sunset. On nights where temperatures will drop below 20°F, add a layer of insulation on top of the glazing: an old blanket, a sheet of rigid foam insulation, or a layer of straw bales stacked against the sides. Remove the insulation during the day to allow solar gain.
For extreme cold snaps, a row cover laid inside the frame adds another layer of protection. Utah State Extension notes that “most row covers can provide freeze protection down to temperatures around 24º F to 28º F”, stacked on top of a cold frame’s natural buffer, that can be the difference between a harvest and a loss on a hard frost night.
Watering Inside a Cold Frame
Plants in a cold frame need far less water than outdoor plants or seedlings under grow lights. The closed environment retains moisture well. Check the soil moisture once a week by pressing a finger 1 inch into the soil. Water only when it feels dry.
Overwatering in a cold frame leads quickly to damping off, a fungal disease that kills seedlings at the soil line. Water in the morning so that excess moisture can evaporate before you close the lid for the night.
Transitioning Plants Out
When your last frost date approaches and you are ready to transplant into open ground, do not pull plants straight from the cold frame into full outdoor exposure. Spend 3 to 5 days leaving the lid fully open during the day and closed at night. Then leave it fully open day and night for another 2 days before transplanting. This mirrors the hardening-off process for indoor seedlings and prevents transplant shock.
What Crops Work Best, and Which Don’t?
Cold frames are cool-season tools. They excel at greens, brassicas, and roots. They are poor substitutes for heated greenhouses when you are trying to grow heat-lovers to maturity.
Excellent in a cold frame: lettuce, spinach, arugula, mâche, kale, chard, mustard greens, pak choi, cilantro, parsley, radishes, carrots (overwinter), scallions, and claytonia.
Good for early-spring starts (transplant out later): cabbage, broccoli, cauliflower, kohlrabi, onions, and leeks.
Hardening-off only, not full growth: tomatoes, peppers, eggplant, cucumbers, squash, basil, and melons. These plants need consistent nighttime temperatures above 55°F, which a passive cold frame cannot reliably deliver in early spring.
How Do You Troubleshoot Common Cold Frame Problems?
Most cold frame failures trace back to one of three causes: overheating, underwatering, or poor siting. Quick fixes for each:
- Wilting at midday even though soil is moist? The frame is too hot. Vent wider or add a shade cloth on sunny days above 70°F ambient.
- Seedlings leggy and pale? Not enough light. Reposition to a spot with more direct southern exposure, or clean the glazing, even a thin film of dust cuts transmission noticeably.
- Plants collapsed at the stem line? Damping off from overwatering. Let the soil dry out, improve airflow, and water only from below if possible.
- Frost damage despite the frame? Either the frame is too leaky or the cold event exceeded what a passive frame can handle. Add insulation on top and a row cover inside for the next cold night.
- Mice or voles moving in over winter? Set traps outside the frame, and check the base for burrows, rodents love the warmth.
Frequently Asked Questions
What is the best wood to use for a cold frame?
Cedar and redwood are naturally rot-resistant and are the best choices if you are buying new lumber. However, any exterior-grade lumber works if you seal it with exterior paint or wood stain. Salvaged wood from old furniture, pallets (heat-treated only, not chemically treated), or demolished structures is a perfectly good choice and costs nothing. Avoid wood treated with old-style green CCA (chromated copper arsenate) pressure treatment near food crops.
Can I use a cold frame in zone 3 or 4?
Yes, but with realistic expectations. In zones 3–4 (winter lows to -30°F), a cold frame alone will not keep plants alive through midwinter. It is best used for spring and fall extension only, starting crops 2–4 weeks early in spring and harvesting 2–4 weeks past the fall frost. For overwintering in very cold climates, you need a low tunnel with row cover inside the frame or a heated structure.
How is a cold frame different from a hot bed?
A cold frame is unheated and relies entirely on solar gain. A hot bed is identical in structure but has a heat source, traditionally a thick layer of fresh horse manure beneath the soil (which heats as it decomposes), or a modern electric soil heating cable. Hot beds are warmer and can start heat-loving crops like tomatoes and peppers weeks earlier than a cold frame. They require more maintenance but dramatically expand what you can grow.
Do cold frames work for warm-season vegetables?
Cold frames are designed for cool-season crops. However, they are excellent for hardening off warm-season seedlings before transplanting. You can also use a cold frame to start warm-season crops indoors, then move them into the cold frame for 5–7 days of hardening before transplanting to the garden once frost risk has passed. Do not use a cold frame to grow tomatoes, peppers, or cucumbers to maturity, they need more heat than a passive frame provides.
How much does it cost to build a cold frame?
A cold frame built from salvaged materials costs almost nothing, the main expense is your time. If you buy new lumber and a sheet of polycarbonate glazing, expect to spend $40–80 total. An old storm window from a salvage store or online classifieds typically costs $5–15 and makes an excellent lid. The return on investment is immediate: a single season of extended harvests will save far more than the build cost in grocery spending.
Can I leave a cold frame open during light rain?
Yes, and in fact a light rain on open frames helps wash dust off the glazing and refresh soil moisture. Close the lid before heavy rain or hail, which can damage some glazing types and batter seedlings.