How to Render Lard and Tallow at Home: A Lost Kitchen Skill
How to Render Lard and Tallow at Home: A Lost Kitchen Skill
- Rendered lard (from pigs) and tallow (from cattle) are traditional, stable cooking fats that were kitchen staples for centuries
- Leaf lard (from around the kidneys) is the highest quality pork fat — mild, white, and prized for baking
- Both dry rendering and wet rendering work well at home, each with advantages
- Properly rendered and stored, lard and tallow last months at room temperature and over a year in the fridge or freezer
- Beyond cooking, rendered fats are essential for homemade soap, candles, skin care, and seasoning cast iron
There was a time, not so long ago, when every kitchen in America had a crock of lard or tallow near the stove. It was the primary cooking fat, the basis for flaky pie crusts, the secret to perfectly fried chicken, and a household product used for everything from soap to candles to leather conditioning.
Then came Crisco, then vegetable oil, then margarine, and rendered animal fats were pushed to the margins — dismissed as unhealthy relics of a less enlightened era. But the tide is turning. As more of us return to traditional foodways and cooking from scratch, rendering fat at home is experiencing a well-deserved revival.
If you raise pigs or buy whole or half animals from a local farm, rendering fat is one of the most practical skills you can learn. It’s simple, it’s economical, and it transforms what many people throw away into one of the most versatile products on the homestead.
Understanding Different Fats
Not all animal fat is the same. The type and location of the fat on the animal dramatically affects the quality, flavor, and best use of the rendered product.
Pork Fats (Lard)
| Type | Source | Characteristics | Best Uses |
|---|---|---|---|
| Leaf lard | Around kidneys and loin | Snow white, very mild, highest quality | Pie crusts, pastries, biscuits, delicate baking |
| Back fat (fatback) | Along the back, under the skin | White, slightly porkier flavor | General cooking, frying, roasting |
| Belly/caul fat | Belly, around organs | Softer, more porky flavor | Frying, sauteing, flavoring beans and greens |
Beef Fat (Tallow)
| Type | Source | Characteristics | Best Uses |
|---|---|---|---|
| Suet | Around kidneys | Hard, crumbly, mild flavor | Traditional baking (suet puddings), highest quality tallow |
| General trim fat | Various trim from butchering | Variable, slightly beefy flavor | Frying, roasting, soap making |
When we processed our first pigs, I asked the butcher to save all the fat — and I mean all of it. He gave me a slightly puzzled look, handed over two enormous bags of leaf lard and fatback, and said “Good luck.” That fat rendered into over 15 pounds of the most beautiful, snow-white lard. It lasted us nearly a year and made the flakiest pie crusts I’ve ever produced. Now the butcher doesn’t question it anymore.
Dry Rendering vs. Wet Rendering
There are two main approaches to rendering fat at home. Both produce excellent results, but each has its advantages.
Dry Rendering
Dry rendering means melting the fat in a pot or oven with no added water. The fat slowly melts out of the connective tissue, leaving behind crispy bits called cracklings (lard) or greaves (tallow).
Advantages:
- Simpler process — just fat and heat
- Produces delicious cracklings as a byproduct
- Slightly more flavor in the final product
Disadvantages:
- Higher risk of scorching if heat is too high
- Requires more attention and stirring
- Can produce a slightly more colored product
Wet Rendering
Wet rendering starts with water in the pot along with the fat. As the fat melts, it floats above the water. When cooled, the fat solidifies on top and can be lifted off, leaving any impurities in the water below.
Advantages:
- Nearly impossible to scorch — the water prevents burning
- Produces the whitest, mildest lard
- More forgiving for beginners
Disadvantages:
- Takes longer due to the water
- No cracklings as a byproduct (they stay in the water layer)
- Requires an extra step of separation and sometimes re-rendering
How to Render Lard: Step by Step (Dry Method)
This is my standard method for turning pork fat into beautiful, shelf-stable lard.
Step 1: Prepare the Fat
Start with cold fat — it’s much easier to cut when chilled. Trim away any meat, skin, or blood spots. Cut the fat into small, uniform pieces (about 1/2-inch cubes) or grind it through a meat grinder using the coarse plate. The smaller the pieces, the faster and more completely they’ll render.
Grinding is the most efficient approach by far. If you don’t have a meat grinder, a food processor with partially frozen fat works in a pinch — pulse it into rice-sized pieces.
Step 2: Start Low and Slow
Place the fat pieces in a large, heavy-bottomed pot (a Dutch oven is ideal) or a roasting pan for oven rendering. If using the stovetop, add about 1/4 cup of water to prevent initial sticking — it will cook off quickly. Set heat to low, as low as your burner goes.
For oven rendering, set the oven to 225-250°F and leave the pan uncovered.
Step 3: Render Patiently
On the stovetop, stir every 15-20 minutes. The fat will slowly begin to melt, becoming liquid and clear. You’ll see the solid tissue pieces (connective tissue that won’t melt) floating in the liquid fat. As rendering progresses, these pieces will shrink and begin to brown.
In the oven, stir every 30-45 minutes. The oven method is more hands-off and produces very even results.
The total rendering time depends on the amount and cut size: plan on 2-4 hours for a large batch.
Step 4: Strain the First Pull
Once a good amount of fat has melted and the cracklings are just starting to turn golden (not brown), begin straining. Pour the liquid fat through a fine-mesh strainer lined with cheesecloth into clean glass jars or heat-safe containers.
This “first pull” is the purest, whitest, mildest lard — save it for baking. Return the cracklings and any remaining unrendered fat to the pot and continue rendering.
Step 5: Continue and Complete
Keep rendering until the cracklings are golden-brown and crispy and no more liquid fat is being released. Strain the second pull — this will be slightly more golden and flavorful, perfect for savory cooking.
Press the cracklings gently in the strainer to extract the last of the fat. Season the cracklings with salt while still warm — they’re a traditional snack and absolutely delicious crumbled over beans, potatoes, or salads.
Step 6: Cool and Store
The liquid lard will be a clear amber color when hot. As it cools and solidifies, it will turn creamy white (especially leaf lard). Let the jars cool to room temperature, then cover tightly.
Properly rendered lard stores for 3-6 months at room temperature, up to a year in the fridge, and indefinitely in the freezer.
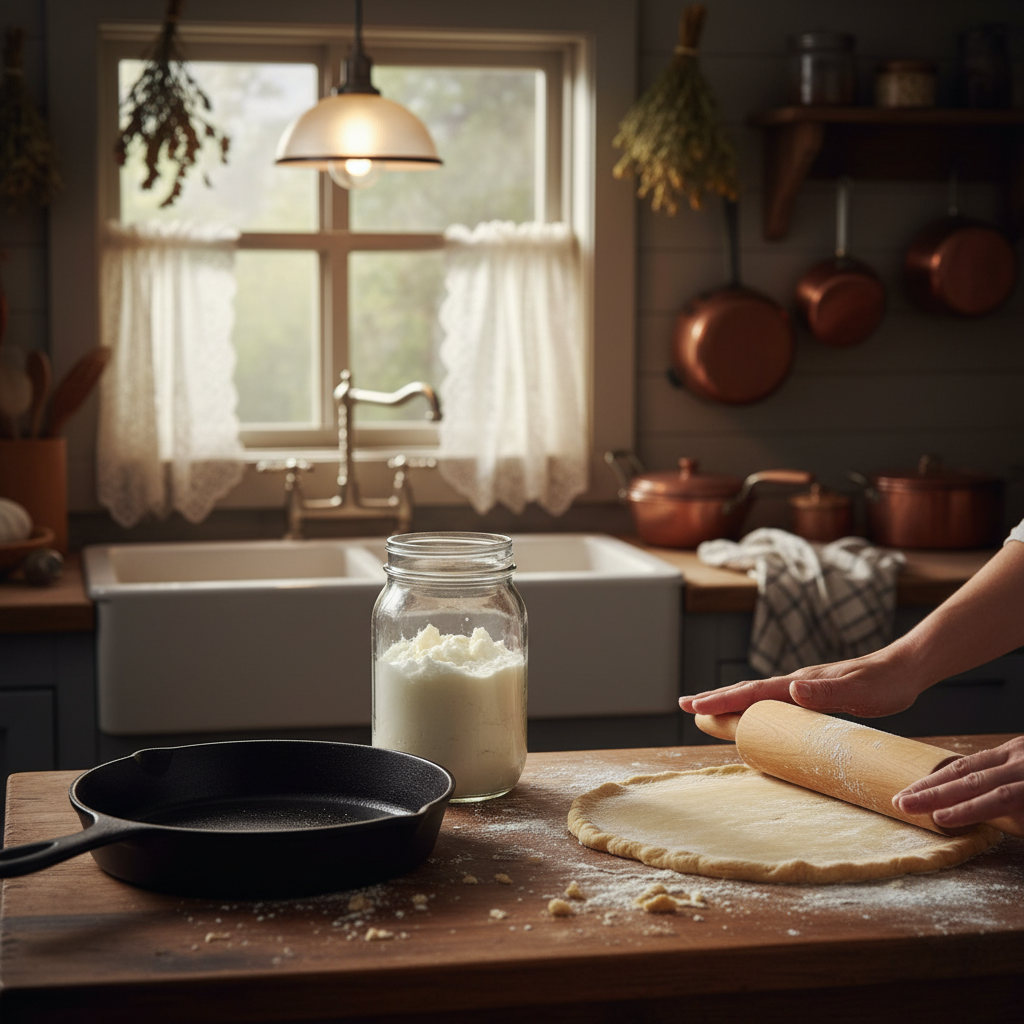
The first time I made a pie crust with my own leaf lard, I understood what all the fuss was about. The texture was impossibly flaky — layers upon layers that shattered at the touch of a fork. Store-bought lard, which is often hydrogenated and bleached, doesn’t even come close. If you bake, leaf lard will change your life.
How to Render Beef Tallow
The process for tallow is essentially the same as lard, with a few differences:
- Beef fat is harder and has a higher melting point — it takes longer to render and needs to be cut smaller
- The smell is stronger during rendering — good ventilation or oven rendering is recommended
- Finished tallow is very hard at room temperature — almost waxy. This is normal and actually makes it excellent for certain applications
- Suet renders cleaner than trim fat — if you want the mildest tallow, request suet from your butcher
Beef tallow is incredible for deep frying (those famous old-school fast food fries were cooked in tallow), roasting vegetables, and especially for making soap. Tallow produces a hard, long-lasting bar of soap with a creamy lather.
Uses for Rendered Lard and Tallow
Once you have rendered fat on hand, you’ll find uses for it everywhere.
In the Kitchen
- Baking: Leaf lard makes the flakiest pie crusts, biscuits, and pastries. Use it anywhere you’d use butter or shortening
- Frying: Both lard and tallow have high smoke points (370°F for lard, 400°F for tallow), making them excellent for deep frying, pan frying, and searing
- Roasting: Toss vegetables in tallow before roasting for incredible flavor and crispiness — roast potatoes in tallow are transcendent
- Seasoning cast iron: A thin coat of lard or tallow, baked on at high heat, builds a beautiful seasoning on cast iron cookware
- Popcorn: Pop corn in lard for a revelation — rich, savory, and addictive
- Refried beans: Traditional refried beans are made with lard, and there’s no substitute for that flavor
Beyond the Kitchen
- Soap making: Tallow and lard are both excellent soap-making fats. Tallow soap is hard, long-lasting, and moisturizing
- Candles: Tallow candles were the standard for centuries. They burn clean and bright
- Skin care: Tallow balm is remarkably similar to our skin’s natural sebum. Whipped with a bit of olive oil and essential oils, it makes a rich moisturizer
- Bird suet feeders: Mix rendered suet with seeds for homemade bird feeders. Replace beeswax wraps and other household items with tallow-based alternatives
- Leather conditioning: Tallow has been used to condition and waterproof leather for centuries
- Fire starters: Pour rendered fat over dryer lint or cardboard egg cartons for effective fire starters
Rendering in a Slow Cooker
If you prefer an even more hands-off approach, a slow cooker works beautifully for rendering.
Fill the slow cooker with prepared fat pieces, add a splash of water, and set to low. Let it render for 8-12 hours, stirring occasionally when you think of it. Strain through cheesecloth and cool.
This is my preferred method when I’m rendering a smaller batch — I set it up before bed and strain it in the morning. The low, consistent heat produces clean, mild fat with virtually no risk of scorching.
Troubleshooting
| Issue | Cause | Prevention/Fix |
|---|---|---|
| Lard is yellowish, not white | Heat was too high or fat had meat attached | Render at lower temp; trim meat more carefully; still perfectly usable for cooking |
| Strong pork/beef smell | Fat not trimmed of meat; heat too high; not leaf lard/suet | Use higher-quality fat source; try wet rendering for milder results |
| Grainy texture after solidifying | Cooled too slowly (common with tallow) | This is normal for tallow — it will smooth out when melted. For smoother solid texture, cool quickly |
| Fat went rancid | Not strained thoroughly; moisture trapped; stored too warm | Strain through cheesecloth, ensure completely dry, store in fridge for long term |
Sourcing Fat
If you don’t raise your own animals, finding quality fat to render is still quite achievable:
- Local butcher shops: Many will sell or even give away pork fat and beef suet — it’s often a waste product for them
- Farmers’ markets: Pasture-raised pork and beef producers often sell fat at very low prices
- Whole animal purchases: When you buy a half or whole pig or cow, always request all the fat — it’s included in the price but often discarded unless requested
- Grocery stores: Some butcher counters will sell suet or pork fat if you ask, especially around the holidays
The cost is remarkable — you can typically buy pork fat for $1-2 per pound and render it into a premium cooking fat that would cost $15-20 per pound from artisan producers. For those of us focused on using every part of the animal, rendering fat is both practical and ethical.
Frequently Asked Questions
Is lard actually healthy?
The nutritional reputation of lard has shifted significantly. Lard from pasture-raised pigs is a good source of vitamin D and contains a balanced fatty acid profile — roughly 40% saturated, 45% monounsaturated (the same healthy fat in olive oil), and 11% polyunsaturated. It contains no trans fats (unlike hydrogenated vegetable shortening). Many nutritionists now consider traditionally rendered lard a perfectly reasonable cooking fat, especially compared to highly processed seed oils.
Can I reuse rendered fat after frying?
Yes, within reason. After frying, let the fat cool slightly, then strain it through cheesecloth to remove food particles. Store it in a clean jar in the fridge. You can reuse it 3-4 times for frying, though the flavor will become more pronounced with each use. Once it starts to darken significantly, smell off, or smoke at lower temperatures than usual, it’s time to replace it.
What’s the difference between lard and shortening?
Traditional lard is simply rendered pork fat — one ingredient, minimally processed. Vegetable shortening (like Crisco) is vegetable oil that has been hydrogenated — chemically altered to be solid at room temperature. This process creates trans fats, which are now widely recognized as harmful. Interestingly, Crisco was originally marketed as a “healthier” replacement for lard. Many bakers and nutritionists have come full circle and now prefer the original.
My rendered fat doesn’t look pure white. Did I do something wrong?
Not necessarily. The color of rendered fat depends on the source fat, the animal’s diet, and your rendering temperature. Leaf lard and suet produce the whitest fat. Back fat and trim fat may render slightly cream or ivory colored. Grass-fed beef tallow often has a yellowish tint from beta-carotene — this is a sign of quality, not a defect. As long as the fat smells clean and neutral, a bit of color is perfectly fine.
How much rendered fat will I get from raw fat?
Expect about a 60-80% yield, depending on the quality and type of fat. Ten pounds of good leaf lard will typically render into 7-8 pounds of finished lard. Trim fat with more connective tissue yields less. Suet typically yields well, around 70-75%. The remainder is cracklings, connective tissue, and any moisture that cooks off.