Spring Garden Checklist: What to Plant in March and April
Zone 6b along the Rhode Island coast puts our average last frost around May 10 to 15, but that number means almost nothing without watching soil temperature. The year I finally bought a soil thermometer, I realized I had been direct-sowing peas two weeks too early into soil still sitting at 38 degrees, which is why germination had always been patchy and slow. Waiting for 45 degrees in the top two inches, usually early to mid-March, made a noticeable difference in germination rate.
Spring doesn’t wait. One week the ground is frozen solid and the next you’ve got a three-day window of 50°F soil and sunshine, and if you’re not ready, that window closes. This checklist covers everything from the first direct-sow of March through the final hardening-off push of late April, organized the way an actual garden season unfolds.
We’re a zone 6b household, but these steps apply across zones 5–8 with minor timing adjustments. Check your last frost date at the NOAA frost date tool before committing to outdoor transplants.
1. Direct Sow Cool-Season Crops in March
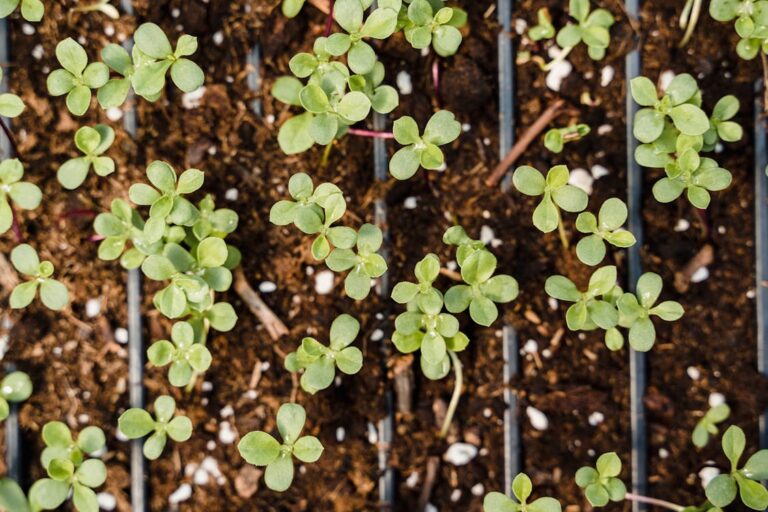
Cool-season crops germinate in soil as cold as 40°F, which means you can get seeds in the ground well before your last frost date. According to the University of Maryland Extension, crops like spinach, lettuce, and peas can be direct sown 4–6 weeks before the last frost.
What to sow in March:
- Spinach: tolerates light frost, germinates at 45°F+
- Lettuce: loose-leaf varieties do best; sow shallowly at ¼ inch depth
- Peas: garden, snap, and snow peas all go in early; they stall in heat
- Radishes: fastest return of any vegetable (28 days to harvest)
- Arugula: cold-hardy and prolific; sow every two weeks for continuous harvest
- Kale and chard: handle freezes down to 20°F once established
Sow peas in rows 2 inches apart, 1 inch deep. Everything else goes in at ¼ to ½ inch. Water well after sowing and mark rows clearly, tiny seedlings all look alike until they’re a few inches tall.
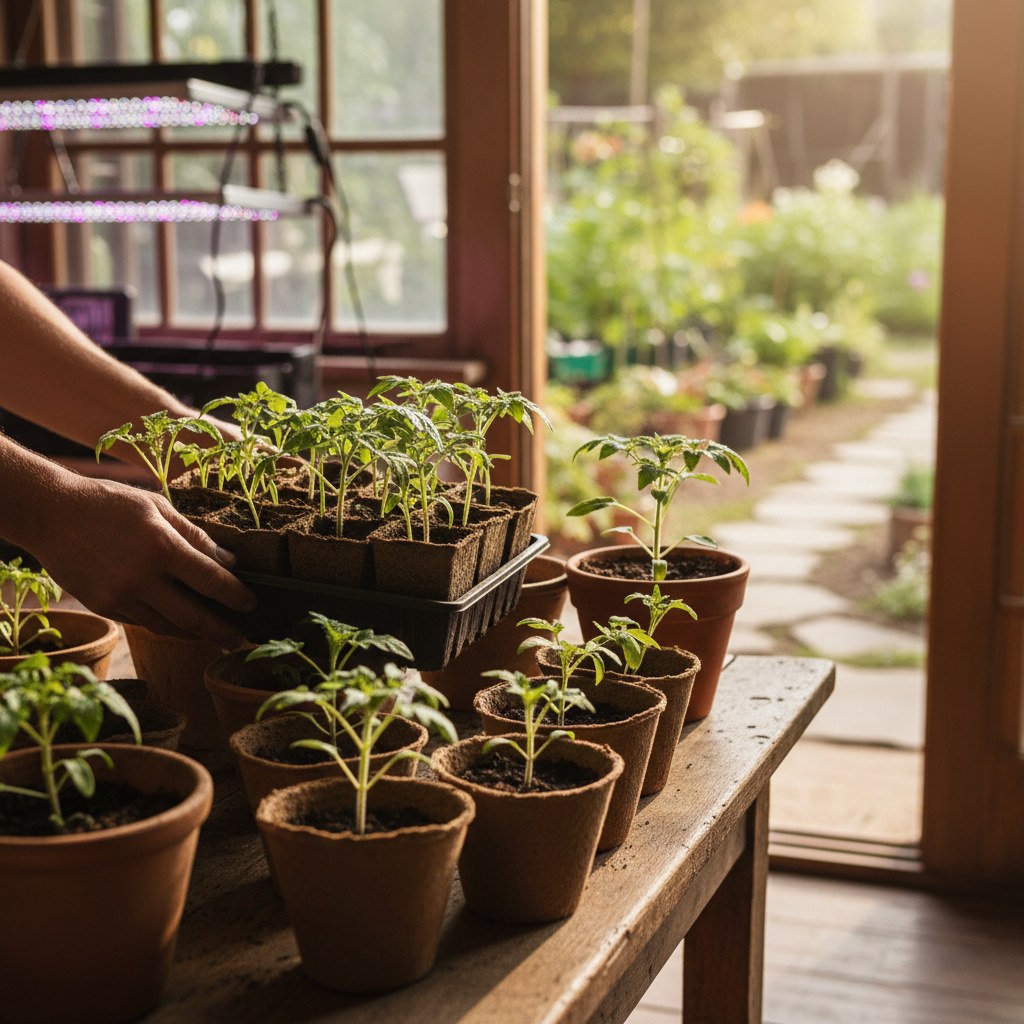
2. Start Warm-Season Seeds Indoors
Tomatoes, peppers, and eggplant need 6–8 weeks of indoor growing before they can go outside. In most of the country, that means starting them in late February or March. If you missed February, start now, a slightly younger transplant often catches up quickly in warm June soil.
The Purdue Extension recommends starting tomatoes 6–8 weeks before transplant date, peppers 8–10 weeks.
Indoor starts for March/April:
- Tomatoes: all types; use seed-starting mix, not garden soil
- Peppers and hot peppers, slow germinators; use a heat mat (75–85°F soil)
- Eggplant: similar to peppers; needs warmth to sprout
- Basil: start indoors 4–6 weeks before transplant date
- Squash and cucumbers, start these only 2–3 weeks before transplant to avoid root-bound plants
For a full breakdown of starting seeds under lights, trays, and timing, see our guide to starting seeds indoors.
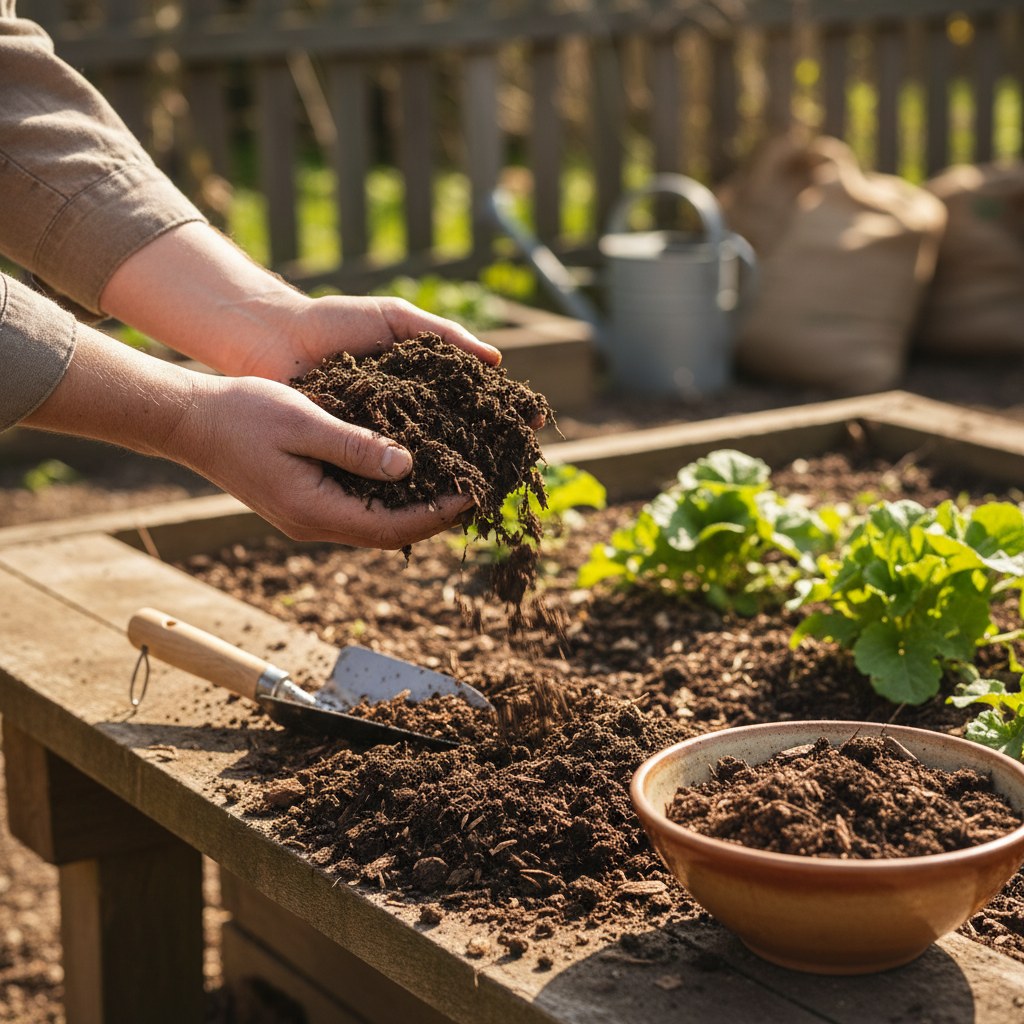
3. Perform March Garden Prep Tasks
Before plants go in, the garden needs to be ready to receive them. March is the right time for this work, the soil is thawing but not yet saturated, and you have time before the planting rush begins.
Work through this list in order:
- Clear winter debris, remove dead stalks, fallen leaves, and any mulch that’s matted down and blocking soil warming
- Test your soil: a basic pH and NPK test from your local extension office or a home kit tells you what amendments are needed before you add them blindly
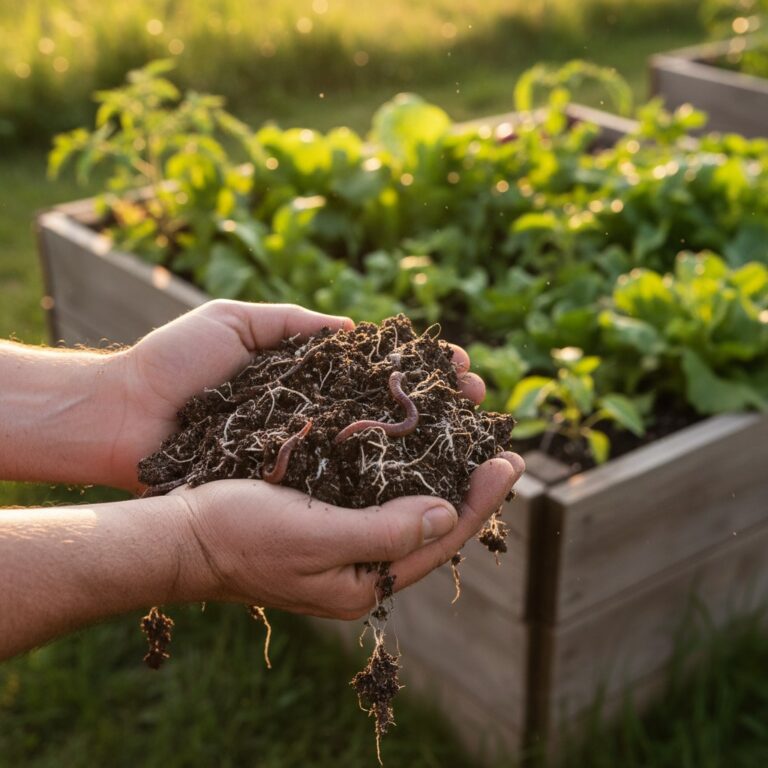
- Apply compost: 2–3 inches of finished compost worked into the top 6 inches improves drainage, structure, and fertility simultaneously
- Top-dress with balanced fertilizer, if compost isn’t available, a 10-10-10 granular fertilizer applied per package rates works as a baseline
- Mark bed edges: redefine bed borders with a spade or edging tool before the growing season blurs them
4. Build or Repair Garden Structures
Pea trellises, tomato cages, raised bed boards, deer fencing, cold frames, these all need to be in place before the plants arrive, not after. It’s far easier to hammer a stake into unfrosted soil in March than to work around established plants in May.
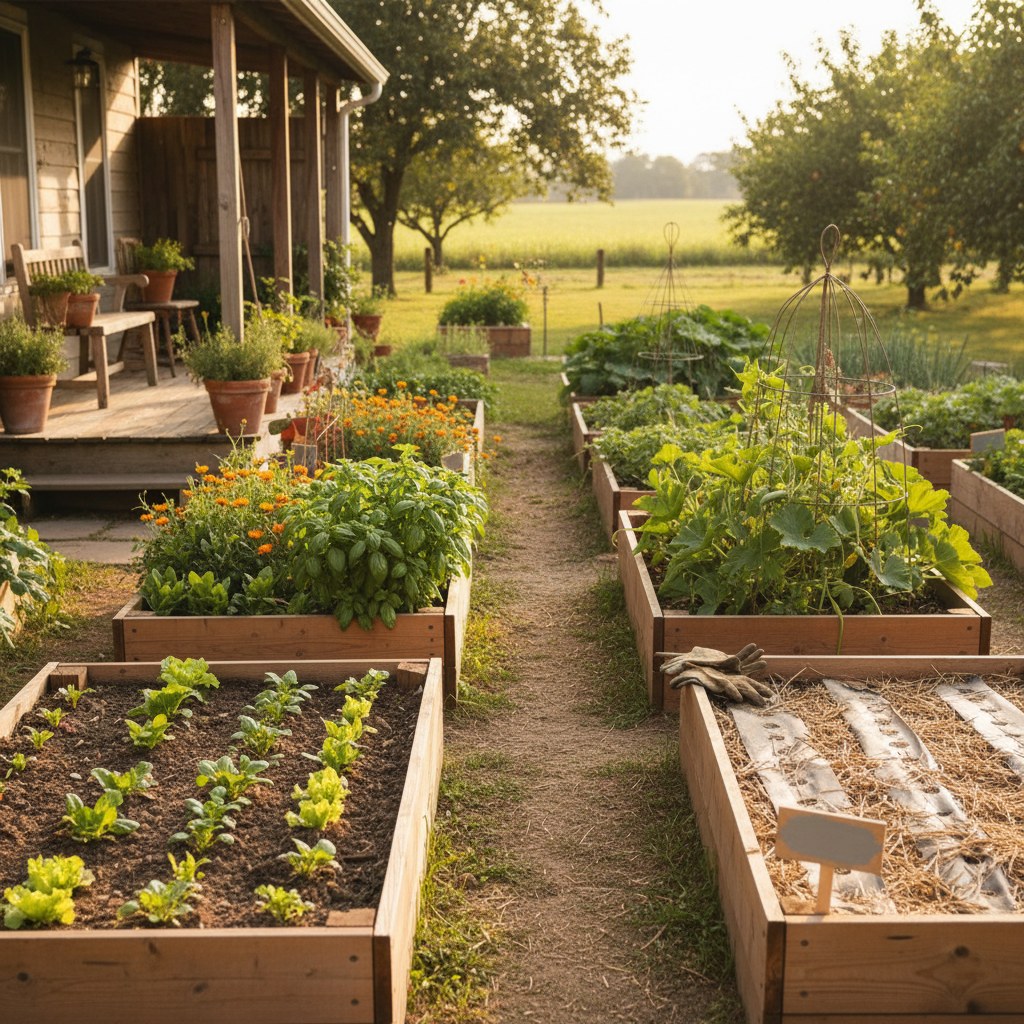
Priority repairs:
- Raised bed walls, check for rot, heaving, or bowed boards; replace before adding soil
- Trellis posts, reset any posts that heaved during freeze-thaw cycles
- Cold frames: repair glazing and check hinges; you may still need them for April transplants
- Row cover hoops: replace bent ones; you’ll use them for frost protection through mid-May in most zones
- Deer and rabbit fencing, patch gaps before anything edible is in the ground
5. Direct Sow Additional Cool-Season Crops in April
April expands your sowing options. Soil temperatures are rising, and you can add crops that prefer slightly warmer germination conditions than the hardiest March sowers.
What to add in April:
- Beets: need 50°F soil; sow ½ inch deep, thin to 3 inches apart
- Carrots: sow thinly, barely covered; keep consistently moist until germination
- Turnips and parsnips, both are cold-tolerant and benefit from early sowing
- Cilantro: bolts fast in heat; get it in early and succession-sow every three weeks
- Dill, direct sow only; resents transplanting
- More lettuce and spinach, keep succession sowing every 10–14 days through mid-April
6. Transplant Cool-Season Seedlings in April
Any cole crops (broccoli, cabbage, cauliflower, Brussels sprouts) you started indoors in February are ready to move outside in April. These tolerate light frost after hardening off, and they actually benefit from cool growing conditions, they turn bitter and bolt in summer heat.
Transplant spacing:
- Broccoli: 18 inches apart
- Cabbage: 12–18 inches apart depending on variety
- Cauliflower: 18 inches apart
- Brussels sprouts: 24 inches apart (they get big)
Water transplants in with a diluted liquid fertilizer to reduce transplant shock. If nighttime temps are still dropping below 28°F, cover with row fabric until they’re established.
7. Prepare Beds for Warm-Season Crops
Tomatoes, squash, beans, and cucumbers can’t go out until after your last frost date, but you can have their beds ready weeks in advance. Warm-season crops want:
- Soil temps above 60°F (tomatoes) or 65°F (squash, beans)
- Full sun: 8+ hours minimum
- Rich, well-draining soil, heavy clay needs significant amendment before warm-season crops will thrive
Lay black plastic mulch or dark fabric over empty warm-season beds in late March to pre-warm the soil. The USDA NRCS notes that mulched soil can warm 5–10°F faster than bare soil in spring, which meaningfully extends your growing window.
Think carefully about plant placement while beds are empty. Check our companion planting guide before finalizing where tomatoes, basil, squash, and beans will go, some pairings improve yield, and some actively suppress each other.
8. Start Succession Planting
Succession planting is the habit of sowing small batches every 1–2 weeks rather than sowing everything at once. The goal: a continuous harvest instead of a glut followed by nothing.
Crops that benefit most from succession sowing:
- Lettuce: every 10 days through mid-May
- Arugula: every 2 weeks
- Radishes: every week (they mature in 28 days)
- Spinach: every 2 weeks until temps hit 70°F consistently
- Cilantro and dill, every 3 weeks through summer
- Beans: once soil is warm, every 2–3 weeks through July
Keep a simple calendar or sticky note on the seed bin. When the last batch of lettuce is 2 inches tall, sow the next round. That’s the whole system.
9. Plant Perennial Herbs and Berries
April is prime planting time for perennials, the soil is workable, temperatures are mild, and plants have the entire growing season to establish before winter. Perennials planted now will hit their stride next year and produce for years after that.
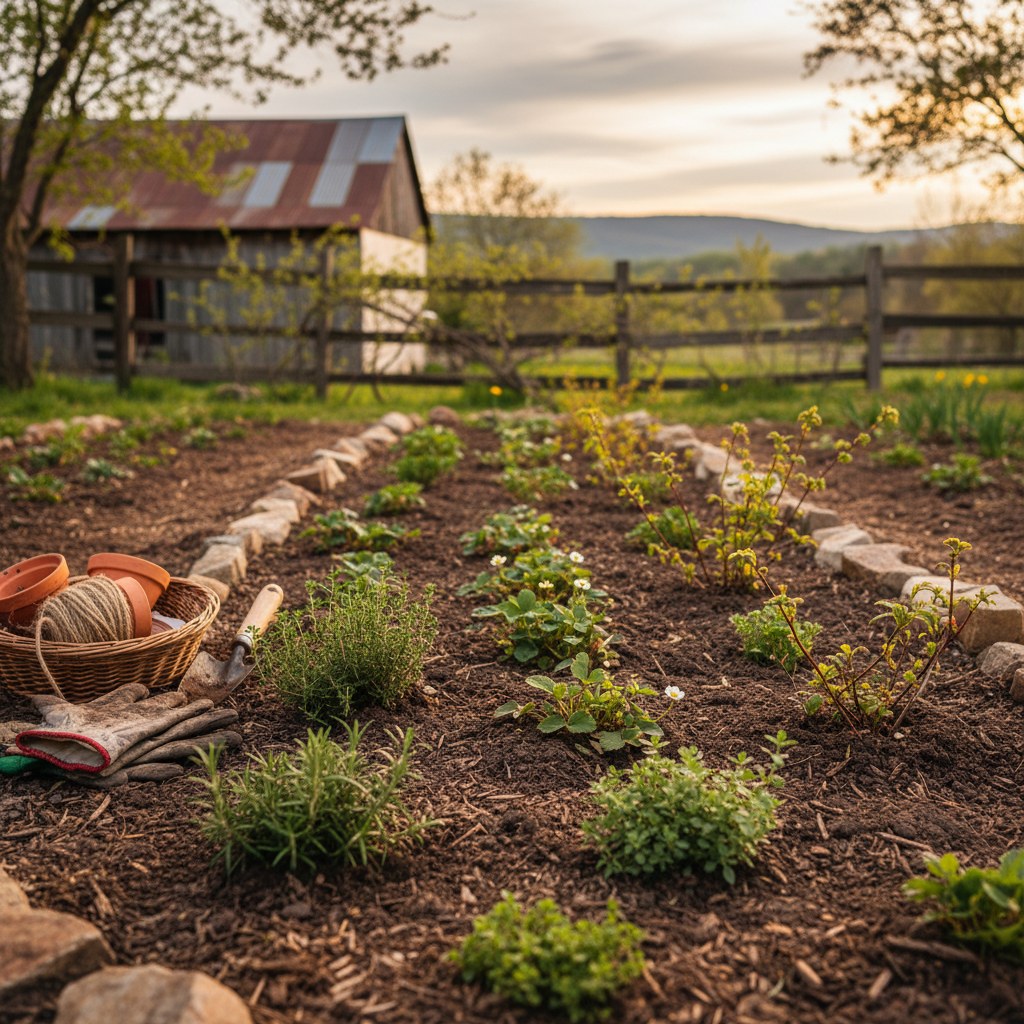
April perennial plantings:
- Strawberries, bare-root plants go in now; pinch off first-year flowers to encourage root development
- Asparagus crowns, plant in a dedicated bed with 12 inches between crowns; don’t harvest for 2 years
- Rhubarb: divide existing crowns or plant new crowns 36 inches apart
- Thyme, oregano, sage, and chives, all cold-tolerant; plant out as soon as soil is workable
- Mint: always plant in a buried container to contain spreading roots
- Raspberries and blackberries, bare-root canes establish well in April; space 2 feet apart in rows
10. Set Up Irrigation
Dragging hoses around a vegetable garden is the fastest way to make gardening feel like a chore. Getting even a basic drip system or soaker hose setup installed in April, before plants are crowding every bed, saves significant time and water through the season.
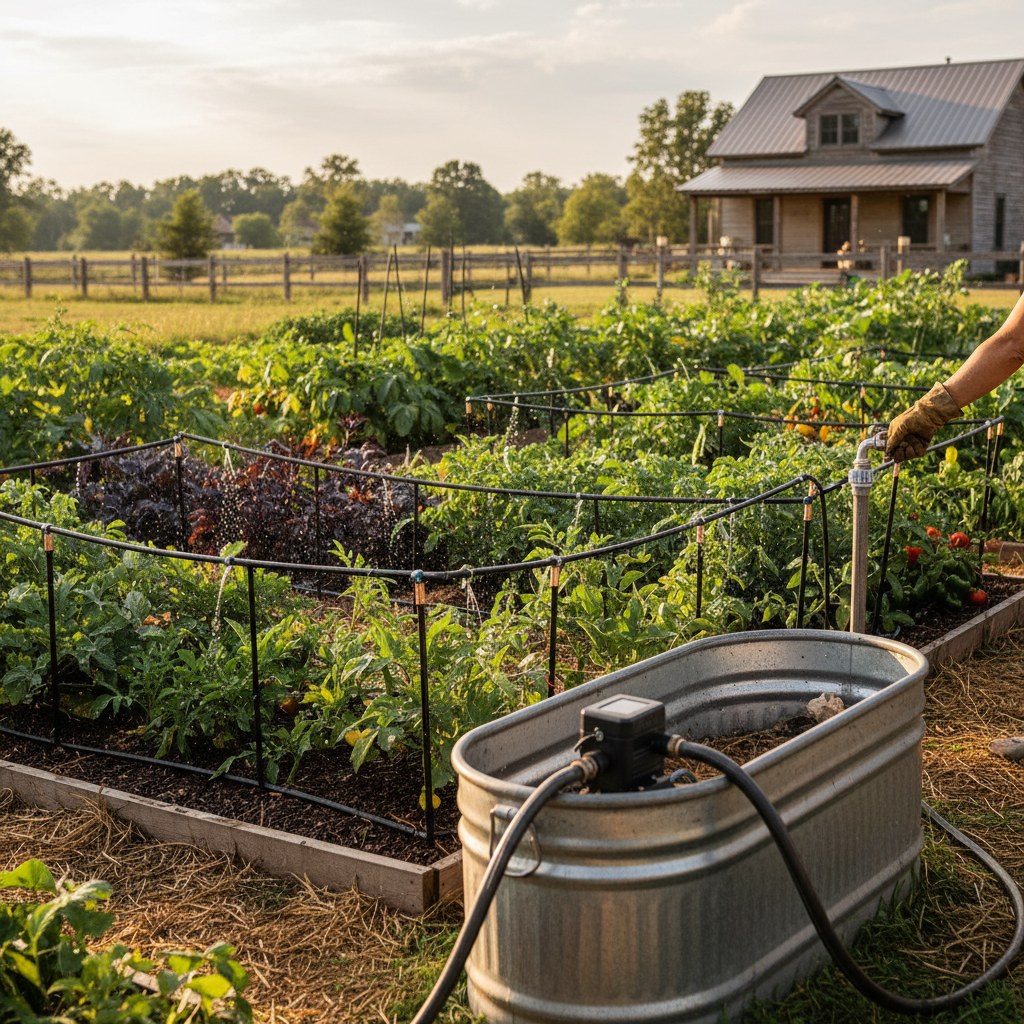
Drip irrigation delivers water directly to roots, which reduces fungal disease on foliage and cuts water use by 30–50% compared to overhead sprinklers, according to Utah State University Extension.
Minimum viable setup:
- Soaker hoses laid in rows, connected to a Y-splitter at the spigot
- A simple mechanical timer ($15–25) so you don’t have to remember to water
- Mulch over the soaker hoses to reduce evaporation
Even if you can only do one bed this year, start there. You’ll expand it next spring once you’ve seen how well it works.
11. Perform a Mid-Spring Soil Check
You tested your soil in March and added amendments. Now, in mid-April, check whether those amendments have worked into the soil and whether you need additional adjustments before warm-season planting.
What to check:
- pH: most vegetables want 6.0–7.0. Below 6.0 (too acidic): add lime. Above 7.5 (too alkaline): add sulfur or acidic compost.
- Drainage: dig a 12-inch hole, fill it with water, and time how long it takes to drain. Ideal: 1–2 inches per hour. Slower than that means you need raised beds or heavy organic amendment.
- Earthworm count: dig a 1-cubic-foot sample. Finding 10+ earthworms per cubic foot indicates healthy soil biology.
- Compaction: push a pencil into the soil with moderate pressure. If it won’t penetrate 6 inches easily, the soil is too compacted for good root development.
12. Harden Off Indoor Seedlings
Seedlings started indoors under grow lights have never experienced wind, temperature swings, or direct sun. Move them outside too quickly and they’ll sunscald, dry out, or suffer cold damage. Hardening off is the process of gradually introducing them to outdoor conditions over 7–10 days.
The schedule:
- Days 1–2: Set seedlings in bright shade outdoors for 2–3 hours, then bring inside
- Days 3–4: Move to morning sun (2–3 hours of direct light), back inside by afternoon
- Days 5–6: 4–5 hours of sun, including some afternoon exposure
- Days 7–8: Most of the day outside, brought in only if temps drop below 50°F
- Days 9–10: Full outdoor exposure; bring in only if frost is forecast
Water more frequently during hardening off, outdoor conditions dry containers much faster than a greenhouse or basement. Don’t let seedlings wilt; it sets them back significantly.
13. Monitor for Early Pests
Early intervention is the difference between losing 10% of a crop and losing 80%. Spring pests emerge as soon as temperatures consistently hit 50°F, and they multiply fast.
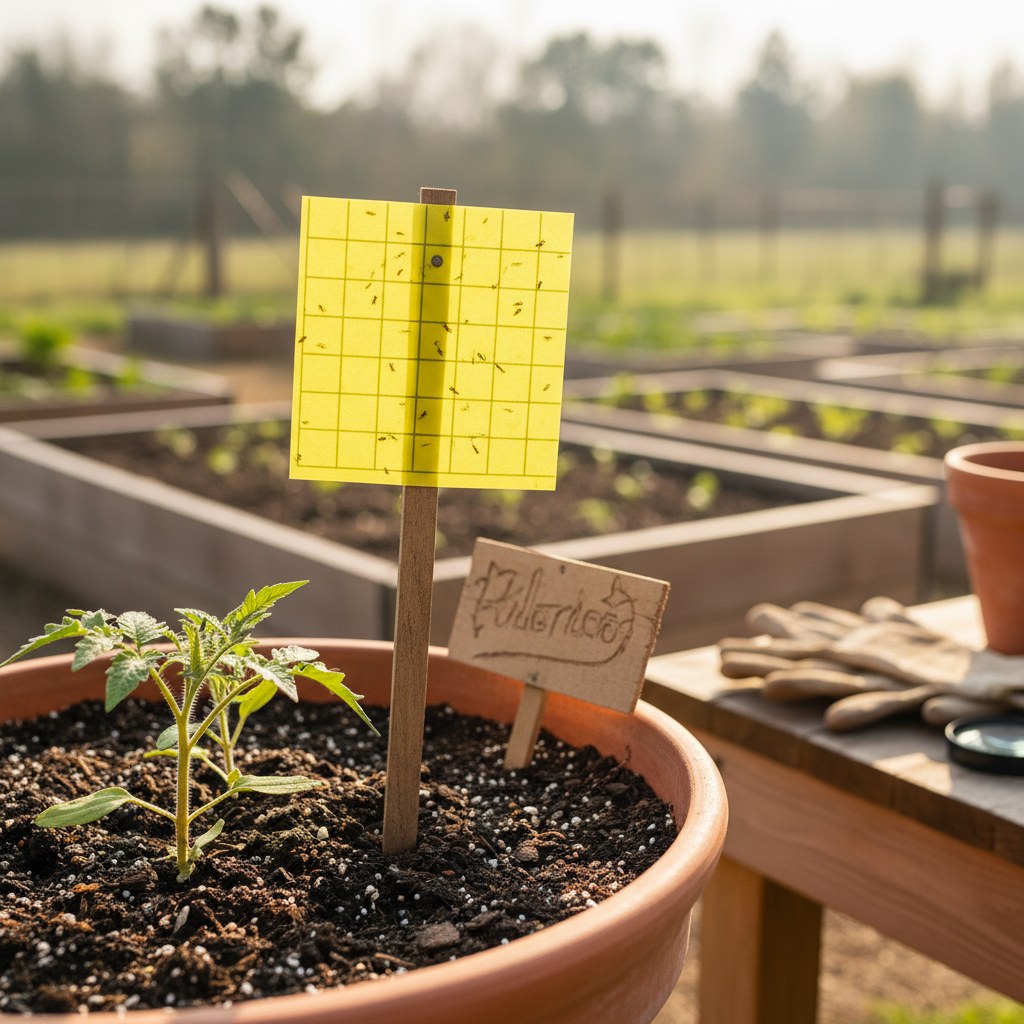
What to watch for in March and April:
- Aphids: look on the undersides of brassica and lettuce leaves; blast off with a strong water spray or apply insecticidal soap
- Cabbage white butterflies, if you see them flying, eggs are being laid; use row fabric over cole crops to exclude them
- Slugs: active in cool, wet springs; iron phosphate bait (safe around pets and children) works well
- Flea beetles: tiny holes in brassica leaves; row cover is the best prevention
- Cutworms: sever seedlings at the soil line overnight; place cardboard collars around transplant stems at planting time
Walk through the garden every few days in April. Catching a pest population when it’s small requires minutes of work. Dealing with an established infestation can take weeks and cost yield.
Frequently Asked Questions
What’s the difference between direct sowing and starting seeds indoors?
Direct sowing means placing seeds directly into garden soil where they’ll grow to maturity. Starting indoors means germinating seeds in containers under controlled conditions before transplanting them outside. Cool-season crops like peas and carrots are typically direct sown because they resent root disturbance. Warm-season crops like tomatoes and peppers are started indoors because they need a longer growing season than most climates can provide from a direct sow. Our indoor seed starting guide covers the full setup.
How do I know when my soil is warm enough to plant?
A soil thermometer is the most reliable tool, they cost under $15 and last for years. Take readings 4 inches deep in the morning before the sun has warmed the surface. Most cool-season crops germinate at 40–50°F. Warm-season crops like tomatoes want 60°F+, beans and squash prefer 65°F+. Germination at too-cold temperatures is erratic and slow, making plants vulnerable to rot.
Can I skip hardening off if I only have a few days before my last frost date?
Technically yes, but expect higher losses. Seedlings not hardened off frequently sunscald on their first day of full sun exposure, the leaves turn white or bleached and the plant stalls for 1–2 weeks while it recovers. A compressed 5-day hardening schedule (morning shade only → partial sun → full sun with afternoon shade → full sun) is better than none. If you’re truly short on time, plant on a cloudy day and use shade fabric for the first week.
What cool-season crops can survive a hard freeze after being planted out?
Kale, chard, spinach, and established pea plants handle temperatures down to 20–25°F with minimal damage once they’ve been hardened off. Broccoli, cabbage, and Brussels sprouts tolerate 28°F after transplanting. Lettuce is more delicate, it survives 28–30°F but is damaged below that. Row fabric raises the temperature around plants by 4–8°F, which provides meaningful protection during late-season cold snaps.
Is it worth setting up companion planting in spring, or can I just plant randomly?
Planning companion plant combinations before the season starts is much easier than adjusting mid-summer. Some pairings: like basil near tomatoes, or beans near squash, improve pest resistance and yield measurably. Others are incompatible and reduce growth. The main reason to plan now is spacing: companion plants need to be close enough to interact but not so crowded they compete. See our full companion planting guide for specific combinations and spacing recommendations.