How to Make Sourdough Pizza Dough (Better Than Delivery)
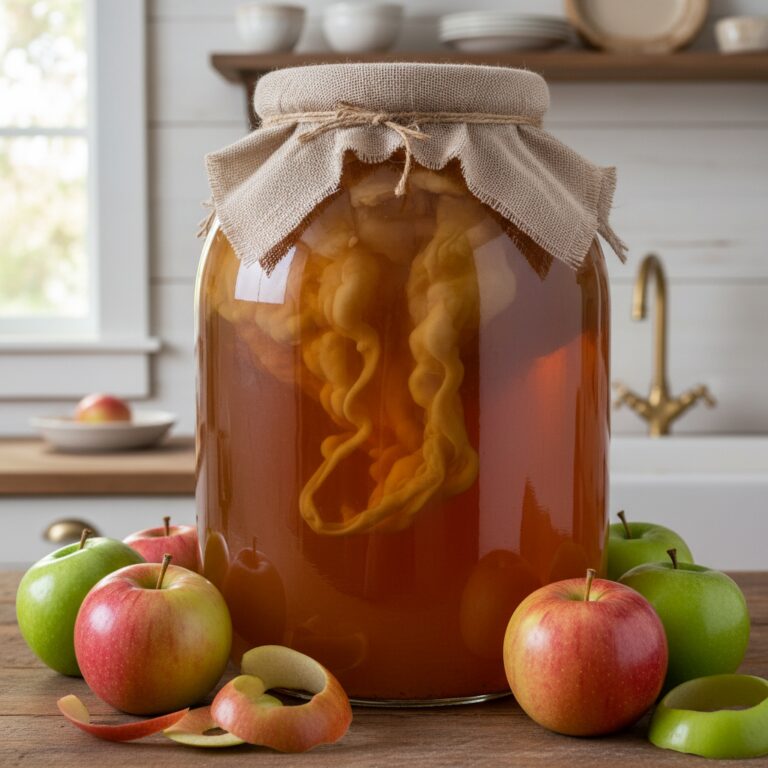
Active Starter vs. Discard: Which Should You Use?
The answer matters more than most recipes admit. An active starter, fed 4–12 hours before use and showing a domed peak with bubbles throughout, contains live, hungry yeast and lactic acid bacteria at peak activity. That activity creates a strong gluten network and predictable rise. Discard, by contrast, is starter that has been depleted of available sugars. It still contributes flavor (in fact, it’s often more sour because lactic acid has had longer to accumulate) but its leavening power is low.
For pizza, this distinction shapes texture. Active starter produces a lighter, open crumb with a crust that puffs and blisters. Discard produces a flatter, denser crust with a pronounced tang, some people prefer it, especially on thin-crust Roman-style pies. If you’re feeding your starter regularly, learning how to build and maintain a healthy starter will make the difference obvious within a single bake.
The practical rule: use active starter when you want maximum lift and a chewy, airy cornicione (the rim). Use discard when you’re baking same-day and want depth of flavor without an overnight proof. Either way, your starter should pass the float test, drop a small spoonful in water; if it floats, it’s ready.
Source: Hamelman, J. (2004). Bread: A Baker’s Book of Techniques and Recipes. Wiley. Chapter 3 covers preferment activity and timing.
The Master Recipe: Sourdough Pizza Dough
This recipe makes four 250 g dough balls, enough for four 10–12 inch pizzas. Baker’s percentages are relative to total flour weight.
Ingredients
| Ingredient | Weight | Baker’s % |
|---|---|---|
| Bread flour (or 00 flour) | 500 g | 100% |
| Water (room temperature) | 330 g | 66% |
| Active sourdough starter (100% hydration) | 100 g | 20% |
| Fine sea salt | 12 g | 2.4% |
| Extra-virgin olive oil | 15 g | 3% |
Step-by-Step Instructions
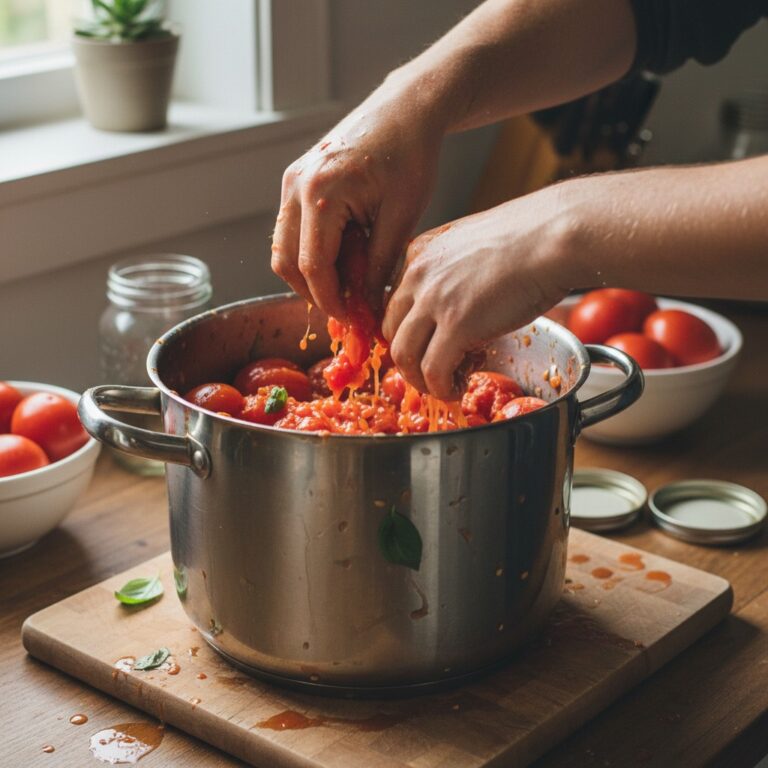
- Autolyse (30 min): Combine flour and 310 g of the water in a large bowl. Mix until no dry flour remains. Cover and rest 30 minutes. This hydrates the flour and begins gluten development without mechanical effort.
- Add starter and salt: Dissolve the starter in the remaining 20 g of water, then pour over the rested dough. Sprinkle salt on top. Squeeze the mixture through your fingers until fully incorporated, about 2–3 minutes.
- Add olive oil: Drizzle oil over the dough. Fold and squeeze again until absorbed. The dough will feel slippery at first; keep working it.
- Bulk fermentation (4–5 hours at 75–78°F): Cover the bowl. During the first 2 hours, perform 4 sets of stretch-and-folds, one set every 30 minutes. To stretch and fold: wet your hand, grip the underside of the dough, stretch it up as far as it will go without tearing, then fold it over the top. Rotate the bowl 90° and repeat three more times per set.
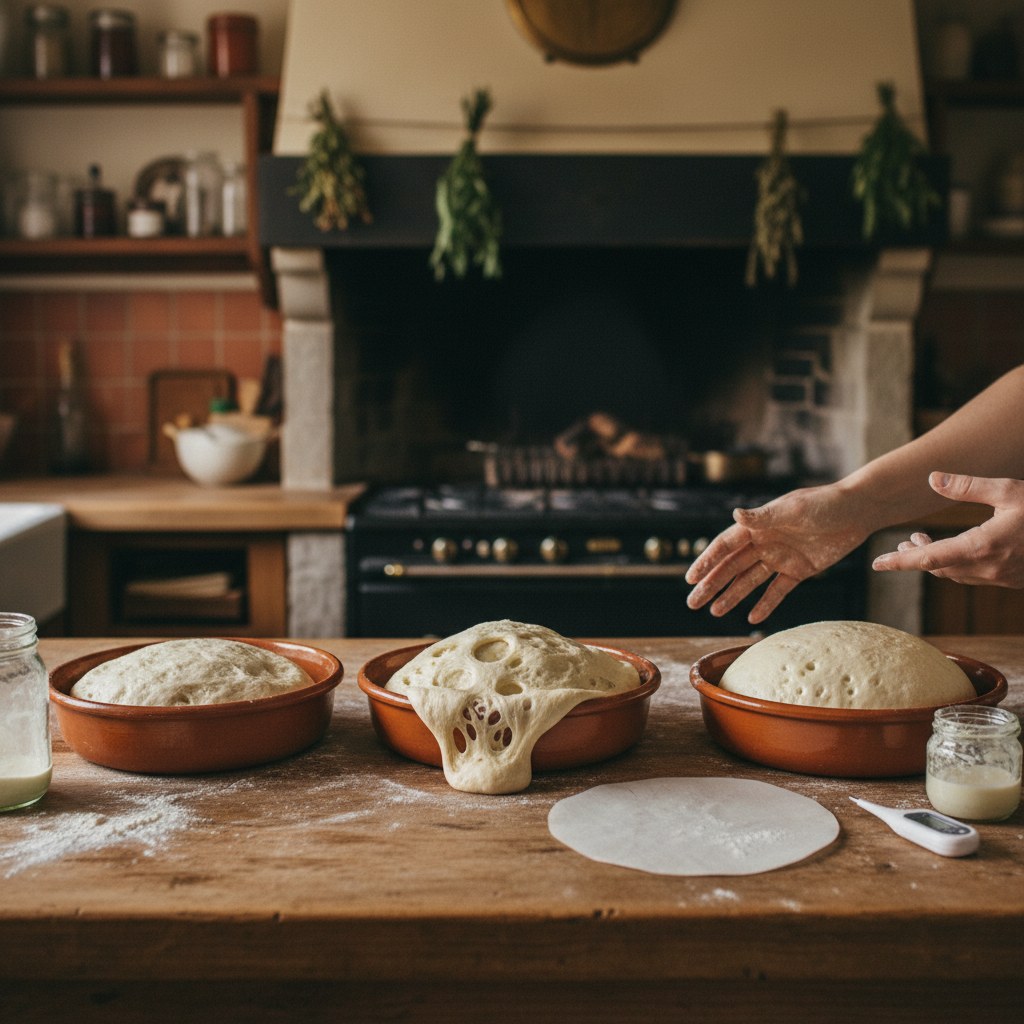
- Pre-shape and rest: Lightly flour the counter. Turn the dough out and divide into four equal pieces (~240 g each after accounting for any dough lost to the bowl). Shape each piece into a tight ball by dragging it toward you across the counter with cupped hands. Rest uncovered 5 minutes.
- Cold proof (18–24 hours): Place each ball in a lightly oiled container or on a well-oiled sheet pan covered tightly with plastic wrap. Refrigerate. The dough can stay cold up to 72 hours, flavor improves each day.
- Temper before baking: Remove dough from the fridge 60–90 minutes before you plan to bake. Cold dough tears when stretched. Tempering lets gluten relax so the dough opens without resistance.
Source: Forkish, K. (2012). Flour Water Salt Yeast. Ten Speed Press. The overnight cold ferment method is described in Part III.
The 24-Hour Cold Proof: Why It Matters
Cold fermentation is not just a scheduling convenience, it is a flavor-building step. When dough sits in the fridge at 38–40°F, yeast activity slows dramatically while bacterial (lactobacillus) activity continues at a lower rate. Over 18–24 hours, those bacteria produce acetic and lactic acids that give sourdough its characteristic depth. The longer the cold proof, the more complex the flavor, up to about 72 hours before over-fermentation degrades gluten structure.
Cold temperature also tightens gluten bonds, making the dough easier to handle the next day. Room-temperature dough fermented for the same total time will be stickier and harder to shape. Many professional pizzerias cold-proof for 48–72 hours as standard practice, this is why their dough has a complexity that same-day homemade dough lacks.
If you skip the cold proof and bake same-day, add an extra hour of bulk fermentation at room temperature and expect a milder, slightly less complex flavor. The pizza will still be excellent, but the 24-hour version will taste noticeably better. If you already bake sourdough bread, you’ll recognize the same principle at work, the cold retard used in loaf baking applies equally to pizza dough.
Source: Reinhart, P. (2009). Peter Reinhart’s Artisan Breads Every Day. Ten Speed Press. Chapter on retarding doughs explains cold fermentation kinetics.
How to Shape and Stretch the Dough
Shaping sourdough pizza dough is where most home bakers run into trouble, the dough tears, springs back, or ends up uneven. The fix is almost always the same: the dough is cold or underproofed, and gluten has not relaxed enough to accept stretching without fighting back. After the 60–90 minute temper, the dough should feel soft, pillowy, and slightly tacky, not cold or stiff.
To shape by hand: lightly flour the counter and your fingertips (not the whole palm, your palm can press out air you want to keep). Place the dough ball on the flour. Press the center firmly with flat fingers, leaving a 1-inch rim untouched, this becomes the cornicione. Gradually push outward from the center in a circular motion, rotating the dough as you go.
Once the dough is about 8 inches across, move to the knuckle stretch: drape the dough over both fists (knuckles up), let gravity do the work, and slowly pull your fists apart while rotating. Keep the dough moving to prevent any one spot from thinning too much. Stop when you reach your target diameter (10–12 inches for this recipe).
If the dough tears, pinch the tear shut, let the dough rest 5 minutes uncovered, and try again. Never force it: resting is faster than wrestling a resistant dough into shape.
Source: Vetri, M., & Joachim, D. (2015). Mastering Pizza. Ten Speed Press. Detailed shaping technique with photo reference.
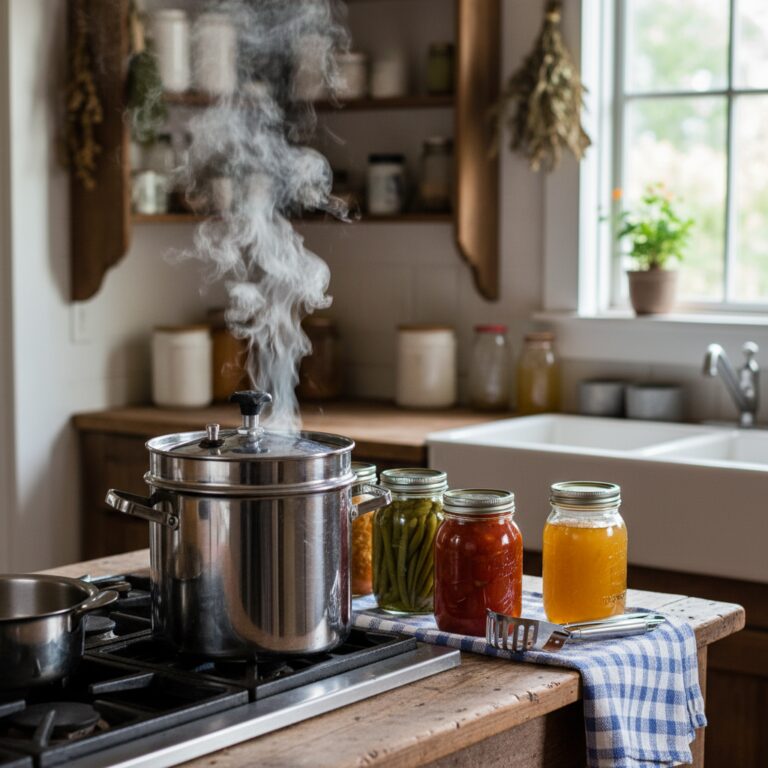
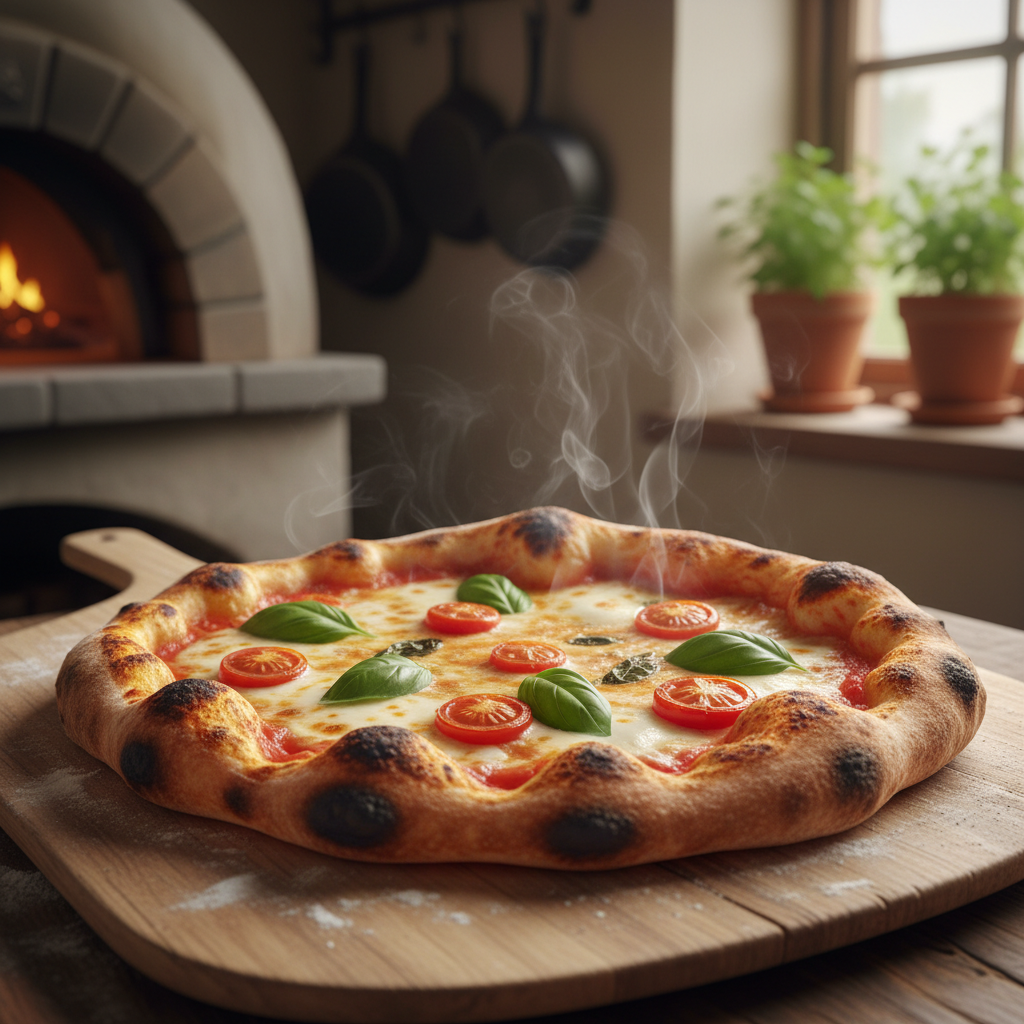
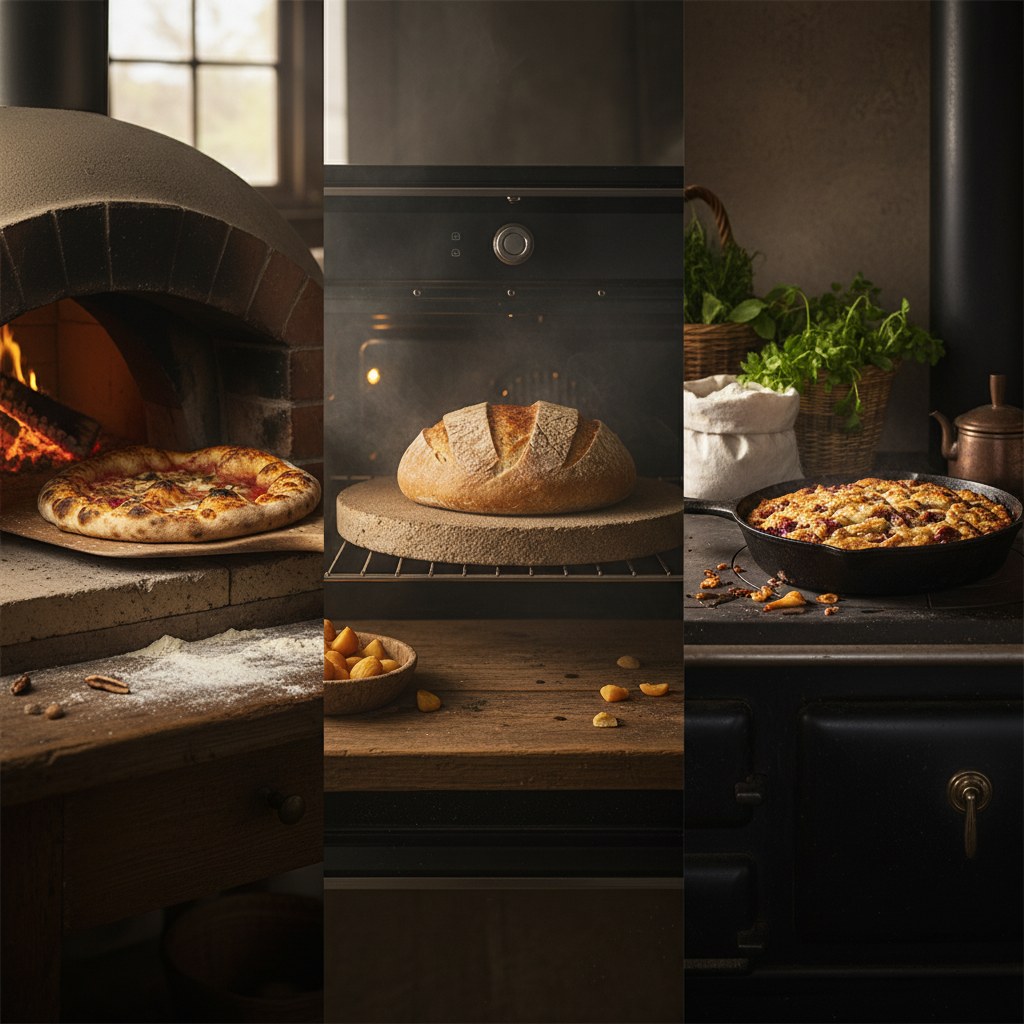
Baking Methods: Oven, Stone, and Cast Iron
The baking surface and temperature are the two variables that separate a pale, soft-bottomed homemade pizza from one with a charred, crisp undercarriage. Your oven’s maximum temperature, usually 500–550°F for a home oven, is not optional for good pizza. Preheat whatever surface you’re using for at least 45–60 minutes at full blast. A cold surface is the number one reason pizza sticks and steams instead of bakes.
Pizza stone or baking steel: This is the gold standard for home baking. A baking steel (1/4-inch thick) conducts heat faster than ceramic and produces better bottom browning. Preheat on the lowest oven rack for 45–60 minutes. Use a floured peel to transfer the pizza, semolina flour works better than all-purpose as a “ball bearing” on the peel. Bake 8–12 minutes, rotating halfway through.
Cast iron skillet: The most accessible option for most home cooks. Heat a 12-inch cast iron skillet on the stovetop over high heat for 3–4 minutes until smoking. Add a small drizzle of oil, then carefully lay the stretched dough in the pan. Top immediately and transfer to the oven’s top rack under the broiler. The bottom cooks from the residual pan heat while the broiler handles the top, total time is 5–8 minutes. Watch constantly; it goes from perfect to charred quickly.
Sheet pan (no stone): Oil a sheet pan generously and preheat it in the oven for 10 minutes. Stretch the dough directly onto the hot pan, top, and bake on the bottom rack. You won’t get the same blistering as a stone or cast iron, but you’ll get a crisp bottom if the pan is well-oiled and properly preheated.
Source: Modernist Cuisine. (2017). Modernist Pizza (preview chapter). Data on thermal conductivity of baking surfaces and bottom crust development.
Troubleshooting Common Problems
Even experienced bakers run into issues with sourdough pizza dough. Most problems trace back to one of three causes: starter activity, hydration handling, or temperature. Working through them systematically solves the problem faster than guessing.
Dough won’t rise during bulk fermentation. Your starter was not active enough. Test it: feed it and watch for it to double within 4–8 hours at room temperature. If it doesn’t, the starter needs more feedings before it’s ready for baking. Don’t proceed with sluggish starter, the dough will be dense and gummy.
Dough is too sticky to handle. Either the bulk fermentation went too long (over-proofed, gluten degraded) or the hydration is too high for your flour. Different brands of bread flour absorb water differently. If sticky dough is a persistent problem, reduce water by 10–20 g (to 62–64% hydration) on your next batch.
Dough tears when stretching. Almost always under-tempered. Return the dough to room temperature for another 30 minutes and try again. If it consistently tears even after tempering, gluten development was insufficient during bulk fermentation, perform more stretch-and-fold sets next time.
Pizza sticks to the peel or pan. The peel or pan was not floured/oiled adequately, or the pizza sat on the peel too long (moisture seeps through the flour layer). Build the pizza quickly and get it into the oven within 2 minutes of placing the dough on the peel. Semolina is more reliable than all-purpose flour as a peel dusting.
Crust is pale and soft on the bottom. Oven or baking surface was not hot enough, or not preheated long enough. 45–60 minutes of preheat at maximum temperature is not negotiable for a properly browned base.
Source: King Arthur Baking Company. (2022). “Sourdough pizza crust troubleshooting.” kingarthurbaking.com. Accessed April 2026.
Top Flavor Combinations
Sourdough pizza dough has enough flavor complexity to hold up to bold, minimalist toppings, the crust itself is part of the experience, not just a vehicle. The combinations below are chosen to let that fermented flavor come through rather than bury it under too many ingredients.
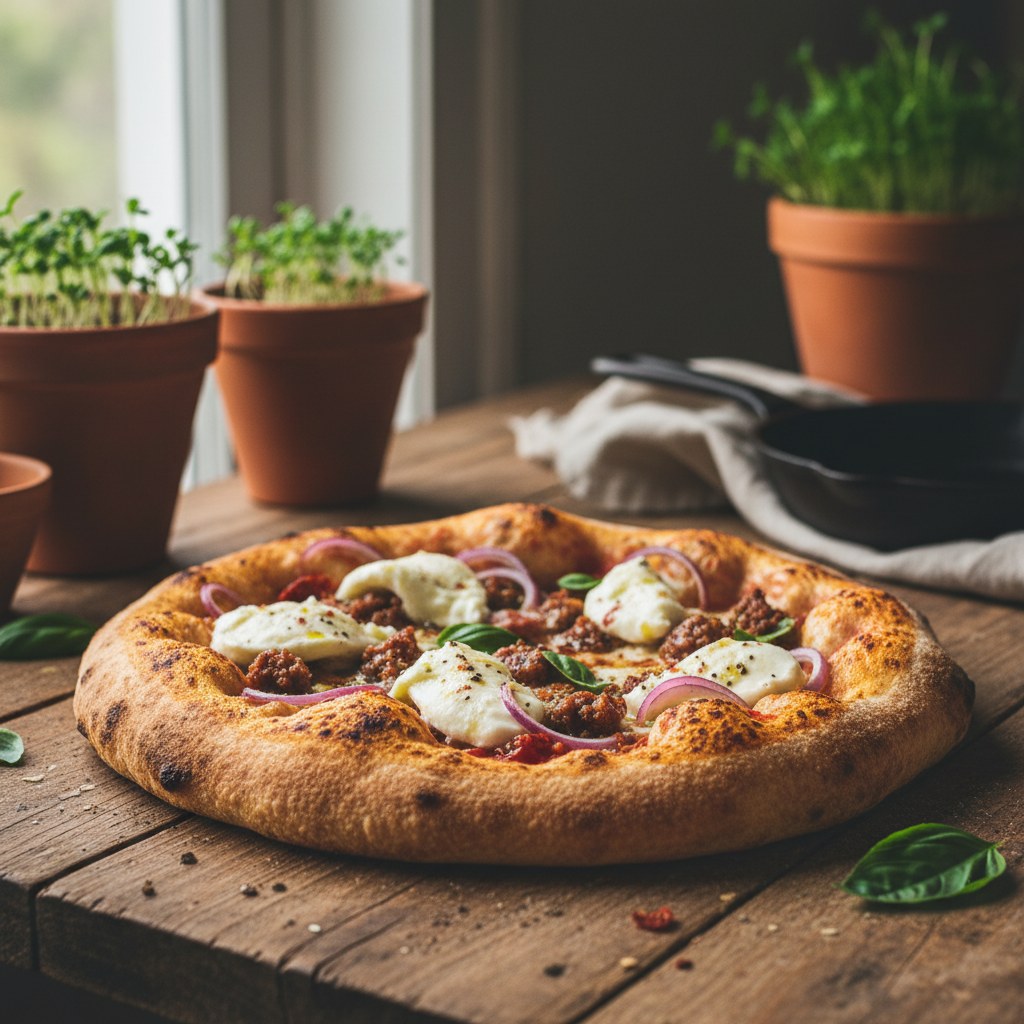
Classic Margherita: San Marzano tomato sauce (crushed by hand, no cooking), fresh mozzarella torn in pieces, fresh basil added after baking, drizzle of good olive oil. Simple, clean, and lets the crust be the star.
White pizza with garlic and ricotta: No tomato sauce, brush the stretched dough with garlic oil (olive oil infused with 2 minced cloves). Dollop whole-milk ricotta, scatter torn mozzarella, finish with flaky salt and black pepper. Add fresh arugula after baking if desired.
Caramelized onion and goat cheese: Slowly caramelized onions (45 minutes over low heat) spread as the sauce base, scattered fresh goat cheese, fresh thyme, and optional thin-sliced prosciutto added after baking. The sweet-savory contrast works exceptionally well with the tangy sourdough crust.
Potato and rosemary (Roman style): Thin-sliced baby potatoes tossed in olive oil and rosemary, no tomato, just fresh mozzarella underneath the potatoes. Finish with flaky salt. Sounds unusual; tastes extraordinary.
Summer squash and burrata: Very light tomato sauce or just olive oil, roasted thin-sliced zucchini, fresh burrata torn over the hot pizza after baking, chili flakes. Seasonal, light, and beautiful.
Source: Vetri, M., & Joachim, D. (2015). Mastering Pizza. Ten Speed Press. Topping philosophy and combination guidance.
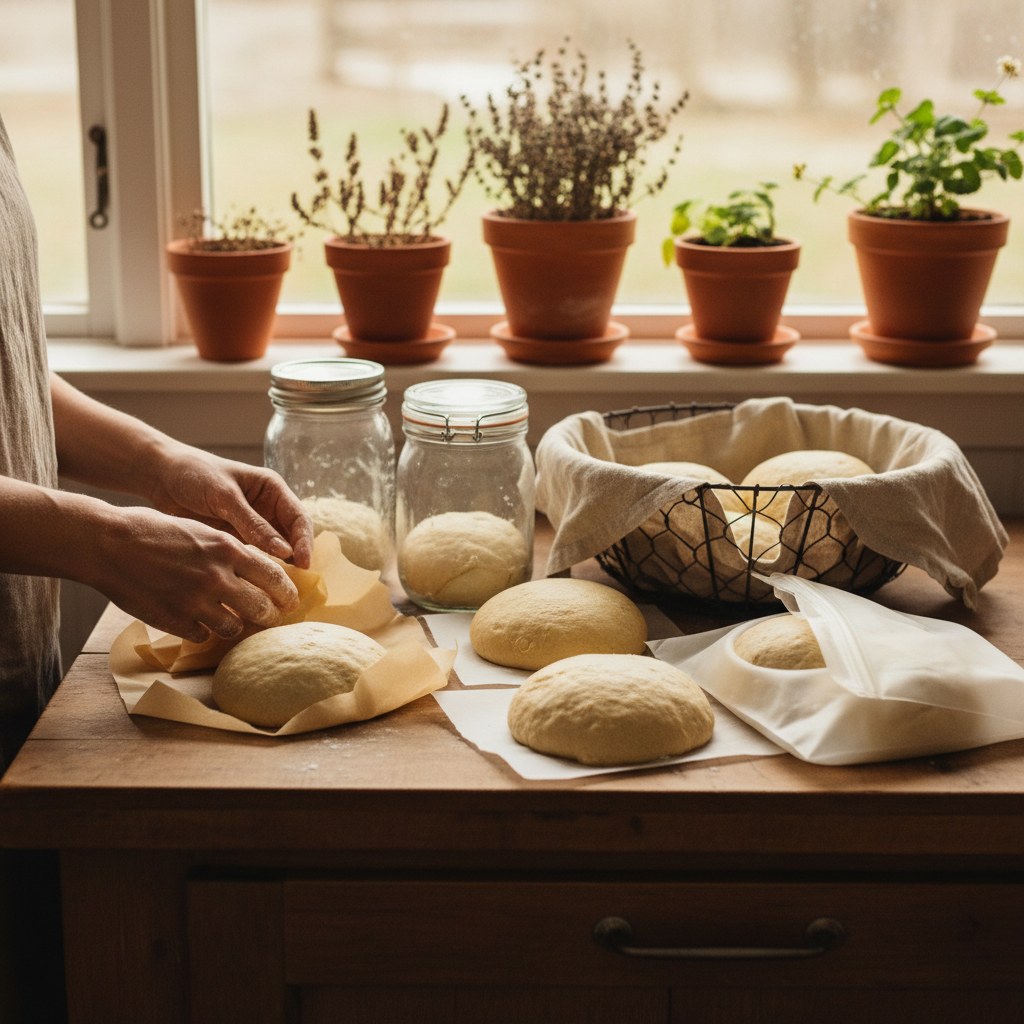
Storing Leftover Dough
Sourdough pizza dough stores well at both refrigerator and freezer temperatures, which makes it ideal for batch prep. After the cold proof, dough balls can stay in the fridge for up to 72 hours total (counting from when they first went in). After 72 hours, gluten starts to break down and the dough becomes slack and difficult to handle, though still edible, it just won’t stretch as neatly.
For longer storage, freeze individual dough balls. After shaping the balls at the end of bulk fermentation (before the cold proof), coat each lightly in olive oil, place in a zip-lock freezer bag with the air pressed out, and freeze for up to 3 months. To use: transfer from freezer to the fridge the night before you plan to bake, then temper at room temperature for 90 minutes as usual. The cold thaw overnight replaces the standard 24-hour cold proof and produces nearly identical results.
Baked leftover pizza reheats best in a dry cast iron skillet over medium heat for 3–4 minutes (crisp bottom without microwave sogginess), or in a 400°F oven directly on the rack for 5 minutes. Avoid the microwave if you value the texture you worked to build.
Source: Lopez-Alt, J.K. (2015). The Food Lab. W.W. Norton. Freezing dough and reheating pizza methodology.
Frequently Asked Questions
Can I make sourdough pizza dough without a scale?
Technically yes, but results will be inconsistent. Sourdough dough is sensitive to hydration, even 20 g too much water changes how it handles. A digital kitchen scale costs under $15 and eliminates the single biggest variable in home bread and pizza baking. Volume measurements for flour can vary by 20–30% depending on how the flour settles in the cup.
What flour makes the best sourdough pizza dough?
Italian 00 flour produces the most extensible, silky dough and is the traditional choice for Neapolitan pizza. However, it requires very high temperatures (800°F+) to perform at its best, which most home ovens cannot reach. Bread flour (12–13% protein) is a better all-around choice for home ovens, it develops strong gluten and handles 500–550°F well. All-purpose flour works but produces a slightly less chewy result.
Why is my sourdough pizza dough too sour?
Extended cold fermentation and lower hydration both increase acidity. If your crust is too tangy, shorten the cold proof to 12–18 hours, or use a higher-hydration starter (125% rather than 100%). Warmer bulk fermentation temperatures (80°F rather than 75°F) also favor lactic acid (milder, yogurt-like) over acetic acid (sharper, vinegar-like).
Can I use sourdough discard instead of active starter?
Yes. Replace the 100 g of active starter with 100 g of discard and add 1/4 teaspoon (1 g) of instant yeast to compensate for the reduced leavening power. The yeast handles the rise while the discard contributes flavor. Skip the 24-hour cold proof and bake after an 8–12 hour room-temperature fermentation, or keep the cold proof but check for readiness by the poke test, the dough should spring back slowly.
How do I know when my dough is ready to bake?
After the cold proof and full temper, the dough ball should look slightly domed, feel soft and pillowy when pressed with a finger, and spring back slowly (not snap back immediately). If it snaps back, it needs more time to relax. If it doesn’t spring back at all and feels slack or wet, it may be over-proofed, bake it immediately and accept slightly less structure.