How to Incubate and Hatch Chicken Eggs: A Complete Guide
Hatching your own chicks from eggs is among the most satisfying things you can do on a small homestead. You start with a clutch of fertilized eggs, keep conditions stable for three weeks, and end up with live baby birds. The science is straightforward; the skill is in the consistency. This guide walks through every stage, from choosing an incubator to troubleshooting a bad hatch, so you know exactly what to expect.
Before you start, make sure your brooder is ready or nearly ready. Chicks need heat, water, and feed from their first hour out of the shell. If you haven’t built your brooder yet, read our guide on baby chick brooder setup and week-by-week care before you set your first egg.
How Do You Choose the Right Incubator?
Buy the most consistent incubator you can afford, temperature swings of even 1°F sustained over hours reduce hatch rates measurably. The two main categories are still-air and forced-air. Forced-air incubators use a fan to circulate warm air, keeping the temperature uniform throughout the cabinet. Still-air incubators rely on convection; they are less expensive but require the thermometer to sit at the top of the eggs (about 1.5 inches above them) because heat stratifies, and that zone is roughly 2°F warmer than the air below.
For beginners, a forced-air cabinet or tabletop model with a built-in automatic egg turner is the best starting point. Manual turning is reliable but requires you to be available three to five times every day for 18 days without exception. An automatic turner removes that dependency entirely.
Look for these features when shopping:
- Digital thermostat with 0.1°F resolution, analog dials are hard to hold steady
- Built-in hygrometer, or buy a separate digital one; cheap bimetallic hygrometers drift
- Viewing window: so you can monitor without opening the lid
- Capacity: small foam box incubators hold 7–12 eggs; cabinet models hold 24–48+ and hold temperature more stably
Budget models (Nurture Right 360, HovaBator Genesis) work well when managed carefully. Mid-range forced-air models (Brinsea Ovation series) are forgiving of minor lapses in attention. Whatever you buy, run it empty for 24–48 hours before you set eggs to confirm it holds temperature without hunting.
Source: Penn State Extension, “Hatching Eggs at Home”, recommends forced-air incubators for beginners because of superior temperature uniformity, noting that still-air models require careful thermometer placement to avoid reading errors.
Pros and Cons of the Three Incubator Types
Incubator choice drives everything that follows: hatch rate, ease of use, and how often you have to intervene. Here is the practical comparison for backyard hatchers.
Still-Air Tabletop Incubator
Pros: Cheapest option ($40 to $80), simple to operate, works fine for occasional small hatches of 7 to 12 eggs, easy to clean.
Cons: Temperature gradient inside the unit means eggs at the edges and the center hatch at different rates. Manual egg turning required 3 times daily for 18 days. Hatch rates are often 50 to 65 percent for first-time users.
Forced-Air with Automatic Turner
Pros: Even temperature throughout the chamber, automatic turning eliminates the most common operator error, hatch rates of 70 to 85 percent are achievable for beginners. Best balance of cost and reliability ($100 to $250).
Cons: More expensive upfront. Auto-turner motors can fail mid-hatch if the unit is cheap. Slightly larger footprint than still-air models.
Cabinet Incubator
Pros: Capacity of 50+ eggs, professional-grade temperature and humidity control, the choice for serious breeders or homesteads hatching multiple times per year. Hatch rates of 85 to 95 percent are routine.
Cons: Expensive ($400 to $1,200+), large footprint, overkill for hobbyists hatching one or two batches per year.
What Makes a Good Hatching Egg, and How Should You Store Them?
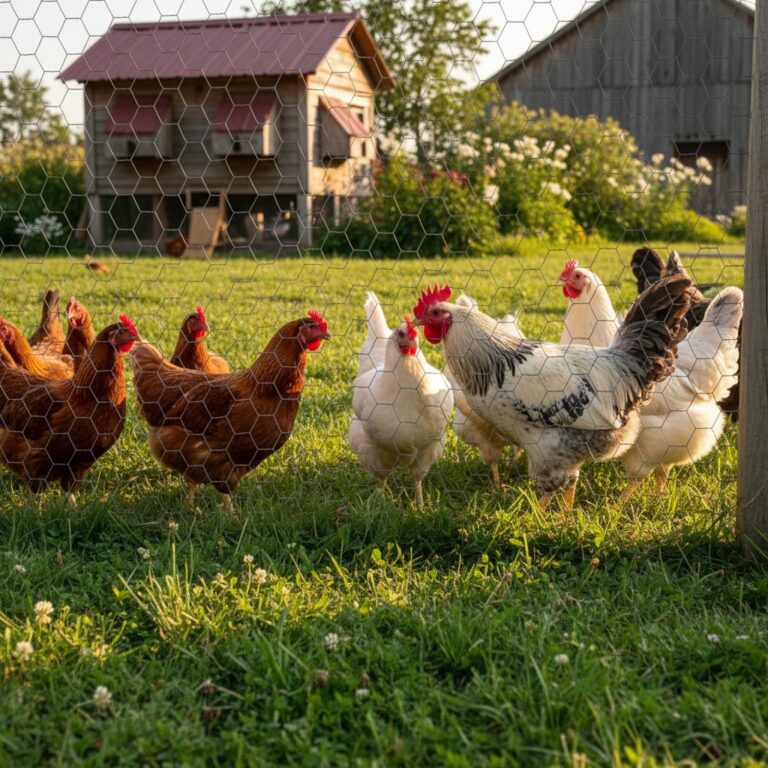
Not every egg from a backyard flock is worth incubating. You need fertilized eggs from a flock that includes a rooster, and you should select for eggs that give the embryo the best possible start.
Select eggs that are:
- Normal size and shape, avoid very small, very large, or pointed eggs
- Clean, uncracked shells, do not wash eggs before incubating; washing removes the bloom (cuticle) that seals the pores against bacteria
- Laid within the last 7 days, hatch rate drops roughly 0.5–1% per day after day 7, and falls sharply after day 14
- From healthy hens on a complete layer diet, nutritional deficiencies in the hen translate directly to embryo mortality
Storage before setting: Store eggs pointed end down, at 55–65°F (a wine cooler works well), at 70–75% relative humidity. If you’re collecting over several days before a batch set, tilt the carton 45 degrees and alternate the tilt direction twice daily to keep the yolk centered. Do not refrigerate at standard fridge temperatures (38°F), the cold is too harsh and damages the germinal disc.
Collect eggs twice daily in warm weather to minimize bacterial exposure. Mark each egg lightly with a pencil (not marker) with the date collected so you can track freshness.
Source: University of Georgia Extension, “Incubating Eggs”, documents the decline in hatchability with storage age and recommends 55–65°F storage temperature with regular tilting for multi-day pre-set storage.
How Do You Set Up the Incubator Before Adding Eggs?
Pre-run the incubator empty for at least 24 hours, ideally 48, before setting eggs. This lets you catch thermostat drift, confirm the hygrometer is reading accurately, and dial in the water tray fill level for your target humidity.
Target settings for chicken eggs:
- Temperature (forced-air): 99.5°F (37.5°C)
- Temperature (still-air): 101–102°F measured at the top of the eggs
- Humidity (days 1–18): 45–55% relative humidity (some hatcheries run as low as 40%, the “dry incubation” method, to improve weight loss and air cell development)
Place a secondary thermometer/hygrometer inside the incubator and compare it with the built-in sensor. If they differ by more than 0.5°F or 5% RH, calibrate or replace the weaker sensor. Do not rely on a single measurement point.
Fill the water reservoir channels or trays as directed by the manufacturer. In most incubators, filling one channel achieves roughly 45–50% RH; filling two or three channels raises it. You will need to adjust based on your ambient climate, a dry winter house may require filling all channels, while a humid summer kitchen may require leaving channels empty or partially filled.
Sanitize the incubator interior with a dilute bleach solution (1 tablespoon per gallon of water) or a commercial incubator disinfectant before each use. Rinse and dry completely before running. Bacteria introduced on dirty equipment can wipe out an entire hatch.
Source: Clemson University Cooperative Extension, “Incubation and Hatching of Eggs”, specifies 99.5°F for forced-air and 101–102°F for still-air incubators, with 45–55% RH during incubation as optimal baseline ranges.
What Happens During Days 1–18: Turning and Candling
Days 1 through 18 are the incubation period. Your job is to maintain steady temperature and humidity, turn the eggs regularly, and candle to check development and remove infertile or dead eggs.
Egg Turning
Turning prevents the embryo from sticking to the shell membrane as it develops. If you are turning by hand, turn an odd number of times per day (3 or 5) so the egg does not rest on the same side every night. Mark each egg with an X on one side and an O on the other with a soft pencil so you can see at a glance which direction each egg last rested.
Automatic turners rotate eggs slowly and continuously, no marking needed. Check that the turner motor is running every day. A silent turner usually means the motor has failed.
Turn eggs from day 1 through the end of day 17 (or the start of day 18). Stop turning at lockdown. Do not turn eggs after day 18.
Candling
Candling means shining a bright light through the egg in a darkened room to see what’s developing inside. A purpose-made candler, a strong LED flashlight, or a phone flashlight pressed against the egg in a dark room all work.
When to candle:
- Day 7: First candle. Fertile eggs show a spider-like network of blood vessels radiating from a small dark spot (the embryo). Infertile eggs appear clear or show only a yolk shadow. “Blood rings”: a ring of blood with no live embryo, indicate early death.
- Day 14: Second candle. Living embryos fill most of the egg with dark mass; the air cell at the wide end is clearly visible and has grown. Remove eggs that still appear clear or show a blood ring.
- Day 18: Final candle at lockdown. The air cell should occupy roughly one-third of the egg. Eggs where the embryo has died show a clear air cell and no movement.
Handle eggs quickly and gently during candling to minimize temperature loss. Minimize the total time the incubator is open.
Source: Mississippi State University Extension, “Incubating Eggs and Hatching Chicks”, details expected air cell development by day and recommends candling at days 7 and 18 as the minimum schedule for backyard flock managers.
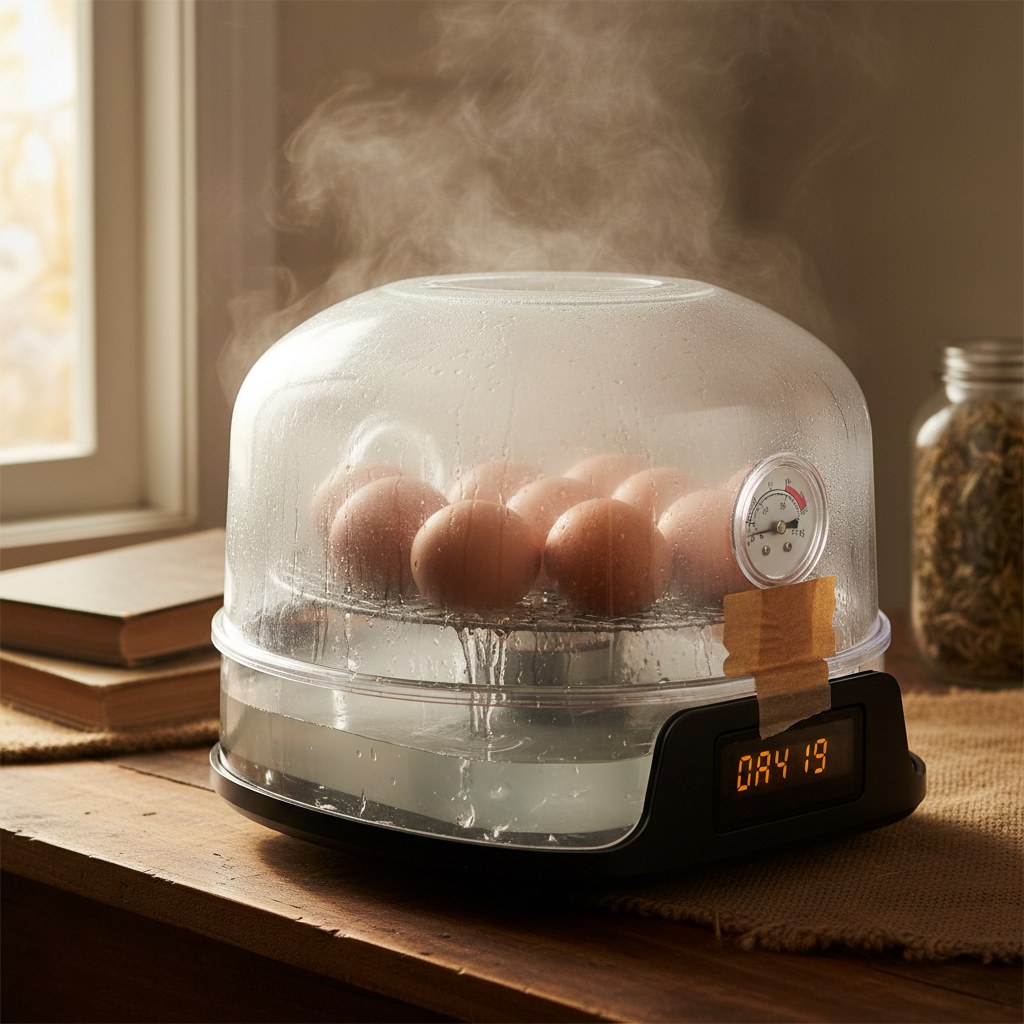
What Is Lockdown and Why Does It Matter? (Days 18–21)
Lockdown begins at day 18. This is when you stop turning eggs, raise humidity, and stop opening the incubator unless absolutely necessary. It is called lockdown because you are locking yourself out as much as locking the eggs in, every time you open the lid, you drop temperature and humidity, and you disrupt the humid microenvironment the chick needs to break out of the shell.
At lockdown:
- Remove eggs from the automatic turner and lay them on their sides on the mesh floor of the incubator, or in an egg cup/hatcher tray, chicks need to be flat to pip and zip correctly
- Raise humidity to 65–70% RH, add water to all channels or place a damp sponge inside
- Keep temperature at 99.5°F (forced-air), do not change it
- Do not open the lid except in a genuine emergency
The higher humidity during lockdown is critical. It keeps the membranes inside the shell from drying out and shrink-wrapping around the chick. A chick that pips (makes its first hole) into a dry membrane can become “shrink-wrapped”, glued to the inner membrane, and will die trying to zip (rotate to break the shell open) unless the humidity is corrected.
Most chicks will pip externally (break through the outer shell) on day 20 and complete the hatch on days 20–21. Some breeds run a few hours early or late. A perfectly normal hatch can span 24–36 hours from first pip to last chick out.
Source: North Carolina State University Poultry Extension, “Hatching Your Own Chicks”, specifies 65–70% RH during lockdown and warns that humidity below 60% during hatch significantly increases the risk of chicks becoming stuck in the membrane.
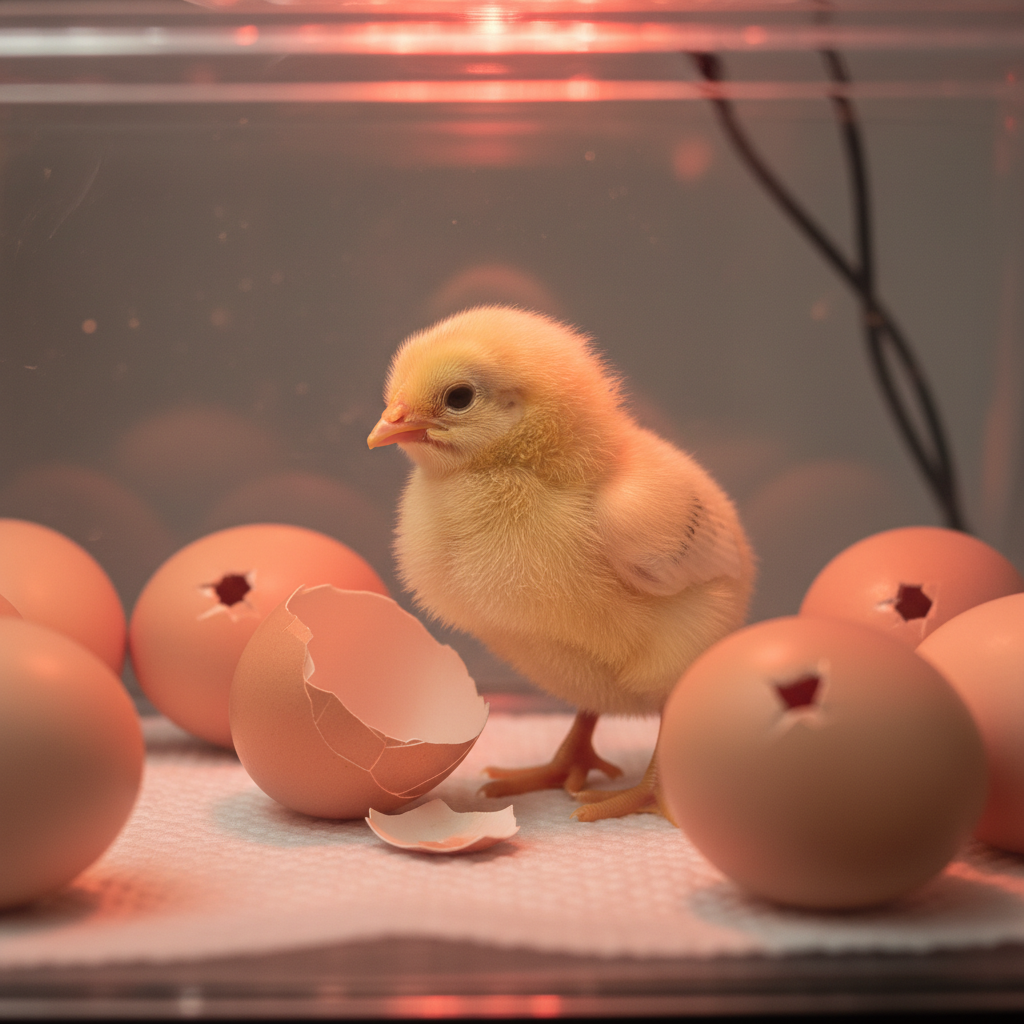
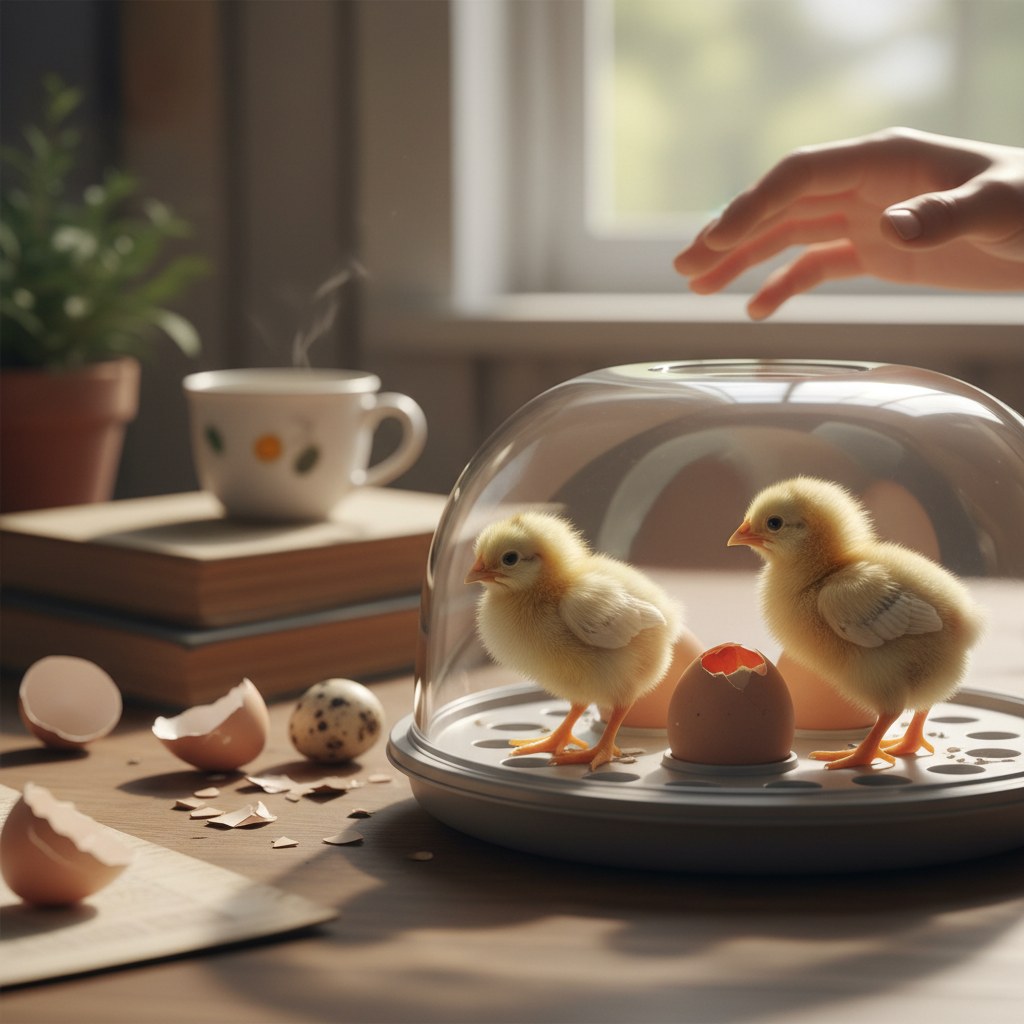
What Does Hatching Day Look Like?
Hatching is not instant. It unfolds in stages over hours, and the urge to help is one of the biggest sources of chick loss in home incubation.
The stages of hatching:
- Internal pip: The chick breaks into the air cell with its beak. You may hear soft peeping before you see any cracks in the shell.
- External pip: The chick pokes a small hole or star-crack through the outer shell, usually at the large end. This is day 20 for most breeds.
- Zipping: The chick rotates inside the shell, cutting a circle around the large end. This can take 2–12 hours. A chick that has pipped and not zipped for 24 hours may be in trouble.
- Hatch: The cap of the shell falls off and the chick pushes out. Newly hatched chicks look wet and exhausted. This is normal.
Do not help a chick out of the shell unless it has been fully 24 hours since external pip and there is clear evidence of distress (blood at the pip hole, chick screaming continuously, no movement at all). Most chicks that die during a “helped” hatch would have made it on their own; the assistance tore blood vessels in the membrane before they finished absorbing.
Leave chicks in the incubator for 12–24 hours after hatching. They absorb the remaining yolk sac during this time and fluff up completely. They do not need food or water during this window, they are living on the absorbed yolk. Opening the incubator repeatedly to remove wet chicks crashes humidity for the eggs still pipping.
Source: Virginia Cooperative Extension, “Home Incubation of Poultry Eggs”, advises leaving chicks in the incubator 12–24 hours post-hatch for yolk absorption and warns against premature assistance, noting that blood vessels in the inner membrane remain active for hours after external pip.
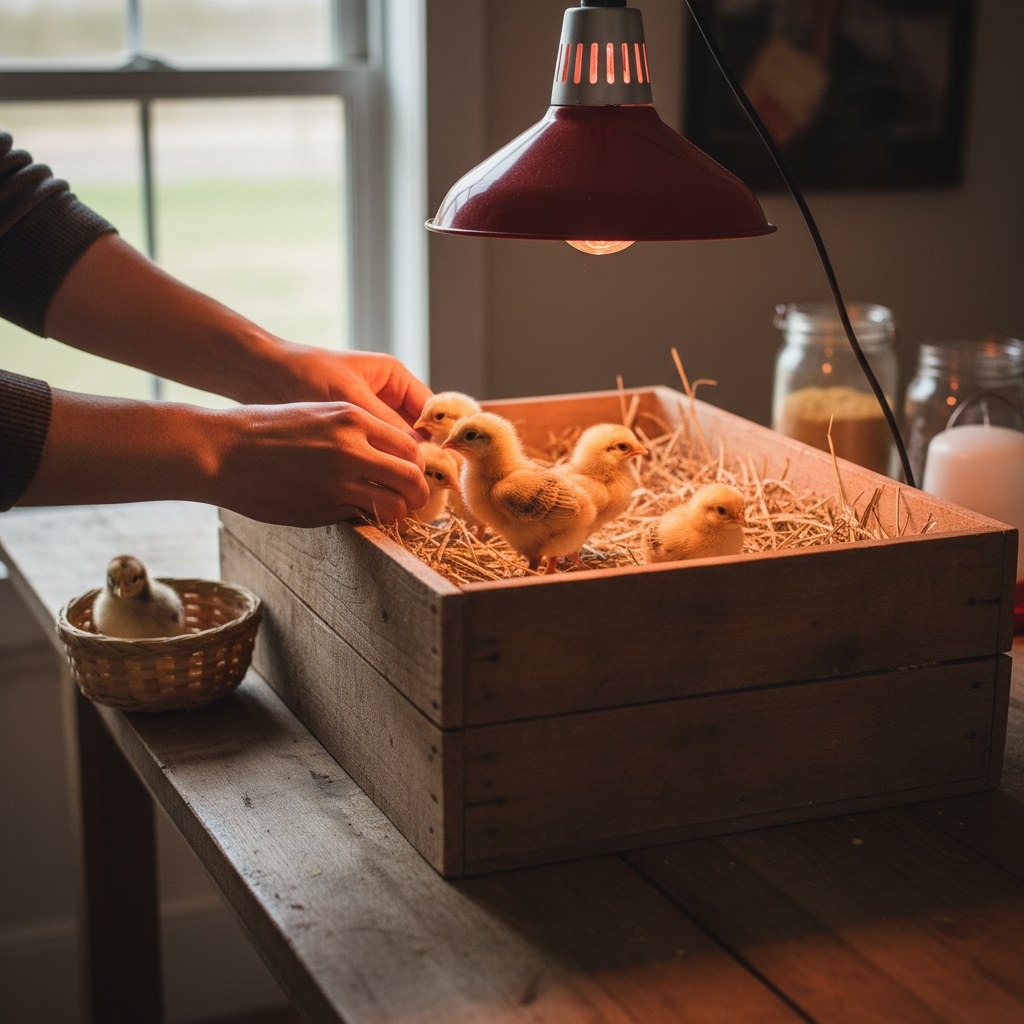
How Do You Move Chicks to the Brooder?
Once chicks are dry, fluffy, and steady on their feet, they are ready for the brooder. Transfer them in a small, ventilated box to minimize chilling during the move. If your brooder is in an adjacent room, move quickly. If it’s outside or in a cold garage, use a box lined with a hand towel and cover the top loosely.
Before transferring, confirm your brooder is already at temperature:
- Week 1: 95°F at chick level under the heat source
- Week 2: 90°F
- Reduce by 5°F per week until fully feathered (approximately 6 weeks)
Dip each chick’s beak gently into the waterer as you place it in the brooder so it learns where water is. Watch for the first 30 minutes to confirm all chicks are drinking, moving around, and not piling under the heat source (too cold) or running to the edges (too hot).
For a full brooder setup guide, including bedding, feeders, waterers, and what to watch for in the first six weeks, see our complete guide to baby chick brooder setup and week-by-week care. And if you’re raising these chicks to join an adult flock, our complete beginner’s guide to backyard chickens covers coop requirements, integration, and flock management.
Source: Penn State Extension, “Brooding Baby Chicks”, recommends 95°F in week 1 with 5°F weekly reductions and emphasizes observing chick behavior as the most reliable indicator of whether temperature is correctly set.
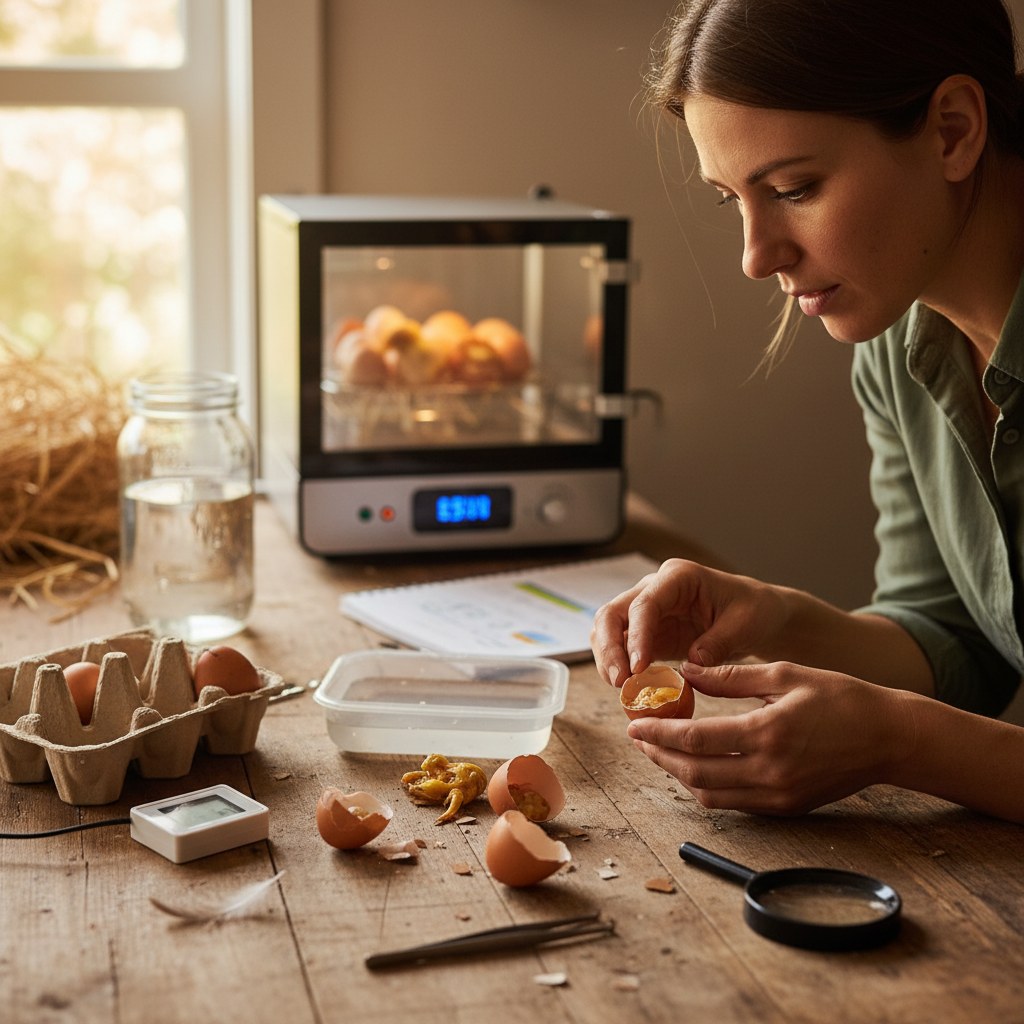
How Do You Troubleshoot a Failed or Poor Hatch?
A hatch rate of 70–85% is considered good for home incubation. Below that, something went wrong, and the evidence in the eggs usually tells you what. Candle and open the unhatched eggs (called “floaters” or “dead-in-shell”) several days after the hatch window closes to diagnose the cause.
Common problems and their causes:
| What You Find | Likely Cause |
|---|---|
| Clear eggs (no development) | Infertile eggs, or rooster:hen ratio too low |
| Blood ring, no embryo | Early embryo death, temperature spike or rough handling in first week |
| Fully formed chick, dead in shell | Low humidity at lockdown (shrink-wrapped), or temperature too low in final days |
| Pipped but never hatched | Humidity crash during hatch, chick too weak, or malposition |
| Chicks hatch late (day 22+) | Temperature ran low throughout incubation |
| Chicks hatch early (day 19) | Temperature ran high throughout incubation |
| Mushy, bad-smelling unhatched eggs | Bacterial contamination, dirty eggs, contaminated incubator, or cracked shell |
Keep a log for every hatch: date set, incubator model, temperature and humidity readings at days 7/14/18/21, turning method, any lid-open events, and final hatch rate. Patterns across multiple hatches reveal whether the problem is equipment, egg quality, or procedure.
Source: Iowa State University Extension and Outreach, “Troubleshooting Egg Incubation Problems”, provides a diagnostic table linking dead-in-shell position and timing to specific incubation failures, with temperature and humidity deviation as the most common root causes.
Sources and Further Reading
- Mississippi State Extension, Incubation of Hatching Eggs in the Home, MSU Extension Service
- University of Kentucky Extension, Incubation of Poultry Eggs, College of Agriculture
- Penn State Extension, Small-Flock Poultry Incubation
- USDA Agricultural Research Service, poultry incubation guidance
- Cornell Cooperative Extension, Hatching Eggs at Home, Department of Animal Science
Frequently Asked Questions
How long does it take for chicken eggs to hatch?
Chicken eggs hatch in 21 days under standard conditions (99.5°F, 45–55% humidity). Incubators running slightly cool may hatch on day 22; incubators running slightly warm may hatch on day 20. A spread of 12–24 hours across a batch is normal.
Do you need a rooster for the eggs to hatch?
Yes. A rooster must mate with the hens for eggs to be fertile. Eggs from an all-hen flock are unfertilized and will never develop an embryo. You can confirm fertility by cracking a fresh egg and checking the germinal disc, a fertilized disc has a distinct bullseye ring rather than a solid white dot.
Can you open the incubator during hatching?
You should not open the incubator during hatching (days 18–21) unless there is a genuine emergency. Every time you lift the lid, you crash humidity, which can dry out the membranes of actively pipping eggs and cause shrink-wrapping. If you must add water, use a syringe or straw threaded through a vent hole rather than opening the top.
What humidity should you use during incubation?
Keep humidity at 45–55% relative humidity from days 1 through 17. At lockdown (day 18), raise it to 65–70%. The lower humidity during incubation allows the air cell to grow to the correct size; the higher humidity at hatch prevents the inner membrane from drying out around the chick.
Why are my eggs not hatching?
The most common reasons are: infertile eggs (no rooster, or low fertility), temperature fluctuations (thermostat drift, frequent lid-opening), low humidity at lockdown (shrink-wrapped chicks), eggs stored too long before setting, or bacterial contamination from dirty shells. Candle eggs at day 7 to detect infertiles early, and open unhatched eggs after the hatch to identify the pattern of failure.