How to Introduce New Chickens to Your Flock
Key Takeaways
- Always quarantine new birds for at least 30 days before any contact with your existing flock to screen for illness.
- The “see-but-don’t-touch” method, housing new birds adjacent to the flock with a barrier between them, reduces aggression dramatically.
- Nighttime introductions work because chickens are disoriented in the dark and more likely to accept new flockmates by morning.
- Some pecking and chasing during integration is normal; intervention is only needed when a bird is being injured or prevented from eating and drinking.
- Adding at least 2–3 new birds at once is safer than adding a single bird, which becomes an easy target for the entire flock.
Why Introductions Go Wrong (And How to Get Them Right)
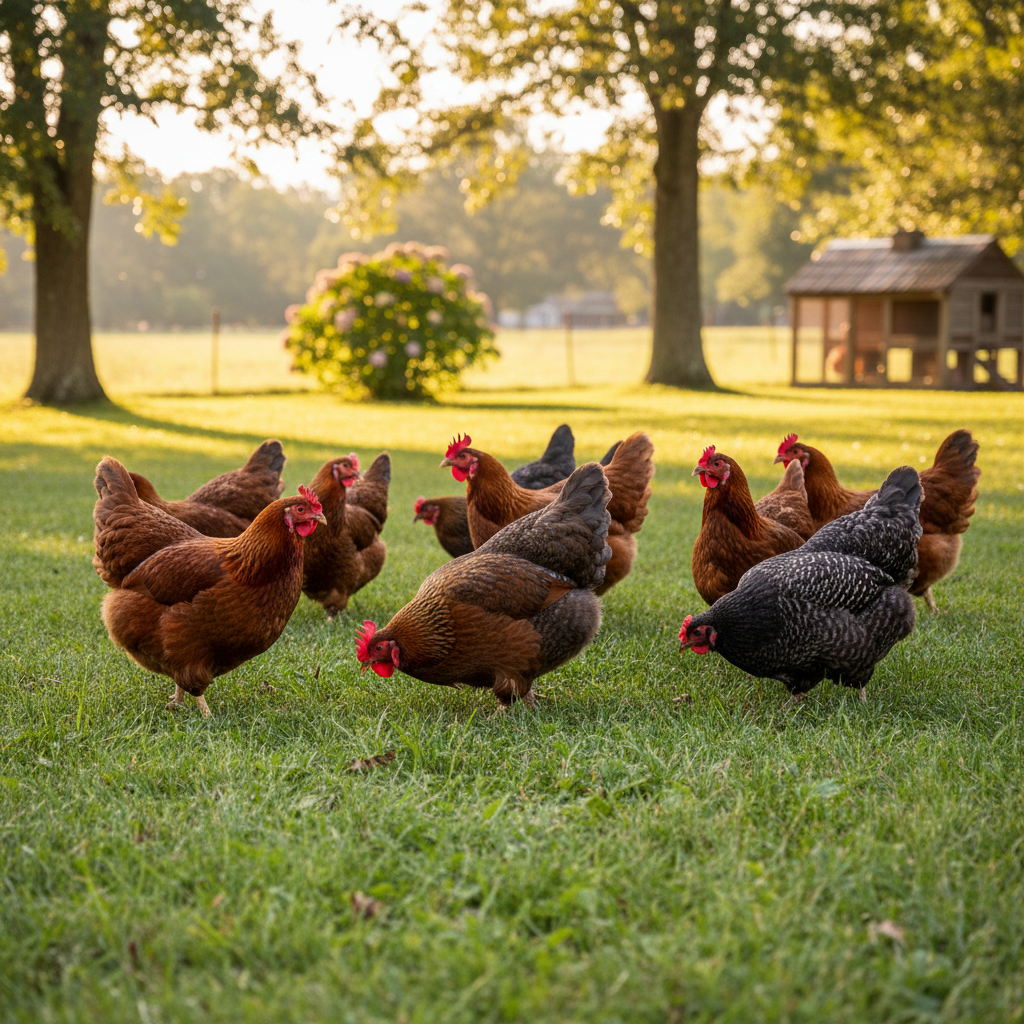
Adding new chickens to an existing flock sounds like it should be easy. They’re chickens. You put them together and they figure it out. Right?
Not exactly. Chickens maintain a strict social hierarchy, the pecking order, and every bird knows its place. When new birds suddenly appear, the established flock sees them as intruders. What follows can range from mild chasing and pecking to outright violence. Hens that seem perfectly sweet will attack newcomers with surprising aggression. Bloody combs, torn feathers, and birds cowering in corners are common outcomes of poorly managed introductions.
The good news: with a bit of patience and the right approach, you can integrate new birds into your flock with minimal stress and no injuries. The process takes 2 to 4 weeks from quarantine through full integration. It’s not fast, but it works.
Step 1: The Quarantine Period
Before you even think about introductions, every new bird needs a quarantine period. This is non-negotiable, no matter how healthy the new chickens look or how reputable the source.
Why 30 Days?
Many poultry diseases have incubation periods of 1 to 3 weeks. A bird can carry Mycoplasma gallisepticum (a chronic respiratory disease), Marek’s disease, coccidiosis, fowl pox, or intestinal parasites without showing obvious symptoms. If you introduce a carrier directly into your healthy flock, you risk infecting every bird you have.
Thirty days gives most diseases time to present symptoms. During quarantine, watch for:
- Sneezing, wheezing, or nasal discharge
- Watery or bubbly eyes
- Lethargy or loss of appetite
- Diarrhea (especially bloody)
- Visible parasites (lice, mites, check around the vent and under the wings)
- Limping or difficulty walking
- Unusual swelling on the feet (bumblefoot)
Quarantine Setup
The quarantine area should be completely separate from your existing flock, different coop, different run, ideally on different ground. The new birds should not share airspace, water sources, or equipment with your flock. If you can set up quarantine at least 40 feet from your main coop, that helps minimize airborne disease transmission.
Use separate feeders, waterers, and tools for the quarantine area. Wash your hands and ideally change shoes between tending your main flock and the quarantine birds. This sounds extreme, but it’s the difference between protecting your entire flock and gambling with their health.
During quarantine, treat the new birds for external parasites with a poultry dust. Check their droppings for signs of worms. If you want to be thorough, bring a fecal sample to your local agricultural extension office or vet for a parasite screen.
Step 2: The “See-But-Don’t-Touch” Phase
After quarantine, the next step is letting the two groups see each other without physical contact. This visual introduction period allows the birds to get accustomed to each other’s presence before they can actually interact, and it makes a dramatic difference in how the eventual face-to-face meeting goes.
How to Set It Up
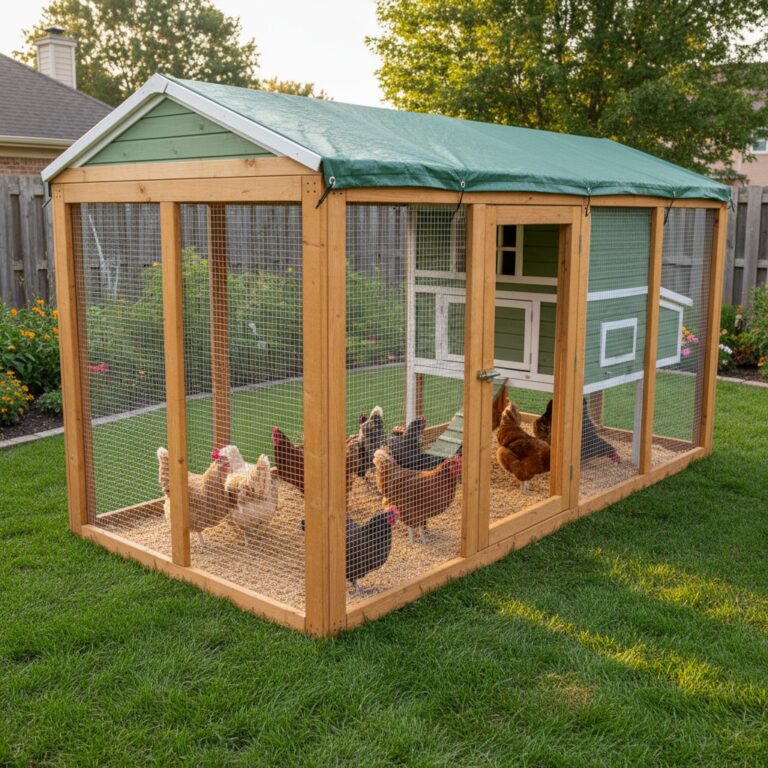
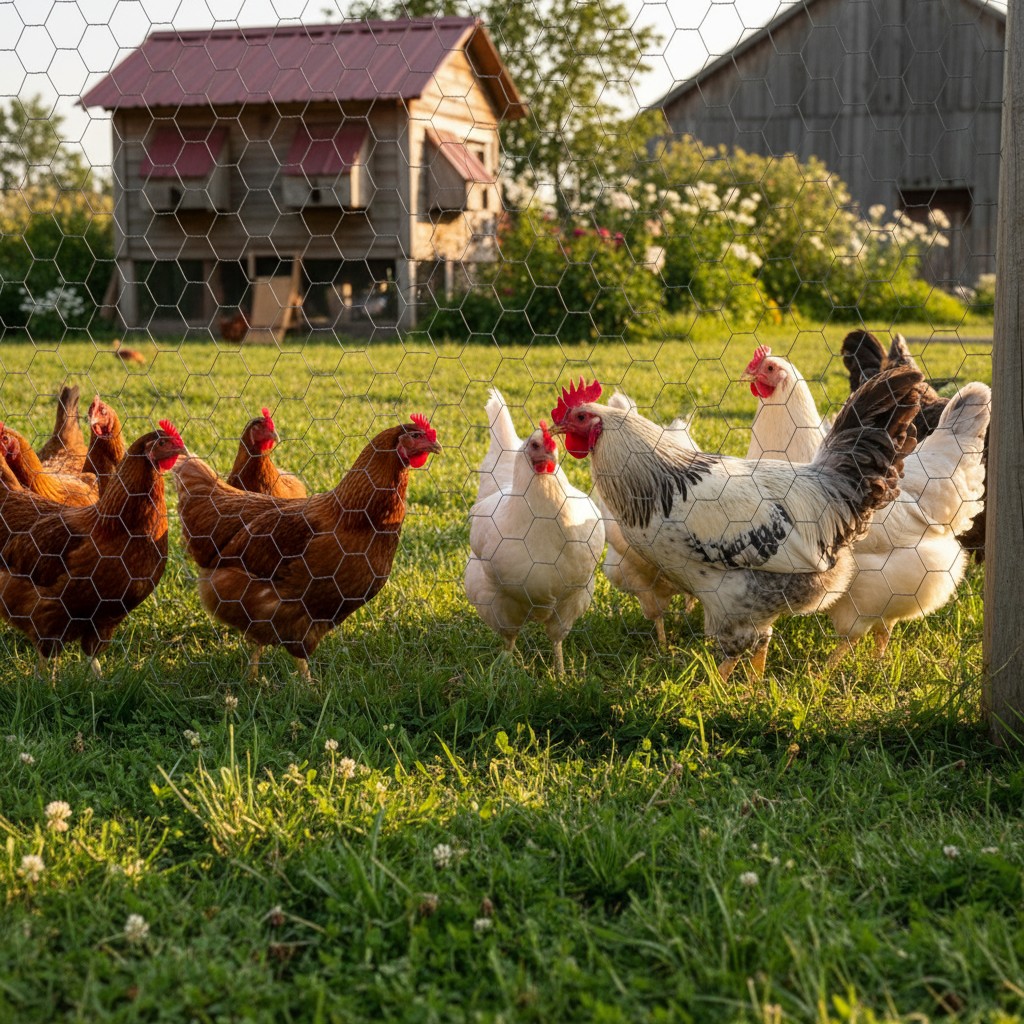
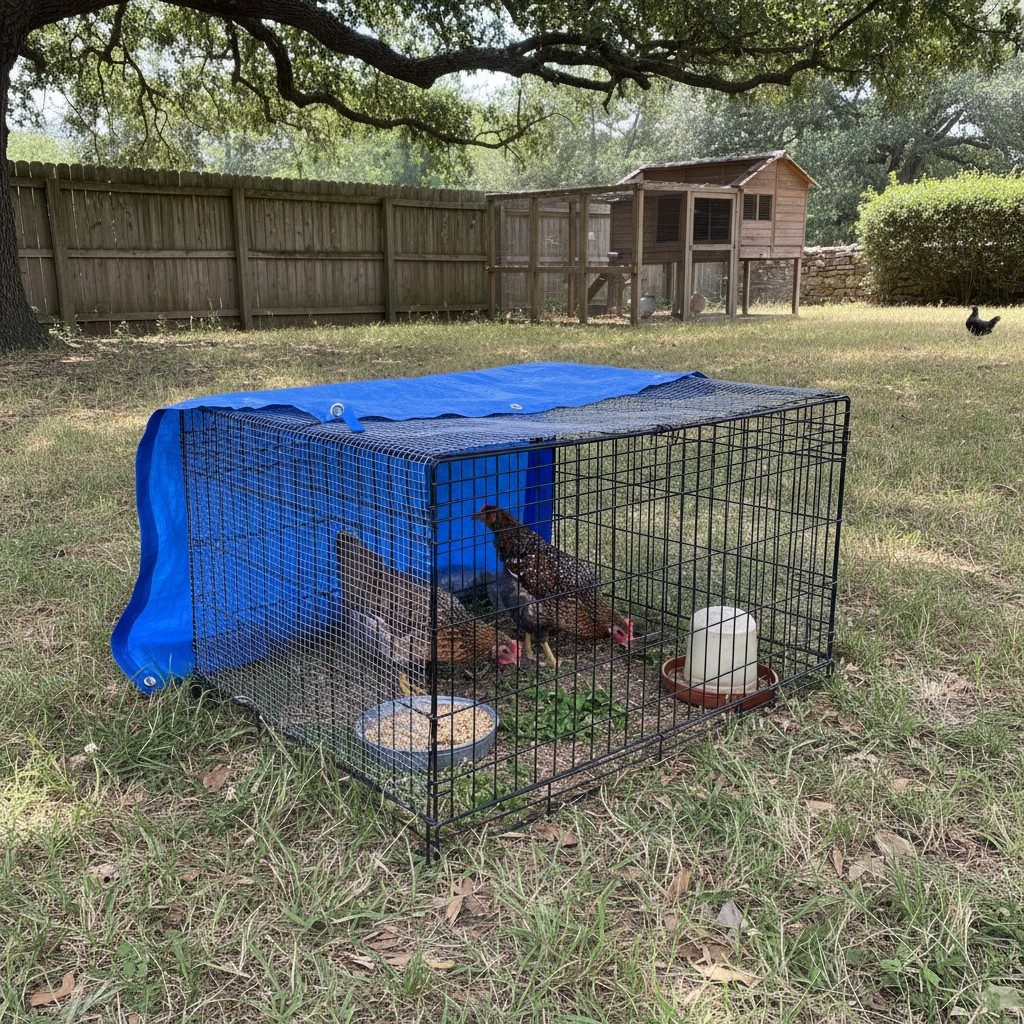
The simplest approach is placing the new birds in a wire crate, dog kennel, or small enclosed pen within or adjacent to the existing flock’s run. The established flock can see, hear, and smell the newcomers, but no one can reach through to peck.
Other setups that work:
- A temporary fence dividing the run in half
- A separate small run that shares a fence line with the main run
- A wire mesh panel installed inside the coop to create a partition
Keep this arrangement for at least 5 to 7 days. Longer is fine: there’s no downside to extending this phase. During this time, you’ll see the established birds approach the barrier, puff up, stare, and possibly peck at the wire. That’s normal. They’re working out their feelings about the new arrivals without anyone getting hurt.
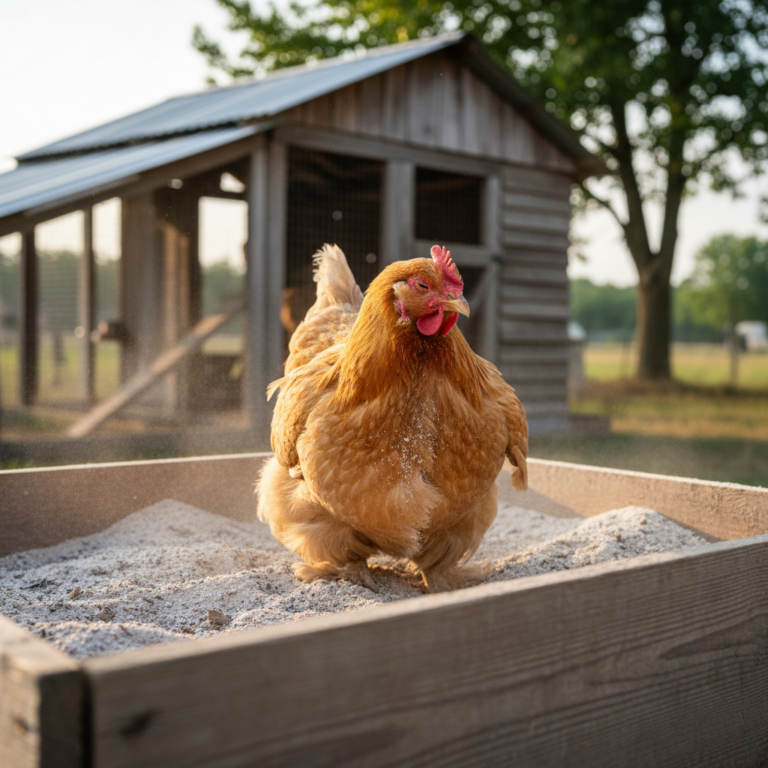
Watch for signs that tension is decreasing: the established birds start ignoring the newcomers, or they settle down to eat and dust-bathe near the barrier. When both groups seem relatively calm in each other’s presence, you’re ready for the next step.
Step 3: Supervised Free-Ranging
The first face-to-face meetings should happen in a neutral, open space, not inside the coop or the established run. Territorial behavior is strongest in confined spaces that the existing flock considers theirs.
Let both groups free-range together in the yard, a garden, or any open area. The space allows new birds to run away from aggressive encounters, which is their primary defense mechanism. In an open yard, a chase that would result in a cornered, bloody bird inside a run simply ends with the newcomer running 20 feet away and everyone losing interest.
What to Expect
Expect some chasing. Expect some pecking. The dominant hens in the established flock will assert themselves, this is normal pecking order behavior, and it needs to happen. Your job is to distinguish between normal establishment of hierarchy and actual bullying.
Normal behavior:
- Brief chasing that ends when the new bird moves away
- A quick peck to the head or back, then the aggressor moves on
- Chest-bumping and stare-downs
- New birds staying on the edges of the group, which is appropriate submissive behavior
Behavior that requires intervention:
- Sustained attacks where the aggressor doesn’t stop after the new bird submits
- Multiple birds ganging up on one newcomer
- Drawing blood: especially on the comb, wattles, or vent area
- A new bird being prevented from eating or drinking for hours
- A new bird that’s hiding and won’t come out, clearly in distress
If you see bullying, separate the aggressor (not the victim, removing the victim reinforces the bullying). Put the bully in “chicken jail” (a crate or separate pen) for 2 to 3 days. When she returns, her place in the pecking order will be shaken up, and she’ll be less likely to resume the attacks.
Do supervised free-ranging sessions for 3 to 5 days, increasing the length each day. Start with 30 minutes to an hour, and work up to several hours.
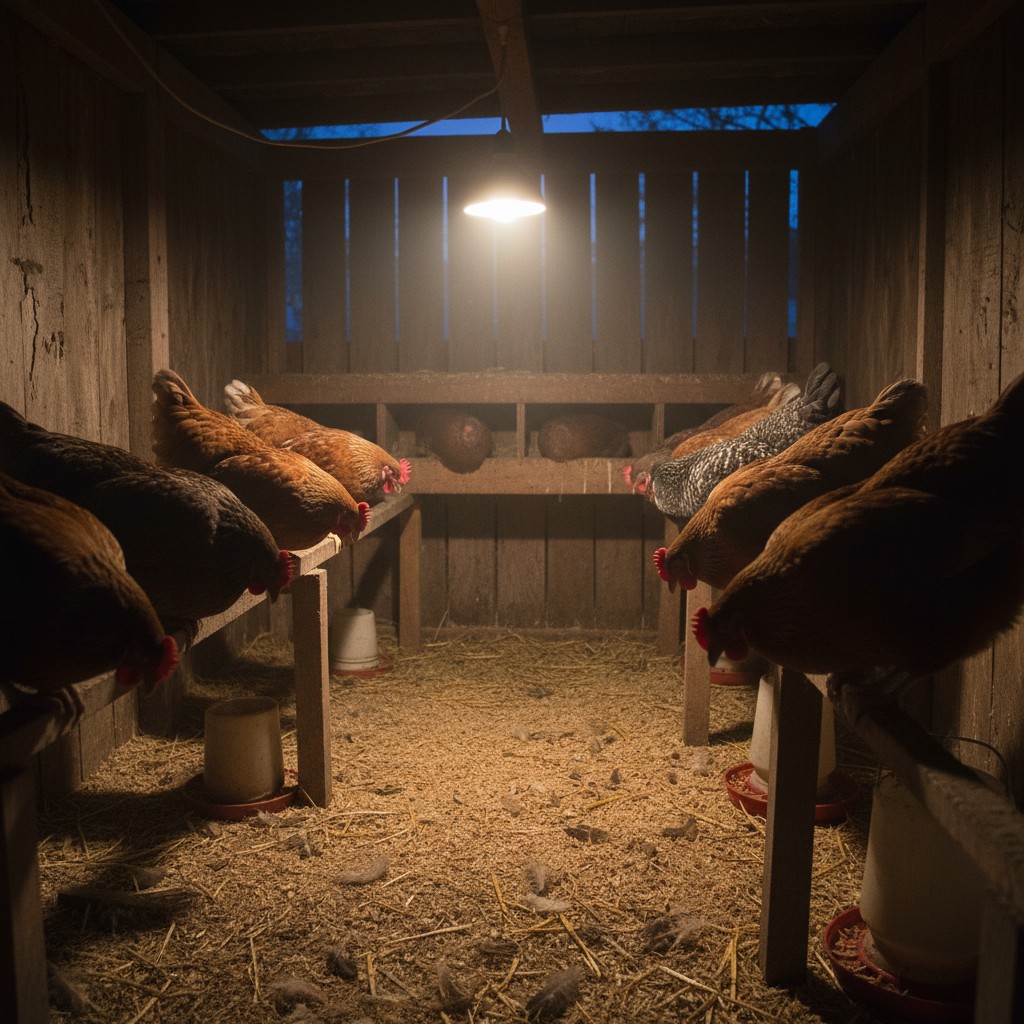
Step 4: The Nighttime Introduction
This is the old farmer’s trick that actually works. Chickens are nearly blind in the dark. They settle onto roosts at dusk and enter a drowsy, semi-conscious state. Introducing new birds after dark takes advantage of this.
How to Do It
- Wait until at least 30 minutes after the established flock has gone to roost for the night.
- Quietly place the new birds on the roost bar alongside the existing flock. Move slowly and avoid using bright lights, a dim headlamp with a red filter works best.
- Position the new birds at the end of the roost, not in between established birds.
- Leave quietly.
- Be there at first light the next morning to observe. The flock will wake up together and, in many cases, the established birds are confused enough by the newcomers’ sudden presence that they accept them with far less aggression than a daytime introduction would provoke.
The nighttime method works best as the final step after the see-but-don’t-touch and supervised free-ranging phases. Using it cold: moving brand-new, unknown birds onto the roost, can still work but carries more risk.
Special Considerations
Age Matters
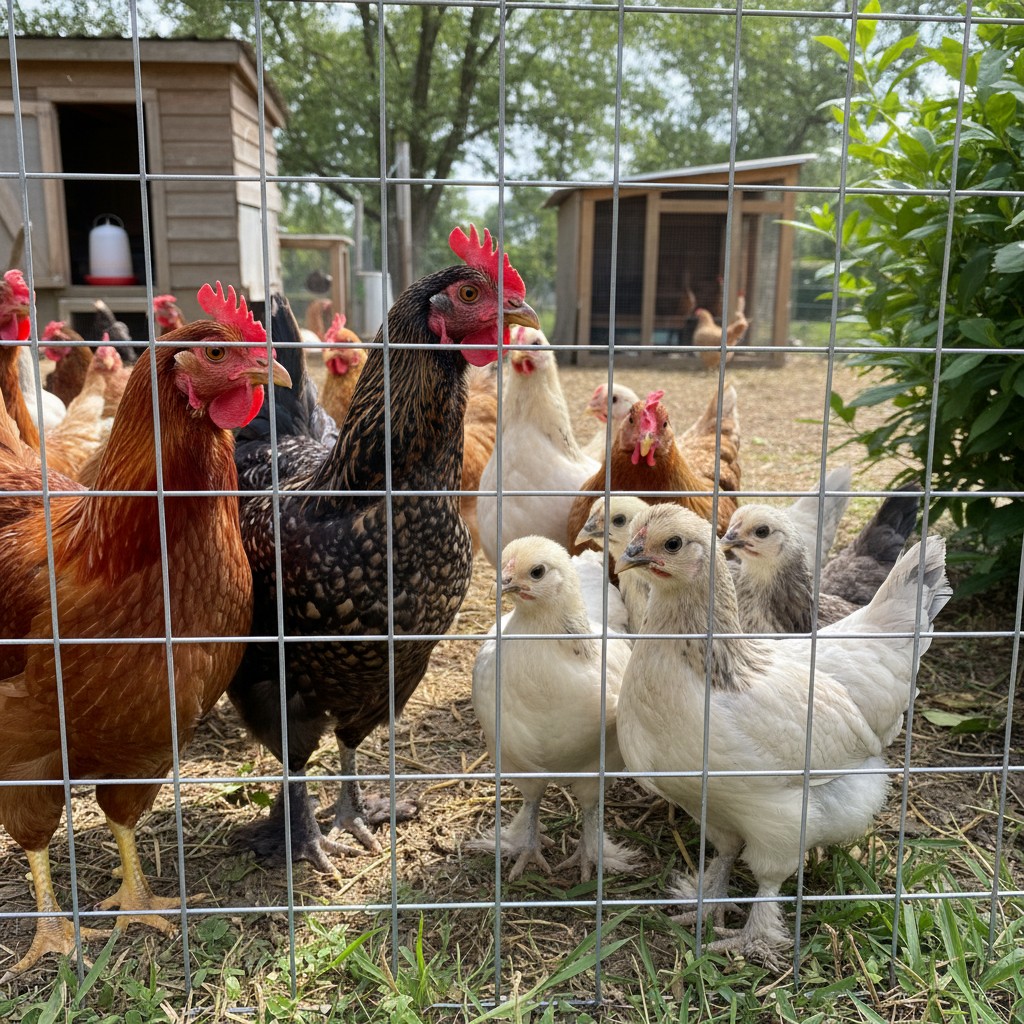
Never add chicks or young pullets (under 16 weeks) directly to a flock of adult hens. The size difference alone makes injuries likely. Young birds should be kept separate until they’re at least 2/3 the size of the adults, usually around 14 to 16 weeks. At that point, they’re big enough to flee and tough enough to weather some pecking.
If you’re raising chicks that you plan to integrate later, start the see-but-don’t-touch phase once the chicks are around 6 to 8 weeks old and fully feathered. Let them grow up watching the adult flock through the wire. By the time they’re old enough for face-to-face introductions, they’re already familiar, which eases the transition dramatically.
Flock Size and Ratios
Never add just one new bird. A single newcomer has no allies and becomes the sole target for the entire flock’s aggression. Add at least 2 to 3 new birds at once, they’ll stick together and share the burden of being “the new ones.”
A good ratio to aim for: new birds should be no more than 25% to 30% of the total flock size. Adding 3 birds to a flock of 8 works well. Adding 8 birds to a flock of 3 inverts the power dynamic and can be equally stressful, for the original flock.
Space Is Your Best Tool
Most integration problems are made worse by insufficient space. Cramped quarters mean new birds can’t escape from aggressive ones. The general recommendation is 4 square feet per bird inside the coop and 10 square feet per bird in the run. During integration, more space is better.
Add extra feeders and waterers so that new birds can eat and drink without competing for space with the dominant birds. Place them in different areas of the run. If the only feeder is in a corner that the alpha hen guards, the new birds may not eat.
Provide visual barriers in the run, a piece of plywood leaned against the fence, a pallet standing on its side, some low branches. These give new birds places to duck behind and break the line of sight with aggressors. It sounds like a small thing, but it makes a meaningful difference.
Rooster Dynamics
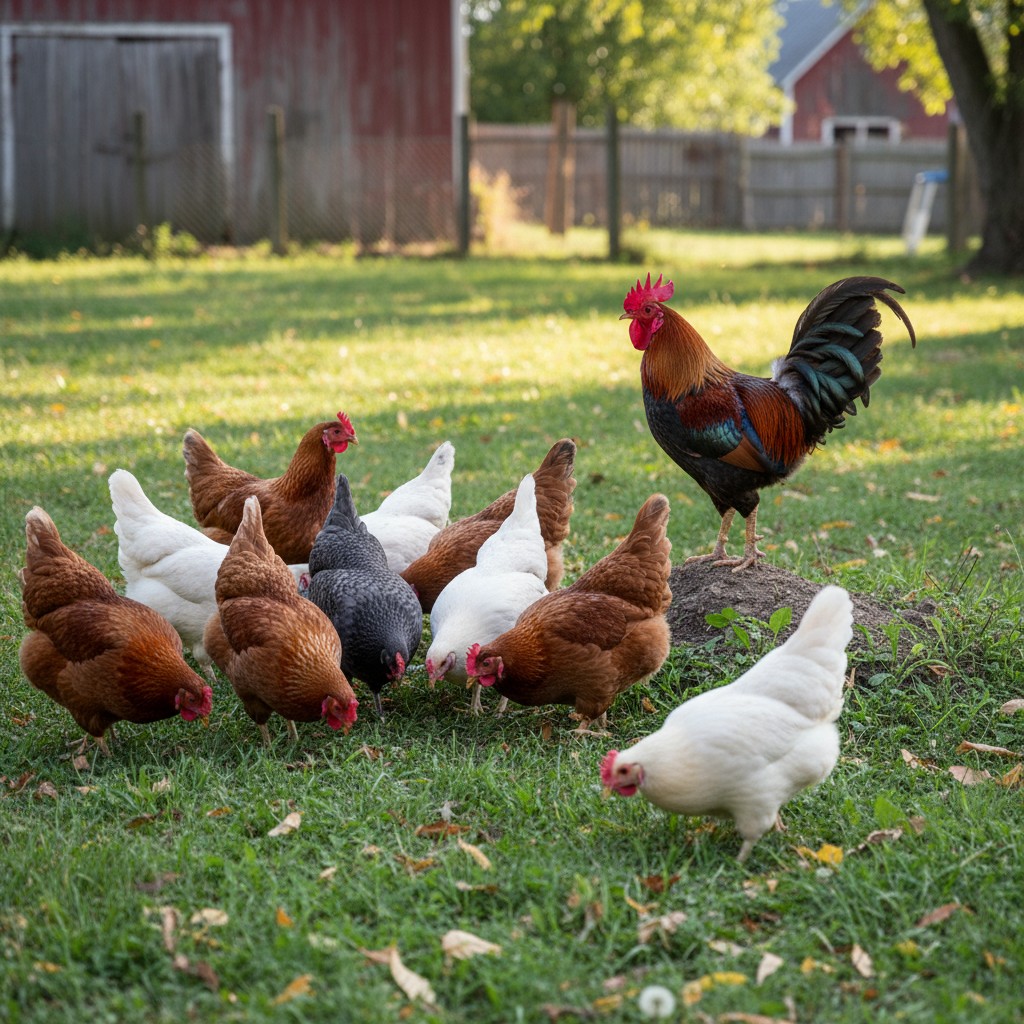
If your existing flock has a rooster, introductions may actually go smoother. A good rooster often acts as a mediator, positioning himself between aggressive hens and newcomers. He may also quickly mate with the new hens, which, in chicken social terms, is an acceptance signal that tells the rest of the flock these birds belong.
However, introducing a new rooster to a flock that already has one is a different story entirely. Two roosters will fight, sometimes seriously, to establish dominance. Unless you have a very large flock (generally 10+ hens per rooster) and ample space, keeping multiple roosters often leads to ongoing conflict.
Timeline: Putting It All Together
- Days 1–30: Quarantine. New birds in a separate area, no contact with existing flock.
- Days 31–37: See-but-don’t-touch. New birds in a pen within sight of the flock.
- Days 38–42: Supervised free-ranging. Short, monitored sessions in an open space.
- Day 42–43: Nighttime introduction onto the roost.
- Days 43–50: Monitor closely. Extra feeders and waterers. Visual barriers. Be present at the most contentious times (morning wake-up and evening roosting).
- Week 8+: The new pecking order should be established. Tension should decrease daily. By 2 to 3 weeks after full integration, the flock typically functions as a cohesive unit.
Is this process slow? Yes. Is there a faster way? Sort of: you can compress or skip steps, but each shortcut increases the risk of injury and stress. Having done it both ways, I can tell you the patient approach saves you more time in the long run by avoiding injuries that need treatment and re-separations that start the clock over.
Frequently Asked Questions
Can I skip quarantine if I trust the breeder?
I understand the temptation, but no. Even reputable breeders with healthy-looking flocks can unknowingly sell birds carrying diseases. Some poultry illnesses are subclinical, the carrier bird looks perfectly healthy but sheds the pathogen. Mycoplasma, in particular, is widespread and often asymptomatic in carrier birds. Thirty days of quarantine protects the flock you already have and love. It’s always worth the wait.
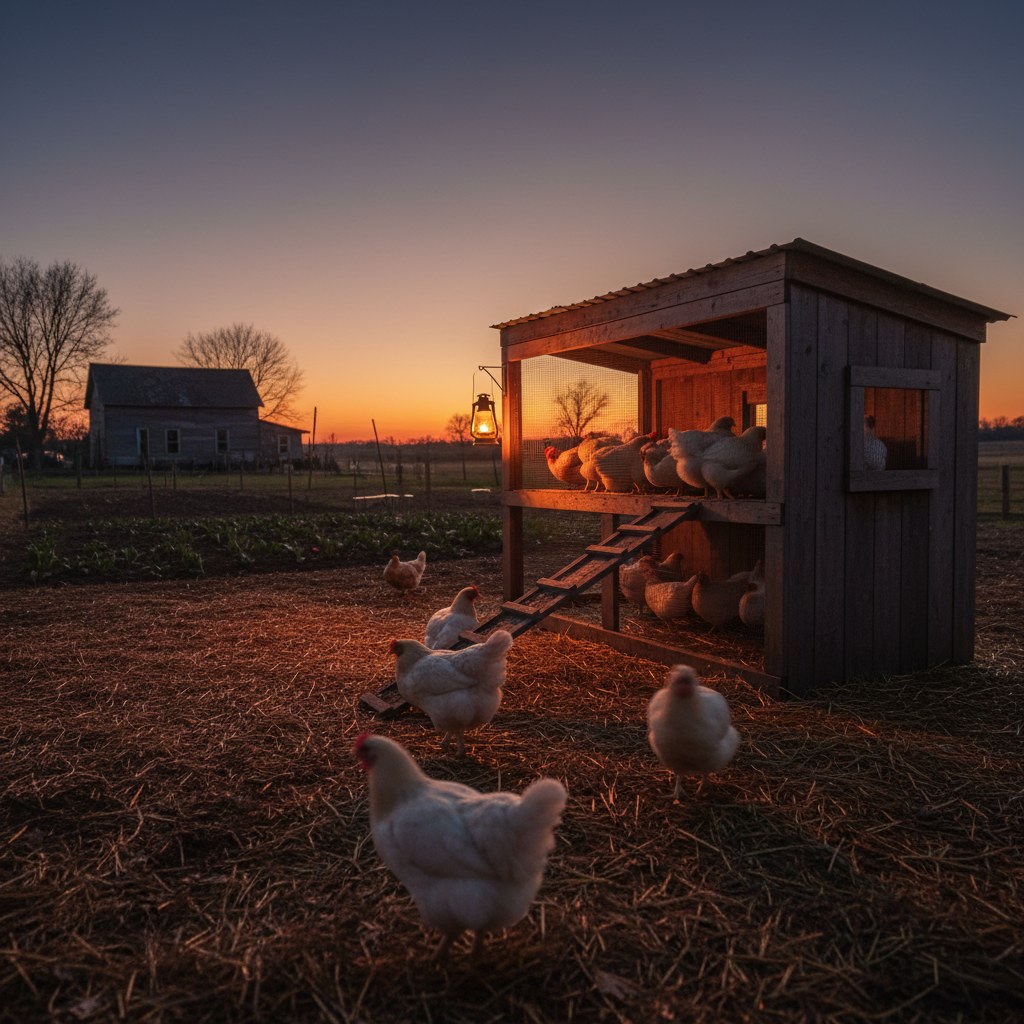
My established hens won’t let the new birds into the coop at night. What should I do?
This is common in the first few days of integration. The new birds may huddle outside the coop door at dusk, afraid to go in. Wait until after dark, then physically place them on the roost. Do this for 3 to 5 nights, most new birds figure out the routine by then and start entering on their own. If the problem persists, you may need to provide a temporary second roosting area (even a covered dog crate inside the run) so the new birds have a safe sleeping option while they gain confidence.
One of my existing hens is extremely aggressive toward the newcomers. Should I rehome her?
Before rehoming, try removing the aggressive hen from the flock for 3 to 5 days. This disrupts her position in the pecking order. When you return her, she has to re-establish her ranking, which puts her in a similar position to the newcomers and typically reduces her aggression toward them. If she remains dangerously aggressive after this reset, she may need to be permanently separated or rehomed, some birds are simply intolerant of new flockmates.
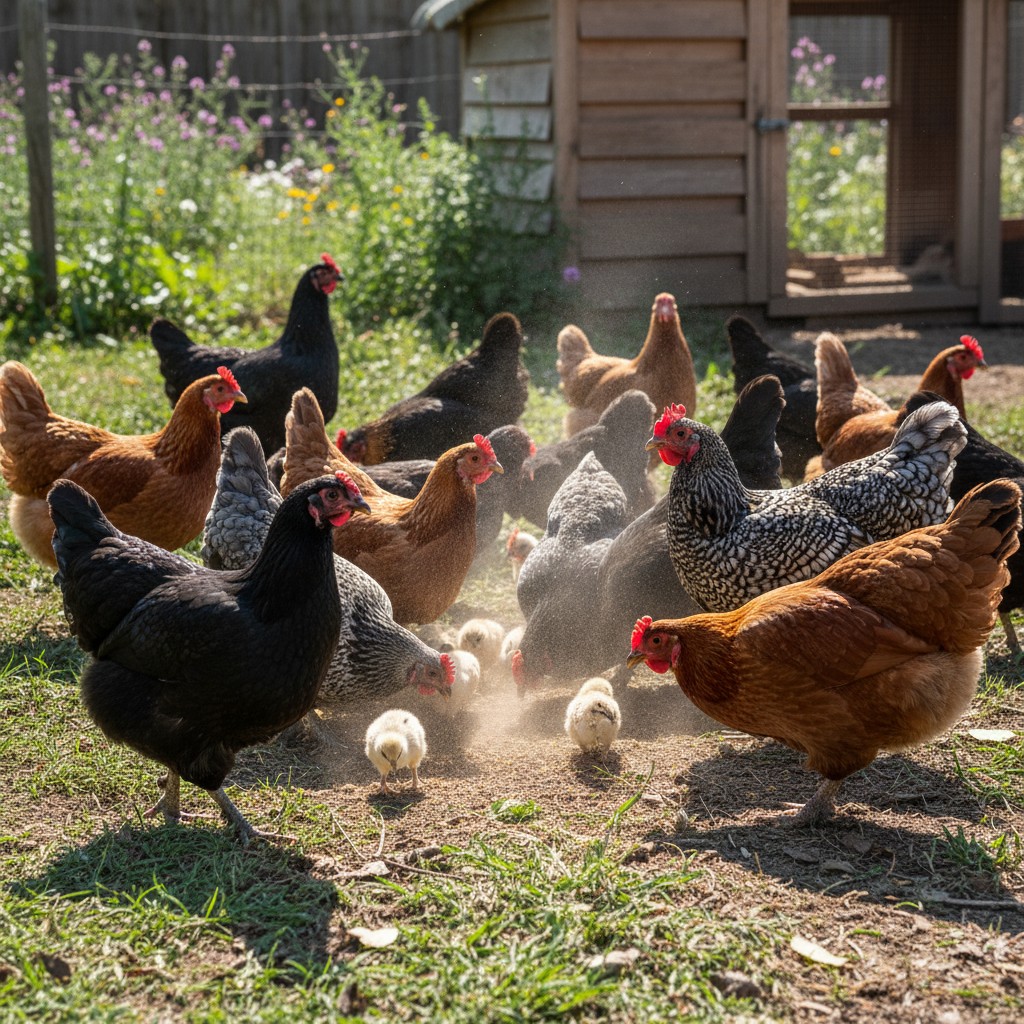
Is it easier to integrate chicks that were hatched by a broody hen in the flock?
Much easier. When a broody hen hatches and raises chicks within the flock, she acts as their protector. The other hens generally respect the mother hen’s authority and leave her chicks alone. The chicks grow up as members of the flock from day one, so there’s no dramatic introduction event. This is one of the advantages of keeping a breed that goes broody (like Buff Orpingtons or Silkies). It’s the most natural and stress-free way to expand a flock.
🌱 From Our Homestead
The first time we introduced new pullets, the pecking order drama lasted almost two weeks. Now we always use the side-by-side pen method for at least a week before mixing, it makes the transition so much smoother and saves everyone a lot of stress, including us.