How to Make Homemade Yogurt (Just 2 Ingredients, No Special Equipment)
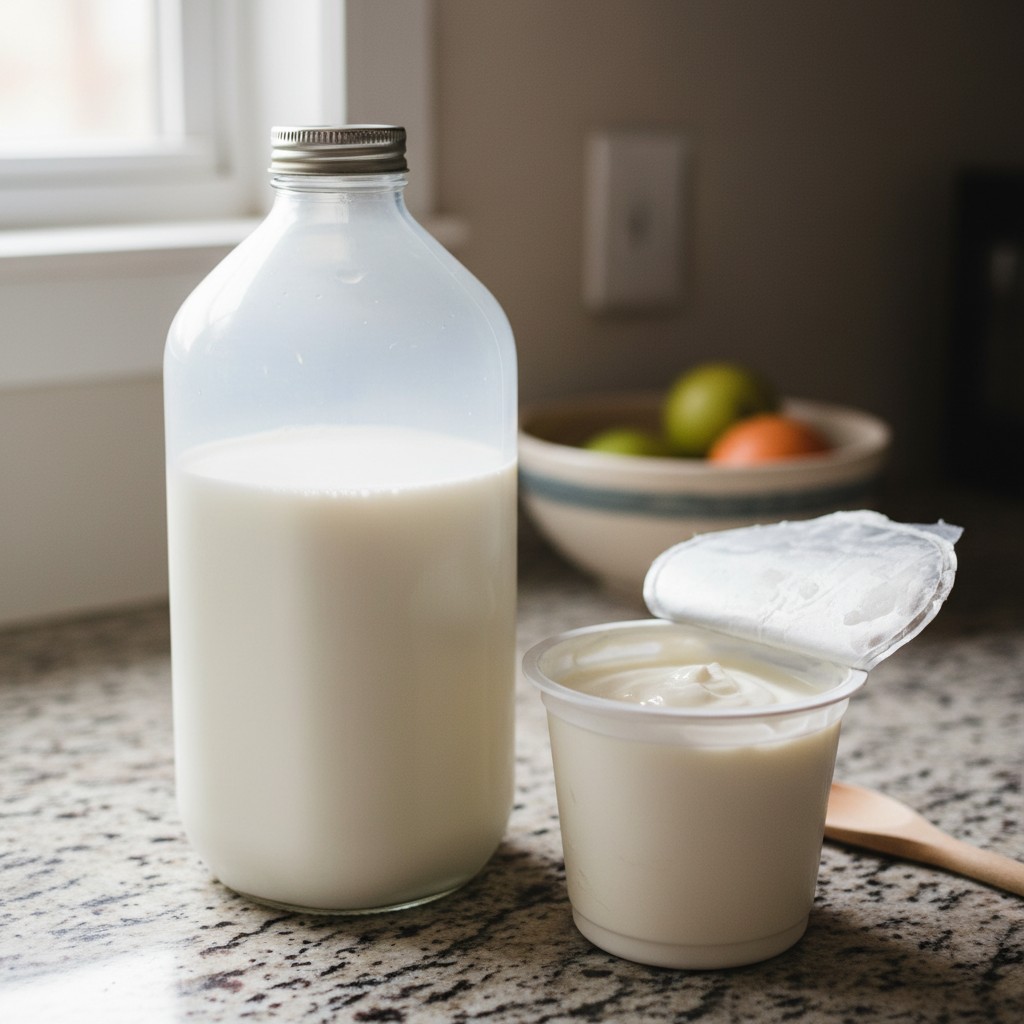
- Homemade yogurt requires just 2 ingredients: milk and a starter culture (or a spoonful of store-bought yogurt).
- The process takes about 15 minutes of active work plus 6-12 hours of incubation.
- Homemade yogurt costs 50-70% less than store-bought and contains no additives or thickeners.
- You can make it thicker (Greek-style) by simply straining through cheesecloth.
I was a little skeptical the first time I tried making yogurt at home. It felt like one of those things that surely must be complicated, after all, you’re literally culturing bacteria. But honestly? It’s one of the easiest kitchen projects I’ve ever tackled. Heat milk, cool it down, stir in some starter, keep it warm overnight, and wake up to fresh yogurt. My kids think it’s magic, and I’m not about to correct them.
Why Should You Make Your Own Yogurt?
Homemade yogurt costs 50-70% less than premium store-bought brands, contains zero additives, and lets you control the thickness, tanginess, and fat content. According to the USDA FoodData Central, plain whole-milk yogurt is an excellent source of protein, calcium, probiotics, and B vitamins. When you make it at home, you skip the stabilizers, thickeners, and added sugars that many commercial brands include.
For our family of four, switching to homemade yogurt saves us roughly $15-20 per week. That adds up fast. Plus, once you’ve got a good culture going, you can keep re-using your homemade yogurt as a starter indefinitely, it’s the same beautiful self-sustaining principle behind our sourdough starter guide.
What Ingredients and Equipment Do You Need?
All you need is milk (any kind works, but whole milk gives the creamiest results) and 2 tablespoons of plain yogurt with live active cultures as your starter. For equipment, you need a heavy-bottomed pot, a thermometer, and a way to keep the yogurt warm during incubation, an oven with just the light on, a cooler with warm water, or a dedicated yogurt maker all work.
UHT / ultra-pasteurized milk shortcut: If your milk carton is labeled “UHT,” “ultra-pasteurized,” or “shelf-stable,” you can skip the 180°F heating step entirely. UHT milk is heated to 280°F or higher during processing, which already denatures the whey proteins, the same result the 180°F step achieves with regular milk. Simply warm UHT milk directly to 110°F, add your starter, and proceed with incubation. Note that some yogurt makers find UHT milk produces a slightly thinner set; if that happens, add 2 tablespoons of dry milk powder per quart to compensate.
| Milk Type | Texture Result | Fat Content | Best For |
|---|---|---|---|
| Whole Milk | Thick, creamy | 3.25% | All-purpose, Greek-style |
| 2% Milk | Medium body | 2% | Everyday eating |
| Skim Milk | Thin, tangy | 0-0.5% | Lower calorie |
| Raw/Farm Milk | Rich, variable | Varies | Homestead dairy |
What Is the Step-by-Step Process for Making Yogurt?
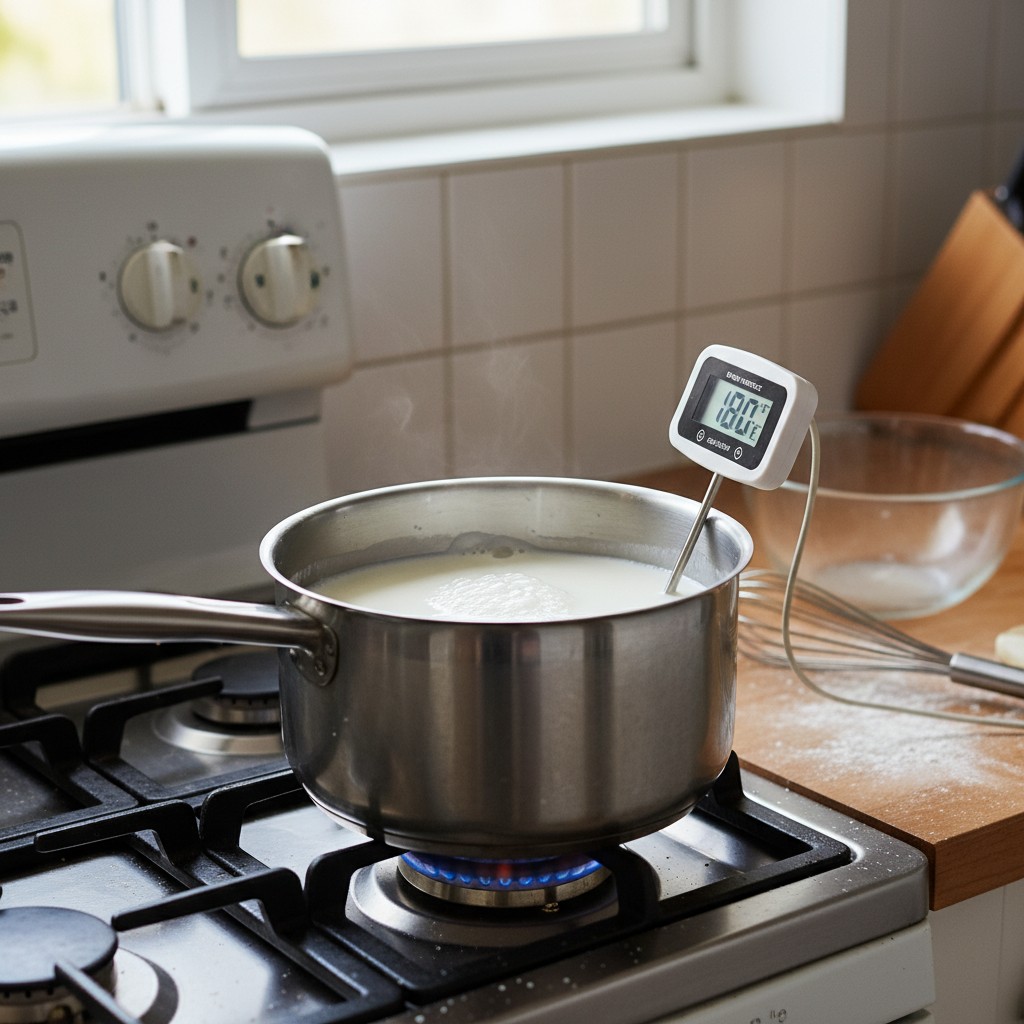
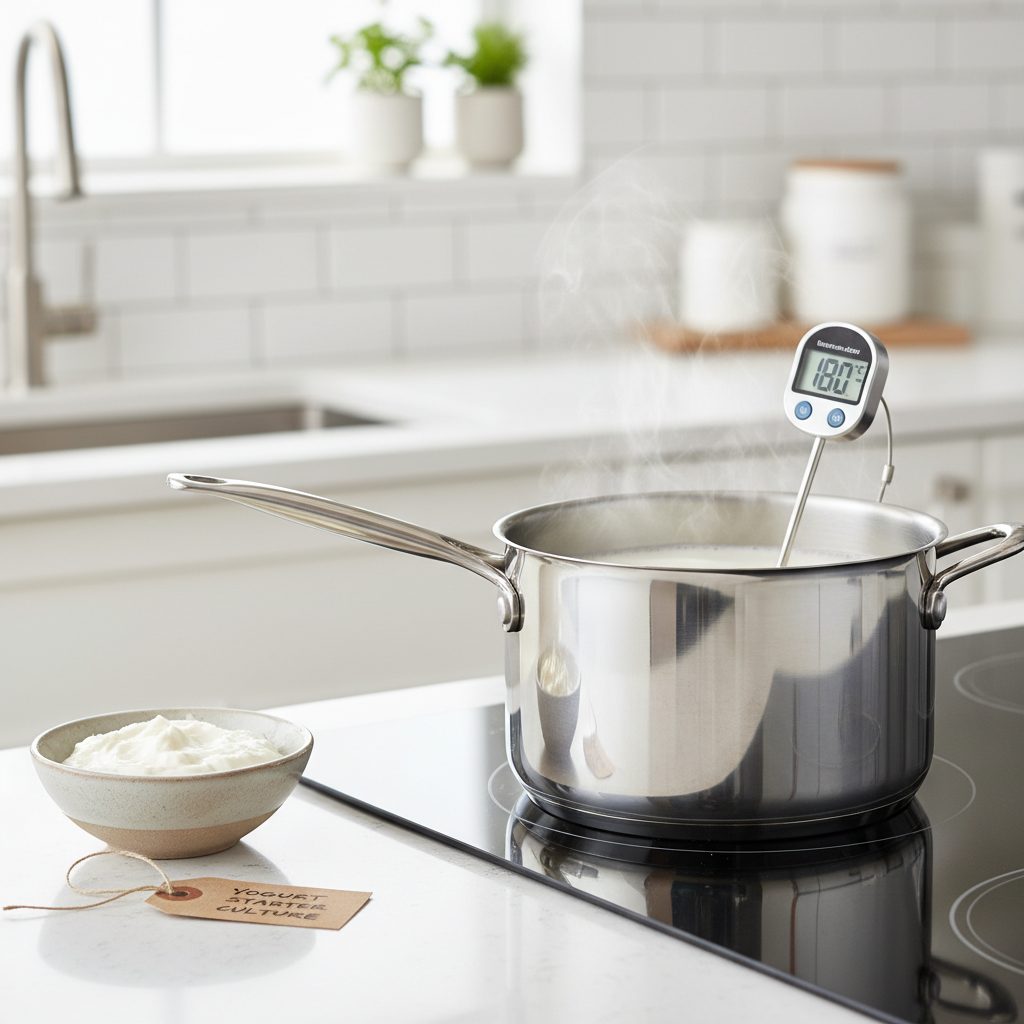
Heat milk to 180°F, cool to 110°F, stir in starter, then incubate at 100-110°F for 6-12 hours, longer incubation yields tangier yogurt. Here’s my tried-and-true method:
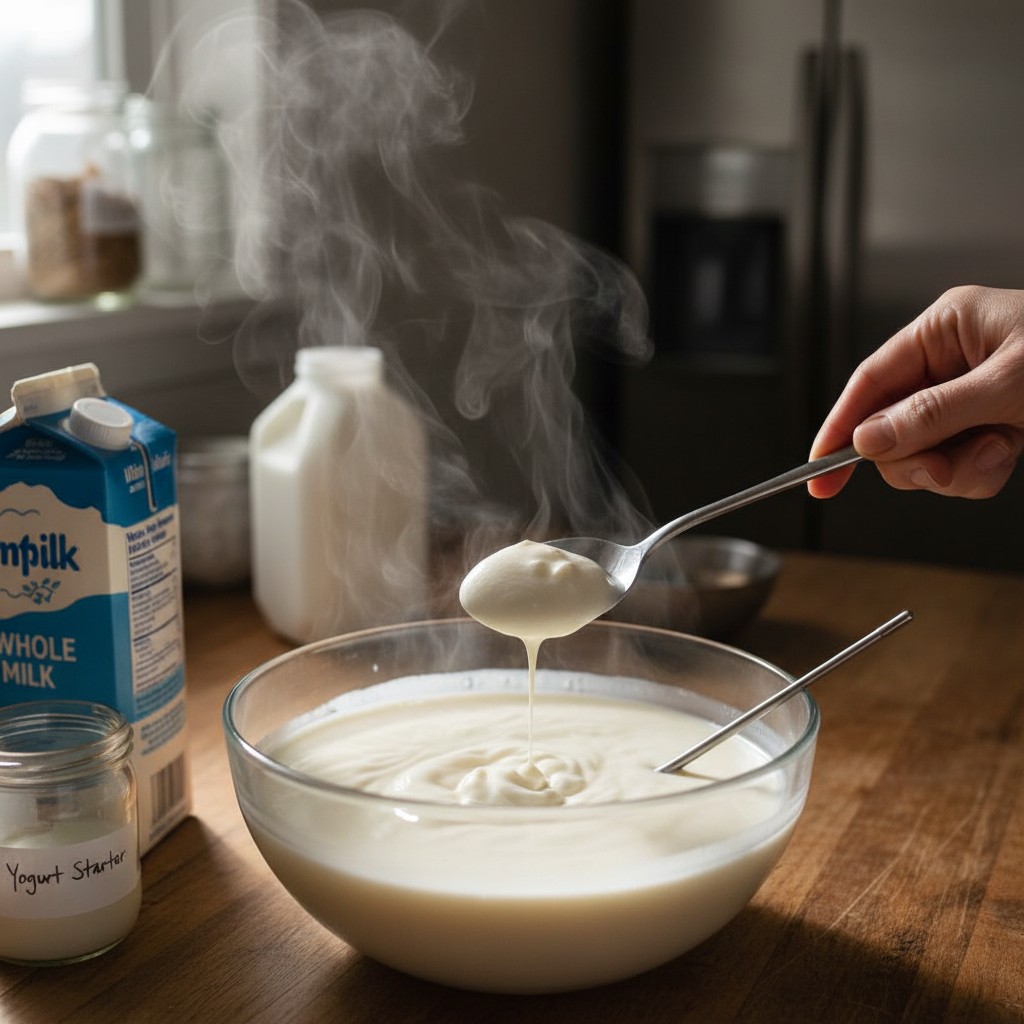
Step 1: Pour a half-gallon of milk into a heavy pot and heat slowly to 180°F, stirring occasionally. This step denatures the whey proteins, which is what gives you a thick, smooth set. Don’t skip it!
Step 2: Cool the milk to 110°F. I set my pot in a sink of cold water to speed this up, takes about 10 minutes. The Utah State University Extension emphasizes that temperature control is the single most important factor in yogurt making.
Step 3: Whisk 2 tablespoons of plain yogurt (your starter) into the cooled milk. Make sure it’s evenly distributed.
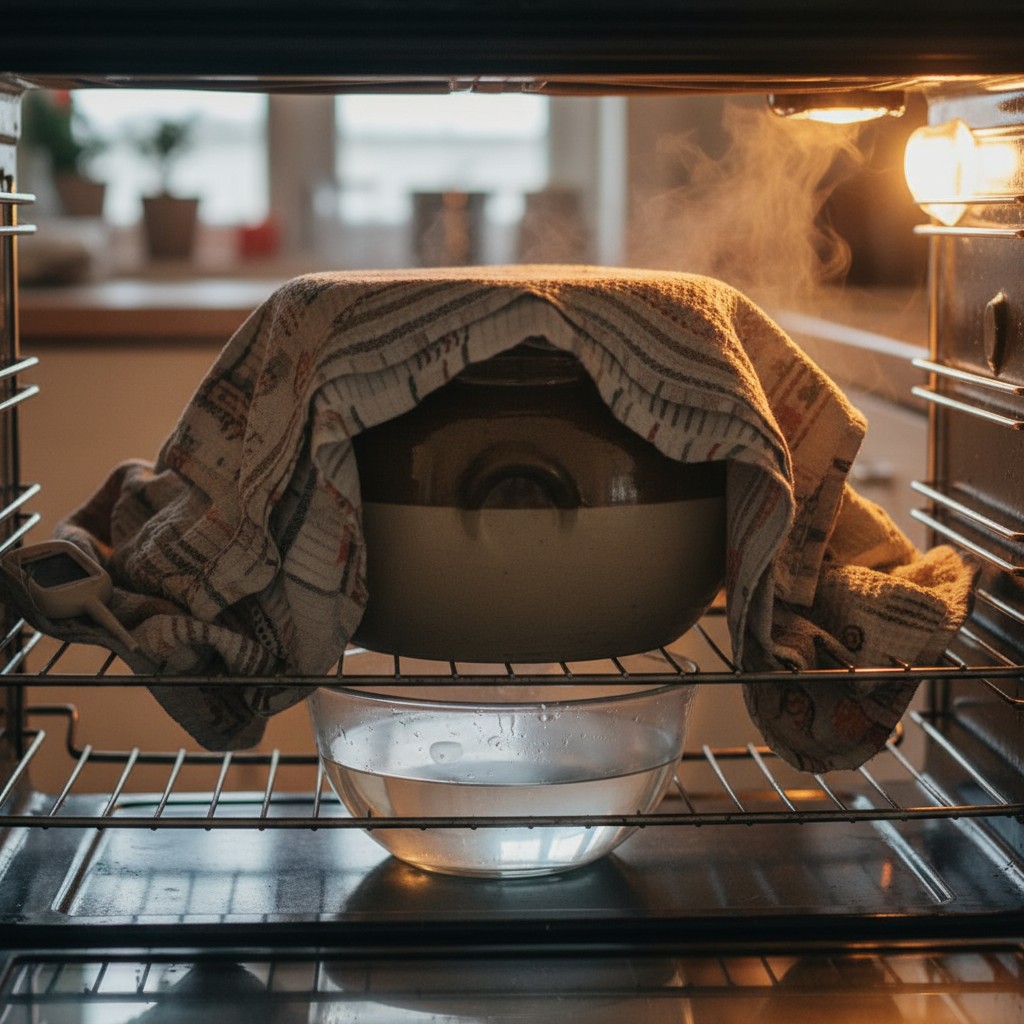
Step 4: Pour into jars, cover, and keep warm at 100-110°F for 6-12 hours. I use my oven with just the light on, it holds a steady 105°F, which is perfect. Six hours gives a mild, creamy yogurt; twelve hours gives you something tangier and firmer.
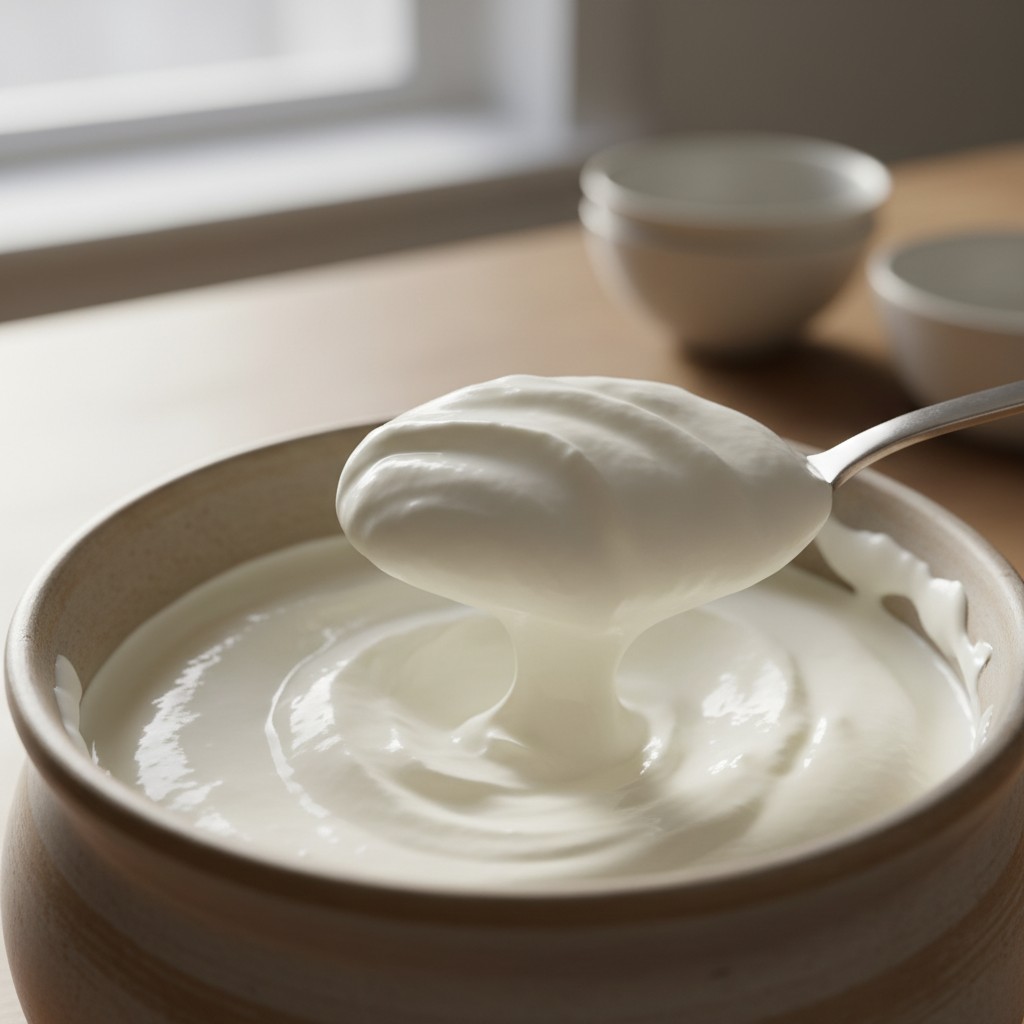
Step 5: Refrigerate for at least 4 hours before eating, it will thicken further as it chills.
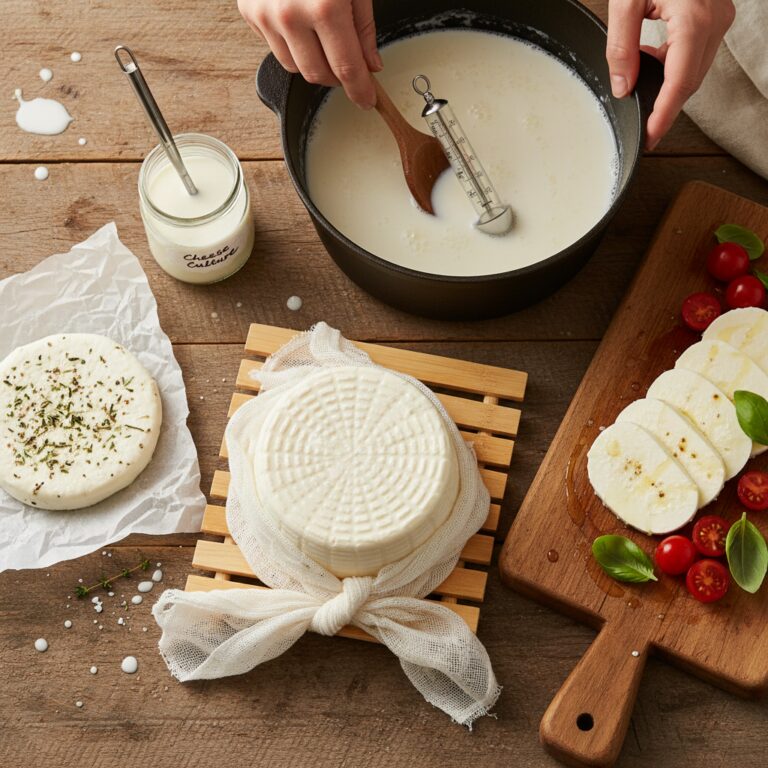
How Do You Make Greek-Style Yogurt?
Strain finished yogurt through cheesecloth or a fine-mesh strainer for 2-4 hours to remove whey and create thick, Greek-style yogurt. The longer you strain, the thicker it gets. Don’t throw away the whey, it’s packed with protein and probiotics. I use it in sourdough bread baking, smoothies, and even to water acid-loving plants in the garden.
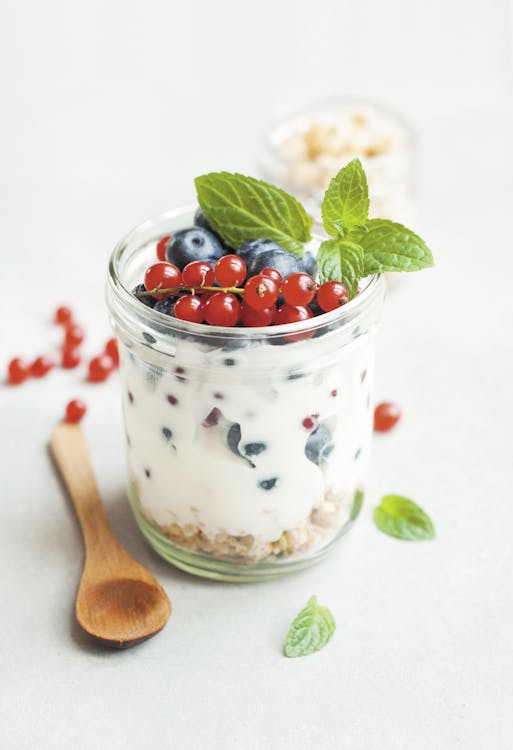
What Can You Make with Homemade Yogurt?
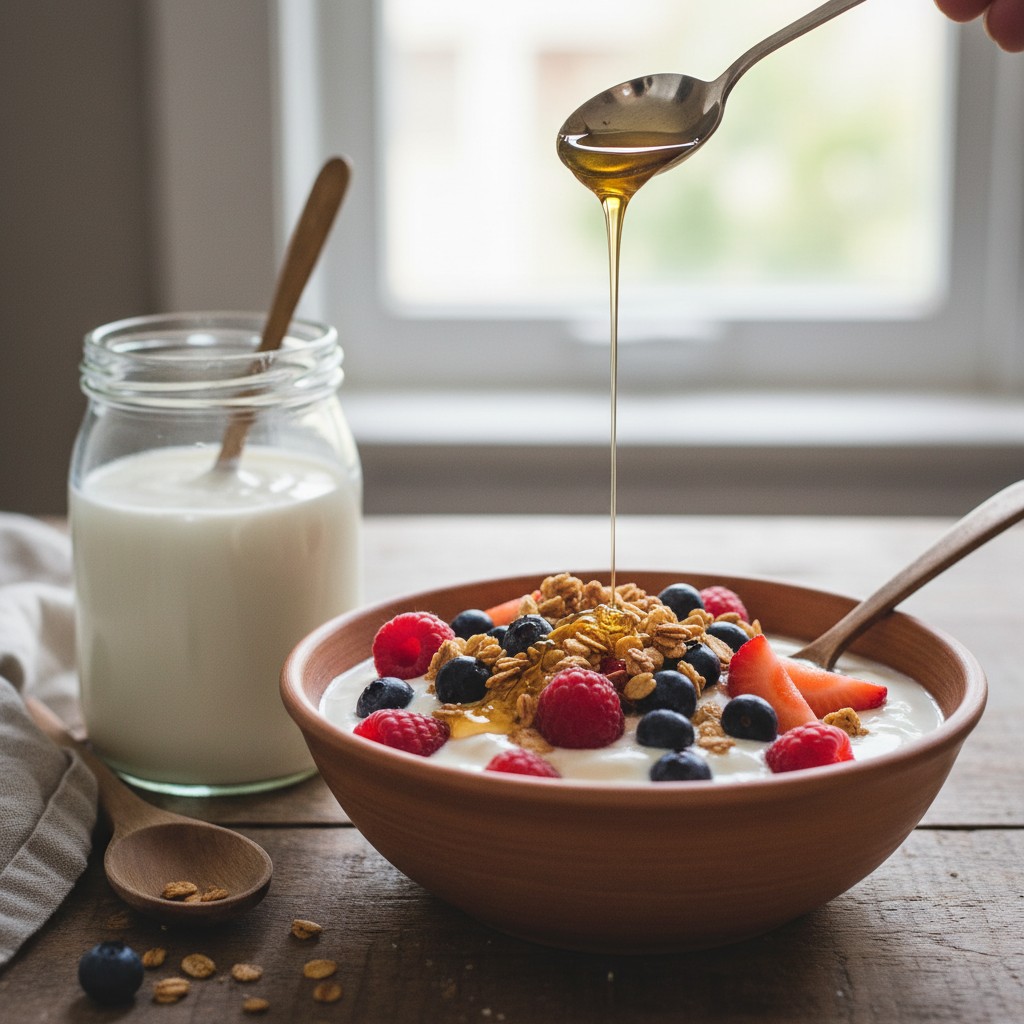
Homemade yogurt works beautifully in smoothies, parfaits, marinades, salad dressings, baking, and as a sour cream substitute. I use it in everything from morning parfaits topped with homegrown strawberries to a tangy marinade for grilled chicken. It’s also the base for fantastic tzatziki sauce and pairs wonderfully with the recipes in our garden meal planning guide.
If you’re exploring other cultured foods, yogurt making is a natural stepping stone to the broader world of fermentation, once you’re comfortable with yogurt, kefir and cheese feel much less intimidating.
🌱 From Our Homestead
I make a batch of yogurt every Sunday night now. The process has become so automatic that I barely think about it, and the kids have completely stopped asking for store-bought.
Frequently Asked Questions
The most common reason is temperature issues, either the milk was too hot when you added the starter (killing the cultures) or the incubation temperature dropped too low. Use a thermometer and aim for 110°F when adding starter, and maintain 100-110°F during incubation.
I’ve successfully re-cultured from my own yogurt for months at a time. Eventually the cultures can weaken, so I refresh with a new store-bought starter every 8-10 batches for best results.
Yes, but the process is a bit different. Coconut milk yogurt works the best in my experience. You’ll typically need to add a thickener like tapioca starch and use a specific vegan yogurt starter. The set won’t be identical to dairy yogurt, but it can still be delicious.
Properly refrigerated homemade yogurt lasts 1-2 weeks. It may get tangier over time as the cultures continue to ferment slowly. If you see mold or it smells off, discard it. Other discard signals: any pink, orange, or fuzzy patches (contamination, not the cultures), or a slimy texture. If your batch did not set at all after a full 12 hours at the correct temperature, do not eat it as yogurt, the cultures may have failed due to dead starter or temperature error, and you cannot know what, if anything, is growing. Discard and start fresh.