How to Milk a Goat: A Step-by-Step Guide for Beginners
How to Milk a Goat: A Step-by-Step Guide for Beginners
Key Takeaways
- A milking stand makes the process dramatically easier and keeps the goat calm and still during milking
- Sanitation is everything, clean hands, clean udder, clean equipment, and rapid cooling of milk prevent off-flavors and bacterial growth
- The actual milking technique involves trapping milk in the teat with your thumb and forefinger, then squeezing downward with your remaining fingers
- Most dairy goats produce 1-3 quarts per milking, with two milkings per day approximately 12 hours apart
- Fresh goat milk properly handled tastes sweet and clean, nothing like the “goaty” flavor people expect
The first time I sat down to milk a goat, I got about two tablespoons in ten minutes and the goat kicked the bucket over. Twice. My forearms burned, the goat was annoyed, and I was questioning every life decision that had led me to that moment.
Fast forward a few weeks, and I was milking two does in under 20 minutes total, filling jars with the sweetest, creamiest milk I’d ever tasted. Milking a goat isn’t hard, but it is a skill, and like any skill, it takes practice and the right technique. If you’re already raising goats or considering adding dairy goats to your homestead, this guide will walk you through everything you need to know.

Equipment You’ll Need

Before your first milking session, gather your equipment. Having everything ready and within reach makes the process smooth and efficient.
The Milking Stand
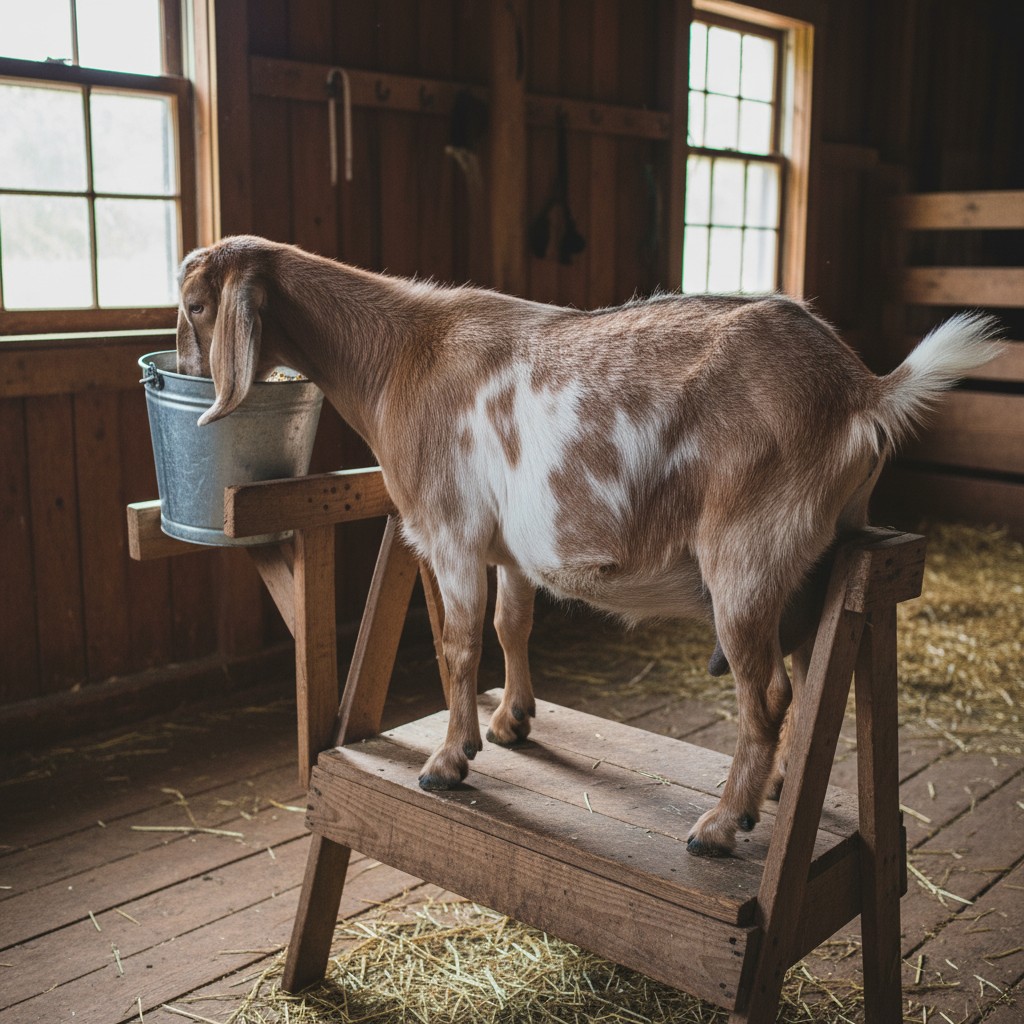
A milking stand is not technically required, but it's the single best investment you'll make for goat milking. It elevates the goat to a comfortable working height, has a stanchion to secure the goat's head (with a feed dish to keep her happy), and keeps her still while you work. You can build one from lumber for $30-$50 in materials, or buy a commercial stand for $100-$200.
The stand should be sturdy enough that the goat can’t rock or tip it, and placed in a clean, sheltered area. Many people milk in a barn or garage, the main requirements are cleanliness and protection from flies and weather.
Milking Supplies Checklist
| Item | Purpose | Approximate Cost |
|---|---|---|
| Stainless steel milking pail | Catching milk; easy to sanitize | $15–$30 |
| Teat dip cup and solution | Pre and post-milking udder sanitation | $10–$15 |
| Udder wash cloths or paper towels | Cleaning the udder before milking | $5–$10 |
| Milk strainer with filters | Filtering hair and debris from milk | $10–$20 |
| Glass jars with lids (mason jars work great) | Storing milk in the fridge | $10–$15 |
| Strip cup (small cup with dark lid) | Checking first squirts for signs of mastitis | $5–$8 |
Keeping It Clean
Sanitation is the single most important factor in producing clean, sweet-tasting goat milk. All equipment that touches milk should be washed with hot soapy water and rinsed with a dairy sanitizer (or a dilute bleach solution) after every milking. Stainless steel is preferred over plastic because it doesn’t harbor bacteria in scratches and is easier to sterilize.

Preparing the Goat for Milking
A calm, consistent routine is key. Goats are creatures of habit, and they’ll cooperate best when milking happens at the same times each day, in the same place, with the same sequence of steps.
Setting a Schedule
Most dairy goats are milked twice a day, approximately 12 hours apart, typically early morning and early evening. Consistency matters more than exact timing. If you milk at 6 AM and 6 PM, stick to that schedule. Irregular milking leads to decreased production, udder discomfort, and increased mastitis risk.
Some homesteaders with lower-producing does or does later in lactation switch to once-a-day milking. This reduces output by about 30-40% but cuts your time commitment in half. It’s a reasonable compromise for many small homesteads.
Getting Her on the Stand
Lead or lure your goat onto the milking stand with a scoop of grain in the feed dish. Once she’s in position, close the stanchion around her neck. The grain keeps her occupied and happy while you work. Most goats learn the routine within a few days and will jump up on the stand eagerly, they know grain is coming.
Cleaning the Udder
Before milking, wash the udder and teats with warm water and a mild soap or udder wash. Use a clean cloth or paper towel for each goat. This removes dirt, manure, and bacteria that could contaminate the milk. Dry the udder thoroughly, milking a wet teat makes it harder to grip and increases bacterial transfer.
Some milkers use a pre-milking teat dip (iodine-based solution) instead of or in addition to washing. Dip each teat, wait 30 seconds, then wipe dry with a clean paper towel.
The Milking Technique: Step by Step

This is where the rubber meets the road, or rather, where the hand meets the teat. The technique is simple in concept but takes practice to execute smoothly.
Step 1: Check the First Squirts
Before milking into your clean pail, squirt the first two or three streams from each teat into a strip cup. This serves two purposes: it flushes bacteria from the teat canal, and the dark-colored lid of the strip cup lets you spot abnormalities, clumps, strings, blood, or watery milk that could indicate mastitis.
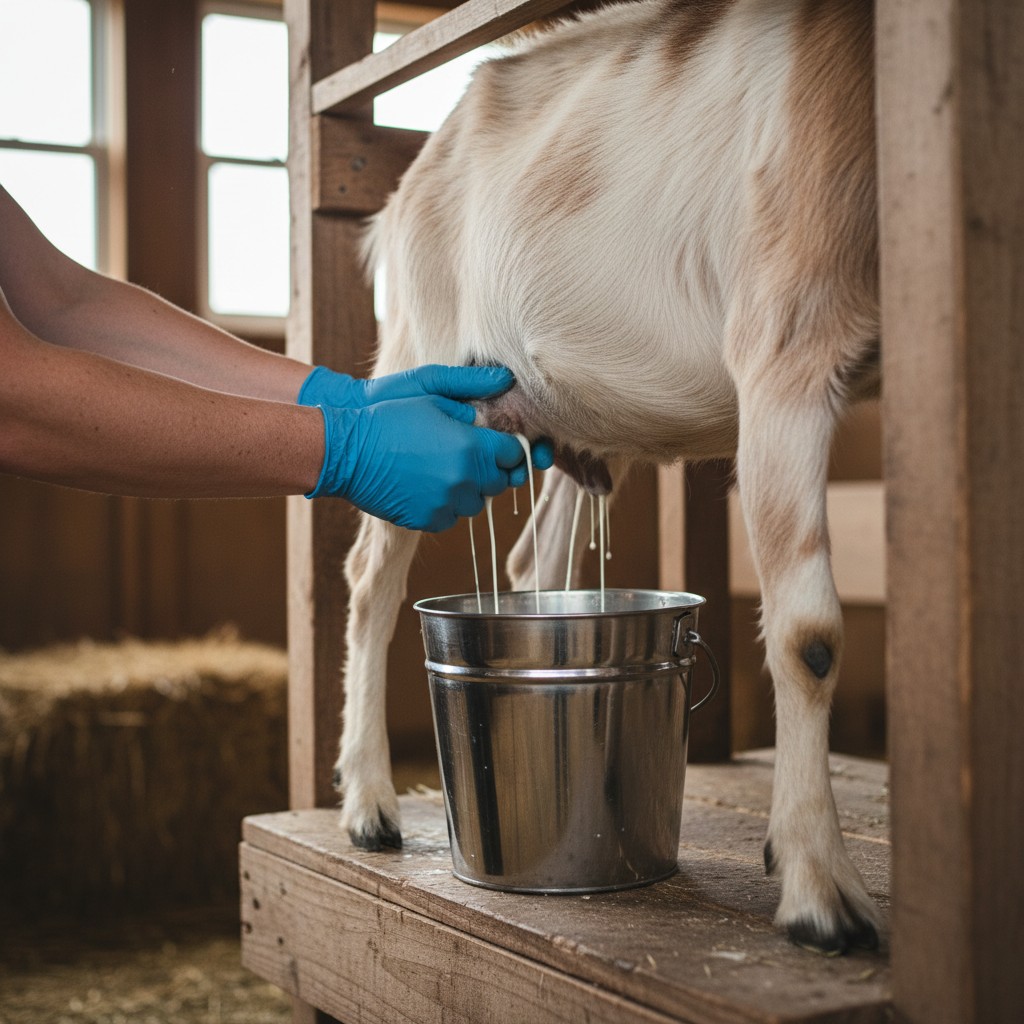
Step 2: Trap the Milk
Wrap your hand around the teat with the teat base between your thumb and forefinger. Squeeze your thumb and forefinger together firmly, this traps the milk in the teat and prevents it from flowing back up into the udder. This pinching motion at the top is the most important part of the technique.
Step 3: Squeeze Downward
With milk trapped in the teat, sequentially close your middle finger, then ring finger, then pinky, pushing the milk downward and out of the teat opening. The motion should be smooth and fluid, not jerky. Think of it as a rolling squeeze from top to bottom.
Step 4: Release and Repeat
Release all fingers to allow the teat to refill with milk from the udder, then repeat the trap-and-squeeze. You’ll develop a rhythm, trap, squeeze, release, trap, squeeze, release, alternating between hands on each teat. Experienced milkers can strip a teat every 1-2 seconds.
The biggest mistake beginners make, and I certainly did, is pulling on the teat instead of squeezing. Pulling doesn’t work (the milk has nowhere to go) and it irritates the goat. Think squeeze, not pull. Once that clicked for me, everything changed. My milking time went from 15 minutes per goat down to about 5 minutes.
Step 5: Bump and Strip
As the udder empties and milk flow slows, gently bump the udder upward with the back of your hand, mimicking what a kid does when nursing. This encourages the goat to “let down” remaining milk. Then strip each teat by running your thumb and forefinger firmly down the length of the teat to get the last of the milk. This final milk is the highest in butterfat and is also important for preventing mastitis, you want to empty the udder as completely as possible.
Step 6: Post-Milking Teat Dip
After milking, dip each teat in a post-milking teat dip solution (typically iodine-based). This seals the teat opening against bacteria while the orifice is still slightly open. The teat end closes naturally within 20-30 minutes, but during that window, it’s vulnerable to infection.

Handling and Storing the Milk
How you handle milk immediately after milking has an enormous impact on taste and shelf life.
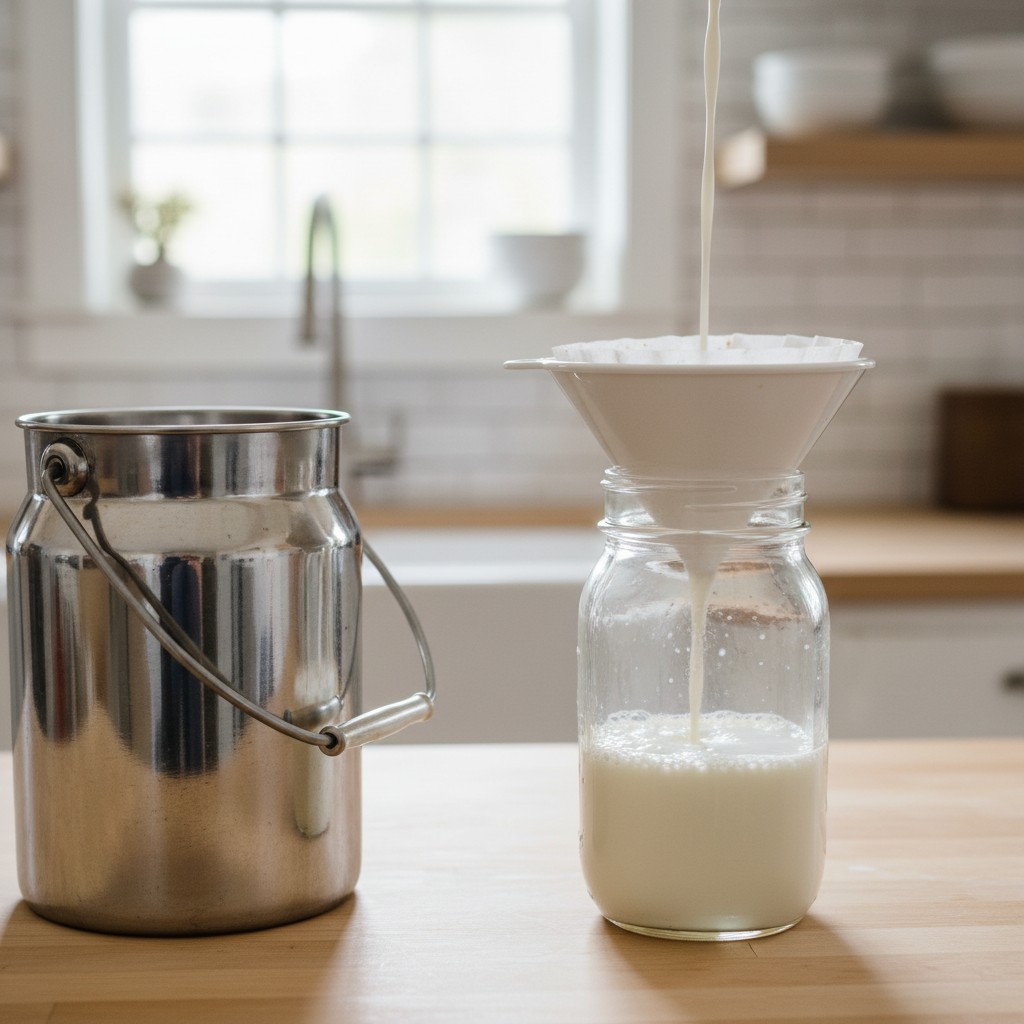
Strain Immediately
Pour milk through a stainless steel strainer fitted with a disposable milk filter directly into clean glass jars. This removes any hair, dust, or tiny particles that found their way into the pail. Do this as soon as you finish milking, don’t let the milk sit out.
Cool Rapidly
Speed of cooling is the most critical factor for milk quality. Get the strained milk into the refrigerator or an ice bath immediately. Milk should reach 40°F within one hour of milking. Rapid cooling inhibits bacterial growth and is what makes milk that tastes sweet and stays fresh for 5–7 days (up to 10 if kept consistently at 38°F or below).
A simple trick: place your glass jars in an ice water bath in the freezer for 30-60 minutes, then transfer to the fridge. This gets the temperature down much faster than the fridge alone.
People who say they don’t like goat milk have almost always only tried poorly handled milk. When I give friends a glass of our fresh, properly cooled goat milk, they’re shocked, it tastes sweet and clean, almost indistinguishable from whole cow’s milk but slightly creamier. The “goaty” flavor comes from improper handling, not from the goat herself.
What Causes “Goaty” Flavor?
Several factors contribute to off-flavors in goat milk:
- Slow cooling: The number one cause. Warm milk develops off-flavors rapidly.
- Buck proximity: Housing a buck near milking does can transfer his scent to the milk. Keep bucks downwind and separate.
- Dirty equipment: Residual bacteria from inadequately cleaned jars, pails, or strainers.
- Late lactation: Milk produced near the end of lactation (months 8-10) naturally has a stronger flavor.
- Strong feeds: Wild onions, garlic, and certain weeds in the pasture can flavor the milk.
What to Do with All That Milk

A single dairy goat produces 1-3 quarts per milking, that’s potentially 6 quarts per day from a good producer. Two goats can easily provide more than a family of four can drink. Here’s where it gets fun.
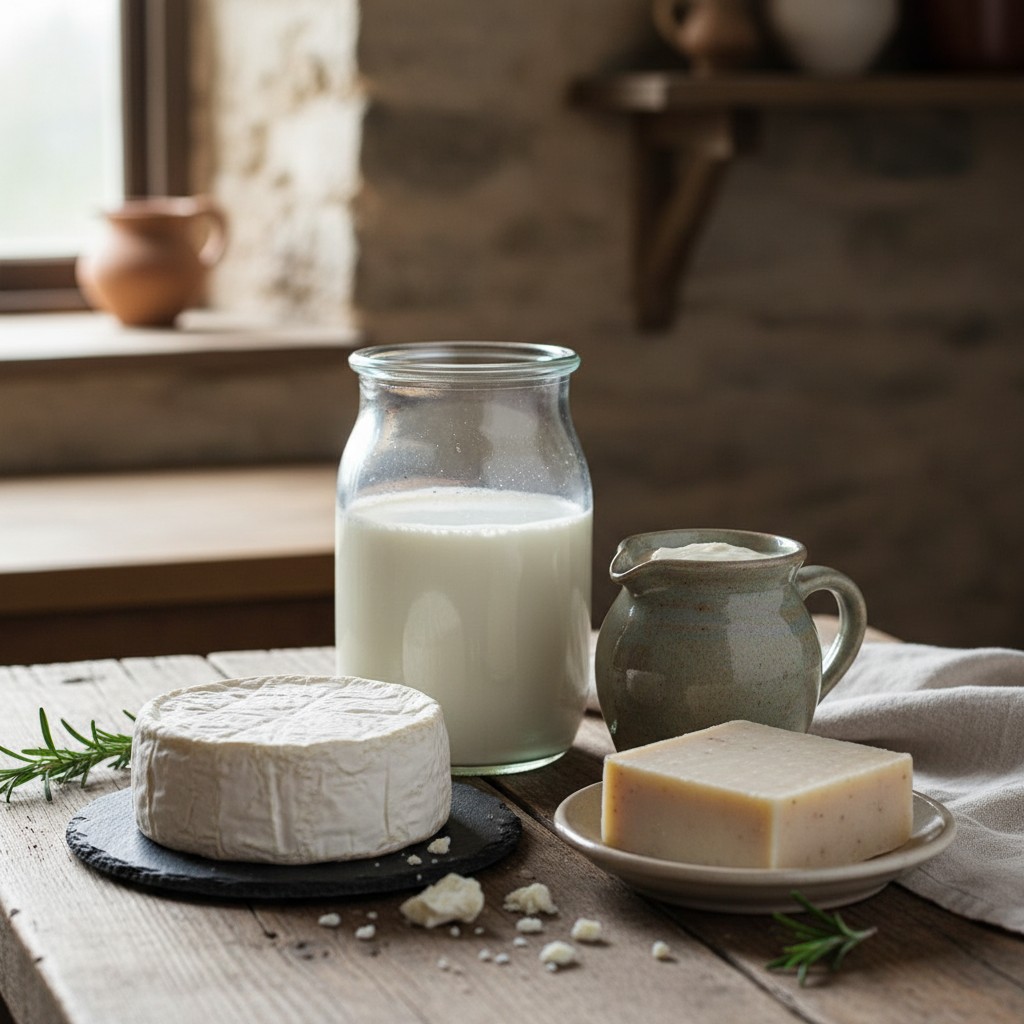
Cheese Making
Goat milk makes exceptional cheese, from simple chevre (fresh goat cheese) to aged varieties. Chevre requires only milk, an acid (lemon juice or vinegar), and salt, you can make it in an hour. More complex cheeses require cultures and rennet but are entirely achievable at home. Our cheese-making guide covers the basics in detail.
Yogurt
Goat milk yogurt is tangy, creamy, and easier to digest than cow’s milk yogurt for many people. The process is the same as making cow’s milk yogurt, heat, cool, add culture, incubate. Goat milk yogurt tends to be thinner than cow’s milk yogurt; straining it through cheesecloth makes a thick Greek-style version.
Soap
Goat milk soap is luxurious, moisturizing, and a fantastic homestead product to make for personal use or to sell. The natural fats in goat milk create a creamy lather that’s gentle on sensitive skin. Check out our soap-making guide if you’re interested in this rewarding craft.
Cooking
Use goat milk anywhere you’d use cow’s milk, baking, sauces, puddings, ice cream. It’s a perfect ingredient for anyone building a from-scratch kitchen. Goat milk makes particularly wonderful cajeta (Mexican caramel sauce) and fudge.
Dealing with Common Milking Challenges

The Goat Won’t Stand Still
A fidgety goat is usually a goat that’s uncomfortable, bored, or hasn’t learned the routine yet. Make sure the milking stand is stable (no wobbling), provide plenty of grain, and be patient during the first week. Some milkers hobble the back legs with a soft strap until the goat learns to stand calmly. Most goats settle within 3-5 milking sessions.
She Keeps Kicking the Bucket
Kicking can indicate teat soreness, cold hands, or just an ornery personality. Warm your hands before milking, be gentle, and consider using a bucket with a smaller opening that’s harder to kick over. Some milkers hold the pail between their knees for security.
Low Milk Production
If production drops suddenly, check for illness, stress, feed changes, or heat/cold extremes. Gradual decline is normal as lactation progresses. To maximize production, milk at consistent times, milk completely, ensure adequate nutrition (especially water, a lactating doe can drink 2-3 gallons per day), and provide quality hay and minerals.
Mastitis
Mastitis is an udder infection that requires prompt treatment. Signs include hot, swollen, or hard udder; clumpy, stringy, or bloody milk; a doe that’s reluctant to be milked. Mild cases may respond to frequent milking and peppermint udder balm, but most cases require antibiotics from a veterinarian. Prevention is key: clean milking practices, complete udder evacuation, and post-milking teat dip.
Building Your Hand Strength
Nobody warns you about this, but milking is a workout for your hands and forearms, especially in the beginning. New milkers often experience cramping and soreness for the first week or two. Here are some tips:
- Squeeze a stress ball or tennis ball for 5 minutes a day in the weeks leading up to your first milking
- Take breaks during milking if your hands cramp, the goat won’t mind a 30-second pause
- Alternate which hand leads to distribute the effort
- Your endurance will build quickly, within 2-3 weeks, most people can milk without fatigue
Milking Through the Seasons
Most dairy goats freshen (give birth and begin lactating) in the spring. Lactation typically lasts 10 months, with peak production in months 1-3 and gradual decline through the rest of the year. Many homesteaders breed does to kid in staggered months so they have year-round milk supply.
The two months before kidding (the dry period) give the doe’s body time to rest and prepare for the next lactation. During this time, you can take a break from milking too, something every goat keeper appreciates, especially in the dead of winter.
Frequently Asked Questions
How long does it take to milk a goat?
Once you’ve developed the technique, milking one goat takes 5-8 minutes. Add 5 minutes for setup and cleanup, and you’re looking at about 15 minutes per goat, per milking session. Beginners will take longer, 15-20 minutes per goat is normal when starting out.
Can I milk once a day instead of twice?
Yes, though production will decrease by about 30-40%. Once-a-day milking works well for homesteaders who don’t need maximum production. Some breeds, like Nigerian Dwarfs, adapt to once-a-day milking quite well. Just be consistent, don’t switch back and forth between once and twice daily.
Do I need to pasteurize goat milk?
This is a personal decision. Many homesteaders drink raw goat milk and prefer its taste and nutritional profile. Others pasteurize for food safety, especially if serving to young children, elderly, or immunocompromised family members. If you pasteurize, heat to 161°F for 15 seconds (flash pasteurization) or 145°F for 30 minutes (batch pasteurization).
How long does fresh goat milk last in the fridge?
Properly handled and rapidly cooled goat milk stays fresh for 7-10 days in the refrigerator. If your milk is going off sooner, focus on faster cooling after milking and more thorough equipment sanitation. Glass containers preserve flavor better than plastic.
What breed of goat produces the most milk?
Saanens and Alpines are the top producers, with some does giving over a gallon per day. Nubians produce less volume but with higher butterfat content (ideal for cheese). Nigerian Dwarfs produce the least volume but the richest milk (averaging about 6.1% butterfat (individual does can exceed 8–10%; Nigerian Dwarf Goat Association)), and they’re the best choice for small properties due to their compact size.
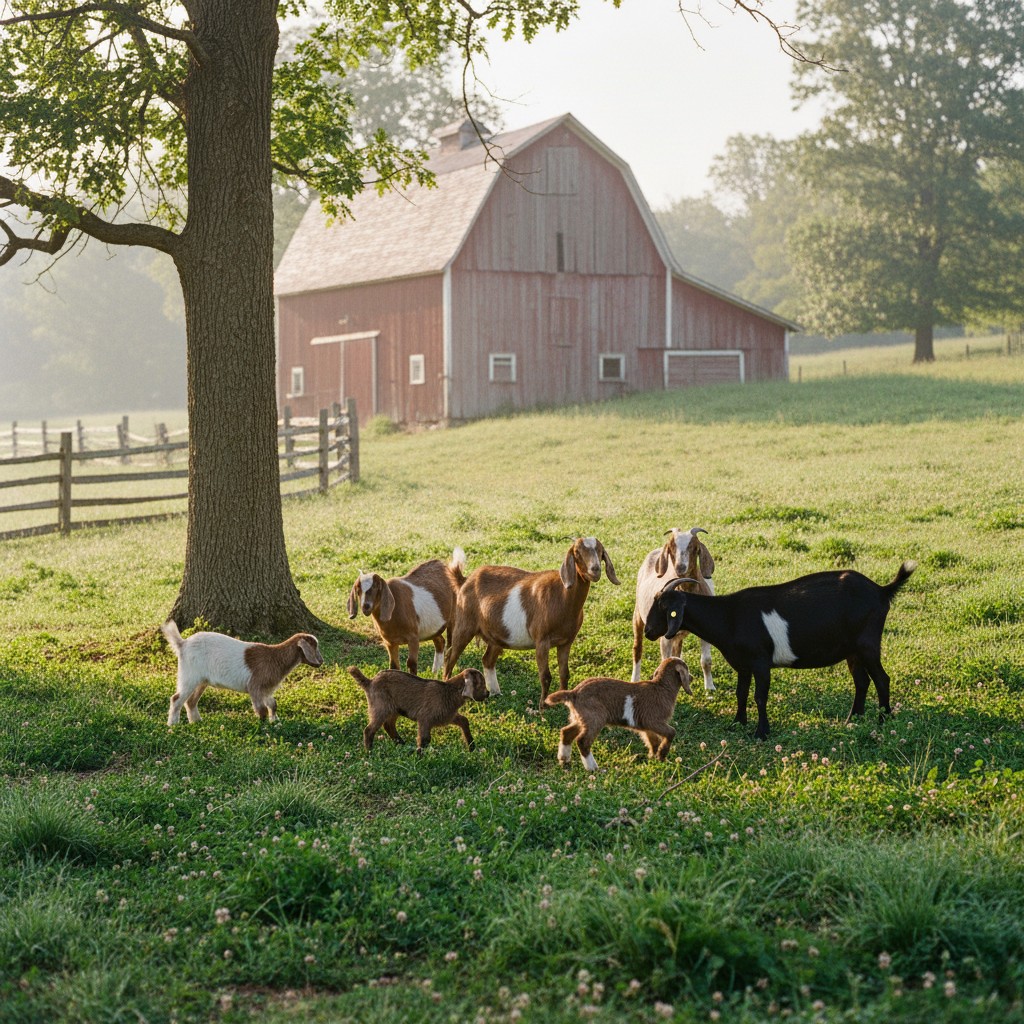
🌱 From Our Homestead
Our neighbor keeps Nigerian Dwarf goats and let us help with kidding season last year. After spending a week bottle-feeding baby goats, I am pretty sure goats are in our future too, and I have been practicing my milking technique on every willing goat I can find.