How to Ferment Salsa Verde (Safe, Small-Batch Method)
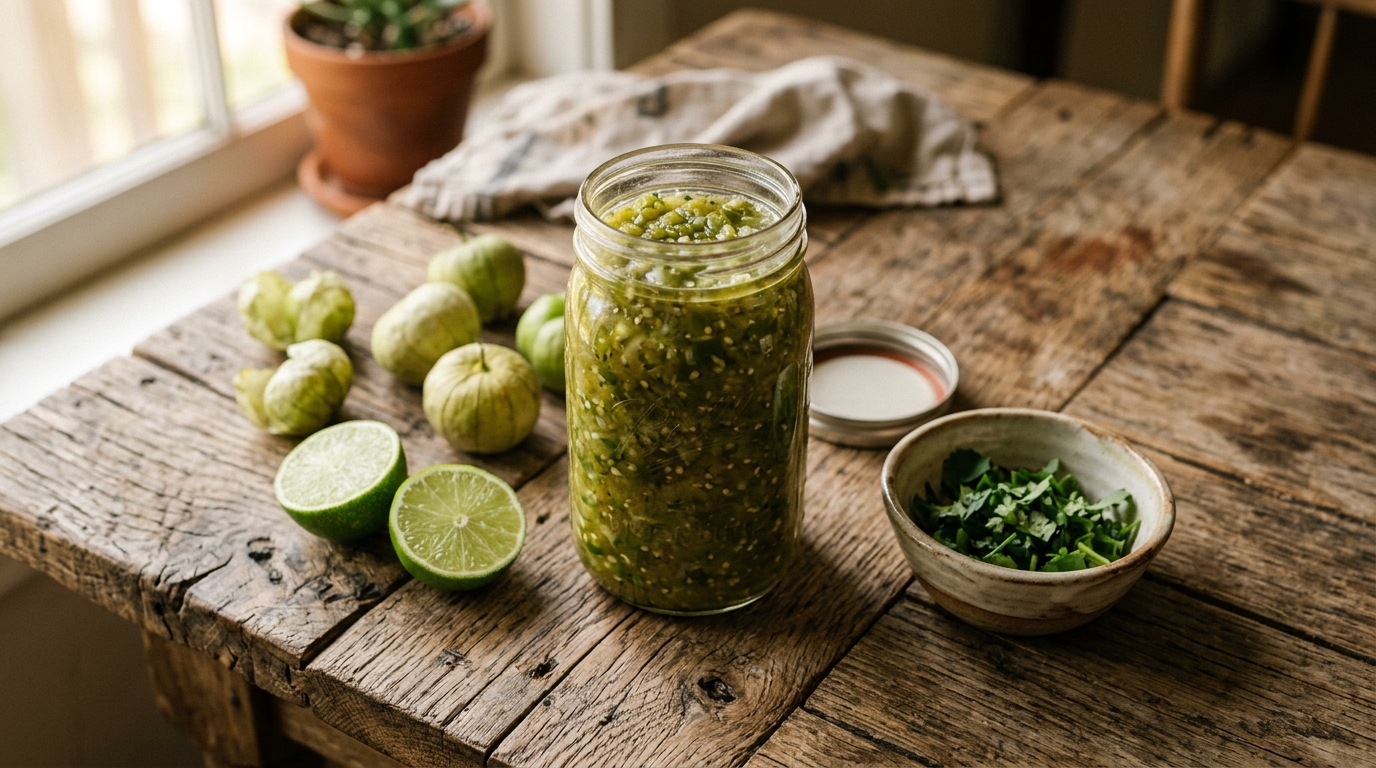
Tomatillos are one of the few summer harvests that come pre-loaded with everything a lacto-ferment needs. According to a review of Physalis philadelphica in the National Science Foundation’s Public Access Repository, ripe tomatillos hold a natural pH below 4.1 and carry phenolic compounds plus physalins with antimicrobial activity. A properly salted crock of chopped tomatillos, garlic, onion, and chile does not have to work hard to cross the pH 4.6 safety line the FDA sets for fermented foods.
On our property in southeastern Pennsylvania I put up two gallons of fermented salsa verde every August, right after the second flush of tomatillos ripens off the vine. The husks split, the fruit hits the counter pale green, and by the following weekend the pantry smells like a taqueria. This guide walks through the salt math, the timeline, and the small fixes that keep a batch on the safe side of the pH threshold.
Why Does Lacto-Fermentation Work for Salsa Verde?
Lacto-fermentation works for salsa verde because lactic acid bacteria (LAB) on the surface of the tomatillos and chiles convert their sugars into lactic acid, drop the pH below 4.6, and lock out the pathogens that would otherwise spoil the jar. According to a USDA NIFA safety publication, the FDA defines fermented foods as “low-acid foods subjected to the action of acid-producing micro-organisms to reduce the pH of the food to 4.6 or below,” which is the same acidity target boiling-water canning uses.
Illinois Extension identifies the specific microbes at work: “Of the many groups of fermenting bacteria, those from the lactic acid bacteria family are the most important in vegetable fermentation, specifically Leuconostoc, Lactobacillus and Pediococcus species.” Tomatillos start acidic already, so the ferment finishes fast and tastes clean rather than sour-funky the way a long sauerkraut does.
What Ingredients Do You Need for a Half-Gallon Batch?
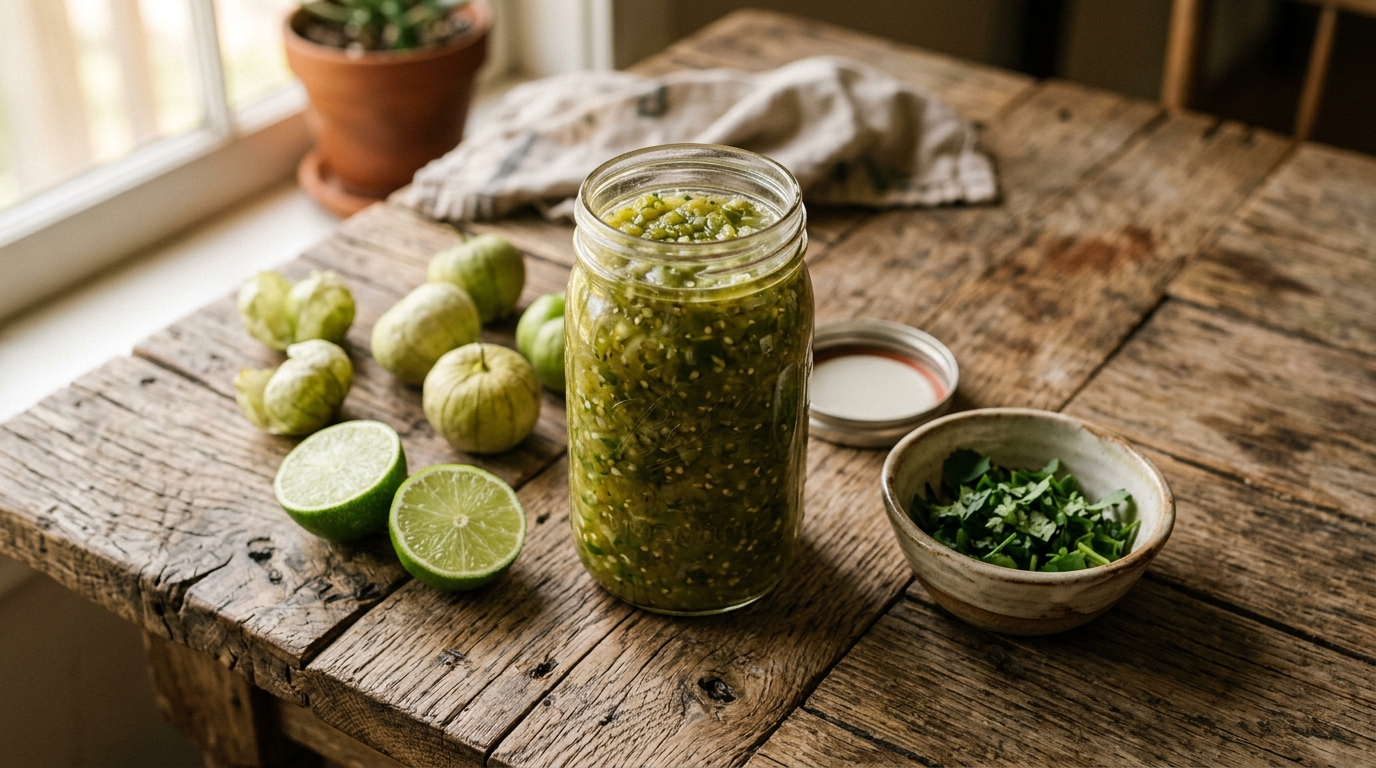
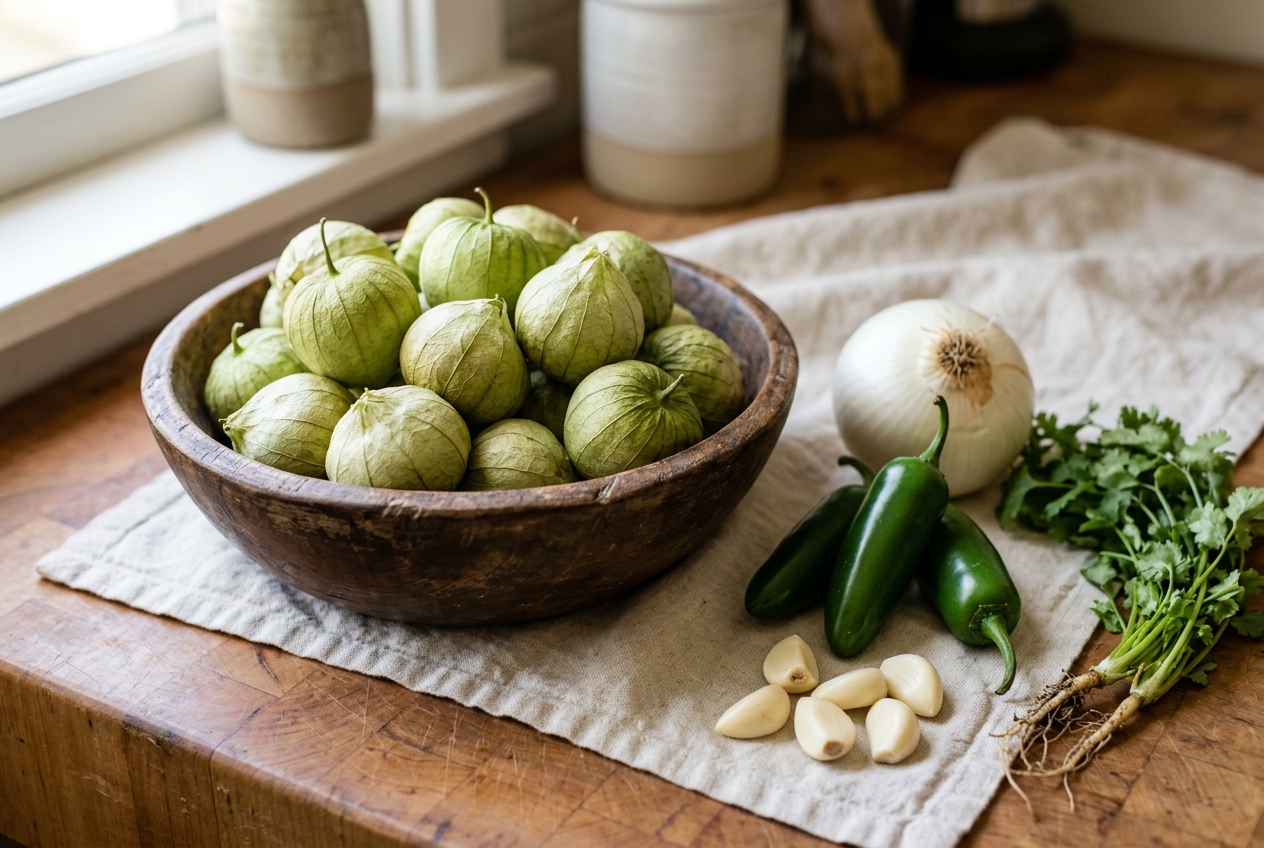
A half-gallon jar of fermented salsa verde takes about 2 pounds of husked tomatillos, 2 to 4 fresh jalapeños or serranos, one medium white onion, 4 to 6 garlic cloves, a small bunch of cilantro, and non-iodized salt calculated at 2 to 2.5 percent of the total vegetable weight. According to Illinois Extension, lactic acid bacteria “can tolerate a brine solution with 1.5-5% salt, but 2-3% is ideal for flavor in most vegetable ferments,” which is why the middle of that range is the safest default.
Core ingredients for one 64-ounce jar:
- 2 pounds (about 900 grams) fresh husked tomatillos, rinsed of their sticky coating
- 2 to 4 jalapeño or serrano chiles, stems removed, seeds optional
- 1 medium white or yellow onion (about 200 grams)
- 4 to 6 garlic cloves, peeled and lightly smashed
- 1 small bunch cilantro (roughly 30 grams, stems and all)
- Non-iodized salt: 26 to 28 grams for a 2.5 percent brine on ~1,130 grams of veg
- Filtered or dechlorinated water only if the mixture needs extra liquid to submerge
Skip: iodized table salt (iodine inhibits LAB), chlorinated tap water (chlorine kills the same microbes you want), and lime juice at the front end (bottled lime is for canning safety, not fermenting).
How Do You Pick and Prep the Tomatillos?
Choose tomatillos whose fruit completely fills a taut, papery husk that has just begun to dry, split, and turn from green toward tan. South Dakota State University Extension describes the harvest window this way: “the fruit is ready to harvest when it completely fills the husk and easily falls off the plant when picked, with the husk drying out and turning from green to tan, beginning to split open.” Underripe tomatillos taste flatly grassy in the finished salsa; overripe yellowing ones ferment mushy.
Peel off the husks and rinse the fruit under cool water. The surface is sticky with a natural saponin coating that will foam in the sink; that is normal. University of Minnesota Extension advises washing produce for fermentation “under cool running water without scrubbing, as scrubbing may remove the beneficial bacteria needed for fermentation,” so a quick swish is all you want. Halve or quarter the tomatillos so they fit the food processor pulse, and set them in a large mixing bowl with the onion, garlic, chiles, and cilantro.
What Salt Ratio Should You Use?
Weigh every vegetable in the bowl on a kitchen scale, add the weights together, and multiply the total by 0.025 to get the salt in grams for a 2.5 percent ferment. That percentage sits in the sweet spot Illinois Extension identifies (1.5 to 5 percent tolerance, 2 to 3 percent ideal) and is high enough to slow spoilage yeasts while still letting Lactobacillus multiply fast.
Example: 900 grams tomatillos + 200 grams onion + 30 grams cilantro + 30 grams chiles + 20 grams garlic = 1,180 grams of veg. Multiply by 0.025 = 29.5 grams of salt (about 2 tablespoons of fine sea salt or 1.75 tablespoons of pickling salt). Use non-iodized salt only, since iodine and anti-caking agents suppress the bacteria you want. If your kitchen runs hot in summer (above 78 degrees Fahrenheit), nudge the ratio to 3 percent to slow the ferment and reduce the risk of kahm yeast on the surface.
How Do You Ferment the Salsa Verde Step by Step?
Pulse the salted vegetables into a chunky salsa texture, pack into a clean half-gallon jar with headspace, weight everything below the brine, and cap loosely so gas can escape. The salt draws liquid out of the tomatillos within an hour, so most batches self-brine and never need added water.
- Combine the tomatillos, onion, garlic, chiles, and cilantro in a large bowl. Sprinkle the weighed salt over the top and toss with clean hands.
- Pulse in a food processor in two batches, 6 to 10 pulses each, until the mixture reaches a coarse relish texture. Do not puree; fibrous chunks trap gas and help the brine circulate.
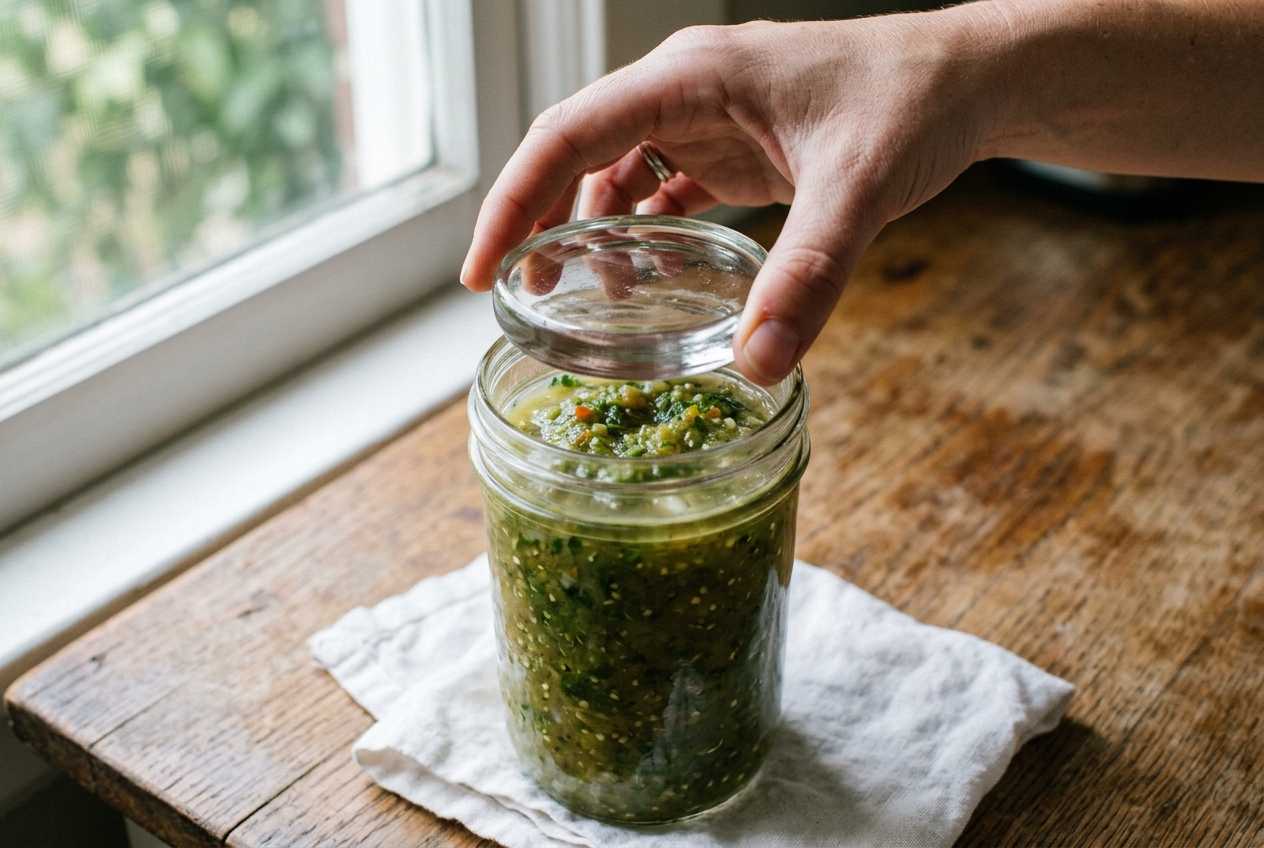
- Pack into a clean half-gallon glass jar, pressing down every inch with a wooden spoon to release air pockets. Leave at least 2 inches of headspace; the ferment will bubble up.
- Weigh the salsa below the brine with a glass fermentation weight, a water-filled zip-top bag, or a cabbage leaf topped by a smaller jar.
- Cover with a fermentation airlock lid or a loose jar band. A hard-sealed jar builds pressure and can crack.
- Set the jar on a rimmed baking sheet (it will weep) in a shaded spot at 65 to 75 degrees Fahrenheit.
How Long Does the Ferment Need to Sit?
Most salsa verde ferments finish in 5 to 10 days at a steady 68 to 72 degrees Fahrenheit, with active bubbling starting inside the first 36 hours. Warmer kitchens speed things up (as short as 3 to 4 days at 78 degrees) and cool basements slow them down (10 to 14 days at 60 degrees). The finish signal is not a clock; it is the smell and the acidity.
Taste a spoonful on day 4 and again every day after. You want the harsh raw-onion bite to have mellowed into a clean tang that reads more like a good tomatillo salsa from a taqueria than a raw slaw. If you own pH strips or a meter, a reading at or below 4.0 confirms you have hit the safety zone the FDA’s 4.6 threshold defines. Cover, chill, and move on when the flavor is where you want it.
How Can You Tell When It’s Ready?
A finished lacto-fermented salsa verde smells cleanly sour, tastes bright and tangy without any raw-vegetable rasp, and stops actively bubbling when you tap the jar. The brine turns from clear to cloudy in the first two days, which is normal. On day 5 or so, bubbling slows, the salsa darkens slightly from bright green toward olive, and the flavor rounds into something you would happily spoon straight over eggs.
Trust taste more than time. If the salsa still bites your tongue with raw allium sharpness on day 6, give it another two days. If it already tastes tangy and complex on day 4 in a warm August kitchen, pull it. Transfer the finished salsa to clean pint jars, cap tightly, and refrigerate. Cold storage effectively pauses fermentation, and refrigerated jars keep their flavor for at least three months in our experience.
Is Kahm Yeast a Problem, or Not?
A thin, flat, cream-colored film on the surface of the brine is kahm yeast, not mold, and it is not dangerous. It is a nuisance flavor rather than a health risk. According to fermentation resources summarizing food-safety research, “unlike many molds, kahm yeasts are not known to produce mycotoxins.” Skim it off with a clean spoon, make sure everything is still submerged, and continue the ferment.
Mold is a different story. Any fuzz on the surface, in any color (white, black, green, blue, pink), means the batch has been compromised. Kahm-yeast guides sum up the visual test bluntly: “Mold is fuzzy, even a thin layer of fuzz distinguishes it from the smooth, flat texture of Kahm. Mold can be white, black, green, blue, or pink. Any fuzz means discard.” Food-safety agencies advise against scraping mold off moist fermented foods and instead throwing the whole jar.
What Common Mistakes Ruin a Batch?
Most failed salsa verde ferments trace back to one of five preventable errors: iodized salt, chlorinated water, a floating cap of vegetables above the brine, a warm sunny counter, or a sealed lid that traps CO2 until the glass cracks. Any of these can either kill the bacteria you want or invite the ones you do not.
- Iodized or anti-caking salt. Both suppress lactic acid bacteria. Use pickling, kosher (without anti-caking additives), or fine sea salt.
- Chlorinated tap water. Chlorine kills LAB on contact. If you need to top up brine, use filtered, boiled-and-cooled, or bottled spring water.
- Vegetables above the brine. Exposed produce dries out and grows kahm yeast or mold. Weight everything down; check daily for the first three days.
- Warm, sunny spot. Direct sun heats the jar past the LAB-friendly 65 to 75 degree Fahrenheit window and pushes it into spoilage-yeast territory.
- Tightly sealed lid. CO2 pressure builds fast and can shatter the jar. Use an airlock, a loose band, or “burp” the jar once a day.
How Do You Store and Serve Fermented Salsa Verde?
Transfer the finished salsa to clean pint or quart jars, seal, and refrigerate; expect at least three months of good flavor from a well-fermented batch. Some fermenters report six months of edible salsa, but the tomatillos slowly break down and the texture softens over time, so a batch made in late August is best used up by Thanksgiving for peak texture.
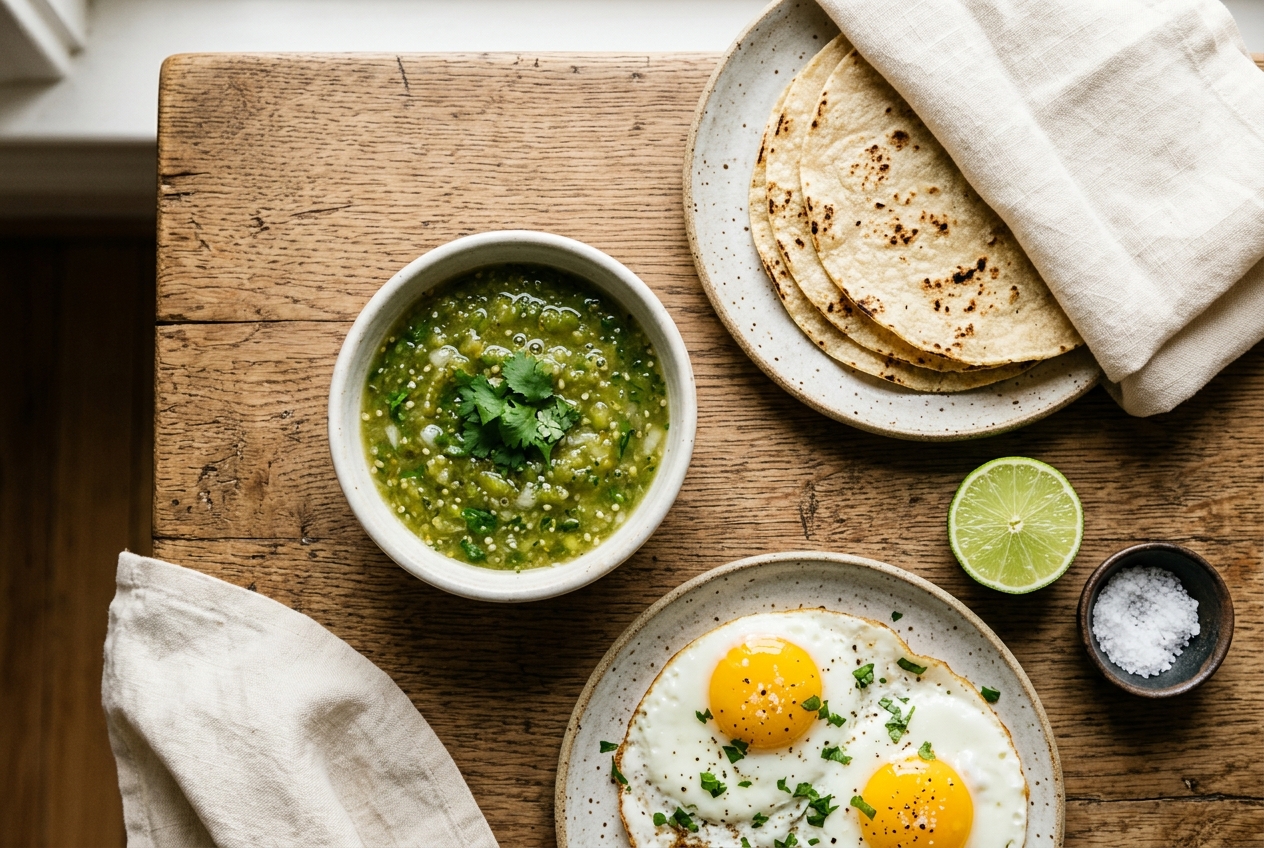
Beyond chips, fermented salsa verde carries almost any egg dish, folds into a burrito bowl, thins into a marinade for grilled chicken with a squeeze of fresh lime, or spoons over roasted sweet potatoes. Because live cultures do not survive high heat, add it after cooking, not before, if you want the probiotic benefit. Stanford Medicine reports that a 10-week diet high in fermented foods produced “measurable improvements in microbiome diversity and decreases in inflammation markers” in the volunteers who ate them cold or gently warmed.
Pair a spoonful with homemade cheese and warm tortillas, or use it as a bright counter to a slice of fresh sourdough topped with sliced avocado.
How Does This Compare to Canning or Refrigerator Salsa?
Three home methods produce salsa verde, and they are not interchangeable. Fermented salsa is preserved by lactic acid the microbes generate; canned salsa is preserved by heat plus added vinegar or lime juice; refrigerator salsa is simply fresh and holds for a week or two in the fridge. Fermented and canned versions both cross the pH 4.6 safety line but by different paths.
| Method | Preservation Mechanism | Shelf Life | Retains Live Cultures? |
|---|---|---|---|
| Fermented (this guide) | Lactic acid from LAB drops pH below 4.6 | 3 to 6 months refrigerated | Yes, if kept cold and unheated |
| Water-bath canned | Added acid (vinegar/bottled lime) plus heat | 12 to 18 months pantry | No, heat inactivates cultures |
| Fresh refrigerator | Cold storage only | 7 to 14 days refrigerated | No, not fermented |
If you want a pantry-stable jar, follow a tested canning recipe such as our homemade salsa recipe for canning. If you want the probiotic and complex-flavor payoff of live cultures, ferment. If you want salsa tonight, make it fresh.
Frequently Asked Questions
Is fermented salsa verde safe to eat?
Yes, when lactic acid bacteria have driven the pH below 4.6, the FDA safety threshold for fermented foods. A properly salted (2 to 2.5 percent) batch held at 65 to 75 degrees Fahrenheit for 5 to 10 days finishes well below that line. Tomatillos start at a natural pH of 4.1 or lower per NSF-hosted research, so the acidification distance is small. Use pH strips or a meter for a hard number, and discard any batch showing fuzzy surface mold rather than the flat cream film of kahm yeast.
Can I ferment salsa verde without a starter culture or whey?
Yes, and most traditional recipes work exactly this way. The lactic acid bacteria you need already live on the surface of the tomatillos, chiles, and onion. Salt at 2 to 2.5 percent selects for LAB while suppressing spoilage organisms. Whey or a vegetable-brine starter can shorten the initial lag phase by a day, but it is not required. If you want a jump start, a tablespoon of brine from a previous ferment or an active jar of raw sauerkraut is enough.
How much heat can I add without killing the cultures?
Live lactic acid bacteria in fermented vegetables begin to die off above about 115 degrees Fahrenheit. If you want the probiotic benefit, spoon the salsa cold onto warm food or stir it in at the end after the pan comes off the heat. Cooked-in salsa still tastes great, and the acid is stable, but the microbes and heat-sensitive enzymes will not survive a simmer. A common compromise: reserve half the batch for cold applications and cook the other half into sauces without worrying about the culture count.
Can I use green tomatoes instead of tomatillos?
You can, but the result is a different product with a different safety profile. Green (unripe) tomatoes are less acidic than ripe tomatillos and carry higher levels of tomatine alkaloids, which taste bitter and can cause GI upset in quantity. If tomatillos are unavailable, use a mix of green tomatoes plus a splash of raw apple cider vinegar stirred in after fermentation finishes to lift the pH profile closer to the tomatillo original.
Why is my salsa verde bubbly and cloudy?
Cloudy brine, small bubbles, and a fizzy taste on day 2 through day 5 all confirm that lactic acid bacteria are active. Illinois Extension notes carbon dioxide release is a defining feature of a healthy vegetable ferment. Bubbling slows and stops as sugars are used up. Cloudy brine on its own is fine. Discard the jar only if you see fuzz, unusual colors (pink, orange, black), sliminess in the vegetables, or a putrid rather than pleasantly sour smell.
Do I need special equipment to get started?
A clean half-gallon glass jar, a kitchen scale, non-iodized salt, and any workable weight (glass fermentation weight, water-filled zip-top bag, or clean rock in a bag) is enough for a first batch. An airlock lid is convenient because it vents CO2 automatically, but a loose two-piece canning band works. Longer term, a stoneware crock and dedicated glass weights make bigger batches easier, and a $15 pH meter removes any guesswork on the safety threshold. Start with what you already own.
Ready to Try Your First Batch?
Salsa verde is one of the most forgiving ferments a homesteader can put up. Tomatillos come acidic, the salt math is simple, and the finish window is wide enough that even a busy week away from the jar does not ruin a batch. Weigh the vegetables, salt at 2 to 2.5 percent, submerge below the brine at 65 to 75 degrees Fahrenheit for a week, and refrigerate. Trust taste over the calendar; pull the jar when the flavor is where you want it. Once you have a rhythm, scaling to a full gallon crock every August is easy, and that pantry supply coasts through winter over eggs, tacos, and roasted vegetables. For the science that underpins every vegetable ferment, our beginner’s guide to fermentation covers the microbiology, and if you would rather can a shelf-stable jar, our water-bath canning for beginners guide walks the tested method.