DIY Outdoor Kitchen: Build a Cooking Space on a Budget
Key Takeaways
- A functional DIY outdoor kitchen can be built for as little as $200-500 using reclaimed materials, you don’t need a $10,000 contractor build to cook outside.
- Start with a solid countertop surface and a grill or burner, everything else (sink, storage, pizza oven) can be added incrementally over time.
- Concrete countertops are the most budget-friendly durable option, costing $30-80 in materials for a standard-sized workspace.
- Place your outdoor kitchen within 50 feet of your house for practical access to water, electricity, and your indoor kitchen.
- A basic roof or pergola overhead extends your cooking season dramatically and protects equipment from weather damage.

Why Build an Outdoor Kitchen?
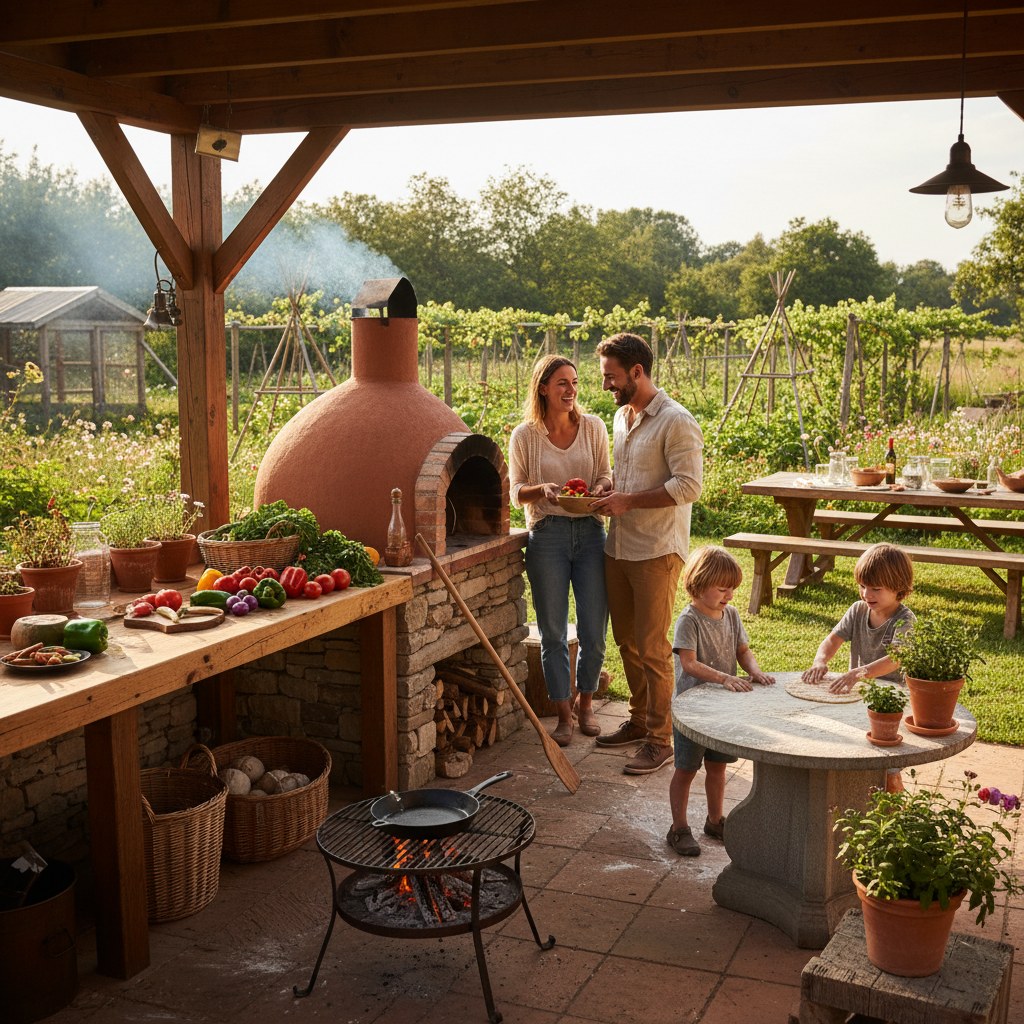
There’s a reason every culture with decent weather cooks outside. It keeps the house cool in summer, fills the yard with incredible smells instead of your curtains, and turns meal prep from a chore into an event. An outdoor kitchen is where your garden harvest meets the grill, where you can smoke a brisket for 14 hours without worrying about the smoke alarm, and where summer dinners stretch from evening into night with nobody wanting to go inside.
The problem is that most outdoor kitchen content online shows $15,000 stone-and-granite builds with built-in refrigerators and professional gas lines. That’s lovely, but it’s not what most homesteaders need or can afford. A practical, functional outdoor cooking space can be built on a real-world budget. The trick is starting with what matters and adding the rest over time.
Planning Your Layout
Before you buy a single board, think through how you’ll actually use this space.
Location
Place your outdoor kitchen:
- Close to the house. Within 30-50 feet of your back door. You’ll be running inside for forgotten ingredients, utensils, and dishes constantly. Too far from the house and you’ll stop using it.
- Near a water source. Even if you’re not plumbing a sink, having a garden hose bib within reach makes cleanup vastly easier.
- Downwind of seating areas. Check your prevailing wind direction. You want smoke blowing away from where people sit, not into the dining area.
- On level ground. A concrete pad, existing patio, or compacted gravel base works. Cooking on uneven ground is frustrating and potentially dangerous.
- Away from overhanging branches. Fire safety. Keep at least 21 feet of vertical clearance above any open flame (NFPA 1 recreational-fire guidance; most fire-pit manufacturer specs).
The Work Triangle
Borrow the indoor kitchen concept: your prep area, cooking surface, and serving/plating area should form a triangle with no more than a few steps between each point. A simple L-shaped or straight-line layout works for most outdoor kitchens. U-shapes are great for larger builds but require more space and budget.
Size
A minimum functional outdoor kitchen needs about 6-8 feet of counter space and 4 feet of depth. That gives you room for a grill or burner at one end, a prep surface in the middle, and a landing zone for plates and tools. Most DIY builds end up at 8-12 feet long, which is comfortable for one or two cooks.
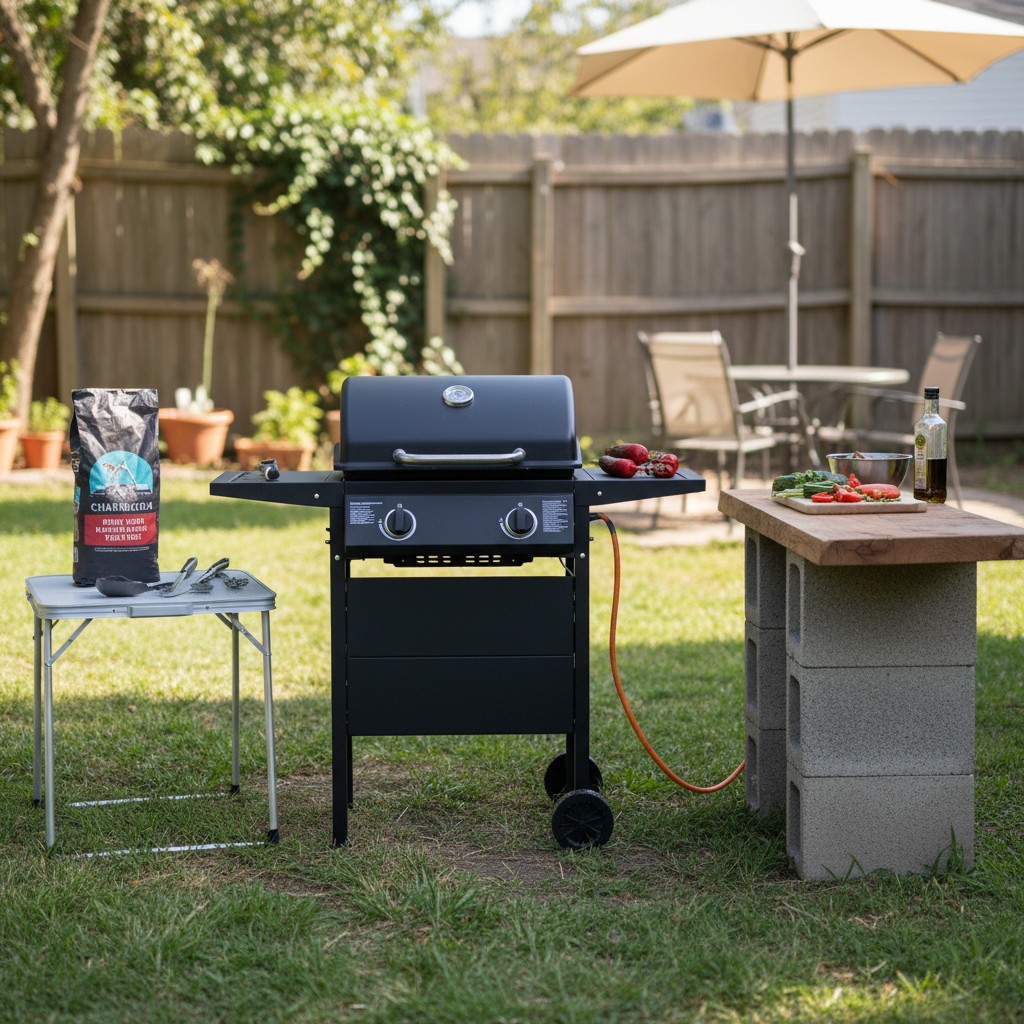
Budget Tier 1: The $200-500 Build
This is the “get cooking outside this weekend” approach. Simple, functional, and surprisingly satisfying.
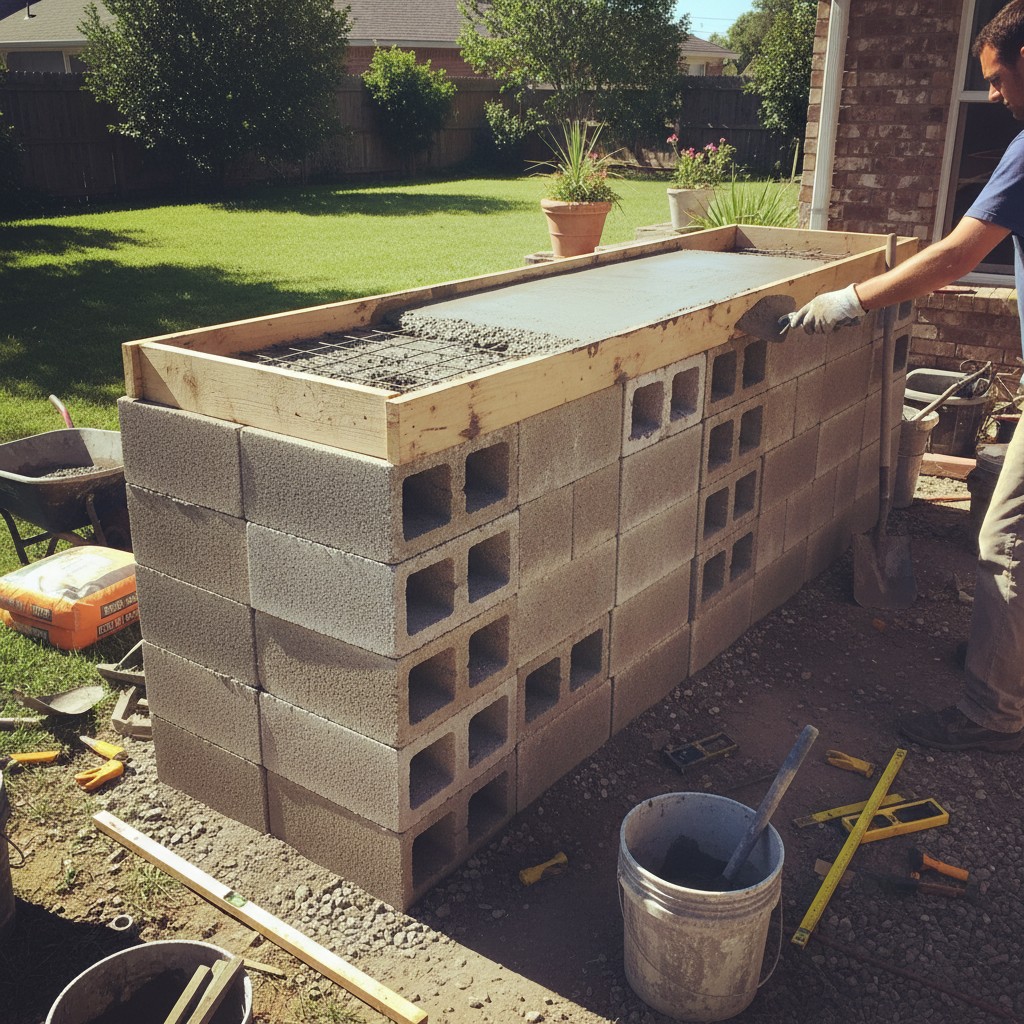
The Structure: Cinder Block Base
Stack standard 8x8x16 cinder blocks (CMU blocks) into a counter-height base. No mortar needed for a basic build, the weight of the blocks and countertop hold everything in place. A standard counter height is 36 inches, which is 4.5 blocks tall.
Build two columns of blocks about 4-6 feet apart. This creates an open frame that you can set a countertop on, with space underneath for storage bins, firewood, or a propane tank.
⚠ Propane Tank (LP) Storage. NFPA 58
NFPA 58 (Liquefied Petroleum Gas Code) requires that LP cylinders be stored outdoors, upright, and away from ignition sources. Do not store propane tanks inside an enclosed cabinet without adequate ventilation, even small leaks can accumulate to explosive concentrations in a confined space. Outdoor kitchen designs that enclose a propane tank in a tight cabinet need ventilation openings at the bottom (LP gas is heavier than air and pools low). Keep cylinders at least 5 feet from any ignition source, open flames, pilot lights, and electrical outlets. If your outdoor kitchen has a dedicated built-in gas line, have it installed and inspected by a licensed plumber or gas fitter.
Cost: about $1-2 per block. A basic two-column base uses 30-40 blocks, that’s $30-80.
The Countertop: Concrete
A poured concrete countertop is the most budget-friendly durable surface for outdoor use. Build a form from melamine-coated particleboard, mix bags of concrete countertop mix (available at home centers), pour, trowel smooth, and cure for 3-5 days. Seal with a food-safe concrete sealer.
For a 3×6 foot countertop, you’ll need about 4-6 bags of concrete mix. Total material cost: $30-80 including the form materials and sealer.
Alternative cheap countertop: a salvaged granite or stone slab from a countertop fabricator. Many shops sell remnants and cutoffs for $50-150. These are already polished, sealed, and sized, you just need to find one that fits your base.
The Cook Surface
At this budget, use whatever grill or burner you already own. A charcoal kettle grill, a two-burner propane camp stove, or even a fire pit with a grate all work. Set it beside your countertop, not on top of it (unless your countertop is specifically heat-rated).
If you need to buy a grill, a basic 22-inch charcoal kettle grill runs $60-80 and is among the most versatile outdoor cooking tools available.
Budget Tier 2: The $500-1,000 Build
This is where your outdoor kitchen starts feeling permanent and purpose-built.
Upgraded Structure
Replace (or supplement) the cinder block base with a wooden frame built from pressure-treated 2x4s and plywood, wrapped in cement board for fire resistance and weather durability. A framed structure lets you build in a specific grill opening, include storage cabinets underneath, and create exactly the layout you want.
Build the frame like a wall, studs at 16-inch centers, sheathed in cement board, and topped with your countertop material. Total framing materials for an 8-foot kitchen: $150-250.
Better Countertop Options
- Tile over cement board: Outdoor-rated porcelain tile is durable, heat-resistant, and looks great. Tile the top of your cement-board-covered frame. Cost: $50-150 for tiles and thin-set mortar.
- Butcher block (covered): If your outdoor kitchen has a roof, a sealed butcher block countertop adds warmth and a natural feel. Must be treated with mineral oil regularly and kept dry. Cost: $100-200.
- Poured concrete with embedded stone or glass: Upgrade your basic concrete pour with decorative aggregate for a custom look at minimal extra cost.
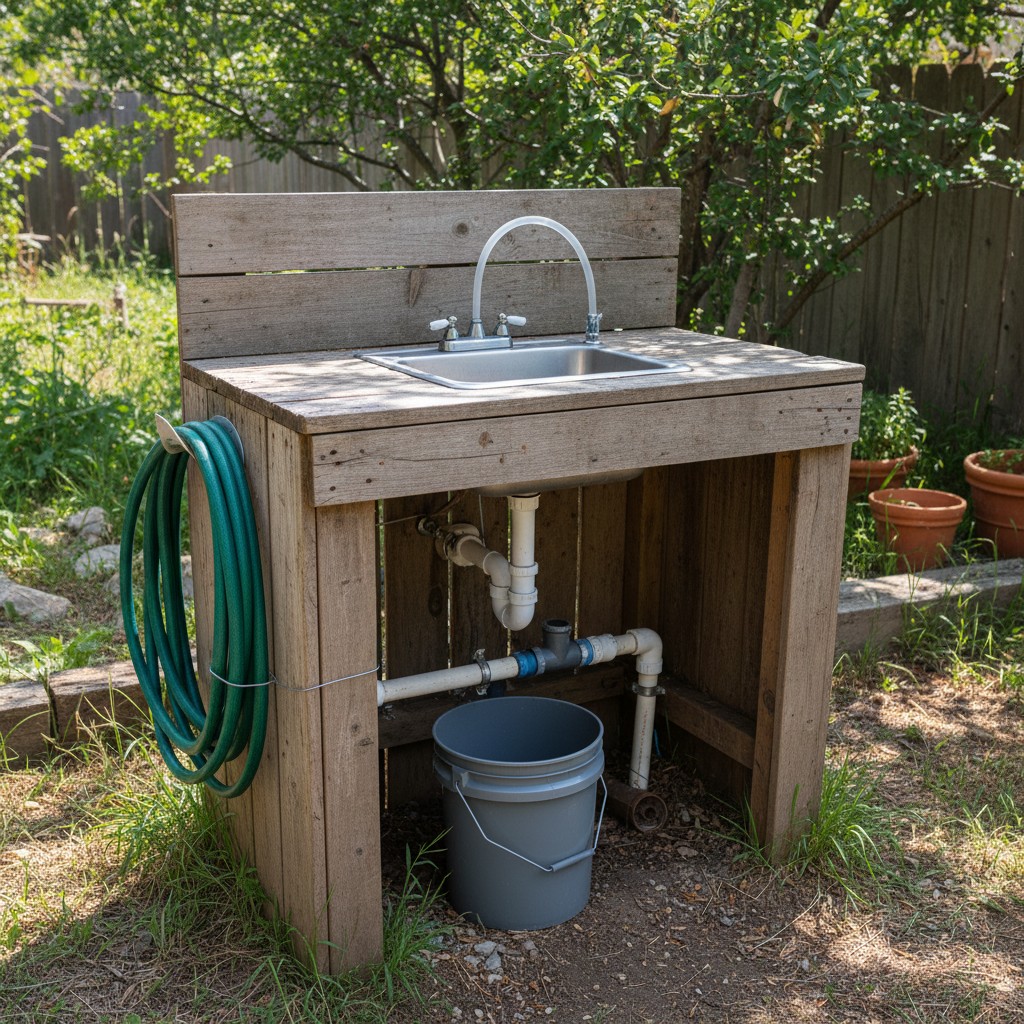
Add a Sink
A basic outdoor sink transforms your cooking workflow. The cheapest approach is a stainless steel bar sink ($30-50) connected to a garden hose for supply and draining into a bucket or French drain below. No hot water, no permanent plumbing, just cold running water where you need it.
For a more finished setup, run a garden hose through a quick-connect fitting mounted to the counter, and install a simple faucet. Gray water drains to a gravel pit or directly onto a garden bed (as long as you’re not using harsh chemicals).
Storage
Build open shelves below the counter using the same pressure-treated lumber. Or repurpose old kitchen cabinets, a surprising number end up on the curb during kitchen remodels. Seal them with exterior paint or polyurethane and they’ll last years in a covered outdoor kitchen.
Budget Tier 3: The $1,000-2,000 Build
This is a serious outdoor kitchen that you’ll use for years and that adds real value to your property.

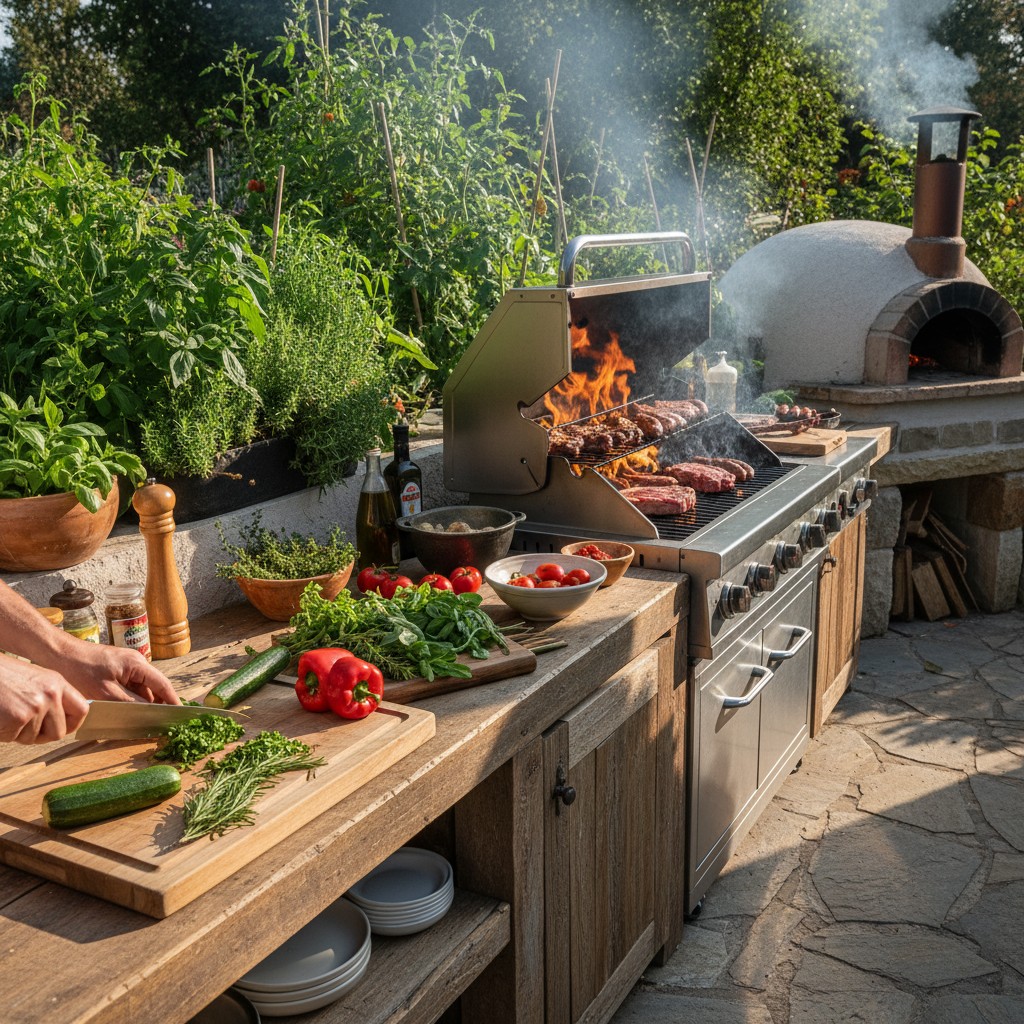
Built-In Grill or Smoker
A built-in gas grill insert ($300-600) or a dedicated smoker setup transforms the cooking experience. Frame the grill into your counter structure with proper ventilation clearances (check the manufacturer’s specs, every grill is different). Leave removable panels for maintenance access.
Alternatively, build a dedicated spot for a kamado-style ceramic grill (Big Green Egg, Kamado Joe) or an offset smoker. These don’t need to be built in, they just need a sturdy, level surface and adequate clearance from combustible materials.
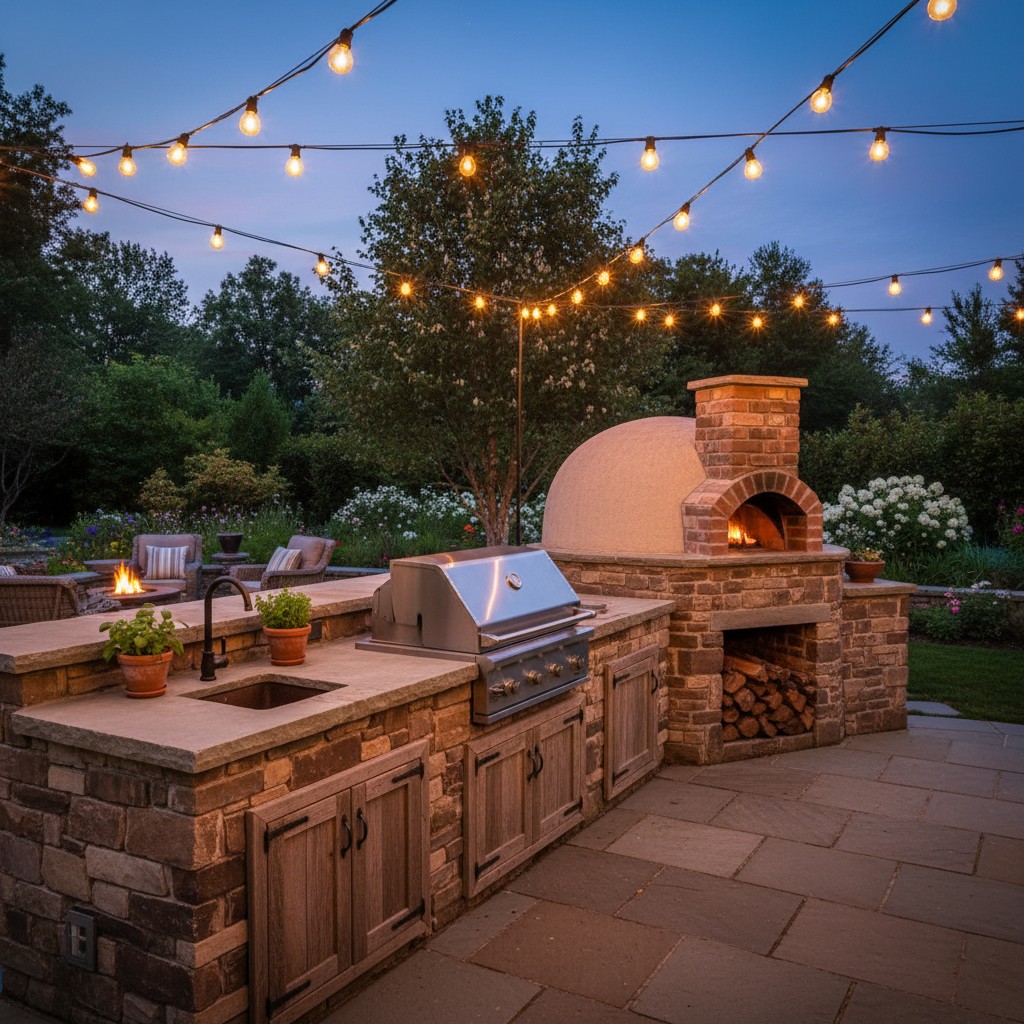
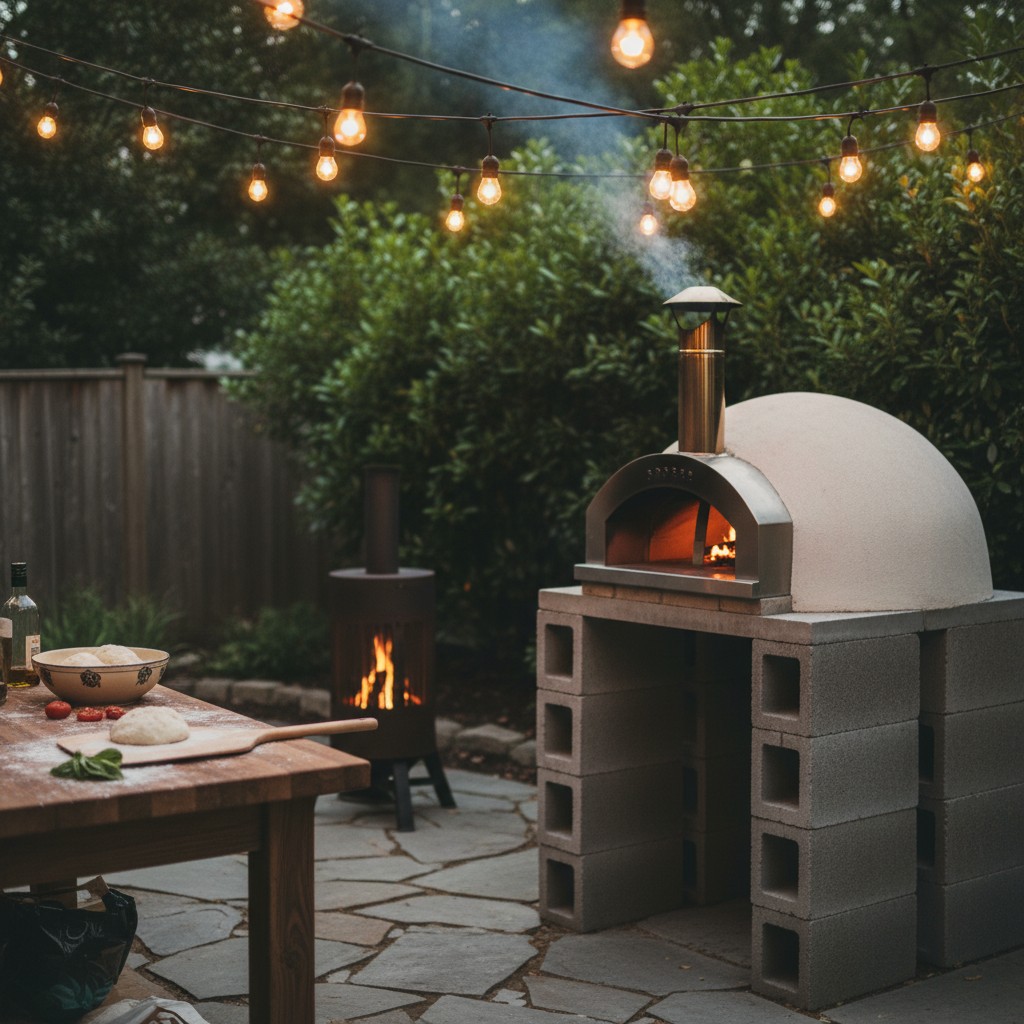
Pizza Oven Integration
A countertop wood-fired pizza oven (like the Ooni or a DIY version) can sit right on your outdoor kitchen counter or on a dedicated adjacent stand. At this budget level, you could also build a basic cob or brick pizza oven attached to the kitchen structure. More on this in a separate guide, but budget $200-500 for a DIY oven or $350-600 for a portable commercial one.
Shelter and Roof
A roof over your outdoor kitchen is the single biggest upgrade you can make. It extends your cooking season into rain, protects your equipment and surfaces, and defines the space visually.
Options from cheapest to most expensive:
- Shade sail or heavy tarp on posts: $50-150. Temporary but functional.
- Corrugated metal roof on a simple post frame: $200-500. Durable, weather-proof, and has a great rustic homestead look.
- Pergola with polycarbonate panels: $400-800. Lets in diffused light while keeping rain off.
- Full roofed structure with rafters: $800-2,000+. The permanent solution. Match the roofing material to your house for a cohesive look.
Practical Tips From Experience
- Build for drainage. Slope your countertop very slightly toward the front edge (1/8 inch per foot) so rainwater runs off rather than pooling. This applies to concrete, tile, and any other surface.
- Light it up. String lights, a couple of solar path lights, or a hardwired fixture under the roof make your outdoor kitchen usable after dark. You’ll use it twice as much if you can see what you’re doing at 8 PM.
- Plan for wind. An outdoor kitchen with no wind break is miserable on gusty days and dangerous when you’re working with flame. A half-wall or screen on the windward side makes a huge difference.
- Keep a cooler nearby. Until you install a mini fridge (if ever), a good cooler stocked with ice serves as your outdoor refrigerator. Keeps drinks cold, meat safe, and reduces trips to the house.
- Don’t forget a trash solution. A bin or can right at the kitchen prevents scraps from piling up on the counter. Simple thing, easy to overlook.
- Start small, expand later. Build a core station this year. Add a pizza oven next year. Extend the counter and add a sink the year after. Incremental building keeps costs manageable and lets you learn what you actually use before investing further.
Materials to Avoid
A few things that don’t hold up outdoors, no matter what the internet says:
- MDF or untreated particleboard: Swells and disintegrates with moisture. Even “water-resistant” MDF won’t survive outdoor exposure.
- Standard drywall: Falls apart in rain. Use cement board for any exterior surface.
- Indoor-rated plywood without sealing: Delaminates quickly. If using plywood, use marine-grade or exterior-grade and seal all edges.
- Regular indoor paint: Peels and fades in UV exposure. Use exterior-rated paint or stain.
- Cheap laminate countertops: The edges swell when wet and the surface bubbles in direct sun. Not suited for outdoor use.
Permits and Codes
Check your local building codes before starting. In many jurisdictions:
- A permanent structure with a roof may require a building permit.
- Gas lines for a built-in grill may need to be installed by a licensed plumber.
- Setback requirements may limit how close you can build to property lines.
- Fire codes may specify minimum distances between cooking equipment and combustible structures.
Electrical Safety: Outdoor Outlets Require GFCI Protection
If your outdoor kitchen will have any electrical outlets, for lights, small appliances, or a mini-fridge, the National Electrical Code (NEC) Section 210.8 requires Ground Fault Circuit Interrupter (GFCI) protection for all outdoor receptacles. GFCI outlets shut off power in milliseconds if they detect current leaking to ground, an essential safety feature where outlets are exposed to moisture and weather. Do not connect outdoor outlets to a standard indoor circuit without upgrading to GFCI. A licensed electrician can add a GFCI breaker or GFCI outlet to protect your outdoor cooking area. This is non-optional under code and genuinely life-saving near water sources like outdoor sinks.
A freestanding outdoor kitchen without permanent gas or electric connections often falls below the permit threshold, but verify before you build. An unpermitted structure can create headaches when you sell your property.
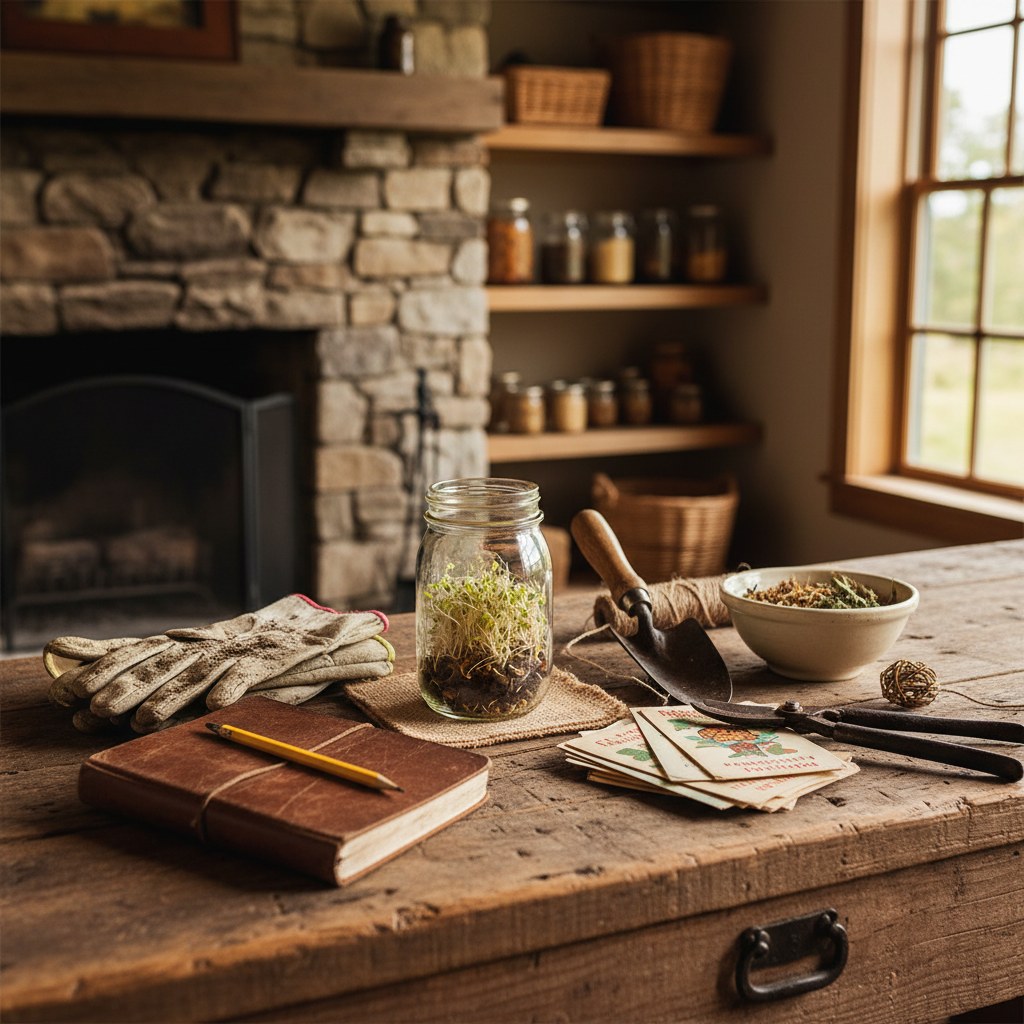
🌱 From Our Homestead
Our outdoor kitchen started as a simple cinder-block grill station and grew into our favorite spot on the homestead. We cook outside almost every evening in summer, and canning days are so much more enjoyable when you are not heating up the whole house.
Frequently Asked Questions
Do I need a concrete slab for an outdoor kitchen?
A concrete slab is ideal, it’s level, stable, easy to clean, and permanent. But it’s not strictly necessary. A well-compacted gravel pad (4-6 inches of compacted road base topped with 2 inches of pea gravel or crushed stone) provides a stable, well-draining surface for a fraction of the cost. Pavers on a compacted sand base also work well. What you want to avoid is building directly on bare soil, which can shift, settle unevenly, and turn to mud in rain.
How do I winterize my outdoor kitchen?
If you’re in a freezing climate, disconnect and drain any water lines before the first hard frost. Cover or remove the grill and any electronic components. Cover countertops with a waterproof tarp or fitted cover. Bring small items (utensils, cutting boards, spice racks) inside for the winter. If you have a concrete countertop, make sure it’s properly sealed, water infiltrating unsealed concrete will cause freeze-thaw cracking.
What’s the best countertop material for outdoor use?
Natural stone (granite, soapstone, or slate) is the gold standard, it handles heat, moisture, UV, and freezing temperatures without complaint. But it’s expensive. For DIY builds, poured concrete with a quality sealer is the best value: durable, heat-resistant, customizable, and affordable. Outdoor-rated porcelain tile is another excellent option that combines durability with a finished appearance. Avoid any material that can absorb water (wood, marble, limestone) unless it’s under a permanent roof and meticulously maintained.
Can I build an outdoor kitchen if I rent my home?
Yes: focus on a fully portable or freestanding design. A cinder block base with a removable countertop, a standalone grill, and a portable work table give you a complete outdoor kitchen that you can disassemble and take with you. Avoid pouring concrete, setting posts in the ground, or running permanent utilities. A shade sail on temporary poles, a garden hose for water, and a portable propane setup keep everything landlord-friendly and movable.