Similar Posts
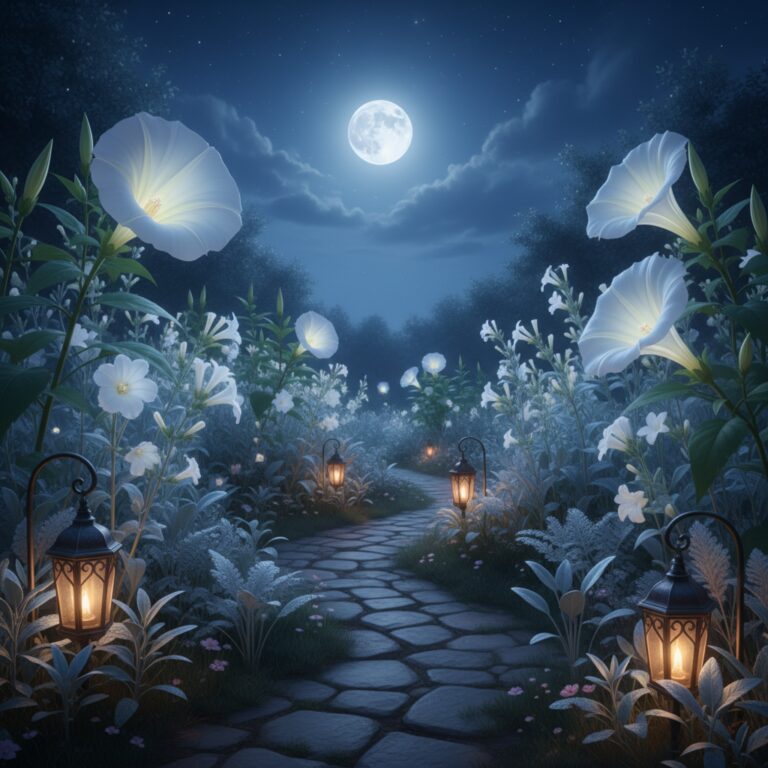
How to Create a Moon Garden: Night-Blooming Plants That Glow After Dark
🌱 From Our Homestead I planted our moon garden along the path between the house and the chicken coop so I could actually see where I was walking on late evening chore runs. The white blooms practically glow at dusk, and the night-blooming jasmine fragrance makes every trip out feel like a treat. How to…
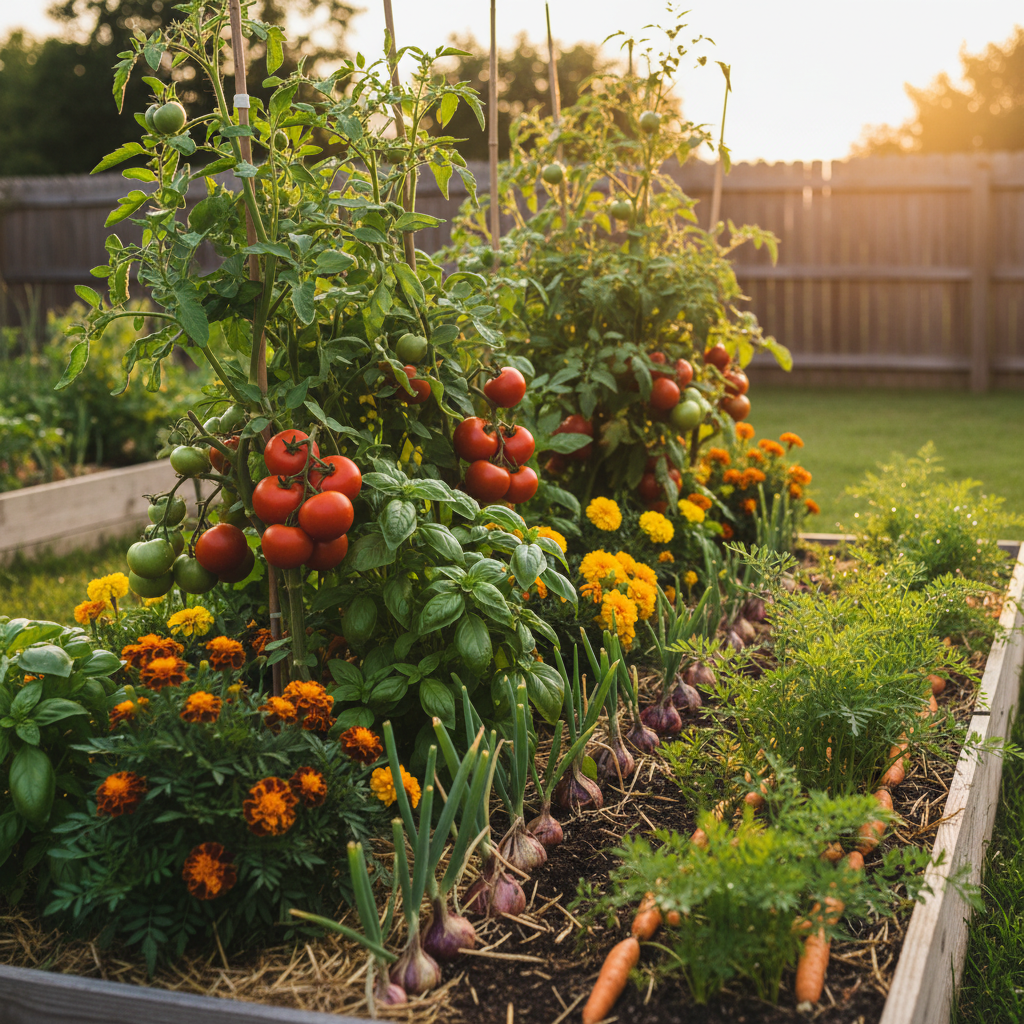
Companion Planting Guide: What to Grow Together (and What to Keep Apart)
A note on the science: Most companion planting lore is traditional and anecdotal. The pairings below are widely recommended and practiced, but they have varying levels of scientific support. Some: like the Three Sisters nitrogen-fixation mechanism, or marigolds suppressing nematodes when grown as a dense pre-crop, are well-documented in peer-reviewed research. Others (basil improving tomato…
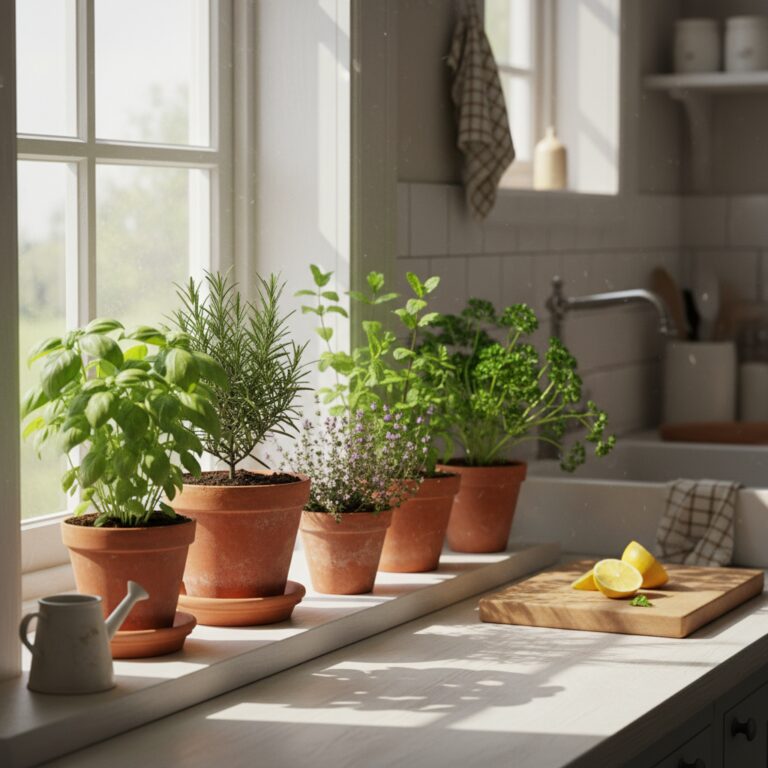
Growing Herbs Indoors All Winter: A Windowsill Garden Guide
🌱 From Our Homestead I pot up rosemary, thyme, and a couple of basil plants from the garden every October and line them up under a grow light in the kitchen. Having fresh herbs at arm’s reach all winter has completely changed how we cook from November through March. Growing Herbs Indoors All Winter: A…
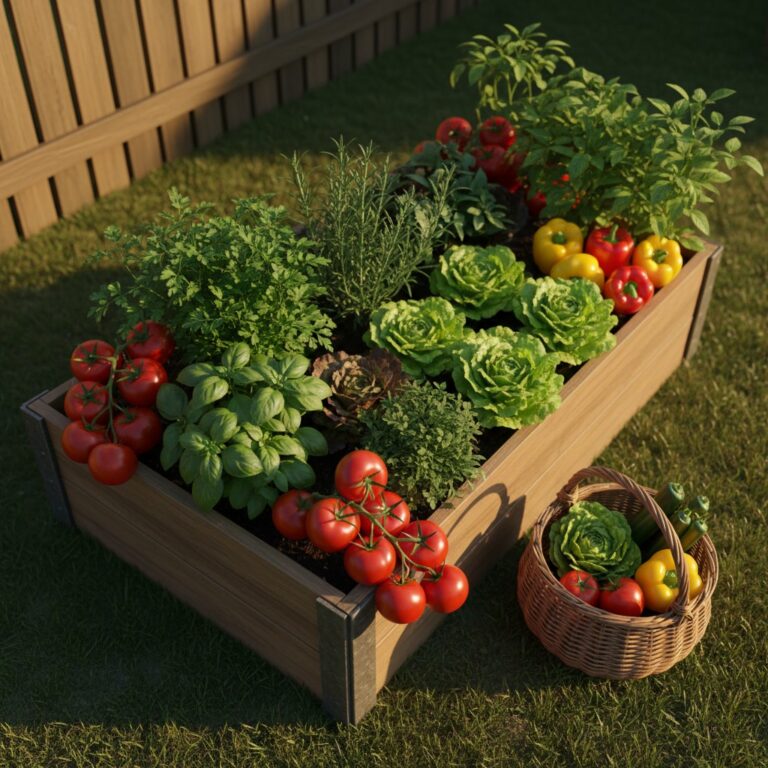
How to Grow a Grocery-Saving Garden in 2026 (Beat Rising Food Prices)
TL;DR: Key Takeaways: The USDA Economic Research Service forecasts food-at-home prices will rise 3.1% in 2026, above the 20-year average of 2.6%. Fresh vegetables specifically are projected to rise 4.8% in 2026, the category a home garden directly offsets. A well-planned 100 sq ft kitchen garden returns $400–$700 worth of groceries per year on roughly…
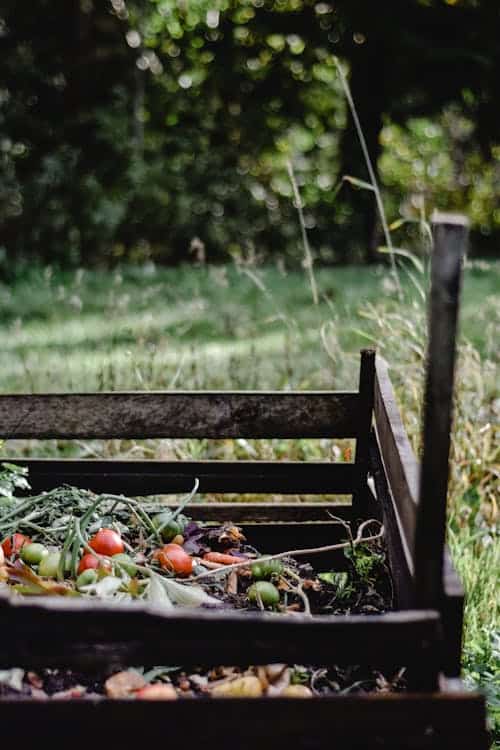
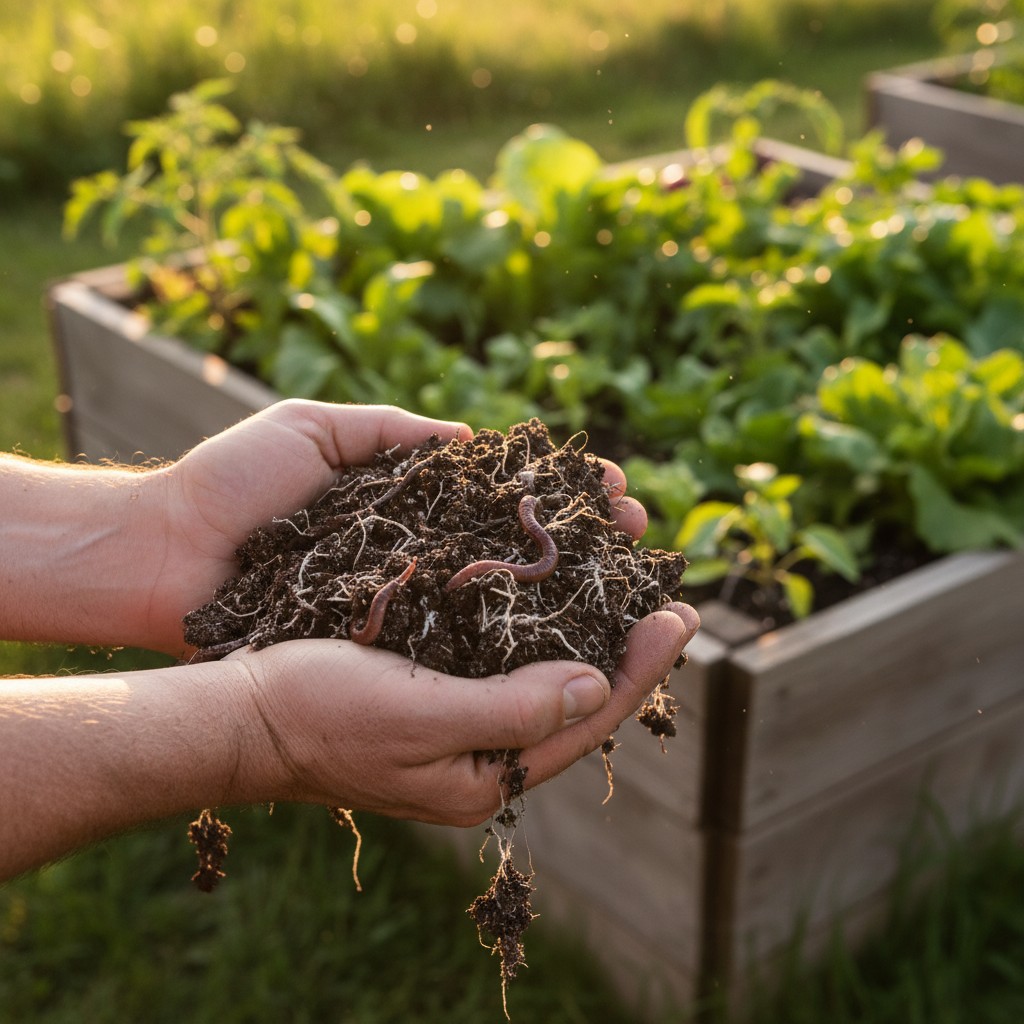
Composting 101: How to Turn Kitchen Scraps into Garden Gold
🌿 Key Takeaways Composting diverts 30% of household waste from landfills (EPA estimate) The magic ratio: 3 parts brown to 1 part green by volume A well-managed compost pile can produce finished compost in 4–8 weeks Never compost meat, dairy, oils, or pet waste Finished compost improves soil structure, adds nutrients, and retains moisture The…
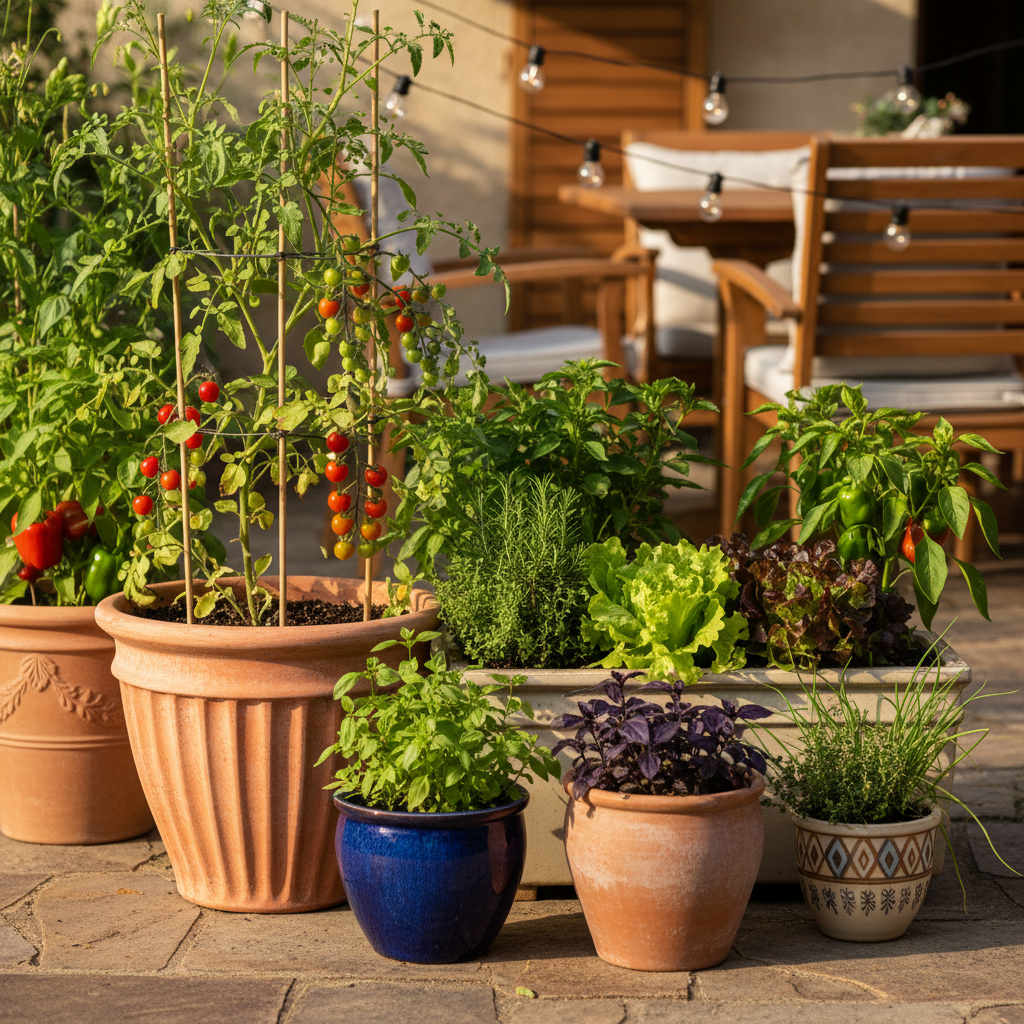
Container Gardening on Your Patio: How to Grow Fresh Food in Any Space
🌿 Key Takeaways Use containers that hold at least 5 gallons of soil for most vegetables Always use potting mix (never garden soil) and ensure drainage holes in every container Containers dry out fast, expect to water daily in summer Herbs, salad greens, cherry tomatoes, and peppers are the best beginner container crops Feed container…