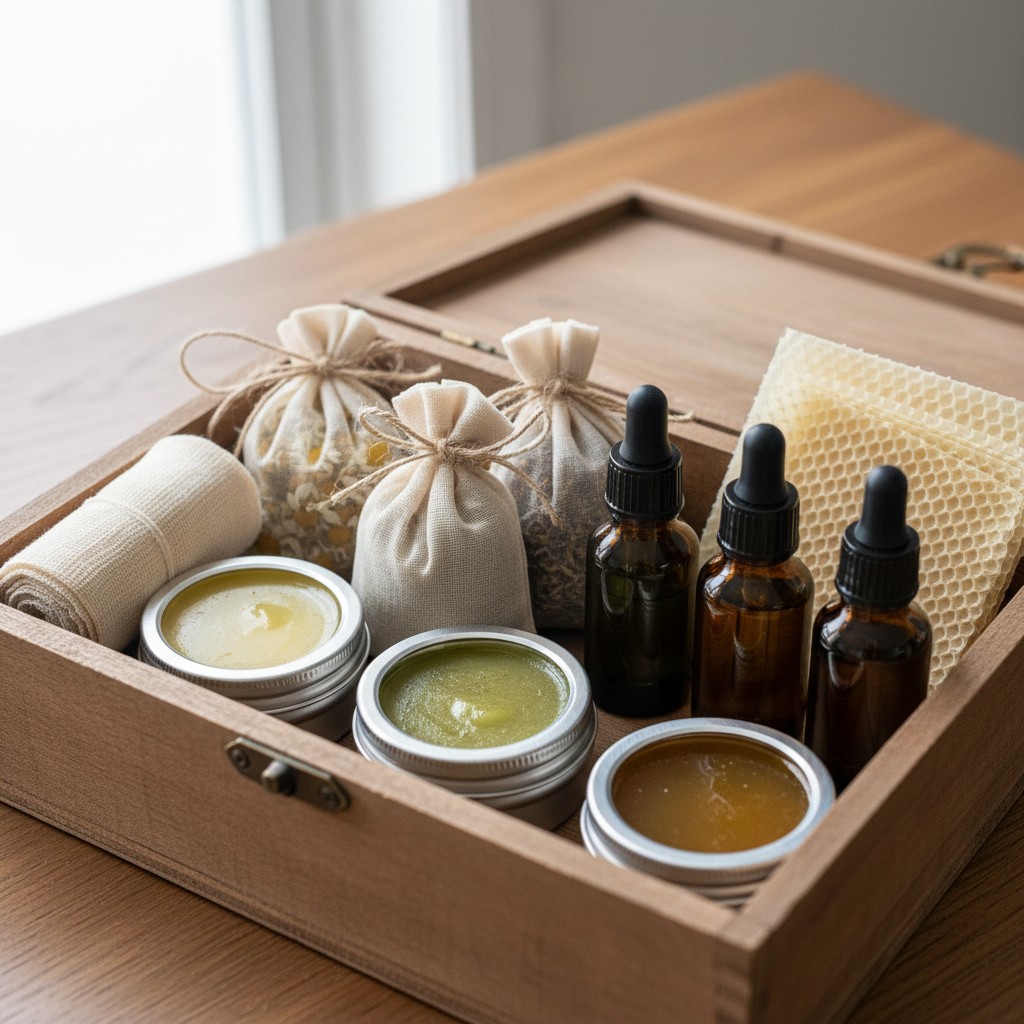
DIY Natural First Aid Kit from Your Garden: 10 Remedies
DIY Natural First Aid Kit from Your Garden: 10 Remedies You Can Make Today
Every homesteader knows that cuts, scrapes, burns, and bug bites are just part of daily life. Between pruning thorny berry bushes, tending the fire pit, and wrestling with barbed wire fencing, your hands and arms take a beating. The good news? Many of the most effective first aid remedies are probably already growing in your garden or along the edges of your property.
Building a natural first aid kit from homegrown ingredients isn’t about rejecting modern medicine, it’s about having practical, time-tested remedies on hand for the everyday bumps, stings, and irritations that don’t warrant a trip to the pharmacy. These are the same preparations our grandmothers relied on, backed now by growing scientific research into their effectiveness.
- Ten garden-grown remedies can handle the most common homestead injuries and irritations
- Most preparations use simple techniques: infusions, poultices, salves, and compresses
- A well-stocked natural first aid kit costs almost nothing to maintain year after year
- Proper identification and preparation are essential for safety and effectiveness
- Natural remedies complement, not replace, professional medical care for serious injuries
- Never apply essential oils undiluted ("neat") to skin. The National Association for Holistic Aromatherapy (NAHA) explicitly advises against neat use; repeated undiluted application is a leading cause of skin sensitization. Standard dilutions: 1–2% for adults (about 6–12 drops per ounce of carrier oil), 0.5–1% for children over age 2, and no essential oils on infants under 2 without guidance from a qualified clinical aromatherapist (NAHA; Tisserand & Young, Essential Oil Safety, 2nd ed., 2014).
- Peppermint and other menthol-containing oils must not be used on or near the face or chest of children under 6. Multiple pediatric case reports document laryngospasm, reflex apnea, and bronchospasm (Tisserand & Young 2014; EMA HMPC peppermint monograph).
- Pregnancy and nursing: avoid peppermint EO, yarrow, and comfrey (even topically over large areas); consult a qualified herbalist or your clinician before using any herbal preparation.
- Asteraceae allergies: chamomile, yarrow, echinacea, and calendula can cross-react in people allergic to ragweed, daisies, or marigolds (NCCIH).
- This kit is for minor injuries only. Call 911 or go to the ER for arterial bleeding, deep puncture wounds, animal or human bites, spreading redness, signs of infection, or any suspected anaphylaxis.
Why Every Homestead Needs a Natural First Aid Kit
When you’re out in the garden and get stung by a wasp, you don’t want to trek all the way back to the house to find the medicine cabinet. When you’re at a weekend campfire and someone gets a minor burn, having a jar of lavender salve in the kitchen means immediate relief. Natural first aid preparations are stable, affordable, and renewable, you grow the ingredients right where you need them most.
There’s also something deeply satisfying about closing the loop between your garden and your medicine cabinet. The same medicinal herbs you grow for tea and seasoning can serve double duty as first aid supplies. Once you learn a few basic preparation methods, you’ll find yourself reaching for your homemade remedies before the store-bought ones.
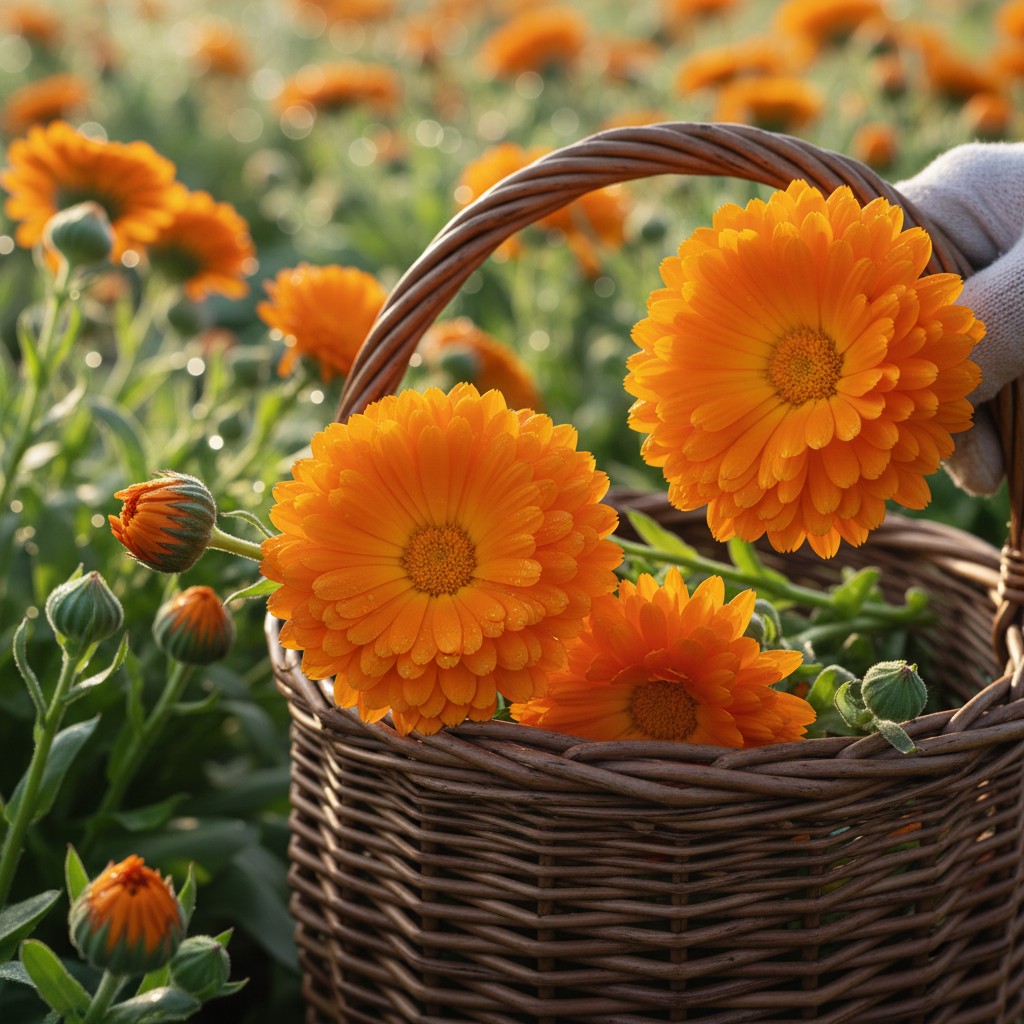
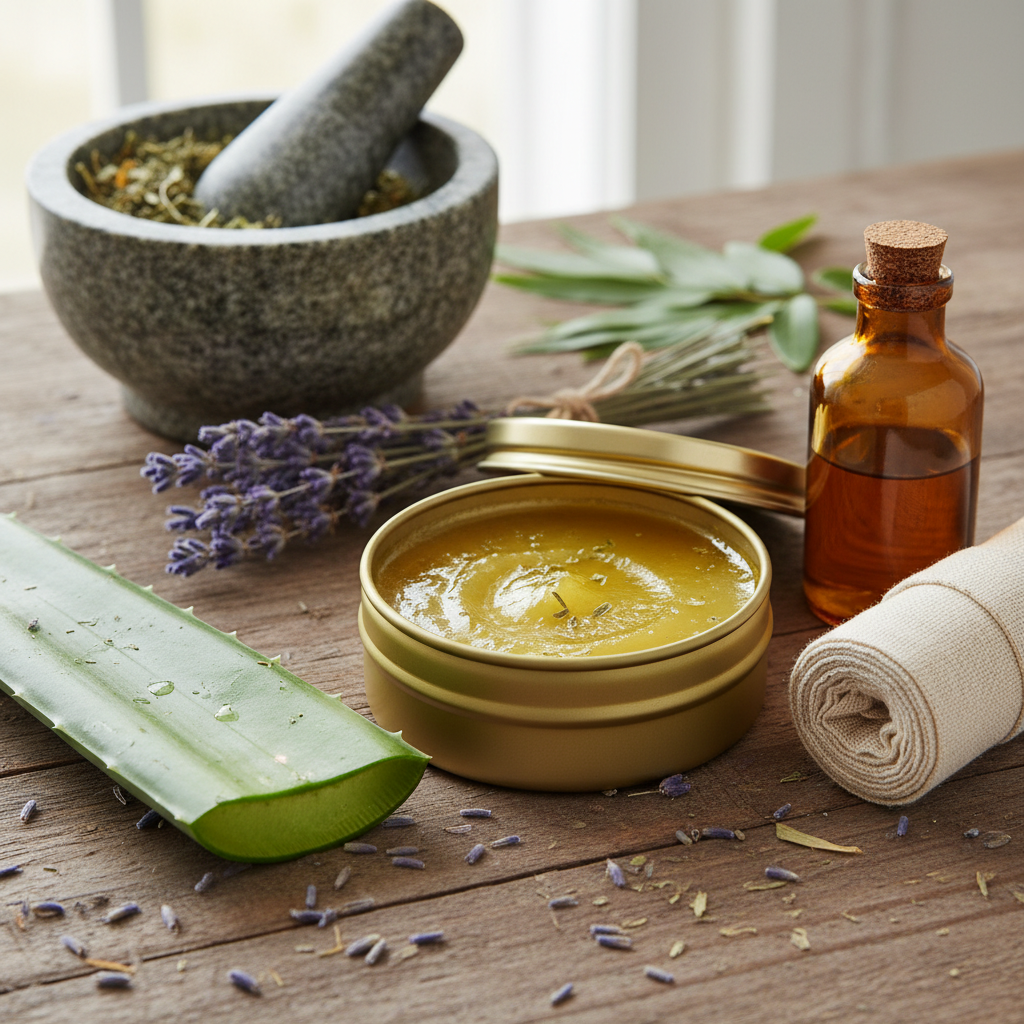
1. Calendula Healing Salve
Calendula is the undisputed queen of the herbal first aid kit. This bright orange flower has been used for centuries to speed wound healing, reduce inflammation, and fight infection. Studies show calendula promotes collagen production and increases blood flow to injured tissue.
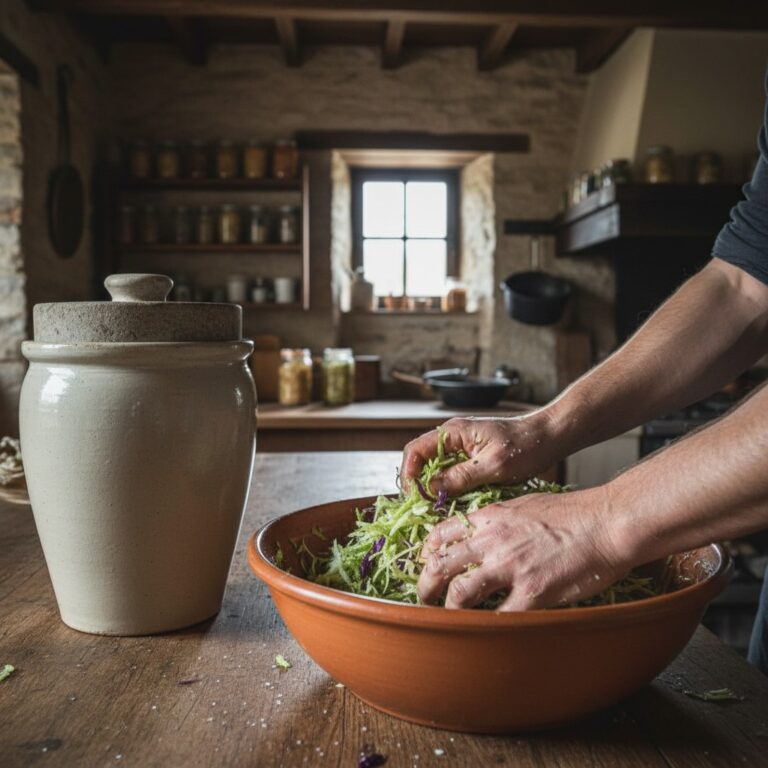
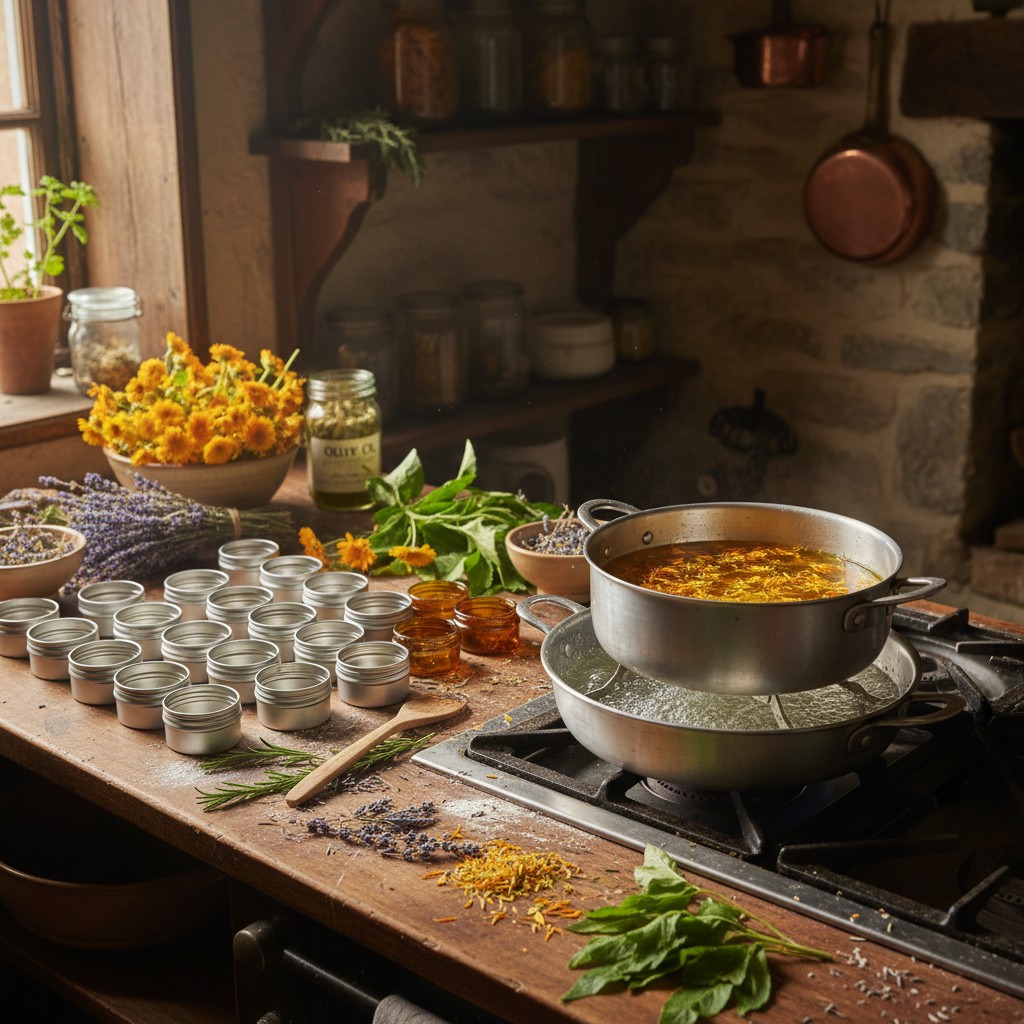
How to make it: Fill a jar with dried calendula petals and cover with olive oil. Let it infuse for 4-6 weeks in a warm spot, shaking occasionally. (Always use dried herbs, fresh herbs contain water that can cause the oil to go rancid or grow mold during a long infusion.) Strain, then gently heat the infused oil and add beeswax at a ratio of about 1 ounce of beeswax per cup of oil. Pour into tins and let cool.
Use for: Cuts, scrapes, minor burns, chapped skin, diaper rash, cracked hands
I keep a tin of calendula salve in my garden apron pocket from March through November. Between rose thorns, wire cuts, and general rough handling, I use it almost daily. The difference in how quickly my hands heal compared to before I started making it is honestly remarkable.
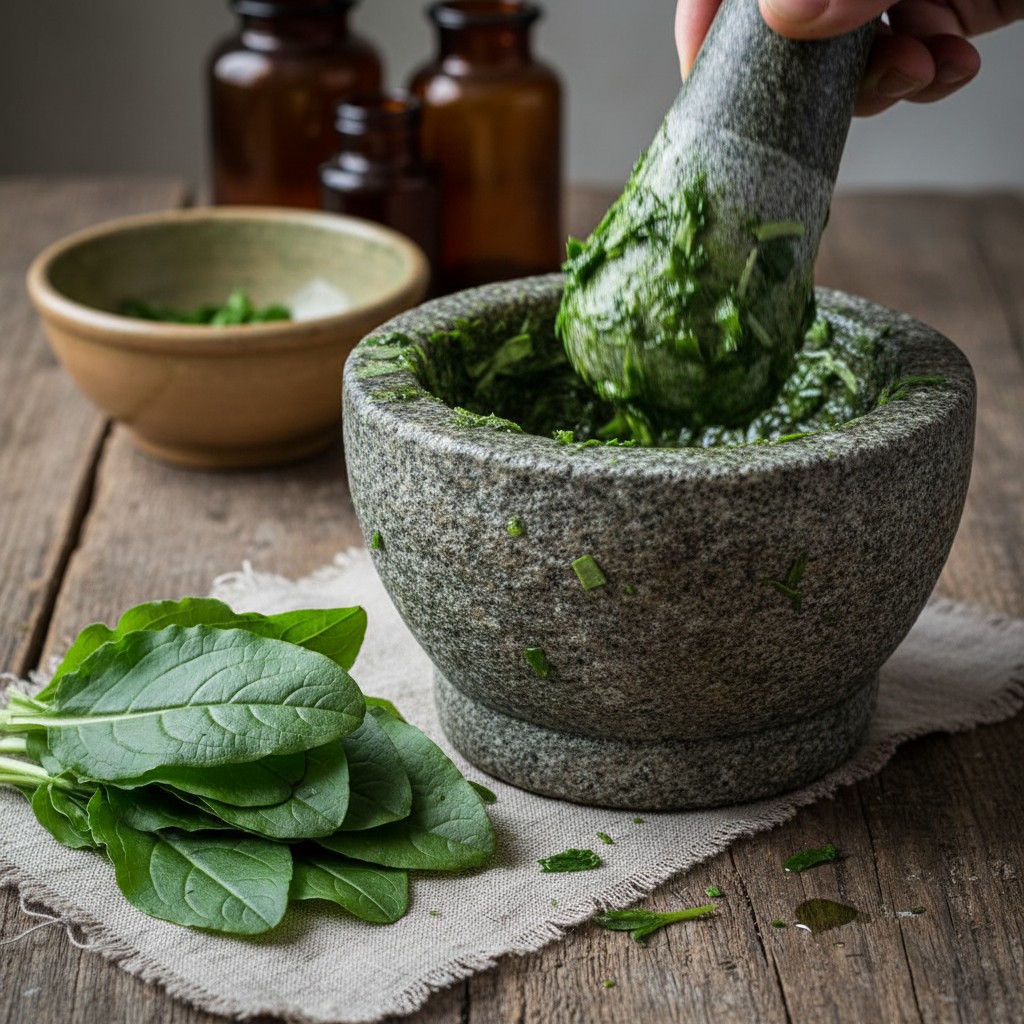
2. Plantain Poultice for Stings and Bites
Not the banana relative, we’re talking about broadleaf plantain (Plantago major), that “weed” growing in every lawn and pathway. Plantain is nature’s drawing salve, pulling toxins and irritants out of the skin while reducing pain and swelling.
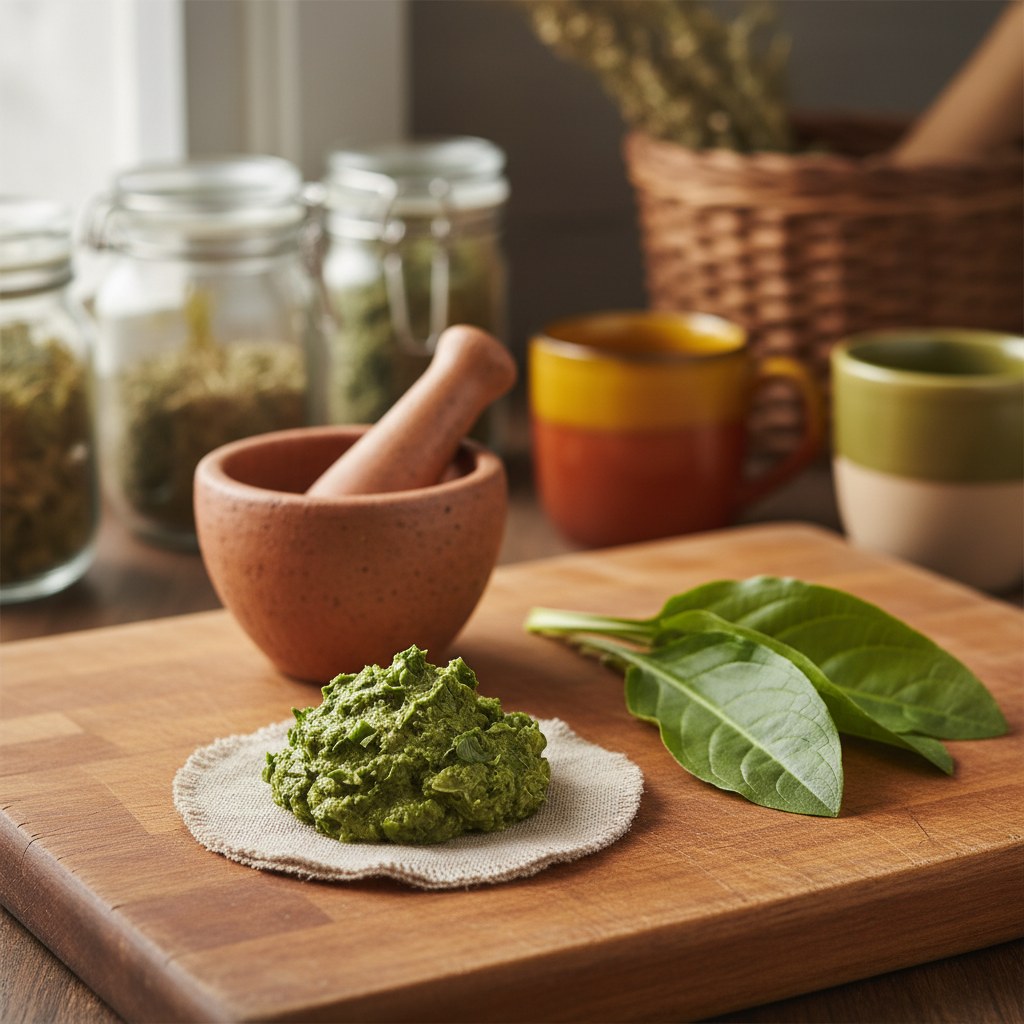
How to make it: Pick a few fresh plantain leaves, chew them briefly or crush them between your fingers to release the juices, and apply directly to the sting or bite. Hold in place with a bandage or strip of cloth.
Use for: Bee stings, wasp stings, mosquito bites, spider bites, splinters, minor infections
what’s nice about plantain is its availability. It grows everywhere, requires no preparation in advance, and works within minutes. Teach your kids to identify it, it’s one of the easiest plants to recognize and among the most useful. If you’re building an herb garden, consider letting a patch of plantain grow nearby on purpose.
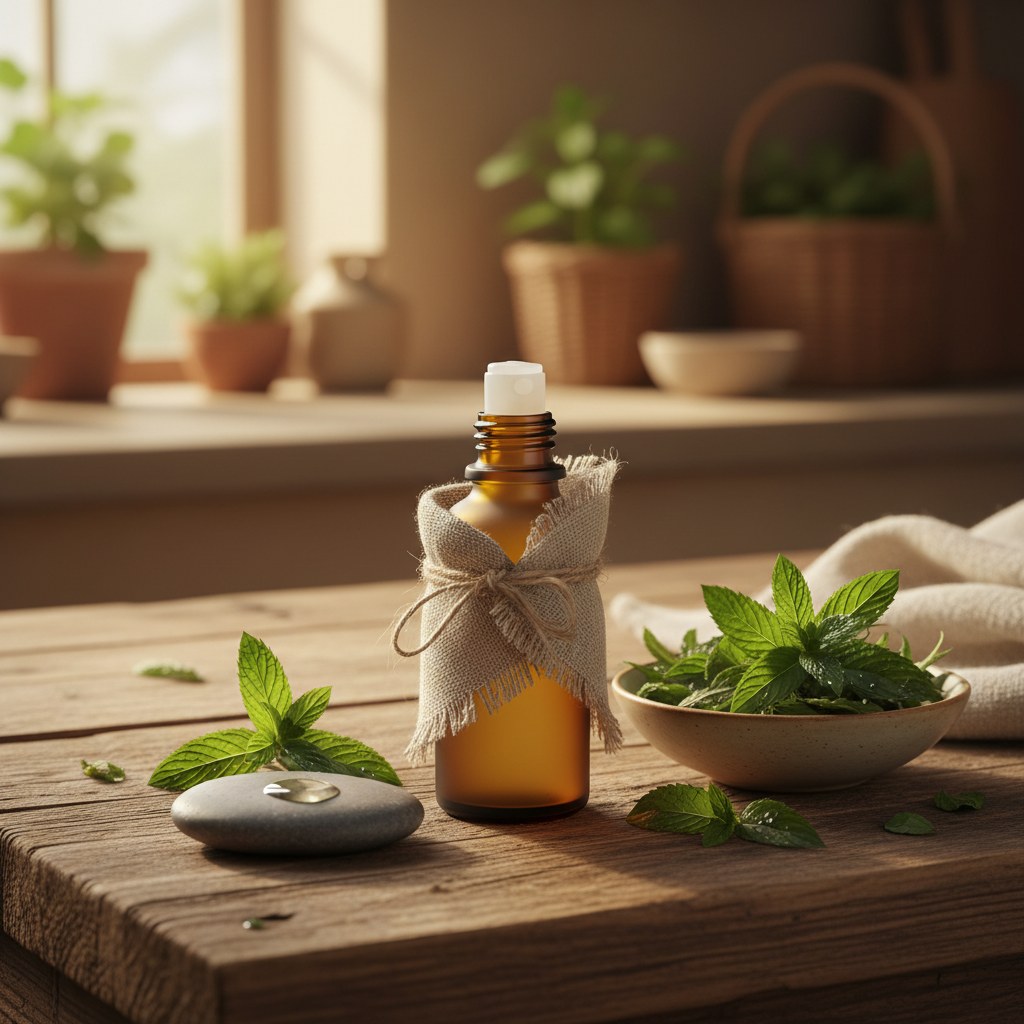
3. Lavender Burn Treatment
Lavender essential oil has a long folk reputation for soothing minor burns, tied to the famous (and somewhat embellished) story of French chemist René-Maurice Gattefossé plunging a burned hand into lavender oil after a lab accident. Small studies do support lavender for minor skin healing, but older advice to apply it "neat" (undiluted) is no longer considered safe practice. The National Association for Holistic Aromatherapy (NAHA) advises avoiding undiluted essential oils on the skin, and Tisserand & Young (Essential Oil Safety, 2nd ed., 2014) document that repeated neat use of lavender is a significant cause of contact sensitization. Case reports have also linked topical lavender and tea tree oil to prepubertal gynecomastia in children (Henley et al., NEJM 2007), so lavender EO should not be routinely applied to young children at all.
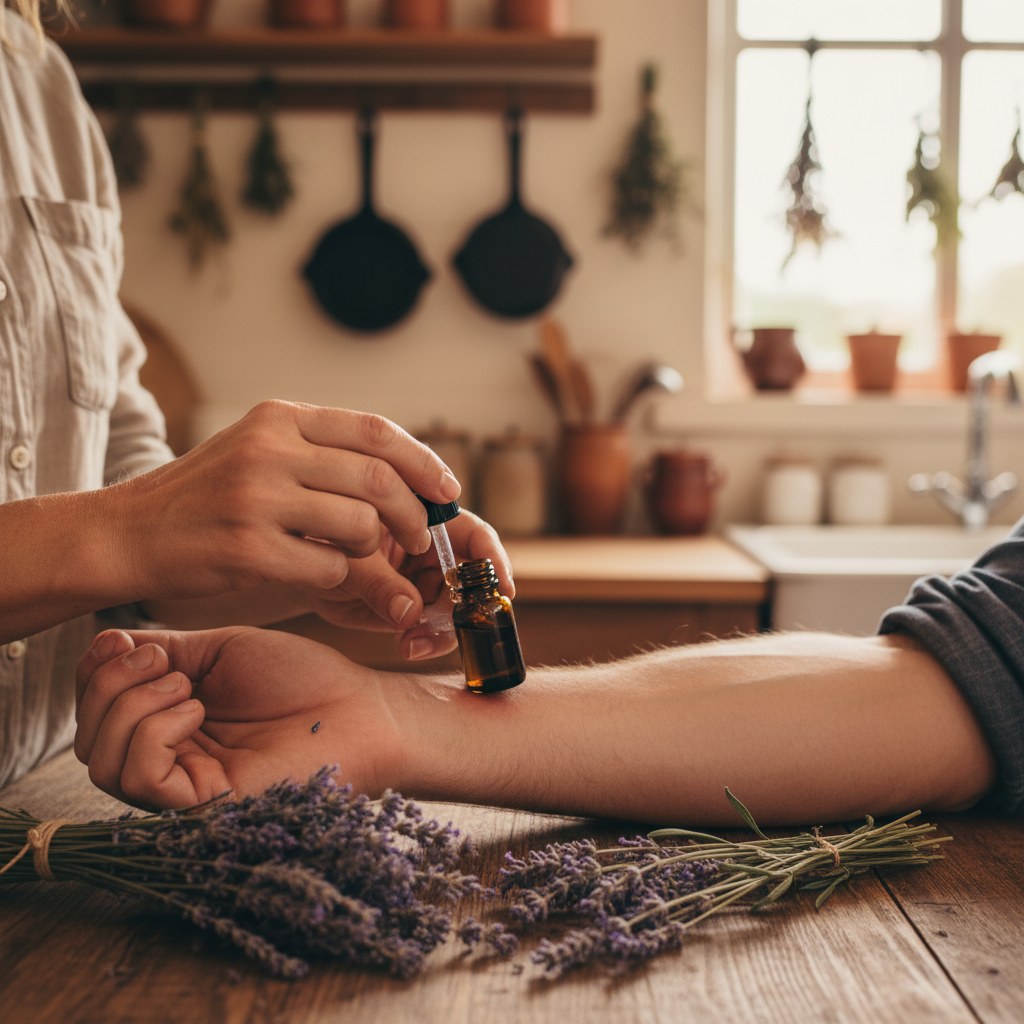
Safer dilution: 1–2% in a carrier oil for adults (about 6–12 drops per ounce), 0.5–1% for children over 2, and avoid entirely on infants and on broken skin. For actual burns, cool running water for 10–20 minutes is the first-line treatment (American Academy of Pediatrics); a diluted lavender-infused carrier oil or calendula salve can be applied only after the skin has cooled and only to superficial first-degree burns.
How to make it: Grow lavender and harvest the flower spikes just before they fully open. Dry and infuse in a carrier oil like sweet almond or jojoba for a gentle burn-soothing oil. For more concentrated relief, invest in a small bottle of pure lavender essential oil.
Use for: Minor kitchen burns, sunburn, minor scalds, general skin soothing
4. Aloe Vera Gel
Aloe vera is the plant everyone knows about but few homesteaders grow intentionally. If you live in zones 9 and above, aloe thrives outdoors. Everyone else can grow it as a windowsill plant, keep one in the kitchen where burns are most likely to happen.
How to use it: Simply snap off a lower leaf, slice it open, and apply the clear gel directly to the affected area. For storage, scoop out the gel, blend it smooth, and freeze in ice cube trays.
Use for: Burns, sunburn, skin irritation, minor wounds, dry skin patches
5. Chamomile Compress
Chamomile is anti-inflammatory, mildly antimicrobial, and incredibly soothing. A warm chamomile compress can calm everything from eye irritation to muscle aches to skin rashes.
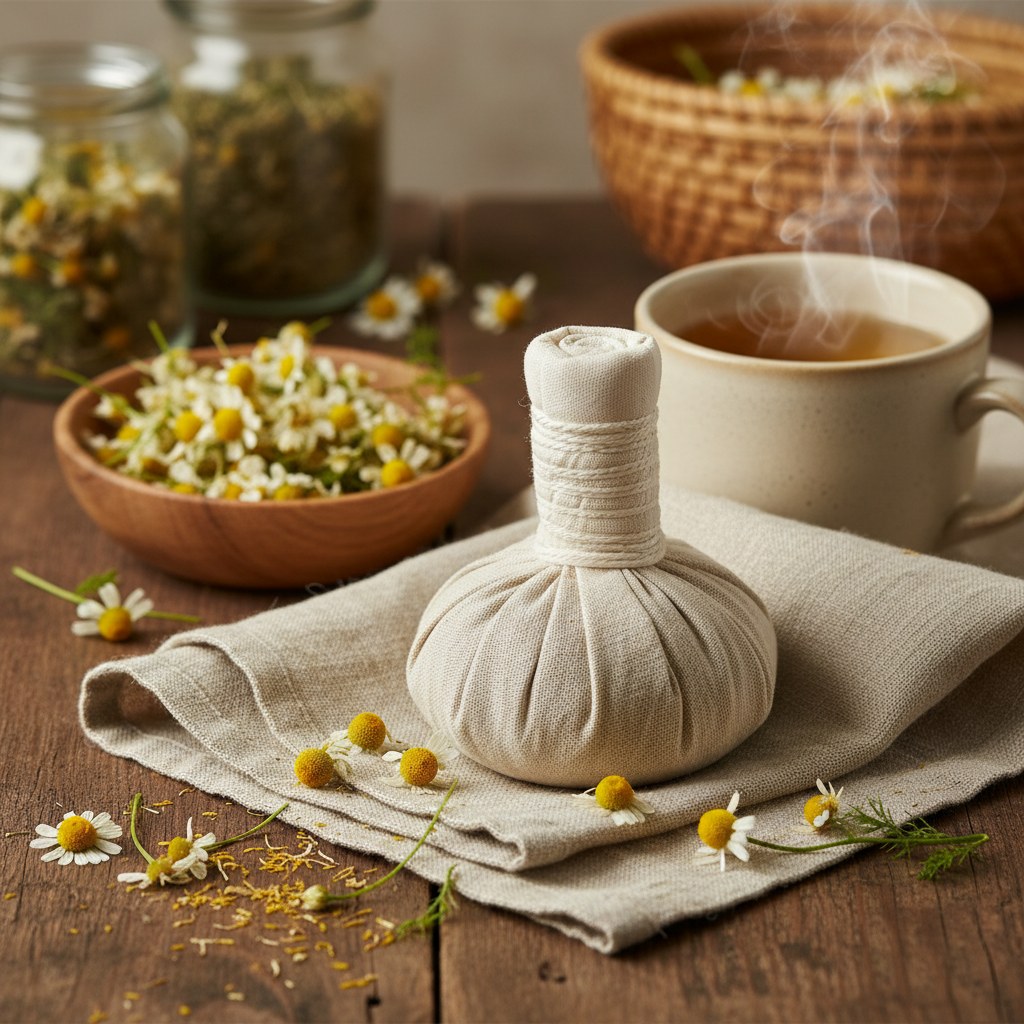
How to make it: Brew a very strong chamomile tea using 4-5 tablespoons of dried flowers per cup of boiling water. Let steep for 15 minutes. Soak a clean cloth in the warm tea, wring slightly, and apply to the affected area for 15-20 minutes.
Use for: Eye irritation (use a cooled compress), skin rashes, muscle aches, toothache pain, stress relief
6. Yarrow Wound Powder
Yarrow’s botanical name, Achillea millefolium, comes from Achilles, who supposedly used it to stop his soldiers’ battlefield bleeding. This feathery-leaved perennial is a powerful styptic, it stops bleeding fast.
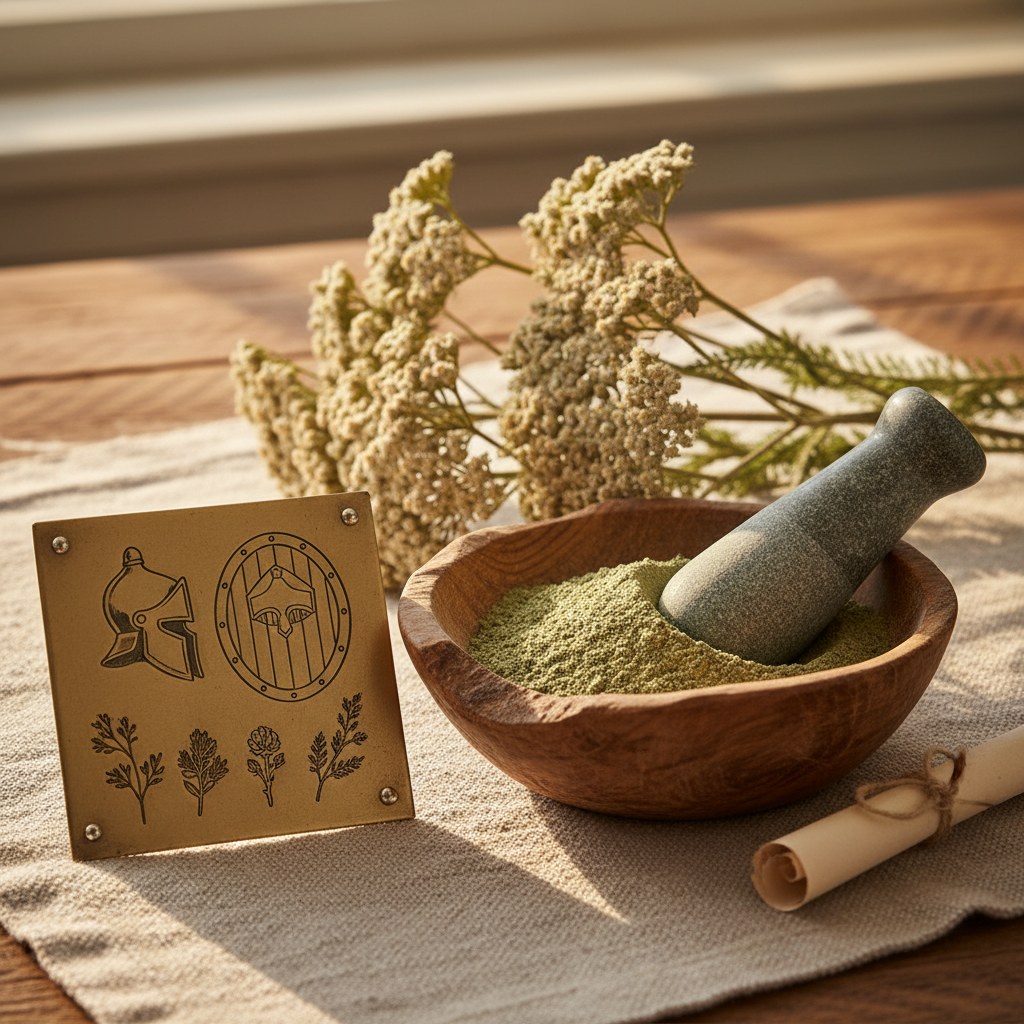
How to make it: Harvest yarrow leaves and flowers at peak bloom. Dry thoroughly, then grind to a fine powder in a coffee grinder. Store in a small shaker container.
Use for: Stopping bleeding from cuts and scrapes, minor wound care, nosebleeds (carefully applied)
My husband was skeptical about yarrow powder until he got a deep cut on his hand while splitting firewood. I dusted it with yarrow, pressed a clean cloth over it, and the bleeding stopped in under two minutes. He’s been a convert ever since.
7. Comfrey Bone-Knit Salve
Comfrey has been called "knitbone" for hundreds of years because of its reputation for speeding healing of sprains, strains, and bruises. It contains allantoin, a compound that supports cell proliferation, and small clinical trials support topical comfrey cream for closed soft-tissue injuries.
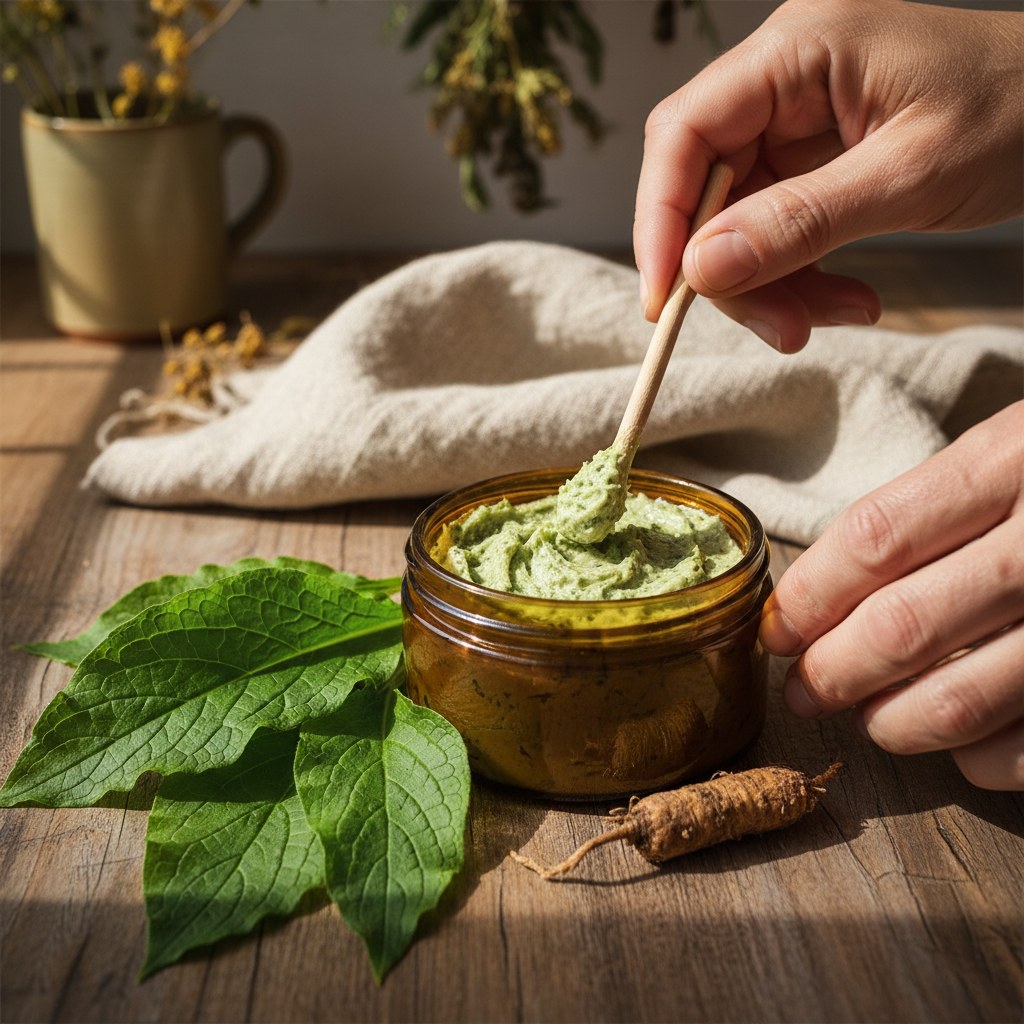
How to make it: Infuse dried comfrey leaves and root in olive oil for 6 weeks. Strain and combine with beeswax to make a salve (same method as calendula salve). Adding a few drops of rosemary essential oil extends shelf life.
Use for: Sprains, bruises, sore muscles, joint pain, closed-wound healing
If you’re interested in learning to make salves and balms more broadly, check out our guide to homemade herbal salves and balms for detailed instructions on the infusion and salve-making process.
8. Peppermint Headache Roll-On
Peppermint contains menthol, which has a cooling effect that relaxes muscles and eases pain. A clinical study found that peppermint oil applied to the forehead and temples was as effective as acetaminophen for tension headaches.
How to make it: Combine 10 drops of peppermint essential oil with 1 tablespoon of carrier oil (jojoba works great), this yields roughly a 3% dilution, appropriate for occasional adult use only. Pour into a small roll-on bottle. Apply sparingly to temples, forehead, and the back of the neck at the first sign of a headache, keeping it well away from the eyes.
Use for: Tension headaches, sinus pressure, mental fatigue, minor muscle aches (adults only; see age warning above)
9. Echinacea Immune Tincture
While not a topical first aid remedy, echinacea tincture belongs in every natural first aid kit for its immune-boosting properties. At the first sign of a cold or after exposure to illness, a dropperful of echinacea tincture can help your body mount a stronger defense.
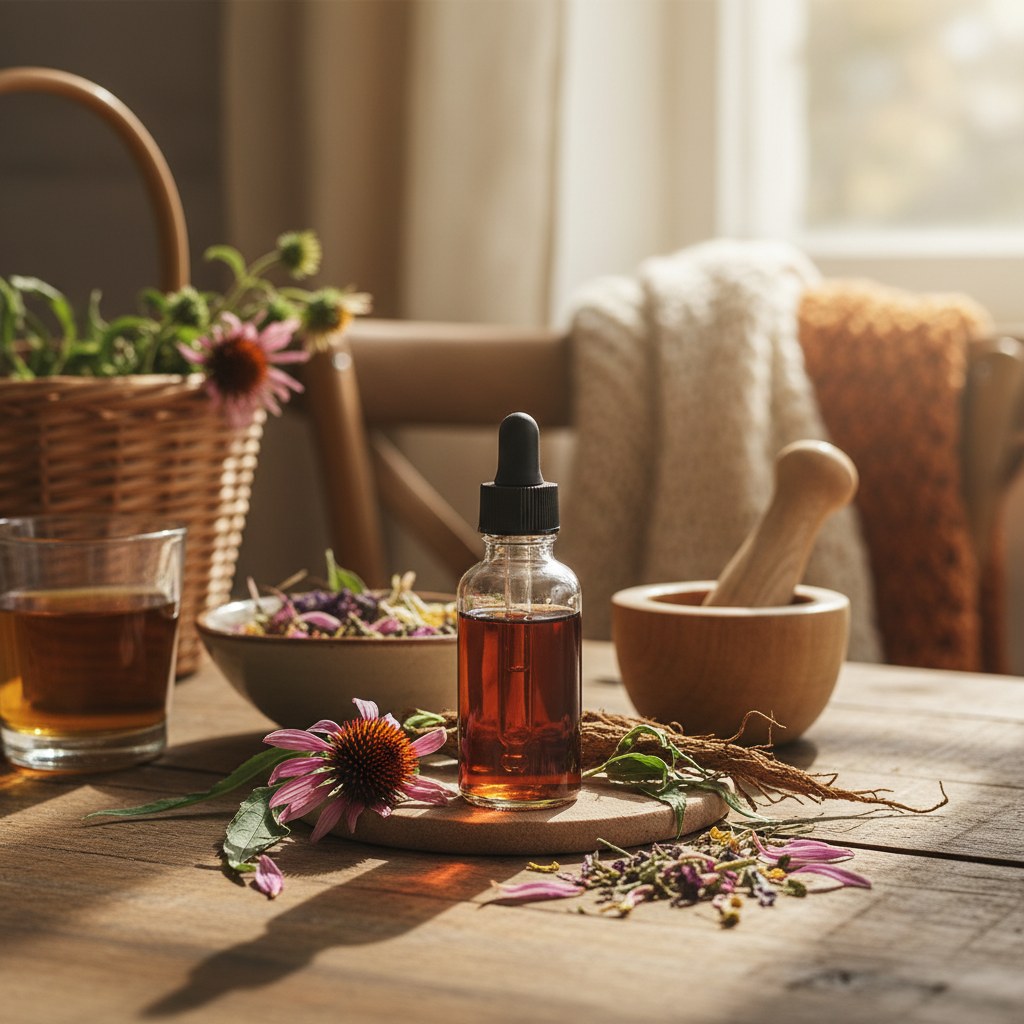
How to make it: Harvest echinacea roots in the fall of the plant’s second or third year. Chop finely and pack into a jar. Cover with 80-proof vodka (40% alcohol, the minimum for shelf-stable tinctures; higher-proof spirits like Everclear work even better). Let steep for 6-8 weeks, shaking daily. Strain into dropper bottles. For a more detailed walkthrough of the process, see this complete herbal tincture guide.
Use for: Early cold and flu symptoms, general immune support, wound cleaning (diluted)
10. Lemon Balm Antiviral Lip Treatment
Lemon balm (Melissa officinalis) has documented antiviral properties, particularly effective against the herpes simplex virus that causes cold sores. If you’re prone to cold sores, this is a huge time-saver.
How to make it: Make a strong lemon balm infused oil, then combine with beeswax and a touch of honey for a healing lip balm. If you keep bees, your own beeswax and honey make this completely homegrown.
Use for: Cold sore prevention and treatment, chapped lips, minor lip injuries
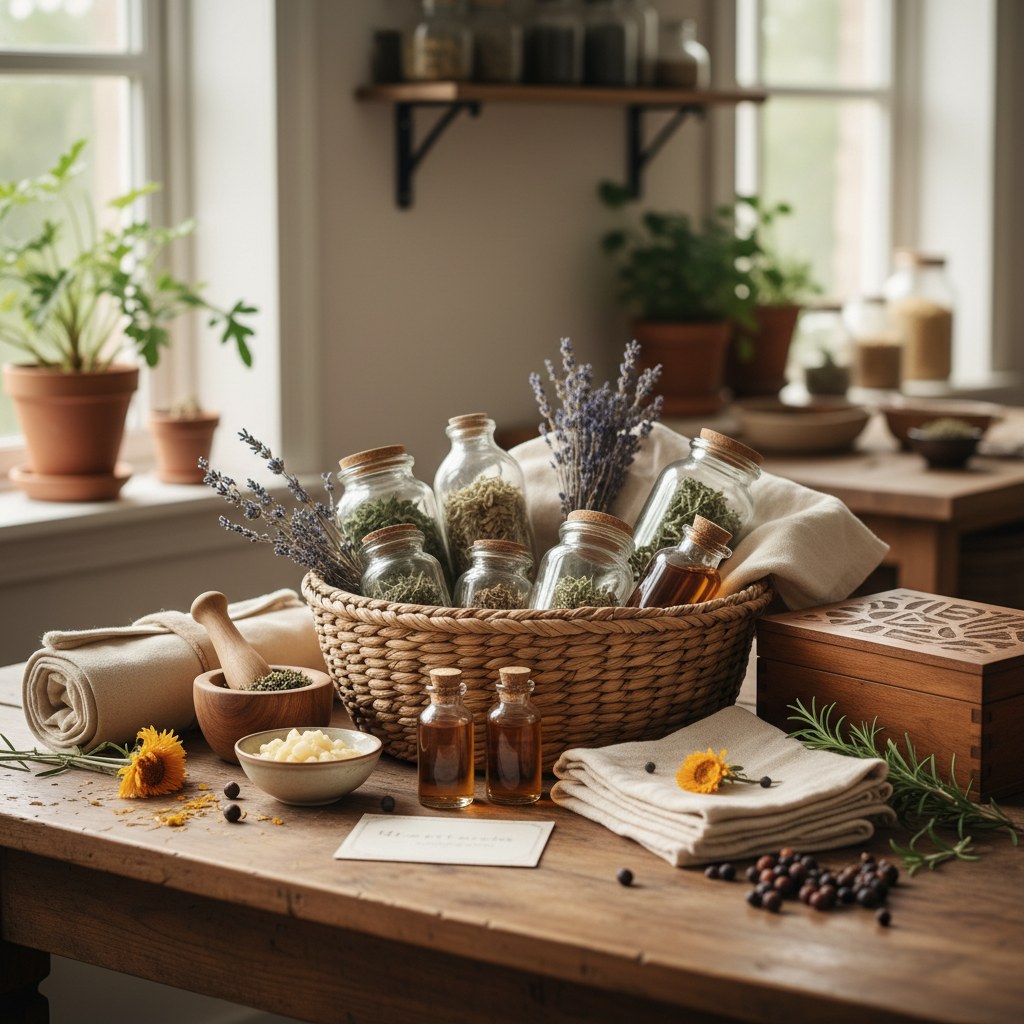
Stocking Your Natural First Aid Kit
Now that you know the ten core remedies, here’s how to organize them into a functional kit.
| Remedy | Form | Shelf Life | Primary Use |
|---|---|---|---|
| Calendula Salve | Tin or jar | 1 year | Cuts, scrapes, skin healing |
| Plantain | Fresh (or dried powder) | Grows year-round | Stings and bites |
| Lavender Oil | Infused oil or essential oil | 1-2 years | Burns |
| Aloe Vera Gel | Fresh or frozen cubes | Fresh: immediate; Frozen: 6 months | Burns, skin irritation |
| Chamomile | Dried flowers | 1 year | Compresses, inflammation |
| Yarrow Powder | Ground dried herb | 1-2 years | Stopping bleeding |
| Comfrey Salve | Tin or jar | 1 year | Sprains, bruises |
| Peppermint Roll-On | Roll-on bottle | 1 year | Headaches |
| Echinacea Tincture | Dropper bottle | 3-5 years | Immune support |
| Lemon Balm Lip Balm | Tube or small tin | 1 year | Cold sores, chapped lips |
Additional Supplies to Include
Round out your natural first aid kit with these non-herbal essentials:
- Clean bandages and gauze, for holding poultices in place
- Medical tape, essential for securing compresses
- Small scissors and tweezers, for splinter removal and cutting bandages
- Clean cloths: for compresses and wound cleaning
- Raw honey: a powerful antimicrobial wound dressing on its own
- Apple cider vinegar, useful for cleaning, soothing bites, and as a gargle
- Activated charcoal, for drawing out toxins from bites and stings
If you’re making salves and lip balms regularly, you’ll want to keep a good supply of beeswax on hand. Learning about beeswax wraps is another great way to use your beeswax stash.
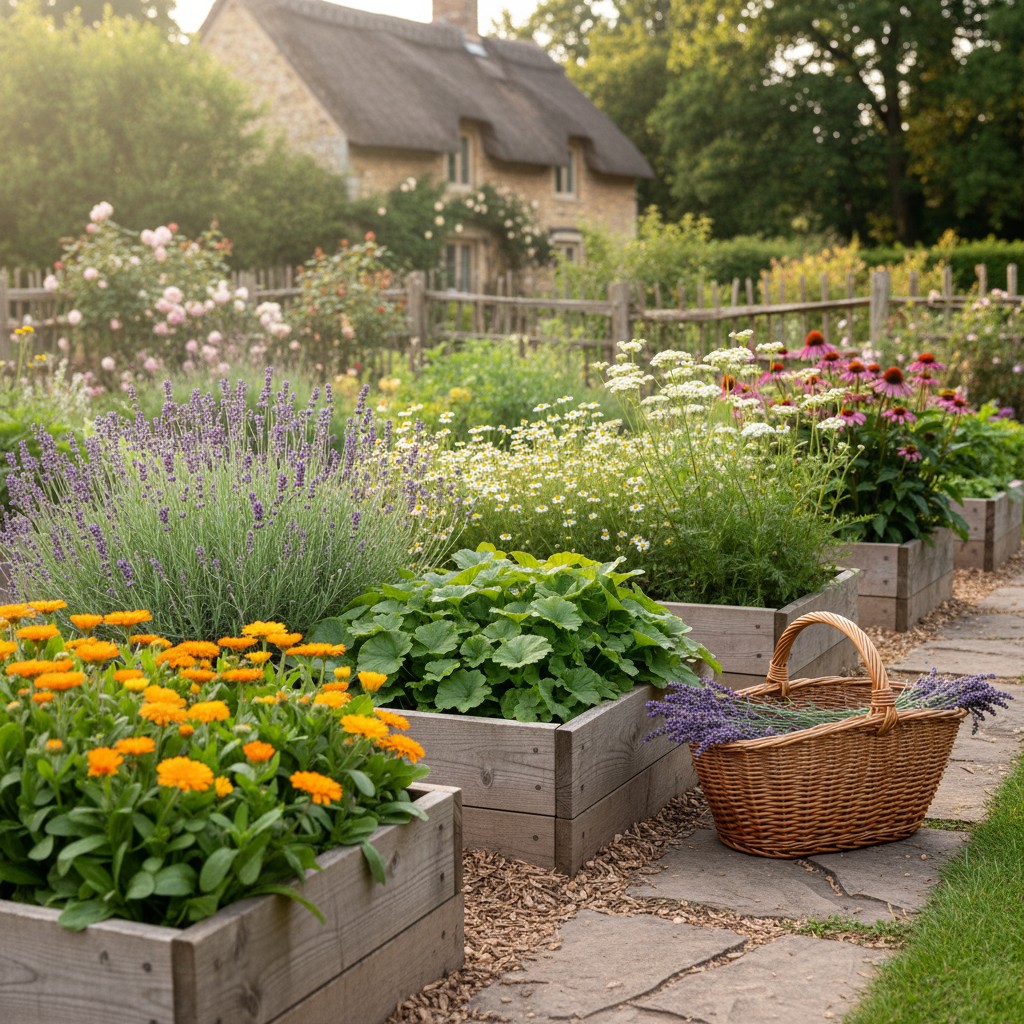
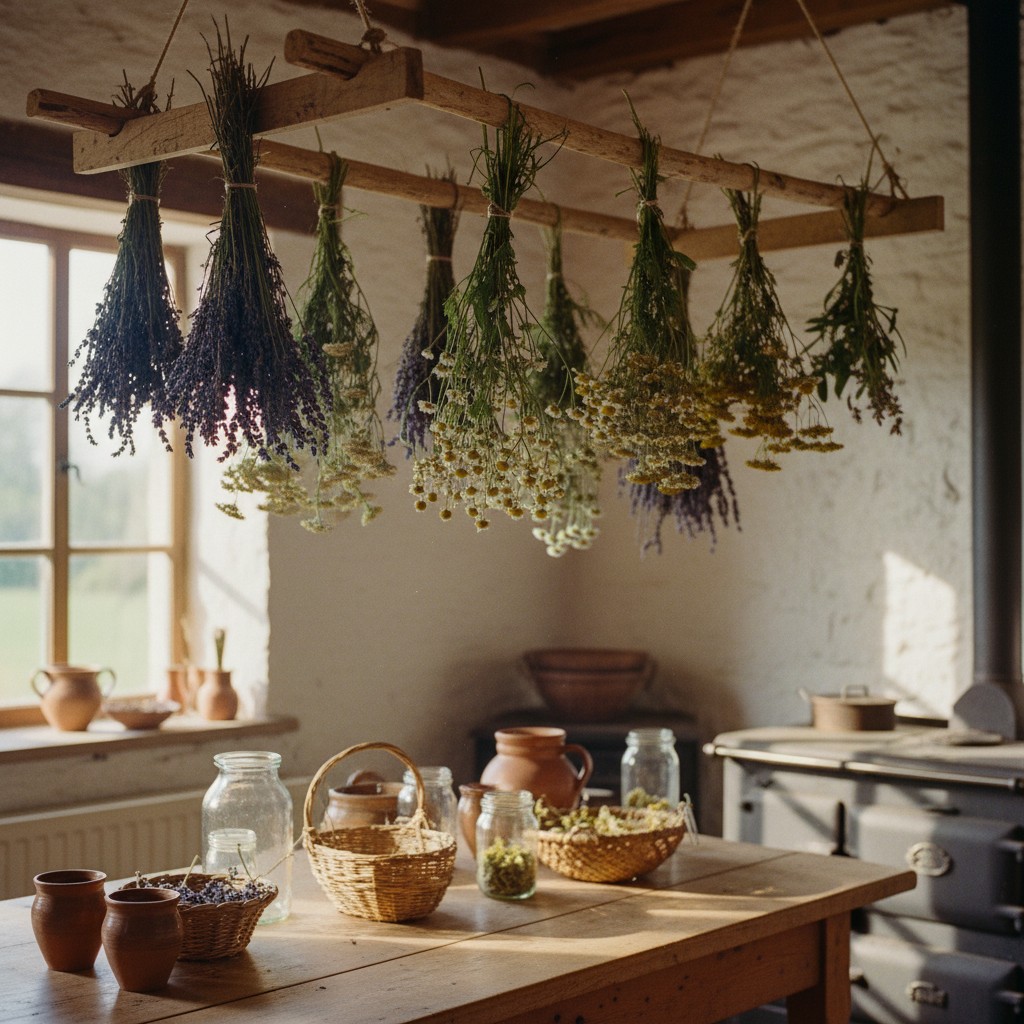
Growing Your First Aid Garden
The best part of a natural first aid kit is that it’s renewable. Once you establish your medicinal garden, you’ll have a perpetual supply of ingredients. Most of these plants are perennials or vigorous self-seeders:
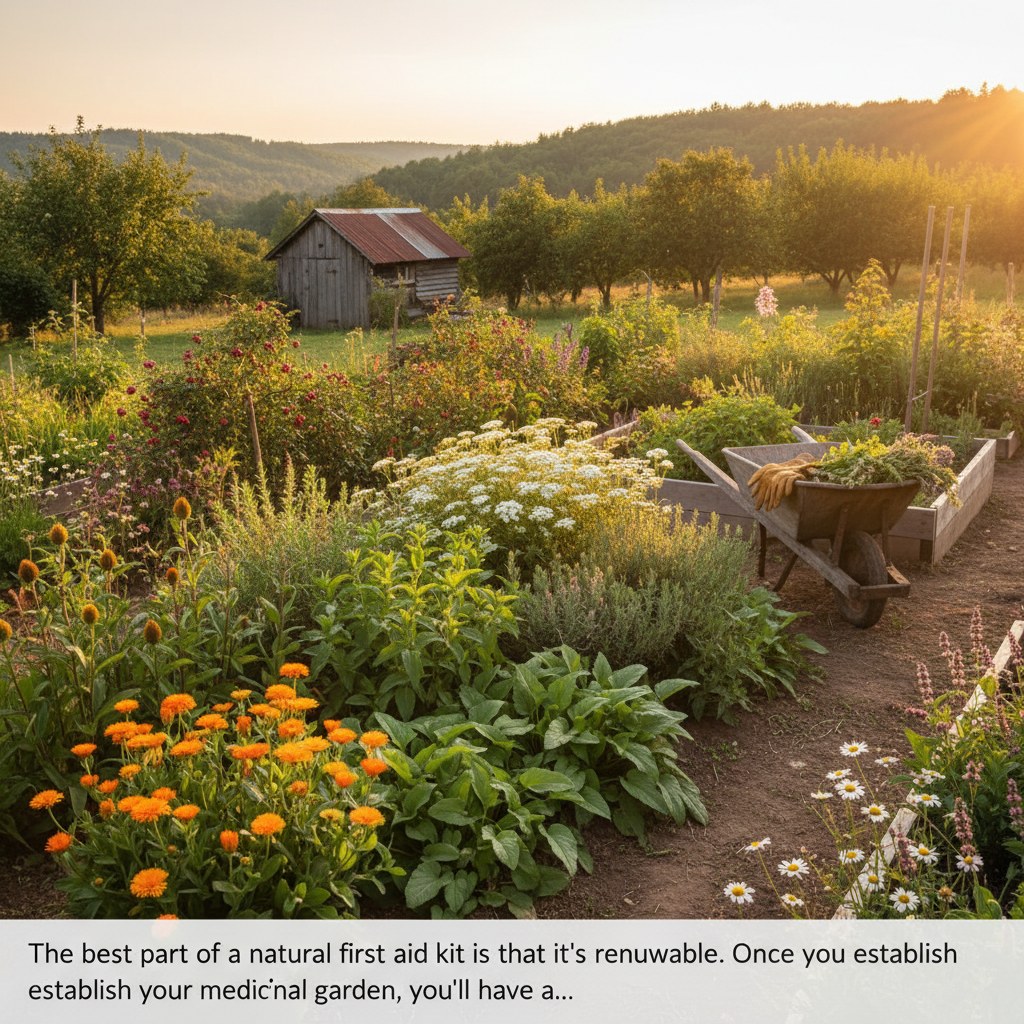
- Perennials: Lavender, chamomile (self-seeds), comfrey, echinacea, lemon balm, yarrow, aloe (indoors in cold climates)
- Annuals that self-seed: Calendula, plantain (perennial weed)
- Easy from seed: All of the above, these are unfussy, beginner-friendly plants
Dedicate a small corner of your medicinal herb garden to first aid plants. Many of them also attract pollinators and beneficial insects, so they earn their keep in multiple ways.
These symptoms require professional medical care, do not rely on herbal remedies alone:
- Spreading redness from a wound (possible cellulitis)
- Fever accompanying a wound or bite
- Numbness, tingling, or loss of function near an injury
- Pus or thick discharge from any wound
- Puncture wounds: deep or caused by rusty/dirty objects
- Animal or human bites, always require medical evaluation
- Deep lacerations that won’t stop bleeding or may need stitches
- Signs of anaphylaxis: hives, throat tightening, difficulty breathing, dizziness after a sting or bite, call 911 immediately
When in doubt, err on the side of caution. Natural first aid is for minor, everyday injuries. Serious injuries need a doctor.
Safety Guidelines
Natural doesn’t automatically mean safe. Follow these guidelines:
- Always positively identify plants before using them medicinally
- Test for allergic reactions by applying a small amount to your inner wrist and waiting 24 hours
- Never use natural remedies for serious injuries, deep wounds, severe burns, broken bones, and allergic reactions require professional medical attention
- Consult your doctor before using herbal remedies if you’re pregnant, nursing, or taking medications
- Keep remedies labeled with the date made and ingredients used
- Don’t apply herbal preparations to deep or puncture wounds without medical guidance
If you enjoy making herbal products, you might also love learning to make homemade soap with your garden herbs, another practical homestead skill that pairs perfectly with salve making.
🌱 From Our Homestead
After our youngest got a bee sting on a Saturday evening with the nearest pharmacy thirty minutes away, I realized we needed a proper natural first aid kit. Now our garden-grown plantain salve and lavender oil are always within reach, and I feel so much more prepared.
Frequently Asked Questions
How long do homemade herbal salves and tinctures last?
Salves made with oil and beeswax generally last about one year if stored in a cool, dark place. Tinctures made with alcohol (vodka or grain alcohol) can last 3-5 years or even longer. Dried herbs stored in airtight containers in a dark location maintain potency for about 1-2 years. Always label everything with the date it was made and discard anything that smells off or shows signs of mold.
Can I use fresh herbs instead of dried for making salves?
Dried herbs are strongly recommended for oil infusions and salves because fresh herbs contain water, which can introduce bacteria and cause your oil to go rancid or grow mold. If you must use fresh herbs, wilt them for 24-48 hours first to reduce moisture content, and use the infused oil quickly rather than storing it long-term.
Are these remedies safe for children?
Topical remedies like calendula salve, plantain poultice, and aloe gel are generally considered safe for children. However, essential oils should be diluted more heavily for children (half the adult concentration or less), and internal remedies like echinacea tincture should be used cautiously and at reduced doses for kids. Always consult your pediatrician if you have concerns, and never use herbal remedies on infants without professional guidance.
What if I can’t grow these plants, can I buy the ingredients?
Absolutely. Dried herbs for salve-making and teas are available from reputable suppliers like Mountain Rose Herbs, Starwest Botanicals, and Frontier Co-op. Look for organic, sustainably sourced herbs. You can also find many of these plants growing wild, plantain, yarrow, and chamomile are common in meadows, lawns, and along roadsides (just avoid areas that may have been sprayed with chemicals).
Should I replace my conventional first aid kit with a natural one?
No, the best approach is to keep both. Your natural first aid kit is perfect for everyday minor issues: small cuts, bug bites, headaches, minor burns, and chapped skin. But you should always have conventional supplies on hand for more serious situations: antiseptic solution, sterile bandages, butterfly closures, antibiotic ointment, pain relievers, and an EpiPen if anyone in your household has severe allergies. Think of your natural kit as your first line of defense and your conventional kit as your backup.