Homemade Seed Starting Mix: 3 Tested Recipes for Healthy Seedlings
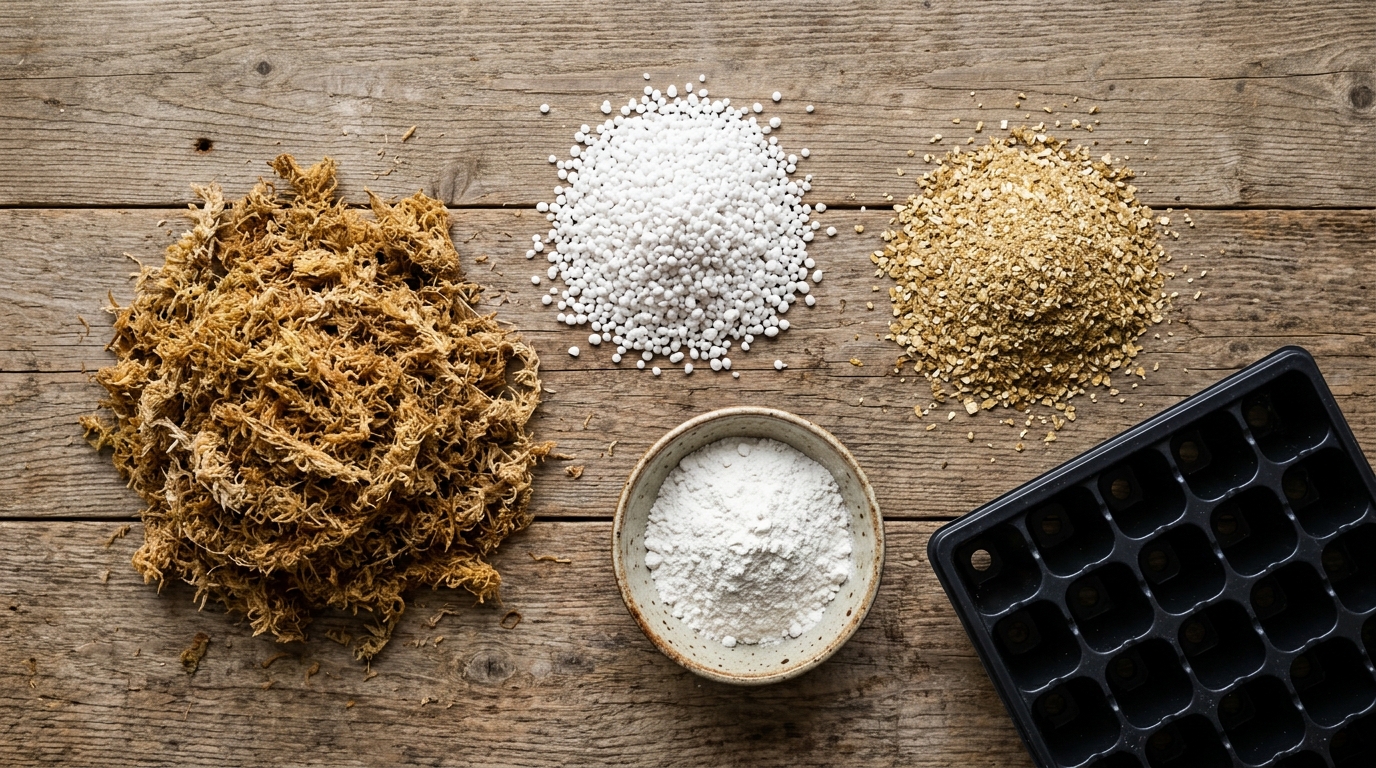
Four quarts of sphagnum peat moss, four quarts of fine-grade vermiculite, and two tablespoons of ground limestone. That is the entire ingredient list for the seed starting recipe published by University of New Hampshire Cooperative Extension, and it is as close to a universal starting point as the extension literature offers. Cornell’s original peat-lite formula, developed by James Boodley and Raymond Sheldrake in the 1960s, is not far off: 50% peat moss, 50% perlite or vermiculite, and about 20 pounds of dolomitic limestone per cubic yard of peat to correct pH.
On our property in the Ozarks, we switched to mixing our own after three springs of watching bagged store mix collapse tomato seedlings from damping-off. The homemade batch we mix in January costs roughly a quarter of the bagged equivalent, drains predictably, and moves through the plug tray without crusting. This guide covers the ingredients, the recipes worth copying, the pasteurizing step most homesteaders skip, and the small habits that keep seedlings healthy from sowing to transplant. Every ratio and dwell time comes from a land-grant extension service or a peer-reviewed source.
Why Skip Garden Soil for Starting Seeds?
Garden soil holds too much water, packs down inside a cell tray, and carries the exact pathogens that kill young seedlings. According to University of Maryland Extension, soilless growing media are preferable to garden soil because they are “light and fluffy,” “generally free of diseases, weed seeds, and insects,” and have “large pore spaces” that “allow excess water to drain easily” while “high porosity promotes quick and extensive root growth.” Garden soil fails on every one of those criteria.
The University of Georgia Extension is direct about the trade-off: “For best results, use a sterile, soilless seed-starting mix rather than garden soil. Garden soil can be too heavy, hold too much water and may contain weed seeds or diseases that can harm young seedlings.” University of Minnesota Extension gives the same instruction, recommending “a commercial seed starting mix that is lightweight and sterile rather than a regular potting mix or garden soil.”
Even sifted, screened, and dried, native soil will slump around a seedling stem and crust on top after the first watering. The peat-perlite-vermiculite alternative developed in the 1960s solved this problem at commercial scale first, and the same physics work in your kitchen. Michigan State University Extension notes that a properly built mix should sit at “10-20 percent air space, and 40-60 percent water when moistened,” a ratio garden soil rarely hits inside a two-inch cell.
What Ingredients Go Into a Homemade Seed Starting Mix?
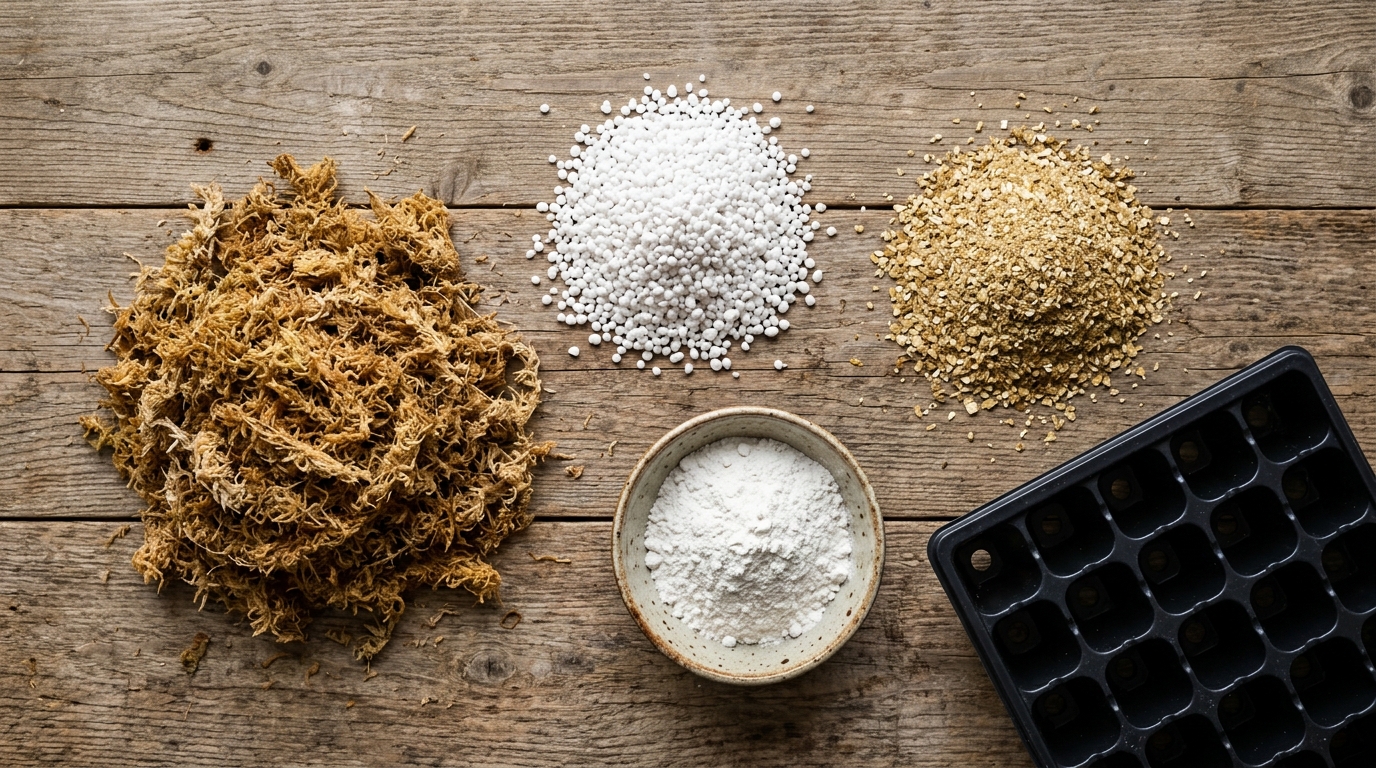
A working homemade mix uses four core ingredients, each doing one specific job: sphagnum peat moss or coconut coir for water retention, perlite for aeration and drainage, vermiculite for moisture holding plus mineral buffering, and ground limestone to correct pH. Illinois Extension summarizes the standard formula: “Seed starting mix is sterile and is usually made from milled peat moss, perlite, coconut coir, and vermiculite, providing a light, fine-textured media that is ideal for starting seeds.”
Sphagnum peat (or coir) is the water reservoir. Perlite is the white “popcorn” made from expanded volcanic glass; it keeps pore spaces open so roots get oxygen. Vermiculite is the golden-brown flake that swells with water and slowly releases it back into the mix. According to Michigan State University, soilless seed-starting mixes “have a finer texture and are made from ingredients such as milled peat moss, perlite, coconut coir fiber and vermiculite.” The finer the milling, the better the seed-to-soil contact for tiny seeds like lettuce, basil, and petunia.
The table below summarizes what each component contributes.
| Ingredient | Main role | Native pH |
|---|---|---|
| Sphagnum peat moss (milled) | Water retention, capillary action | 3.0 to 4.5 (needs lime) |
| Coconut coir (fine grade) | Water retention, renewable base | 5.8 to 6.8 |
| Perlite (horticultural) | Aeration, drainage, prevents compaction | Near neutral |
| Vermiculite (fine grade) | Moisture buffering, cation exchange | Near neutral |
| Ground dolomitic limestone | Raises pH, adds calcium and magnesium | Alkaline buffer |
Which Seed Starting Mix Recipes Actually Work?
Three extension-published recipes cover almost every home use: a two-ingredient peat-lite for pure germination, a three-ingredient balanced mix for growing seedlings to transplant, and a coir-based version for gardeners who prefer to avoid peat. Every ratio below comes straight from a land-grant extension service.
Recipe 1, UNH Extension peat-lite (bulk germination): 4 quarts shredded sphagnum peat moss, 4 quarts fine vermiculite, 2 tablespoons ground limestone, and 1 tablespoon superphosphate (optional). University of New Hampshire Cooperative Extension notes that “a good germinating medium should be fine and uniform, well-aerated and loose. It should be free of insects, disease organisms, and weed seeds. It should also have low fertility and be capable of holding and moving moisture by capillary action.” This mix is deliberately nutrient-poor because seeds carry their own starter food.
Recipe 2, Oregon State three-thirds (seedlings to transplant): One-third pasteurized soil or finished compost, one-third sand or perlite or vermiculite, and one-third coconut coir or peat moss. Oregon State University Extension recommends this ratio directly, adding that “a simpler combination that works well is equal parts coconut coir or peat moss and half perlite, vermiculite or sand.” The compost fraction adds gentle nutrition once seedlings hit the true-leaf stage.
Recipe 3, Cornell peat-lite (classic 50:50): Half peat moss, half perlite or vermiculite, plus 20 pounds ground dolomitic limestone per cubic yard of peat. Cornell News describes this original Boodley and Sheldrake formula as “lightweight artificial soils” that “provided good drainage, were free of weed seeds and reduced disease problems for growers.” Scale it down for household use: for every gallon of peat, use one gallon of perlite and roughly one heaping tablespoon of ground dolomitic limestone.
How Do You Pasteurize Compost or Garden Soil Before Adding It?
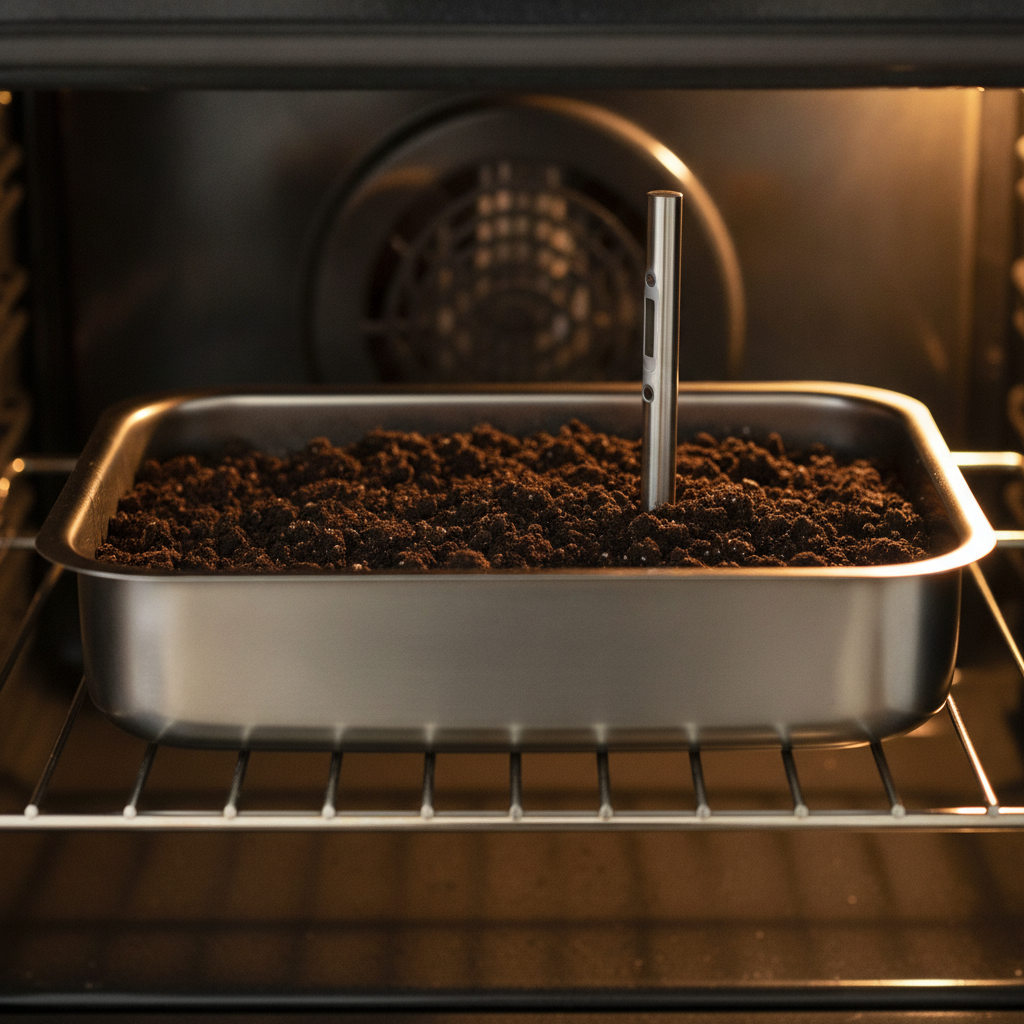
Pasteurize any homemade compost or garden-sourced ingredient by heating it in the oven at 250 F until the center of the pan reaches 180 F, then holding that temperature for 30 minutes. Oregon State University Extension gives the target directly: “Place soil in a 250-degree oven with a food thermometer to ensure that the mix reaches a temperature of 180 degrees for a full half-hour.” Texas A&M AgriLife Extension recommends a slightly gentler protocol at 160 F held for at least one full hour, which reaches the same endpoint without scorching organic matter.
Spread the material in a shallow metal roasting pan, no more than three inches deep, and insert an oven-safe probe thermometer into the center. Cover loosely with foil to retain moisture. Texas A&M’s instructions specify “placing the soil mix in a shallow metal pan, heating to 160 in an oven, and keeping it at this temperature for at least 1 hour.” A shallower layer heats faster and more evenly than a deep one.
Do not skip this step if you are folding in home compost or bagged topsoil. University of California IPM confirms that steam heating “at 140 F for 30 minutes” kills the container-media pathogens responsible for damping-off. The oven method reaches that threshold and holds through the interior of the pan. Open windows before you start, since heated peat and compost carry a strong earthy smell.
What pH and Fertility Should Your Seed Starting Mix Have?
Aim for a pH between 5.5 and 6.5 and soluble salts between 1.5 and 3.0 mmhos per centimeter. Penn State Extension publishes those exact benchmarks: “Premium potting mixes tested with the saturated paste method recommended for greenhouse media will have a pH between 5.5 and 6.5, soluble salts between 1.5 and 3 mmhos/cm.” The Ask Extension network narrows the germination sweet spot even further: “For optimum seed germination for most crops, use a growing media with a pH of 5.7 to 6.2 and low soluble salts.”
Raw sphagnum peat sits at pH 3.0 to 4.5, well below that target range, which is why every extension recipe adds ground limestone. Washington State University’s fact sheet on coconut coir explains: “In contrast, peat moss is often very acidic, with a pH balance ranging between 3.0 and 4.5. Because of this, manufacturers usually add limestone to it before sale to raise its pH.” Coir, by comparison, starts at pH 5.8 to 6.8 and often needs no adjustment at all.
Keep fertility low. Seeds contain their own energy reserves in the endosperm and cotyledons. According to University of Georgia Extension, “Seeds themselves contain all the nutrients that baby seedlings need to start their growth. Too much fertilizer can burn seedlings’ fragile roots and increase the growth of fungal diseases, like damping off.” Feed with a quarter-strength liquid fertilizer only after the first set of true leaves opens, as UNH Extension advises for peat-lite: “These mixes have no fertility, so the seedlings need to be watered with a dilute fertilizer as the first true leaves appear.”
How Do You Prevent Damping-Off Through Your Mix Choice?
Damping-off is a pathogen problem before it is a watering problem, and a sterile, well-drained mix denies those pathogens the wet, warm, oxygen-poor conditions they need. Penn State Extension identifies the culprits: “Damping-off can be caused by various fungi, including Rhizoctonia species and Fusarium species, or fungus-like organisms called oomycetes (also called water molds), including Phytophthora and Pythium species.” Rhizoctonia strikes at the soil line; Pythium works below.
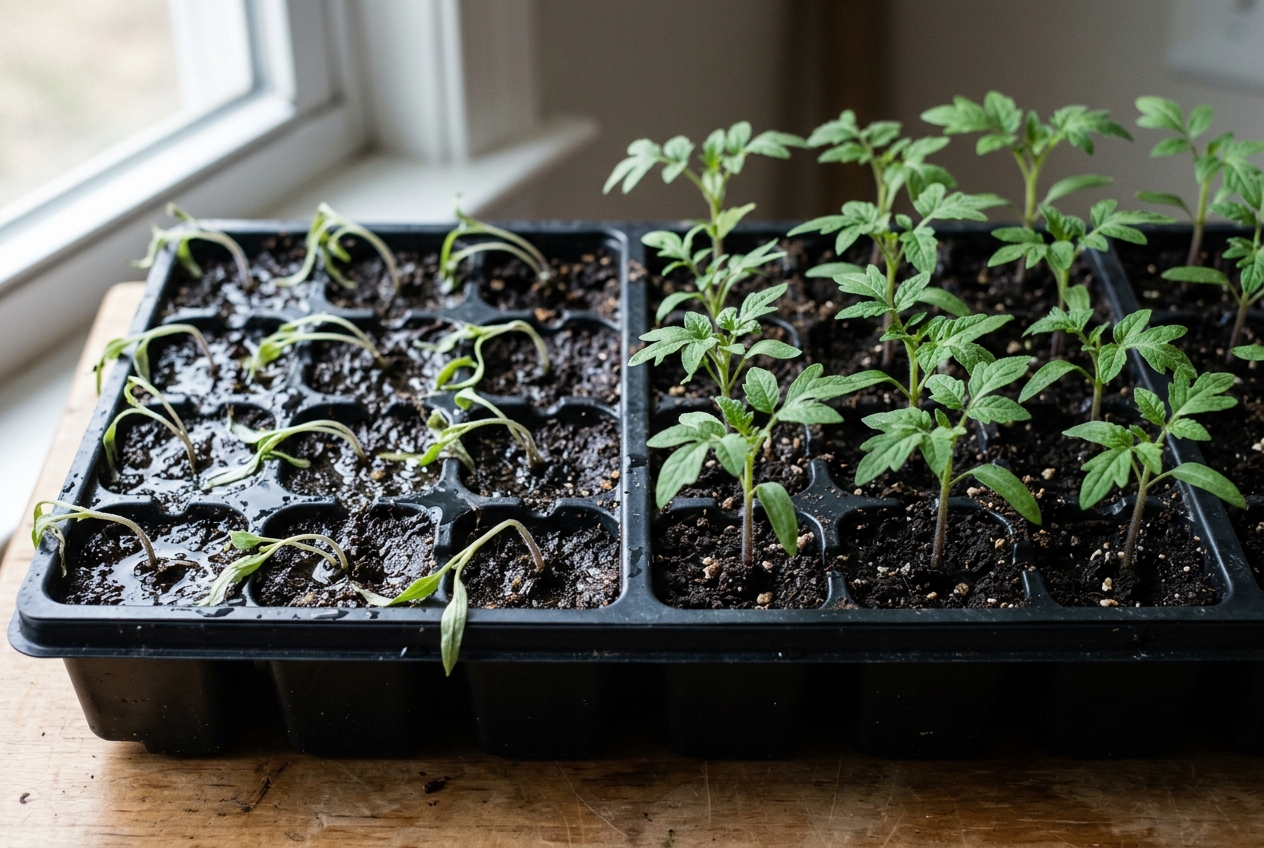
The visible signs are grim and fast. University of California IPM describes them plainly: “Seedlings affected by damping-off fail to emerge or fall over and die soon after emergence, with stems usually having a dark, shriveled portion at the soil line.” By the time you see the collapse, the mix itself has already lost. Penn State adds that “damping-off caused by Phytophthora and Pythium species often occurs under cool and wet conditions and in low-lying areas that have poor drainage and hold water,” which is exactly what happens when garden soil compacts inside a cell tray.
The prevention protocol is three steps. First, use a sterile mix (either a pasteurized homemade batch or a fresh bagged mix). Second, sanitize any reused trays: UC IPM specifies washing off all old media, then sanitizing “the flats or pots in a 10% bleach solution for 30 minutes, and then allow the trays to air dry.” Third, keep the mix on the drier side of moist and germinate at recommended crop temperatures. Penn State’s management summary is clean: “maintaining good sanitation, avoiding overwatering and limiting frequent light waterings, and germinating seedlings at recommended temperatures to promote rapid germination and development.”
How Do You Moisten, Fill Cells, and Store the Mix?
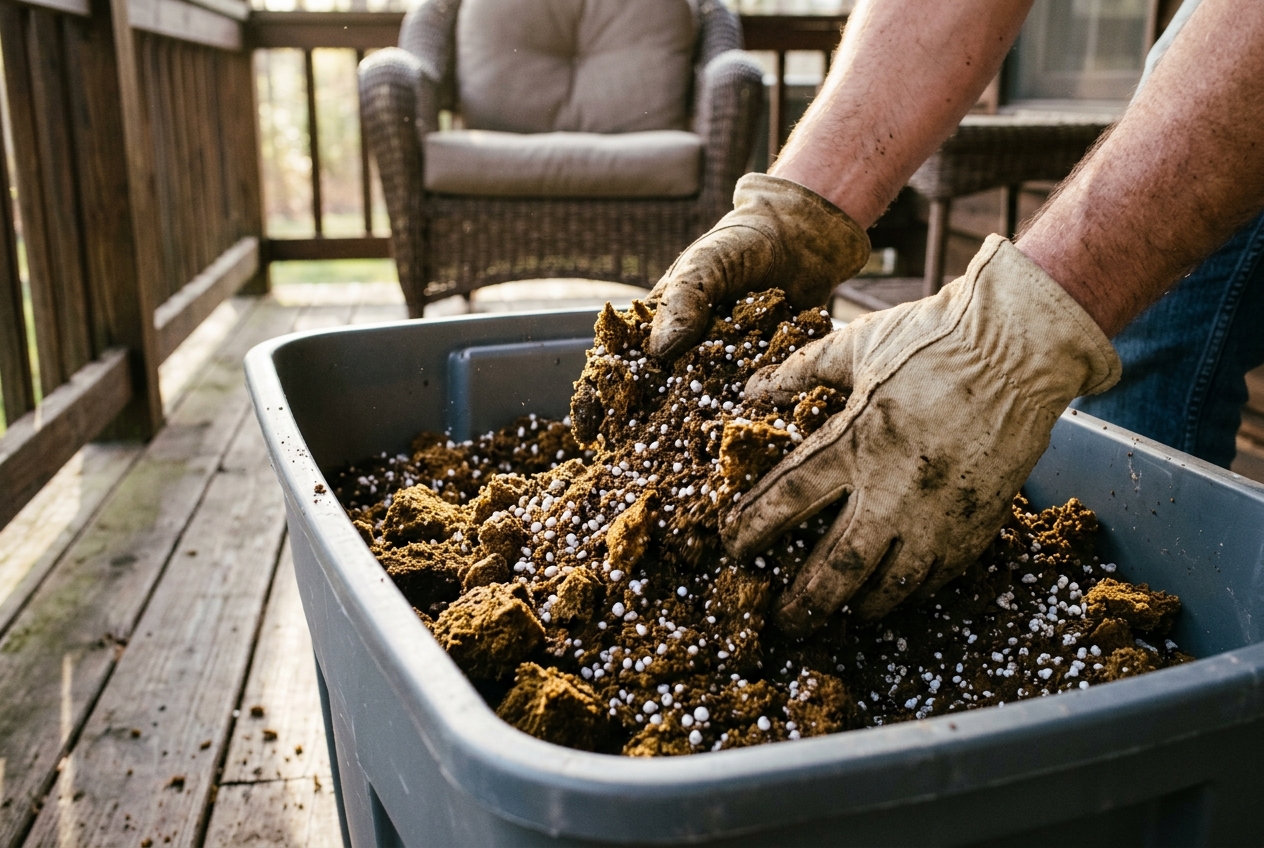
Wet the mix in a bucket to the consistency of a wrung-out sponge before you fill a single cell. Dry milled peat is hydrophobic and beads water off the top of the tray, leaving pockets of dry mix around the seed. University of Maryland Extension gives the instruction: “Place your dry growing medium into a bucket or tub, pour lukewarm tap water in slowly and mix it into the growing medium until it is as moist as a wrung-out sponge, not soppy wet.” Squeeze a handful; a few drops should come out, no stream.
Fill each cell to the rim, then tap the tray twice on a hard surface to settle the mix without compacting it. Do not press it down with your thumb. RHS advises the same restraint: “Before sowing seeds, make sure the compost is moist but not soggy, as saturated compost is colder and can slow down germination.” Cold, saturated mix delays germination and invites Pythium.
Store leftover mix in a sealed bin, dry, away from garden soil, garage floors, and old pots. Any contact with untreated material can reintroduce the pathogens you just pasteurized out. Label the bin with the mix recipe and the date. Peat-based mixes stay usable for a year in a dry container; coir-based mixes will keep just as long if they are fully dry before sealing. If a stored batch smells sour or feels warm to the hand, discard it and mix a fresh batch.
Coconut Coir vs. Peat Moss: Which Base Should You Choose?
Coconut coir is renewable, pH-friendly, and re-wets easily; sphagnum peat is cheaper by volume, holds more water per gram, and is the medium every classic extension recipe was calibrated for. Neither is universally better. Washington State University’s fact sheet frames the sustainability question first: “Coconut coir is a renewable resource harvested from coconuts, which are abundant and grown annually, making it an environmentally friendly option,” while “peat takes hundreds of years to form and plays a vital role in a wetland’s ecosystem.”
The pH gap is the second decision point. WSU explains: “The pH of coir is less acidic than peat moss, usually a pH from 5.8-6.8… In contrast, peat moss is often very acidic, with a pH balance ranging between 3.0 and 4.5. Because of this, manufacturers usually add limestone to it before sale to raise its pH.” A coir-based mix skips the limestone step. A peat mix needs it.
Behavior at the bench also differs. Compressed coir bricks rehydrate quickly with warm water and stay easy to wet on subsequent uses. Peat, once dry, resists rewetting and often needs a slow soak or a drop of unscented dish soap in the mixing water to break surface tension. On our homestead we use coir for tiny seeds (lettuce, celery, basil) where moisture consistency matters most, and a peat-lite for the seeds we start in volume (tomato, pepper, brassicas) where cost matters more.
Common Mistakes When Making Your Own Seed Starting Mix
The three most common failures are reusing an old tray without sterilizing it, folding in unfinished compost, and over-fertilizing at mixing time. Any one of them can wipe a whole flat in a week. UC IPM’s protocol for reused containers is worth memorizing: wash off every trace of old media, sanitize in “a 10% bleach solution for 30 minutes,” then air dry. Rinsing under the hose is not enough.
Unfinished compost carries the pathogens you built the sterile mix to exclude. Penn State Extension is blunt about the salts risk too: “Over-fertilization of commercial pot or container-grown crops results in high concentrations of soluble salts in the potting medium,” and “compost, mushroom soil and other potting mix components can be high in salts, and salts will starve transplants for water.” Test any compost you plan to add with an inexpensive electrical conductivity meter, or fold it in at no more than one-third of the total volume and only after pasteurizing.
Skipping the limestone with a peat-heavy mix is the third quiet failure. Seedlings germinate but stall in the two-leaf stage, roots turn stunted, and gardeners blame the seed rather than the pH. If you are starting from a bale of raw peat rather than a bagged peat that has already been amended, add ground dolomitic limestone at the rate Cornell specified: about a tablespoon per gallon of peat. Our post on composting kitchen scraps into garden gold walks through how to finish home compost properly before it goes anywhere near a seed tray.
Extra Tips From Our Homestead
Three small habits made the biggest difference on our property. First, we mix a full year’s batch in January inside a lidded 20-gallon tote so the recipe stays consistent all spring. Batching once means every tray gets identical media, and comparisons between trays actually tell us something about the seed rather than the substrate. Second, we pre-wet the entire batch to the wrung-out-sponge stage the night before sowing, so the mix is not fighting hydrophobic peat when we finally fill cells the next morning.
Third, we keep a dedicated container of pasteurized fine screened compost separate from the main peat-lite tote. This lets us blend in a light nutrient fraction only for the crops that benefit, like brassicas and alliums, without loading the base mix with salts that hurt lettuce and other salt-sensitive germinators. It also lets us swap the coir base in for finicky small-seed crops without rebuilding the whole batch.
Once seedlings hit the true-leaf stage and start needing food, the transition to the garden bed matters more than the mix that got them there. Our companion guide to seed starting indoors step by step covers the lighting and watering rhythm that follows, and the perfect raised bed soil mix handles the transplant destination. Two of our best-tested seed-to-harvest walkthroughs, growing tomatoes from seed to sauce and growing pumpkins and winter squash from seed to storage, use the same peat-lite base recipe described above. And once the fall harvest is in, our seed saving primer closes the loop for next season’s homemade mix.
Frequently Asked Questions
Can I use regular potting soil to start seeds?
Not ideally. Regular potting soil is coarser, often heavier, and typically pre-loaded with fertilizer that can burn seedling roots. Michigan State University Extension distinguishes the two: “Seed starting medium is a sterile mix that sometimes contains fertilizer, while potting soil may be a similar mix or non-sterile soil, and may or may not have fertilizer in it. Soilless seed-starting mixes have a finer texture and are made from ingredients such as milled peat moss, perlite, coconut coir fiber and vermiculite.” If potting mix is all you have, sift it through a quarter-inch screen and mix it 1:1 with fresh perlite before sowing.
How much dolomitic limestone should I add per gallon of peat moss?
About one tablespoon per gallon of peat moss, scaled from Cornell’s original benchmark of 20 pounds of ground dolomitic limestone per cubic yard of peat. Ground dolomitic limestone raises pH and adds both calcium and magnesium, which support cell-wall development in seedlings. If you are using coconut coir instead of peat, skip the lime; coir already sits inside the target pH range of 5.7 to 6.5. A digital pH pen from any garden store lets you verify the finished mix.
Do I need to sterilize a bagged seed starting mix before using it?
No, if the bag is sealed, dry, and labeled as sterile. Iowa State University Extension recommends “commercially prepared soilless mixes” for germination because they are “lightweight, porous and free of pathogens” out of the bag. If a bag has been opened and stored in a garage with garden tools or old flats nearby, pasteurize it the same way you would a homemade batch: 180 F for 30 minutes in a covered metal pan. A bag that smells sour or looks compacted should be composted, not sown into.
Is coconut coir really better for the environment than peat moss?
Coir is more renewable but not automatically greener. Washington State University’s fact sheet notes that “coconut coir is a renewable resource harvested from coconuts, which are abundant and grown annually,” while “peat takes hundreds of years to form and plays a vital role in a wetland’s ecosystem.” Coir has a real shipping footprint, however, since most is processed in Sri Lanka, India, or the Philippines. If you are close to a domestic peat source and use small quantities, the calculation is not as one-sided as marketing suggests.
Why do my seedlings collapse a few days after they sprout?
Almost always damping-off, a fungal or oomycete infection that thrives in cool, saturated mix. University of California IPM describes the classic sign: “Seedlings affected by damping-off fail to emerge or fall over and die soon after emergence, with stems usually having a dark, shriveled portion at the soil line.” The fix is a sterile mix, fresh sanitized trays, careful watering from below, and germination temperatures at the crop’s recommended range. Once damping-off appears, discard the affected flat rather than trying to save it.
Can I reuse last year’s homemade seed starting mix?
Only after pasteurizing it. Spent mix carries root fragments, salt buildup from previous fertilizing, and any pathogens that arrived with air, water, or tools. Pull it into a shallow metal pan, add a splash of water to raise the moisture content, and heat at 250 F until the interior hits 180 F for 30 minutes. Even then, budget the reused mix as a bulk filler rather than the whole batch; cut it 1:1 with fresh perlite and a scoop of fresh peat or coir to restore structure and pore space.
What is the cheapest way to buy the ingredients?
Buy a compressed bale of sphagnum peat or a block of coir, a four-cubic-foot bag of horticultural perlite, and a small bag of fine-grade vermiculite from a farm-supply store rather than a big-box garden aisle. Prices per quart drop by half to two-thirds compared with the small pre-bagged retail packs. A single peat bale and a single perlite bag mixed at 50:50 will typically make enough seed starting mix for a family garden for three to five years, provided the leftovers are stored dry and sealed between springs.