Worm Composting (Vermicomposting): Turn Kitchen Scraps into Black Gold Indoors
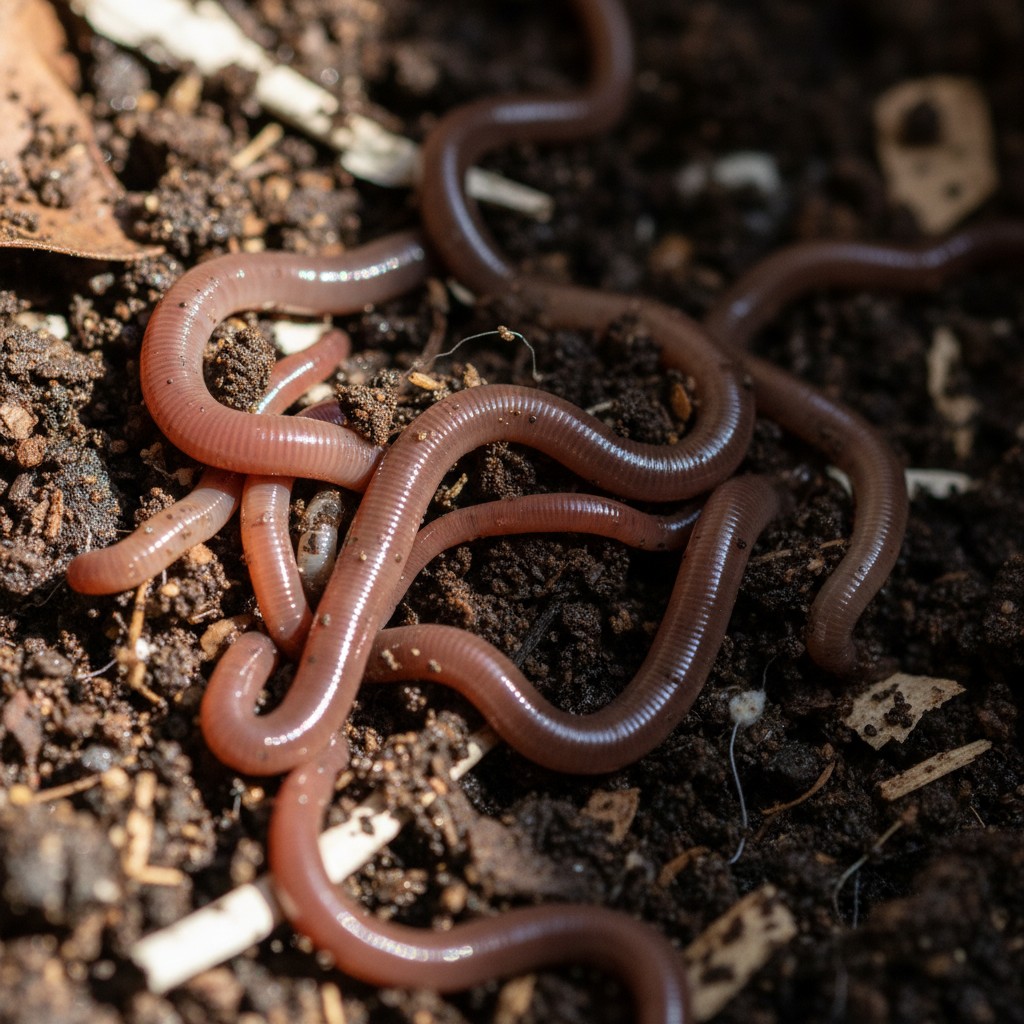
- Vermicomposting uses red wiggler worms to turn kitchen scraps into nutrient-rich castings, the black gold of fertilizers.
- Worm castings contain 5x more nitrogen, 7x more phosphorus, and 11x more potassium than average garden soil.
- A worm bin can be set up for under $30 and fits in a kitchen, garage, basement, or closet.
- Red wigglers eat roughly half their body weight in food daily, 1 pound of worms processes about 3.5 lbs of scraps per week.
- Vermicomposting is faster than traditional composting, produces zero odor when managed properly, and works year-round indoors.

What Is Vermicomposting and Why Is It So Effective?
Vermicomposting uses red wiggler worms (Eisenia fetida) to break down kitchen scraps into worm castings, a fertilizer so nutrient-dense that studies show it outperforms commercial fertilizers for plant growth. When I first started, I was skeptical that a bin under my sink could matter. Within three months, I had pounds of the richest compost I had ever seen.
According to research from Cornell University, worm castings contain plant-available nutrients in significantly higher concentrations than standard compost. Unlike traditional composting, vermicomposting works at room temperature and produces finished compost in 2–3 months.
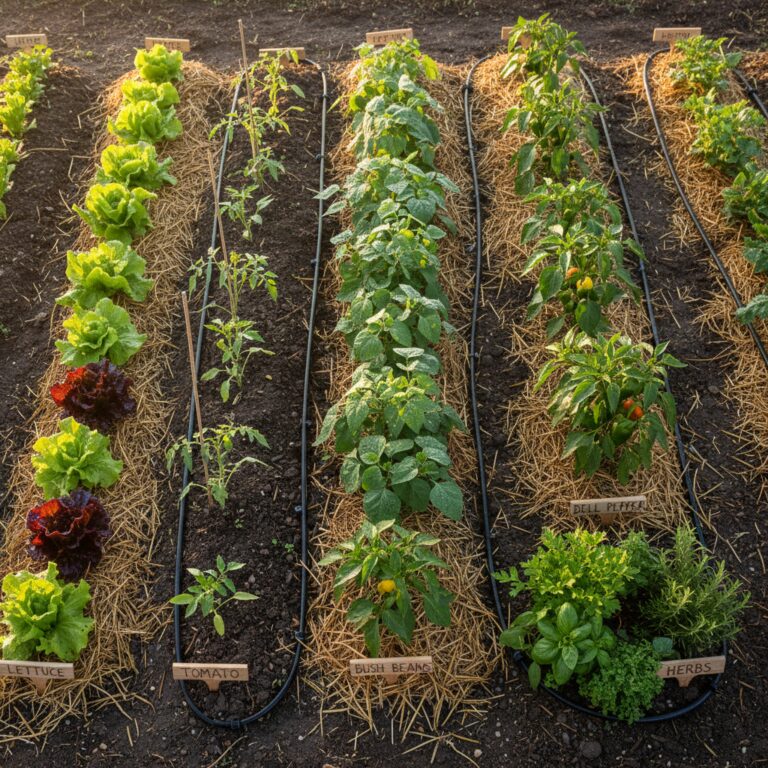
For anyone who gardens, whether in raised beds, containers, or even indoor microgreens, vermicompost is a huge time-saver.

How Do You Set Up a Worm Bin?
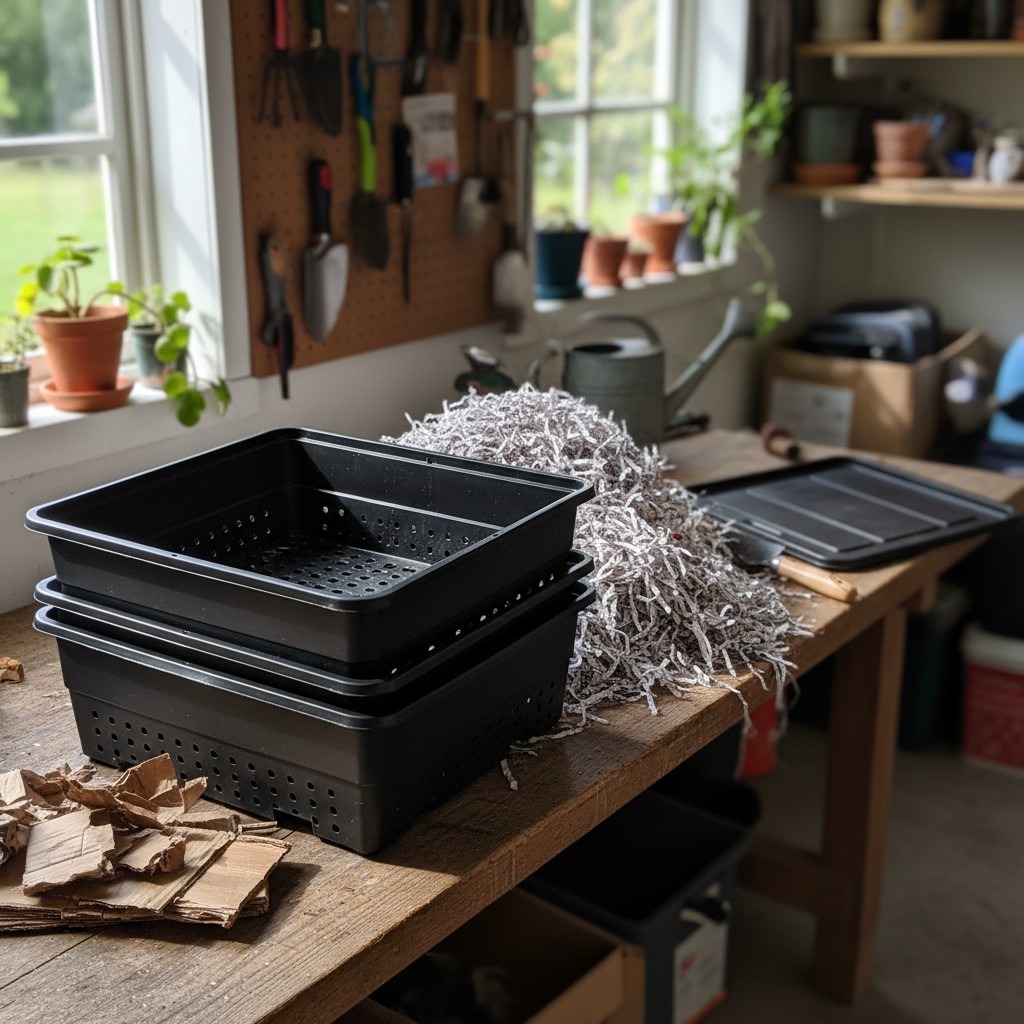
You need a shallow, opaque bin with drainage holes, shredded newspaper bedding, a handful of soil, moisture (like a wrung-out sponge), and about 1 pound of red wiggler worms, total setup cost under $30. After trying several commercial bins, I prefer the simple DIY approach with two nested storage totes.
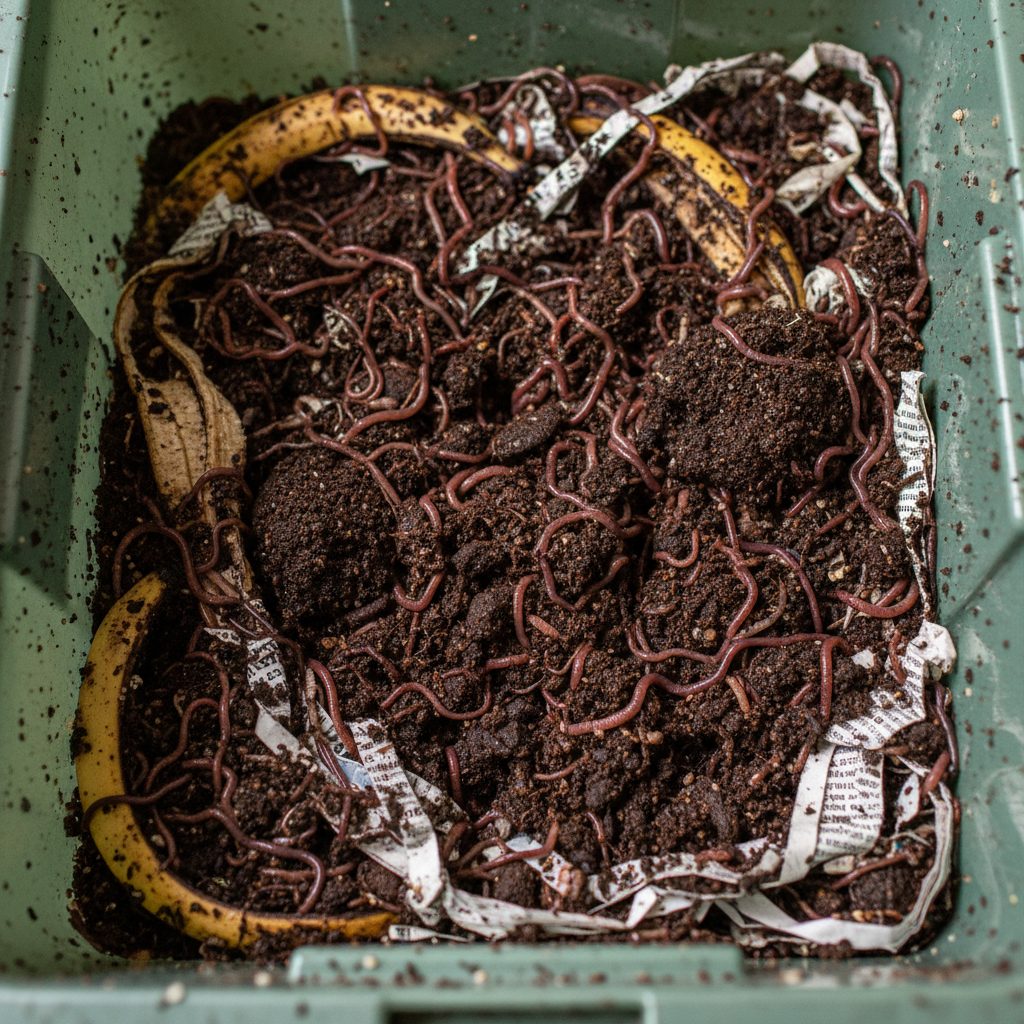
Take a dark 10-gallon tote. Drill small holes in the bottom for drainage and around the upper sides for air. Place inside a slightly larger tote to catch liquid. Add 4–6 inches of shredded newspaper, moistened like a wrung-out sponge. Add a cup of soil. Add your worms and cover with damp newspaper.
The University of Minnesota Extension recommends 1 pound of red wigglers per square foot of bin surface area. Red wigglers are the species you want, do not use Canadian nightcrawlers (Lumbricus terrestris) — they are deep-burrowing and die in warm bins; European nightcrawlers (Eisenia hortensis), however, are a valid vermicomposting species and can be used alongside or in place of red wigglers or garden earthworms.
What Can and Cannot You Feed Your Worms?

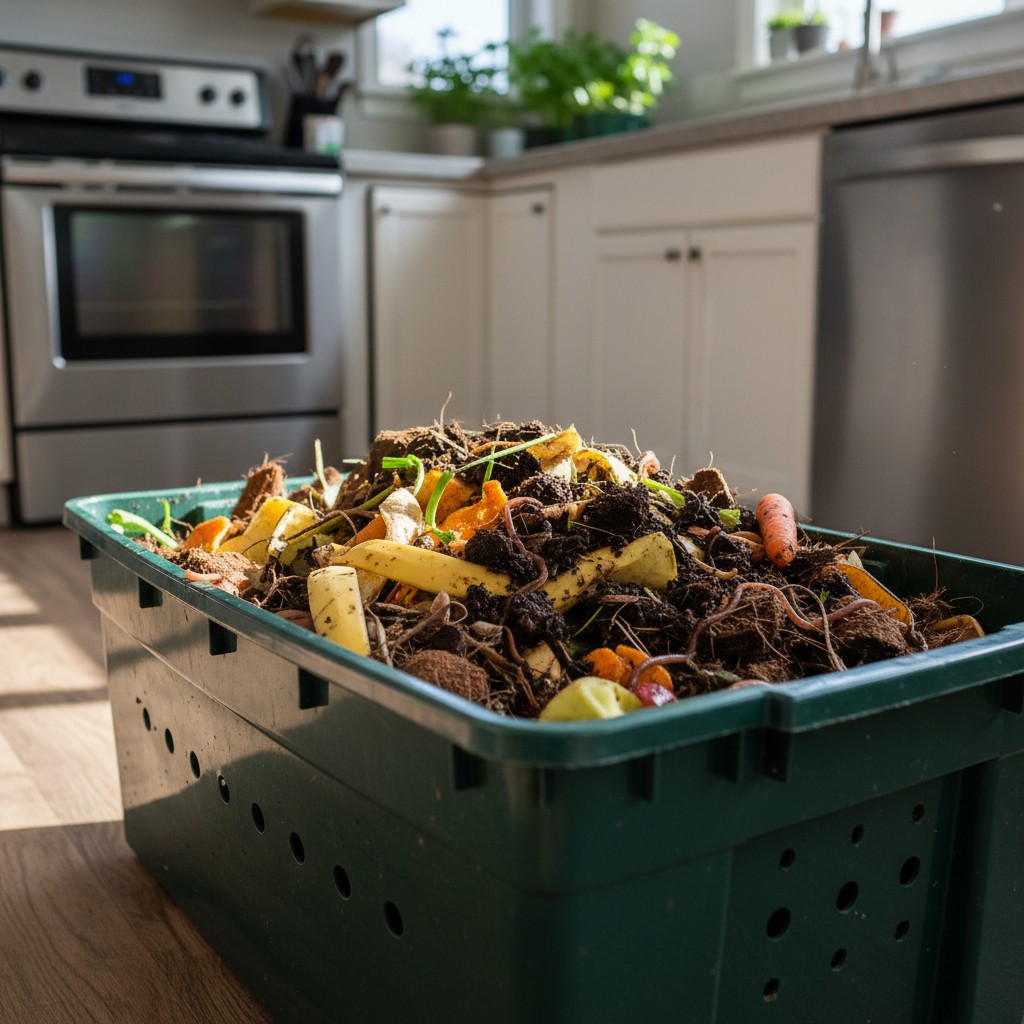
Feed worms fruit and vegetable scraps, coffee grounds, tea bags, crushed eggshells, and small amounts of bread, avoid meat, dairy, oils, citrus in large quantities, and pet waste. In my experience, the number one mistake is overfeeding. Start slow and increase as the population grows.
| Worm-Friendly Foods | Foods to Avoid |
|---|---|
| Fruit/vegetable scraps and peels | Meat and fish |
| Coffee grounds and paper filters | Dairy products |
| Tea bags (remove staple) | Oils and greasy foods |
| Crushed eggshells | Large amounts of citrus/onion |
| Shredded cardboard/newspaper | Pet waste (dog/cat) |
| Small amounts of bread/grains | Glossy/coated paper |
Bury food under bedding to prevent fruit flies and odors. The California Department of Resources Recycling and Recovery has excellent troubleshooting resources for common issues.
On citrus and onion: the table lists these in the “avoid” column, which is accurate for large quantities, the acidity and sulfur compounds can irritate worms and shift bin pH if fed in bulk. Small amounts are generally fine: an occasional lemon rind or a few pieces of onion skin won’t harm a healthy bin. The rule of thumb is to keep citrus and onion scraps to no more than 10% of any single feeding, and to balance them with plenty of neutral carbon bedding (shredded cardboard).
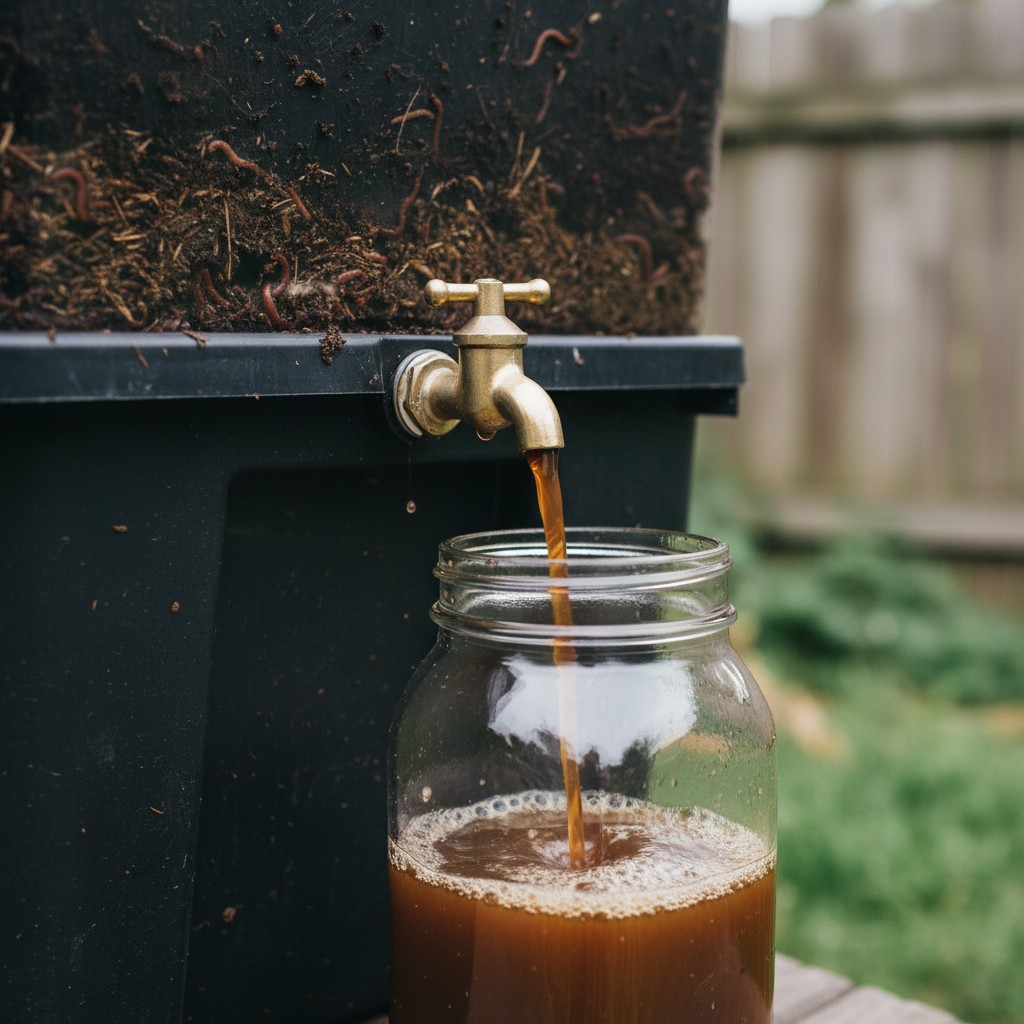
How Do You Harvest Worm Castings?

The easiest method is light migration: push finished castings to one side, add fresh bedding and food to the empty side, wait 2–3 weeks for worms to migrate, then scoop out the finished castings. After trying multiple methods, this one is simplest.
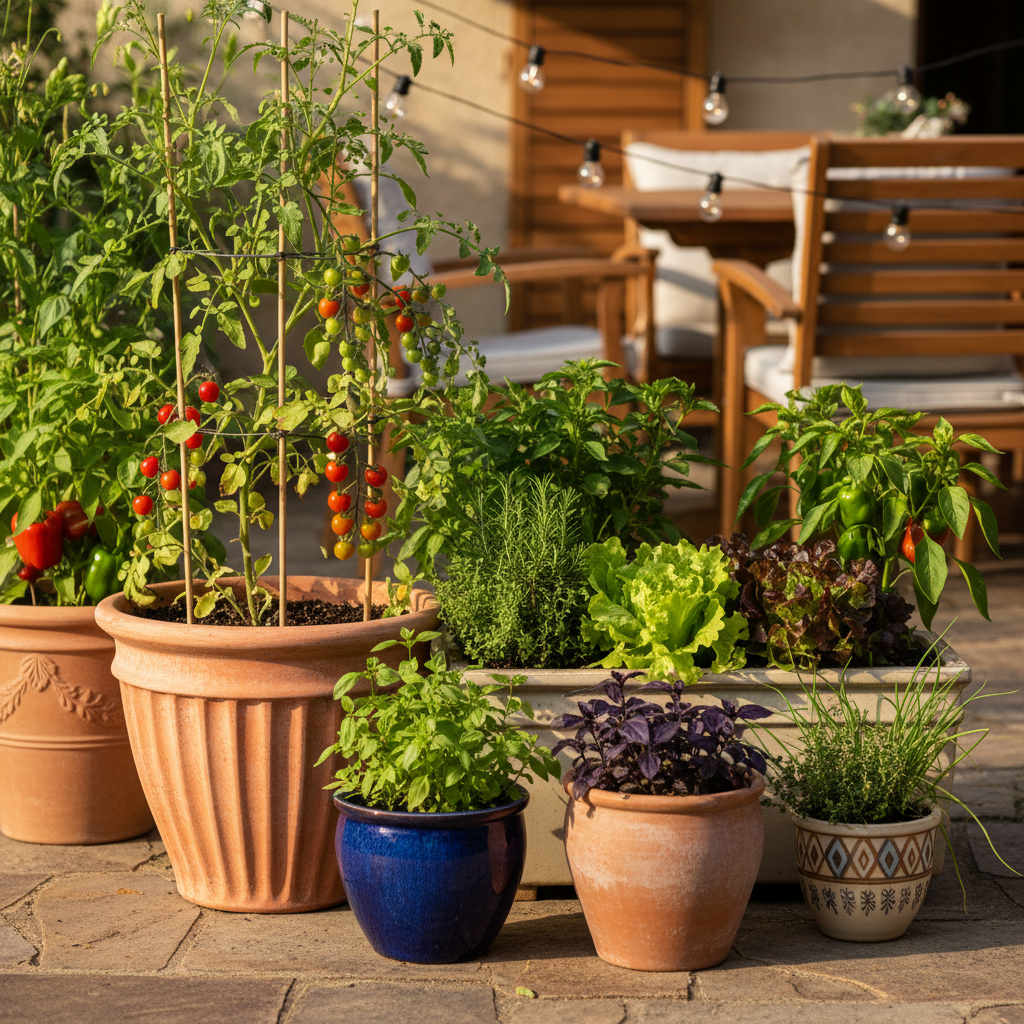
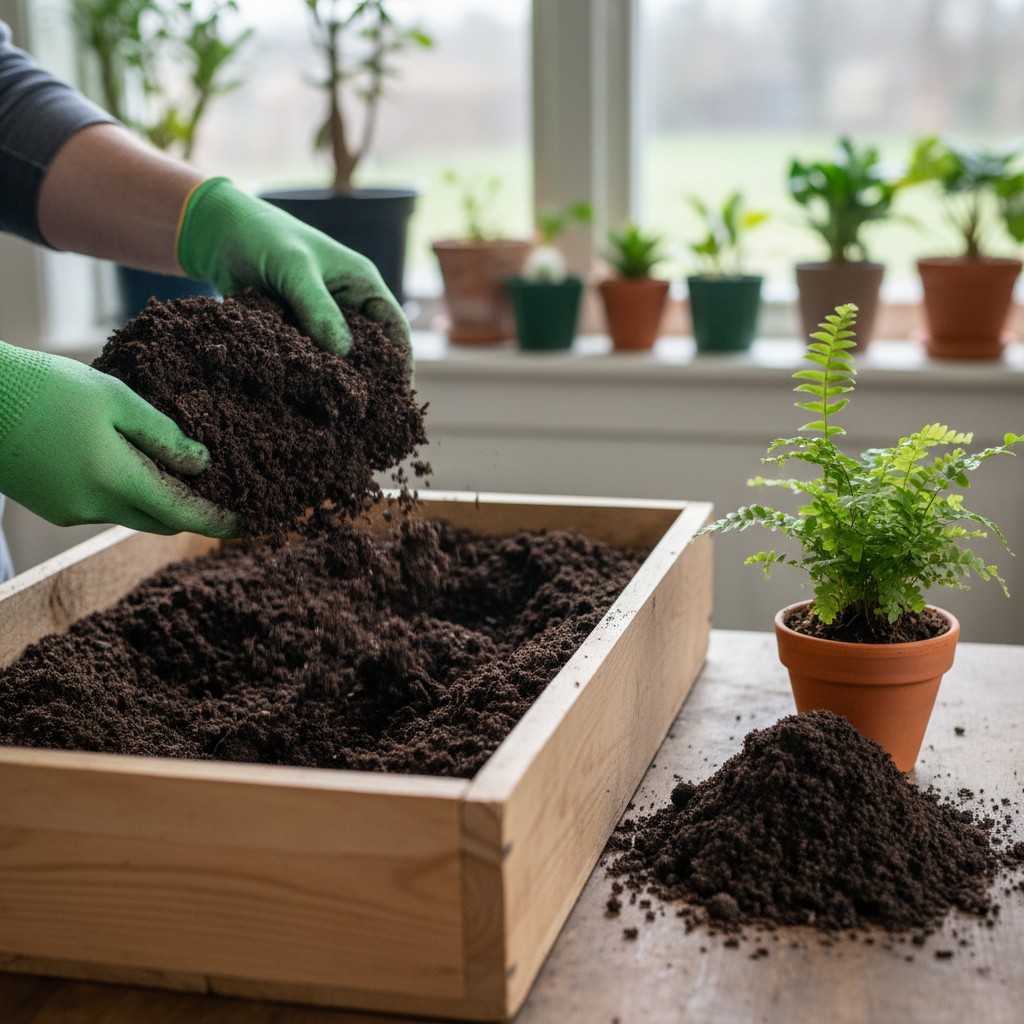
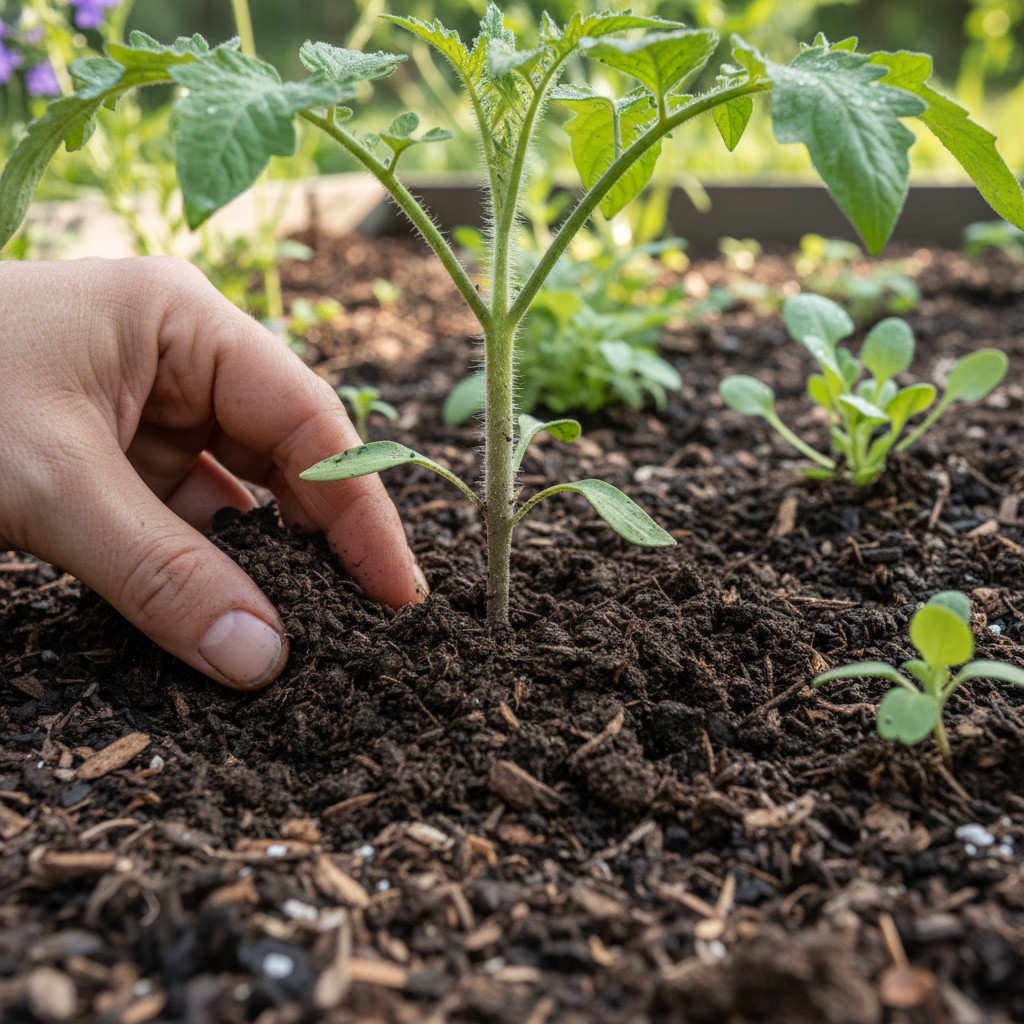
Use castings by mixing into potting soil (up to 25%), top-dressing garden beds, or brewing worm tea. This liquid fertilizer is incredible for your kitchen herb garden and tomato plants. The Oregon State University Extension notes that even small amounts significantly improve plant growth.
🌱 From Our Homestead
Our worm bin lives under the kitchen sink and the kids named every single worm. It processes all our food scraps and produces the richest compost I have ever seen, our container herbs grow noticeably better since we started top-dressing with worm castings.
Frequently Asked Questions About Worm Composting
A properly maintained bin smells like fresh earth. If it smells bad, you are likely overfeeding, it is too wet, or prohibited foods were added. Reduce feeding and add dry bedding.
Absolutely! Worm bins are quiet, odor-free when maintained, and take up as little space as a tote under the sink. Worms prefer 55–77 degrees F, which is typical indoor range.
Your first harvest will be ready in about 2–3 months. Once established, harvest every 2–3 months. The worm population doubles approximately every 90 days.
Always bury food under bedding. Freeze scraps before adding them. Keep dry newspaper on top. A vinegar trap near the bin catches stragglers.
Healthy worms stay in the bin. If they climb the walls, something is wrong, too much acidity, inadequate bedding, or waterlogged conditions. Fix the issue and they settle in. A light on above the bin for the first few nights helps new worms adjust.