How to Build a Root Cellar on a Budget: 5 DIY Options
How to Build a Root Cellar on a Budget: 5 DIY Options for Any Property
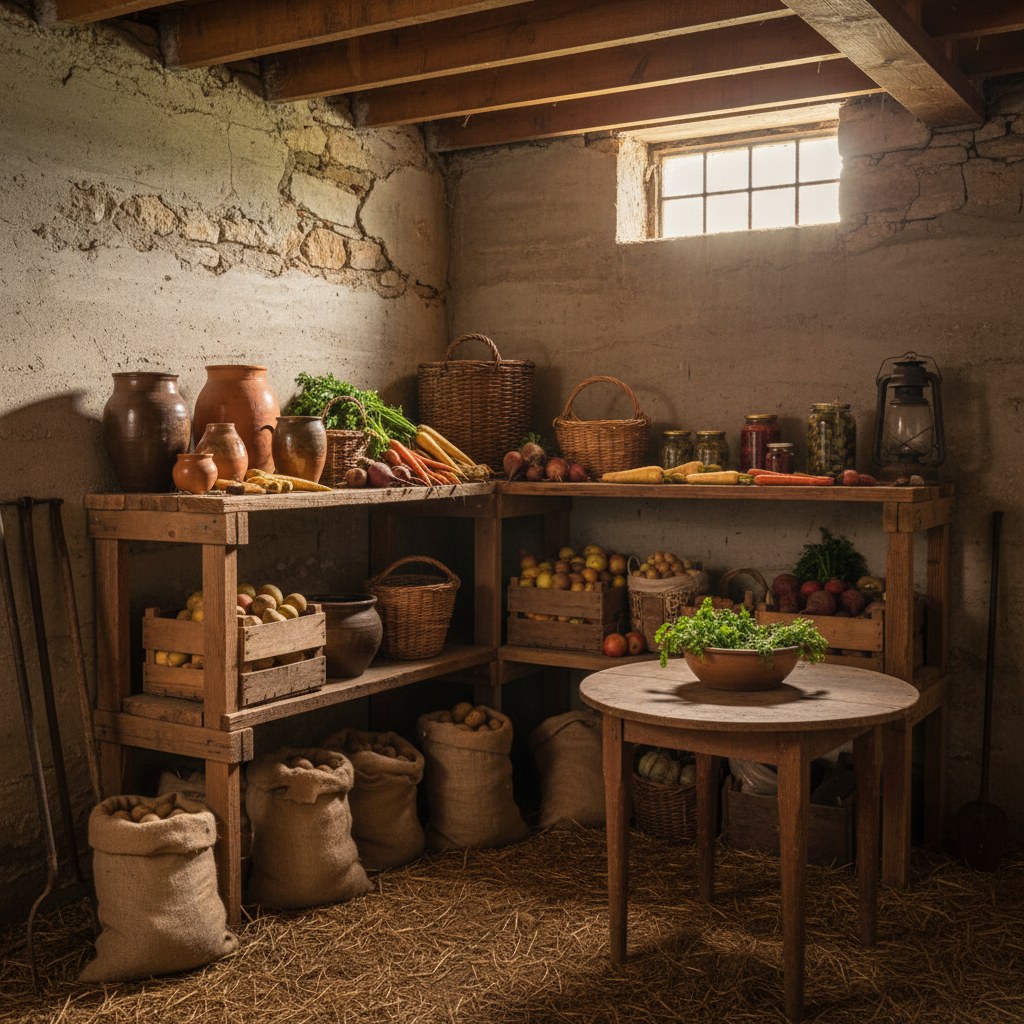
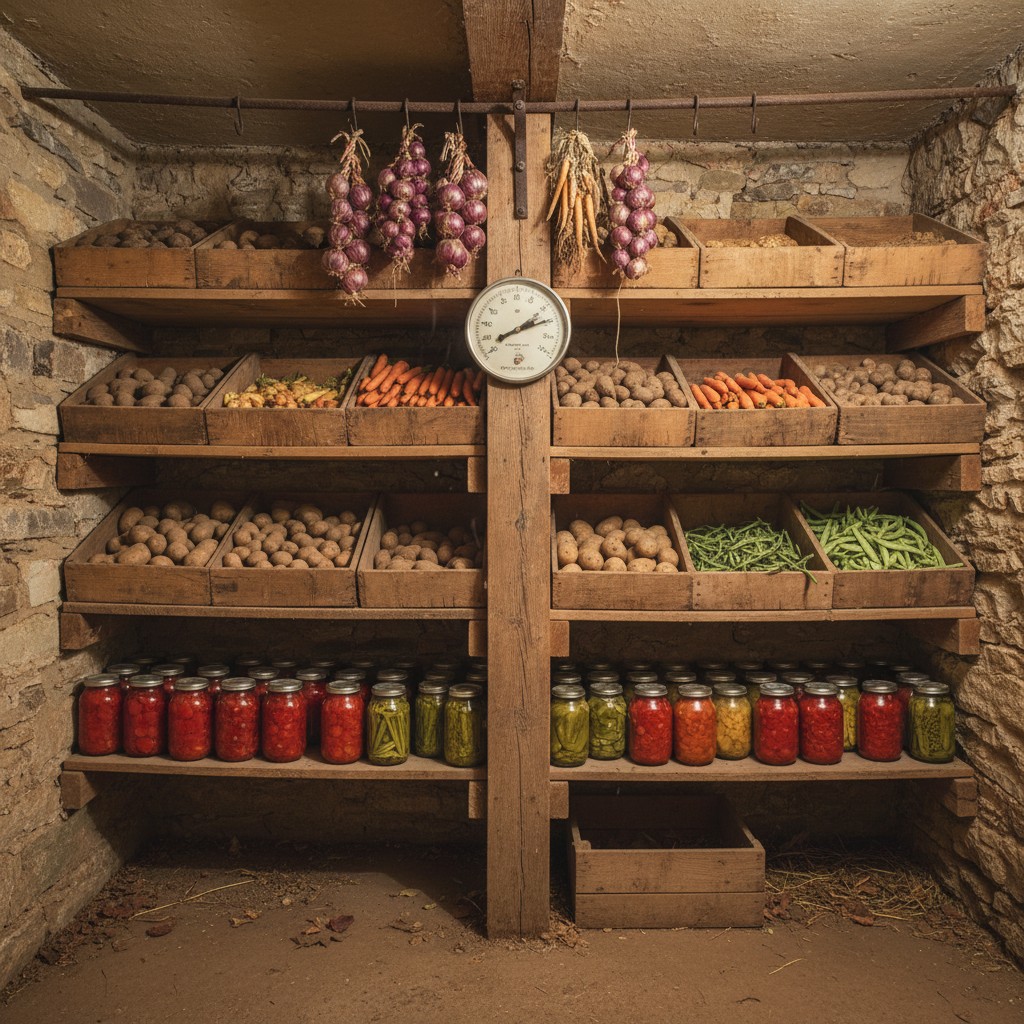
You’ve grown a bumper crop of potatoes, carrots, beets, and squash. Your pantry shelves are lined with canned goods. But you’re running out of space, and the electricity bill from running an extra fridge is adding up. What you need is a root cellar, and you don’t need to spend thousands of dollars to get one.
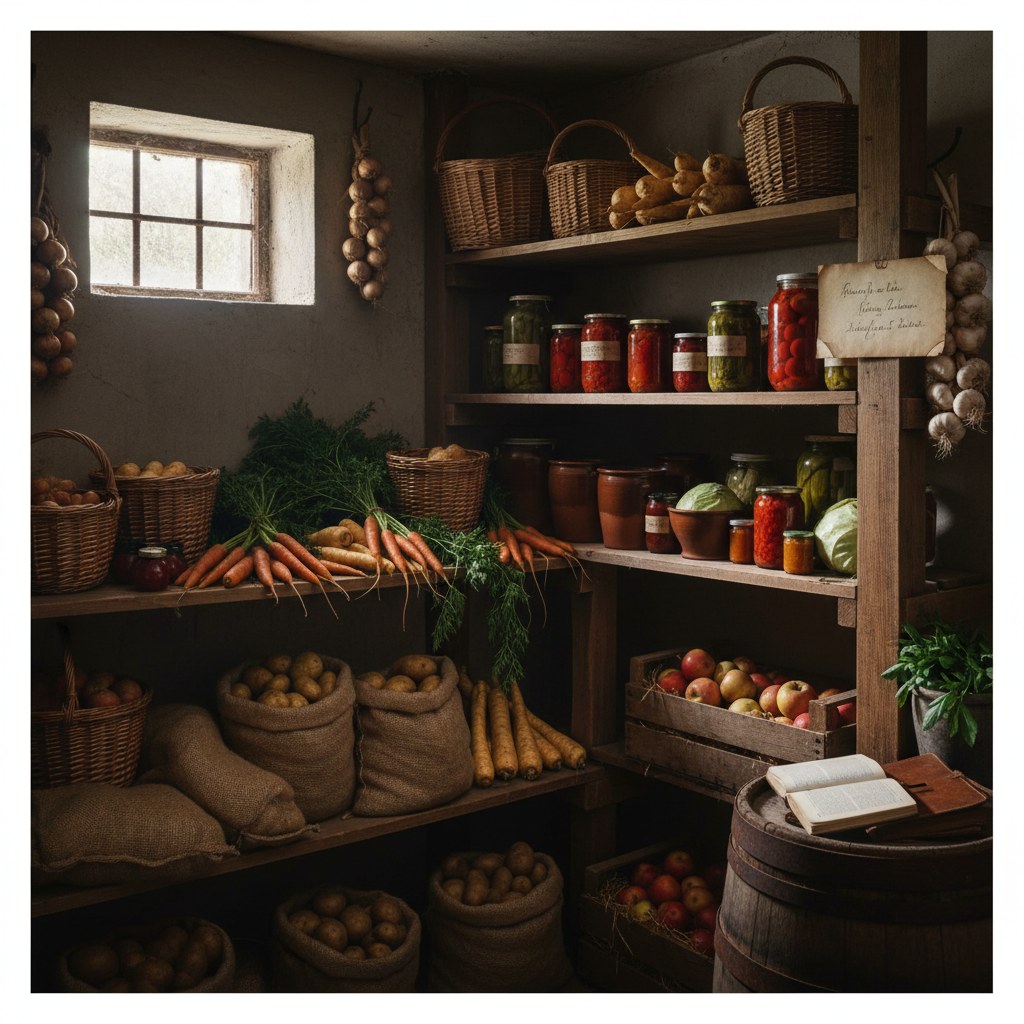
Root cellars have been keeping food fresh for centuries, long before refrigeration existed. They work by harnessing the earth's naturally cool, stable temperature to maintain ideal storage conditions for root vegetables, fruits, canned goods, and fermented foods. The best part? You can build one on almost any budget, from under fifty dollars to a few hundred, depending on the method you choose.
- Root cellars need three things: cool temperature (32-40°F), high humidity (85-95%), and ventilation
- Five budget-friendly options range from $30 (buried garbage can) to $500+ (earth-bermed structure)
- Your property’s terrain, climate, and water table determine which method works best
- Proper ventilation prevents ethylene gas buildup and mold growth
- Even a simple root cellar can extend your harvest storage by 4-6 months
What Makes a Root Cellar Work
Before you start digging, it helps to understand the science. A root cellar works because soil temperature a few feet underground stays remarkably stable, typically between 50-55°F year-round in most temperate climates. With good insulation and the right conditions, you can get storage temperatures down to the ideal 32-40°F range during the cold months.
Know your frost line before you dig: For any in-ground root cellar, the depth of construction must exceed your local frost line, the maximum depth at which soil freezes in winter. Frost line depth ranges from less than 6 inches in the Deep South to 60 inches or more in northern Minnesota and the upper Midwest. Building above the frost line in a cold climate means frozen produce and damaged structures. The USDA publishes frost depth maps for the continental US; your county Extension office can confirm the local figure. The buried garbage can method (Option 1 below) is especially sensitive to this, in Zone 4 or colder climates, bury the can deeper than the standard 2-foot recommendation.
Three factors determine root cellar success:
- Temperature: Most root vegetables store best between 32-40°F. Squash and pumpkins prefer slightly warmer conditions around 50-55°F.
- Humidity: Root vegetables need 85-95% humidity to prevent shriveling. This is why refrigerators (which are dry) aren’t ideal for long-term root storage.
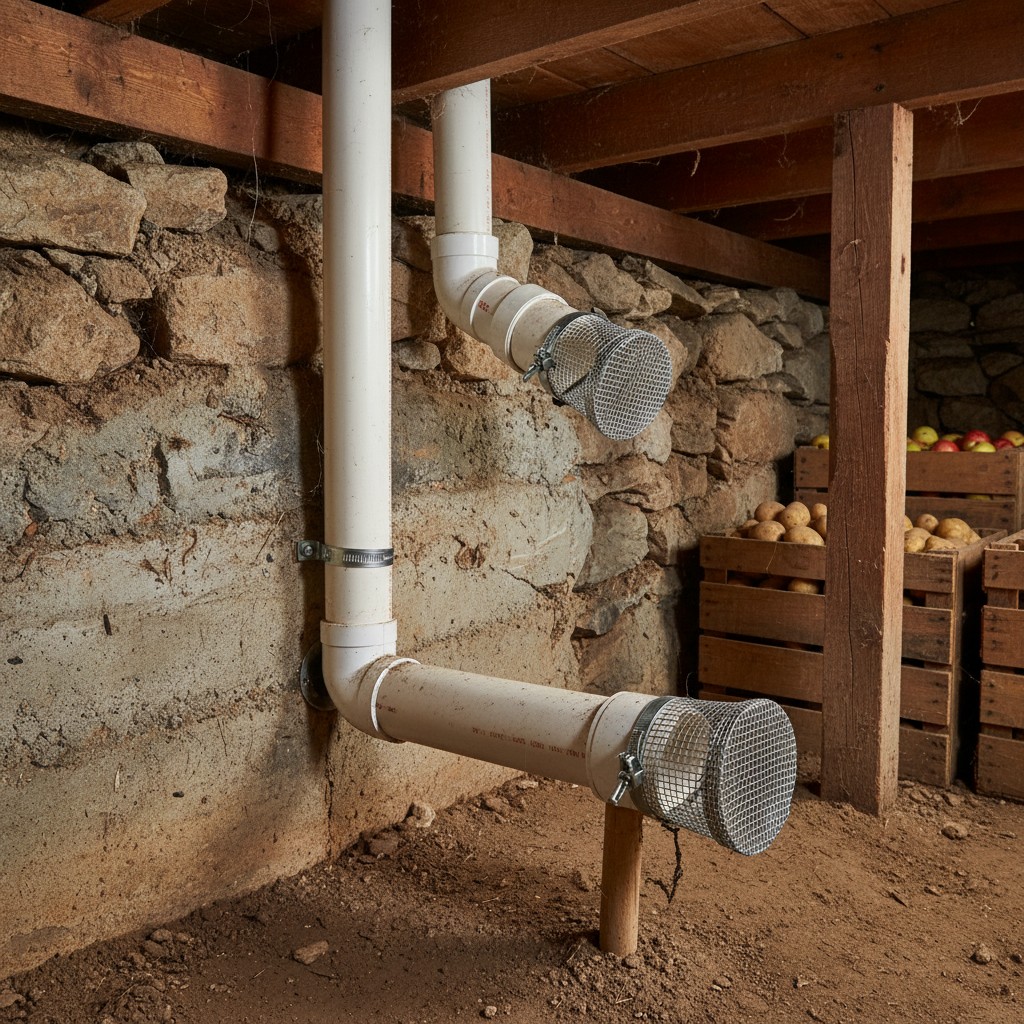
- Ventilation: Fresh air circulation prevents mold, removes ethylene gas that causes premature ripening, and helps regulate temperature. The correct configuration is one low intake vent and one high exhaust vent: cool, fresh air enters at the low point (typically 12–18 inches above floor level), while warm air and ethylene gas, which are lighter and rise, exit at the high point (near the ceiling or roof peak). Reversing this arrangement, or using a single vent, dramatically reduces efficiency. For the basement-corner and earth-bermed designs below, this means two separate PVC pipes, not two openings in the same wall at the same height.
If you’re already practicing root cellaring basics, adding a dedicated storage structure will dramatically increase your capacity and extend the life of your stored produce.
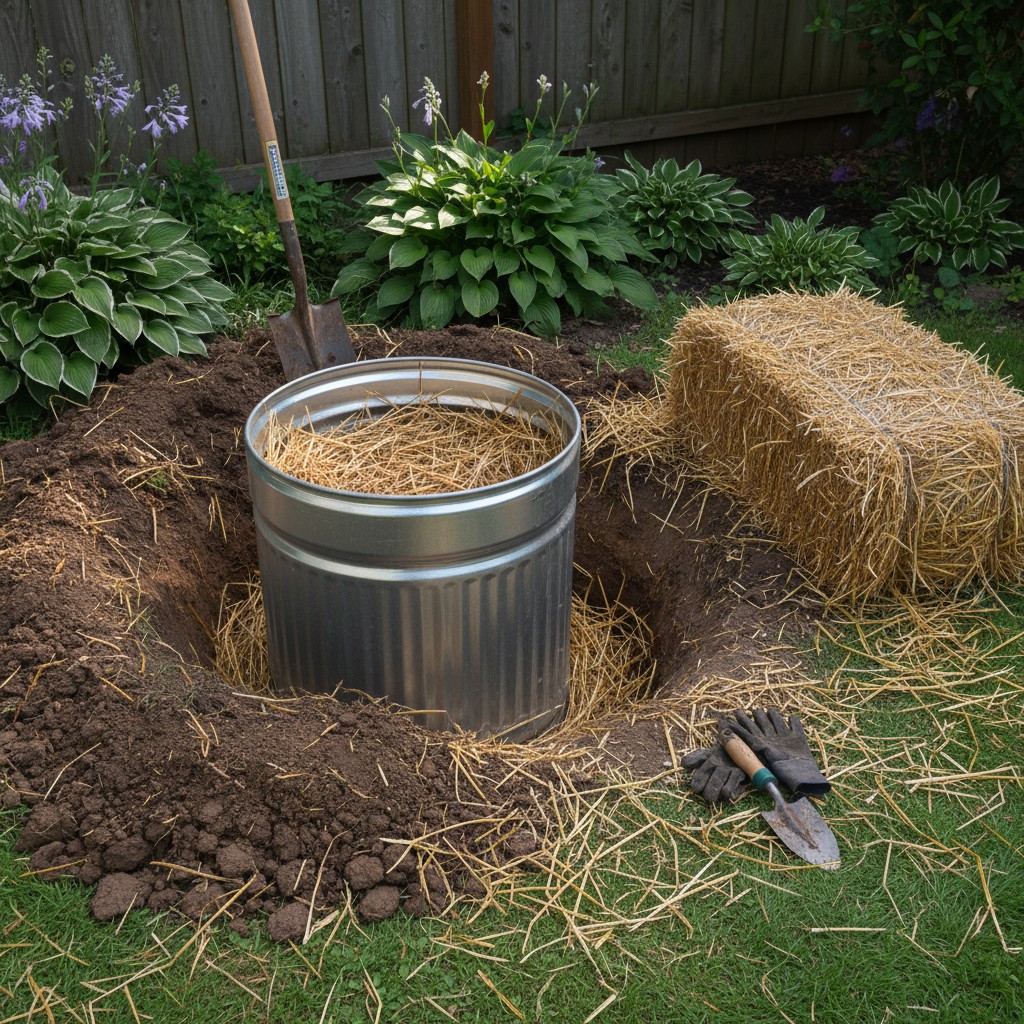
Option 1: The Buried Garbage Can. Under $50
This is the fastest, cheapest root cellar you can build, and it works surprisingly well. A galvanized metal garbage can buried in the ground uses the earth’s insulation to keep produce cool and humid.
What You Need
- One 20-30 gallon galvanized metal garbage can with tight-fitting lid
- Straw or hay bales for insulation
- A piece of rigid foam insulation for the top
- Gravel for drainage
- A drill for drainage holes
How to Build It
- Choose a well-drained spot on the north side of a building if possible (stays cooler)
- Drill 6-8 small drainage holes in the bottom of the can
- Dig a hole slightly larger and deeper than the can
- Add 4-6 inches of gravel to the bottom for drainage
- Set the can in the hole so the rim sits about 2-3 inches above ground level (this prevents surface water from entering)
- Backfill around the can with soil, packing firmly
- Layer produce inside with straw between layers
- Place the foam insulation disc on top, then the lid, then pile straw bales over the whole thing
Our first root cellar was two garbage cans buried behind the garden shed. We stored over 60 pounds of potatoes and 30 pounds of carrots in them that first winter. Total cost was about $35. They’re not glamorous, but they absolutely work.
Best for: Beginners, renters, small harvests, testing the concept before investing more
Limitations: Small capacity, difficult to access in deep snow, not walk-in

Option 2: The Basement Corner Cellar, $100-300
If you have an unfinished basement, you already have the foundation for an excellent root cellar. All you need to do is wall off a corner, ideally one with a window for ventilation and on the north or east side of the house.
What You Need
- Framing lumber (2x4s) for walls
- Rigid foam insulation board
- A pre-hung exterior door (insulated)
- Two pieces of PVC pipe (4-inch diameter) for ventilation
- A thermometer and hygrometer
- Shelving materials
How to Build It
- Choose a corner with at least one exterior wall (two is ideal) and preferably a window
- Frame two interior walls using 2x4s, extending from floor to ceiling
- Insulate the interior walls and ceiling with rigid foam board, you want to keep the warm house air OUT and the cool earth temperature IN
- Do NOT insulate the exterior walls or floor, these provide the cool temperature you need
- Hang an insulated door
- Install two ventilation pipes: one low (intake, bringing cool air in) and one high (exhaust, letting warm air out)
- If you have a basement window in this corner, use it as your upper vent
- Add sturdy shelving along the exterior walls
Best for: Anyone with an unfinished basement, larger harvest storage, easy year-round access
Limitations: Requires a basement, temperature depends on your local climate and basement conditions
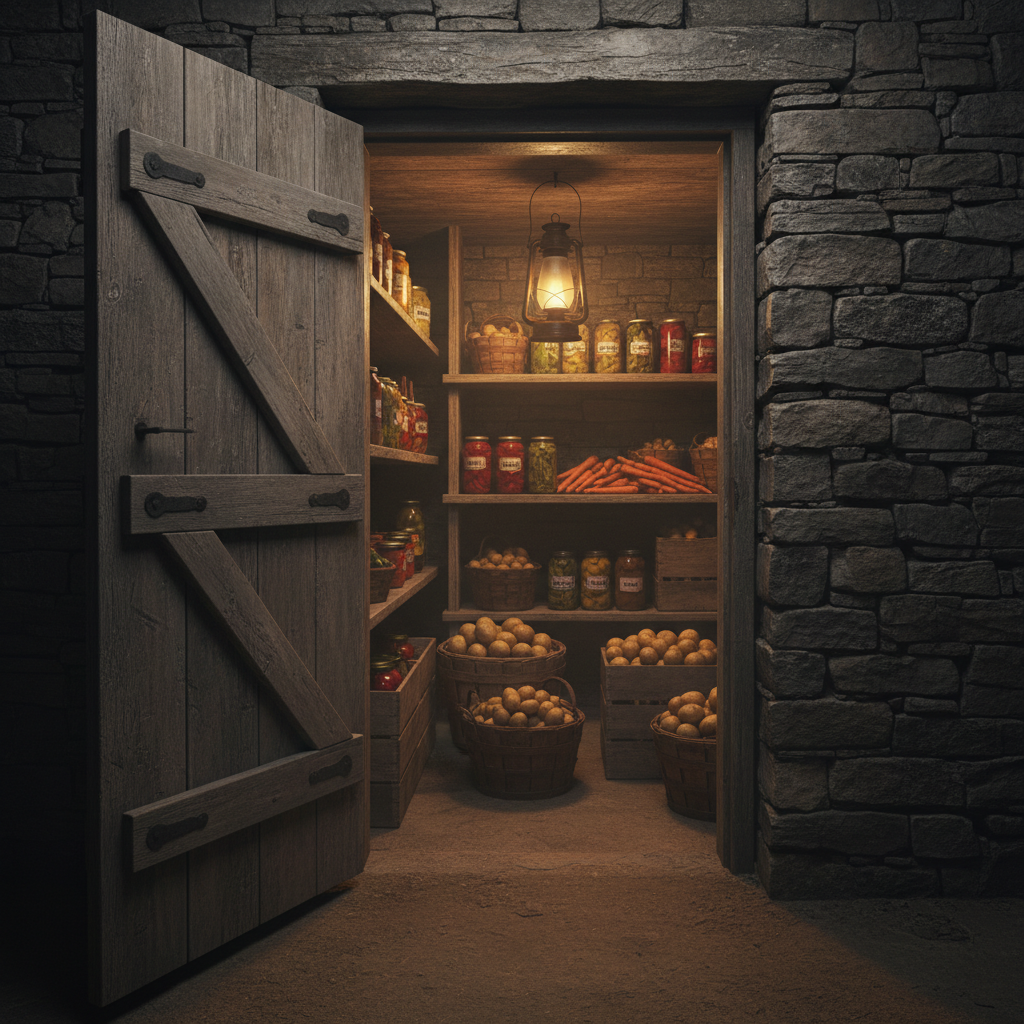
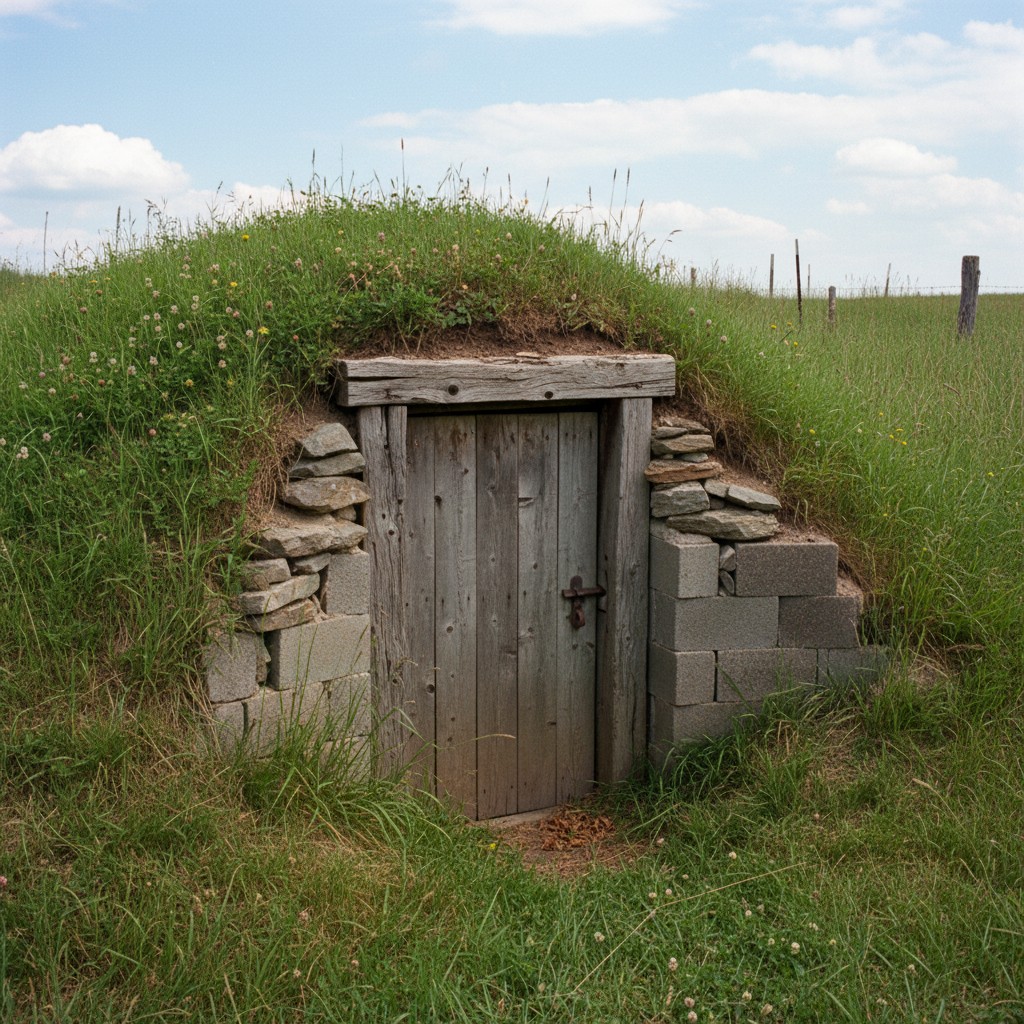
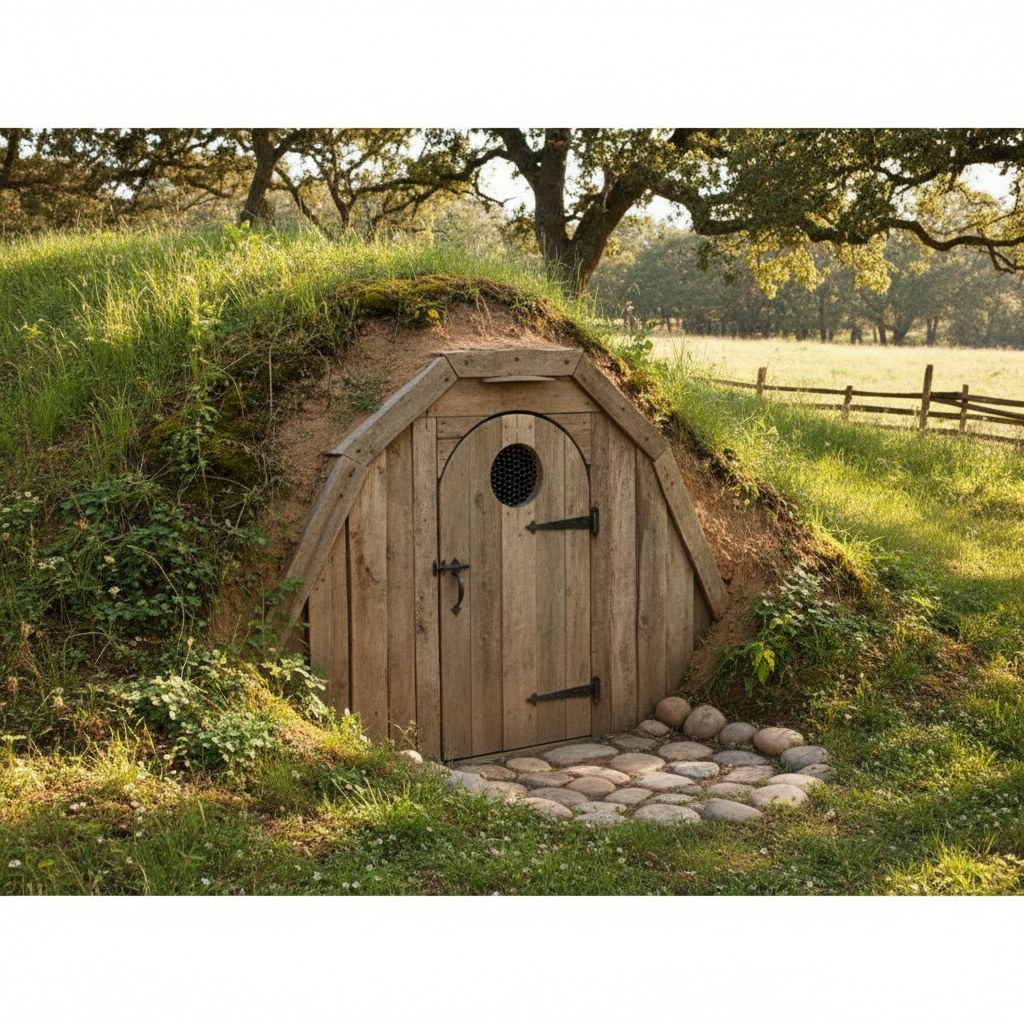
Option 3: The Earth-Bermed Root Cellar, $300-800
This is the classic root cellar design: a small structure built into a hillside or bermed with earth on three sides and the roof. It’s more work and more money, but it provides the best temperature stability and the most storage space of any DIY option.
What You Need
- Concrete blocks or pressure-treated lumber for walls
- Heavy-duty waterproof membrane or roofing material
- Drainage pipe and gravel
- PVC pipe for ventilation
- An insulated door
- Corrugated metal or heavy timbers for the roof structure
How to Build It
- Choose a north-facing hillside if possible, this stays naturally cooler
- Excavate into the hillside to create your room (typical size: 8×8 feet is plenty for a family)
- Build walls with concrete blocks or treated lumber, leaving openings for the door and ventilation
- Install drainage around the perimeter, this is critical to prevent water intrusion
- Build a strong roof structure that can support the weight of soil (at least 1-2 feet of earth on top)
- Apply waterproof membrane over the entire structure
- Backfill and berm with earth, grading away from the door
- Install ventilation pipes (one low intake at the back, one high exhaust near the door)
- Hang an insulated, weather-tight door
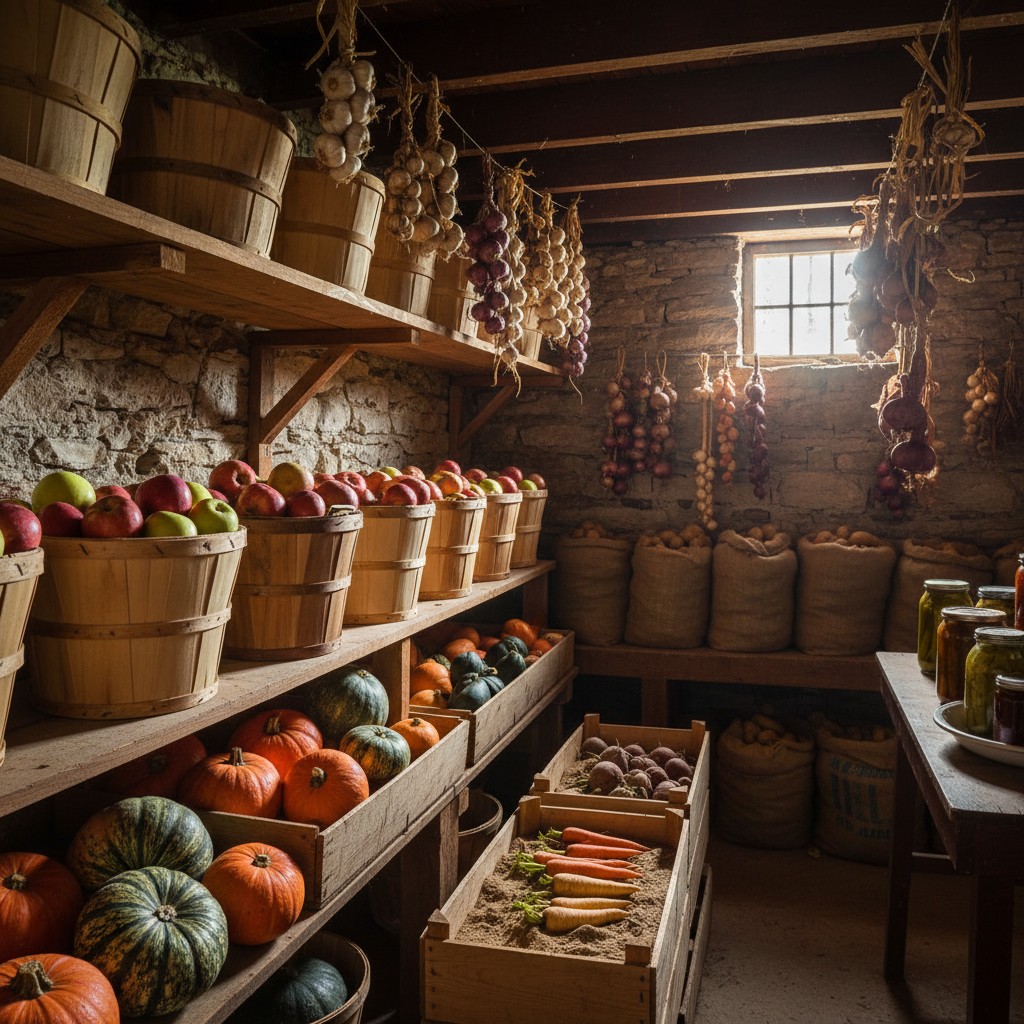
This type of cellar is perfect for storing large quantities of potatoes, along with all the other root vegetables, pumpkins, and preserved goods your homestead produces.
Best for: Serious homesteaders, properties with hillsides, large harvest storage needs
Limitations: Requires more construction skill, higher cost, needs appropriate terrain
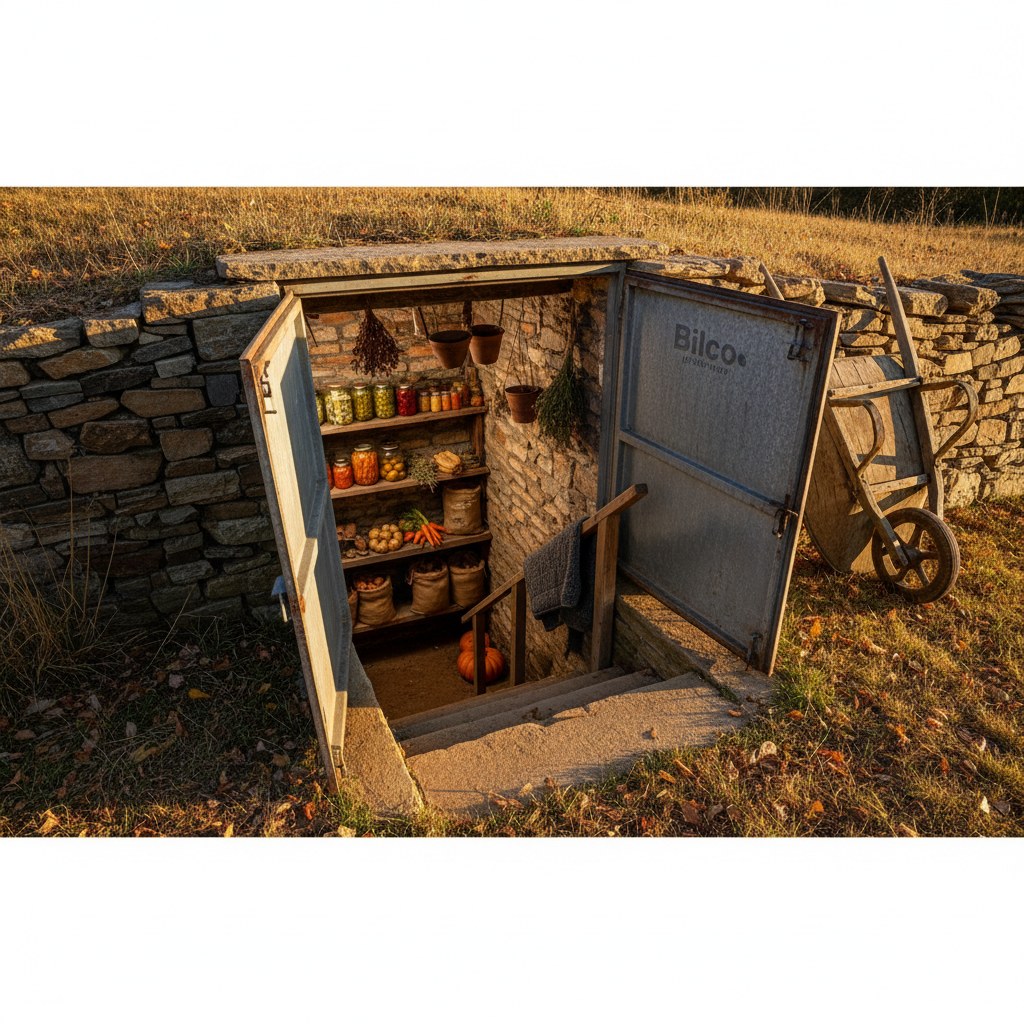
Option 4: The Cellar Stairs Method, $50-150
If you have exterior cellar stairs (Bilco doors or similar), you have a pre-built cold storage area that most people completely overlook. The stairwell between the exterior doors and the interior basement door creates a naturally cool buffer zone.
How to Set It Up
- Clean out the stairwell thoroughly
- Install shelving along the walls of the stairwell, use pressure-treated lumber or wire shelving that won’t rot
- Make sure the interior basement door seals well (add weatherstripping if needed) to keep warm house air out
- The exterior Bilco doors provide your ventilation, crack them slightly during cold weather for air circulation
- Add a thermometer to monitor temperature
- Store produce in breathable containers: bushel baskets, mesh bags, or wooden crates
For three years I walked past our Bilco doors without realizing I was ignoring a perfectly good root cellar. Once I added some shelves and started monitoring the temperature, I found it stayed between 35-45°F all winter. Now it holds our entire potato and apple harvest plus fifty jars of canned goods.
Best for: Homes with existing exterior cellar stairs, minimal investment, quick setup
Limitations: Limited space, temperature less stable than fully buried options, may freeze in extreme cold
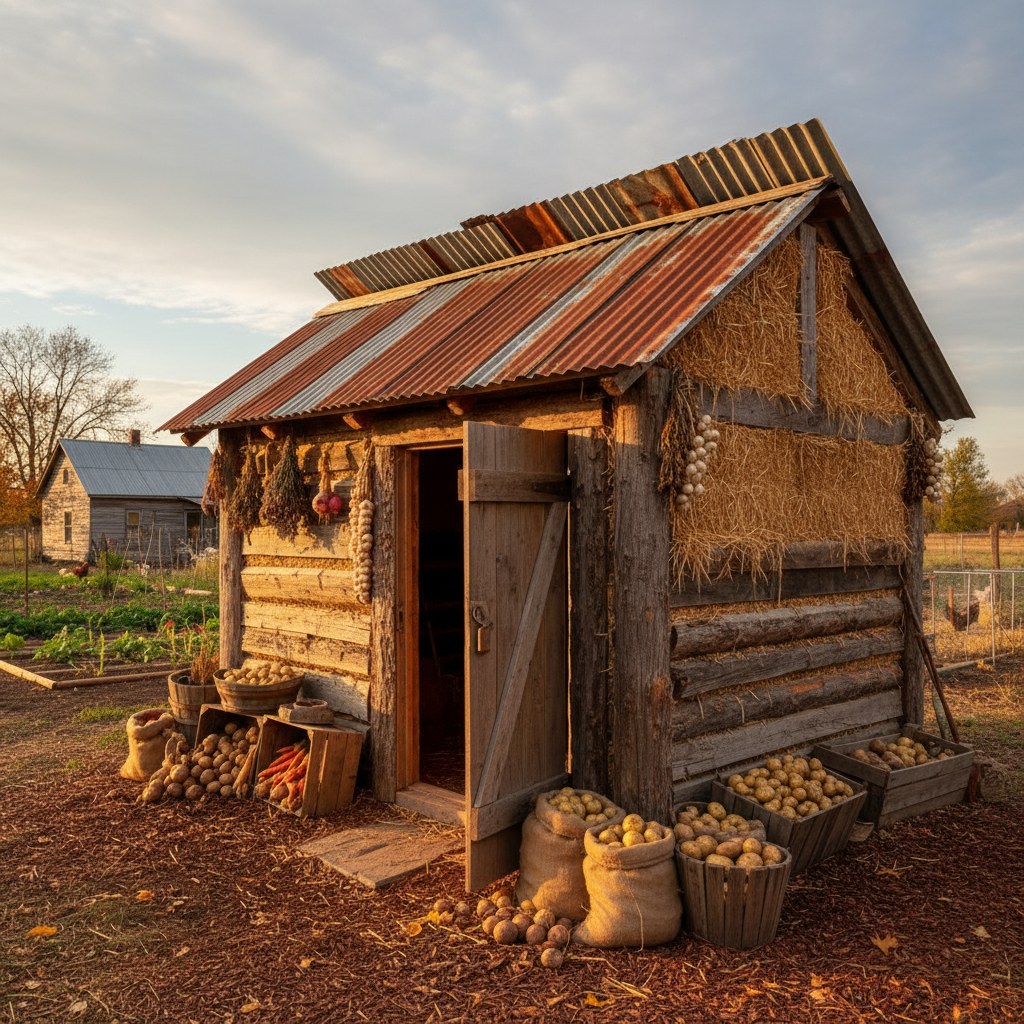
Option 5: The Above-Ground Cold Room, $200-500
No basement? No hillside? High water table? You can still build effective cold storage above ground using heavy insulation and thermal mass. This is the best option for flat properties with challenging soil conditions.
What You Need
- Insulated panels or thick-walled construction (straw bales work well)
- Concrete blocks or jugs of water for thermal mass
- Heavy insulation (R-30 minimum for walls, R-40 for ceiling)
- Ventilation pipes with dampers
- An insulated door
How to Build It
- Build a small, heavily insulated structure, think of it as a super-insulated shed. A 6×8 foot footprint is a good size.
- On the north side, include an intake vent at floor level
- On the south side near the ceiling, include an exhaust vent
- Add thermal mass inside: concrete blocks stacked along walls, or gallon jugs filled with water. These absorb cold during the night and release it during the day, stabilizing temperature.
- Install dampers on vents so you can open them on cold nights to bring in cold air and close them during warm days
- Place a thermometer with an outdoor remote sensor so you can monitor temperature without opening the door
Best for: Properties without basements or suitable terrain, high water table areas, warmer climates (zone 7 and south)
Limitations: Requires more active management (opening and closing vents), less effective in very warm climates
Comparison Table
| Method | Cost | Difficulty | Capacity | Temperature Stability |
|---|---|---|---|---|
| Buried Garbage Can | $30-50 | Easy | 30-60 lbs | Good |
| Basement Corner | $100-300 | Moderate | 200-500 lbs | Very Good |
| Earth-Bermed | $300-800 | Advanced | 500+ lbs | Excellent |
| Cellar Stairs | $50-150 | Easy | 100-200 lbs | Fair to Good |
| Above-Ground | $200-500 | Moderate | 200-400 lbs | Fair (requires management) |
Storage Tips for Maximum Shelf Life
No matter which root cellar you build, these tips will help your produce last as long as possible:
- Don’t wash produce before storing. Brush off loose soil and let everything cure first.
- Keep apples and pears separate from other produce, they release ethylene gas that causes everything nearby to ripen and spoil faster.
- Store in layers with separation. Use straw, newspaper, or sand between layers of root vegetables to prevent touching and slow the spread of any rot.
- Check weekly. Remove anything showing signs of decay immediately, one rotten potato can ruin the whole bin.
- Cure before storing: Potatoes need 1-2 weeks at 50-60°F; winter squash needs 2 weeks at 80°F; onions and garlic need 2-3 weeks in a warm, dry, airy spot.
What to Store in Your Root Cellar
Different crops have different ideal conditions. Here’s a quick guide:
| Produce | Ideal Temp | Humidity | Expected Storage Life |
|---|---|---|---|
| Potatoes | 38-40°F | 90-95% | 4-6 months |
| Carrots | 32-35°F | 90-95% | 4-6 months |
| Beets | 32-35°F | 90-95% | 3-5 months |
| Winter Squash | 50-55°F | 50-70% | 3-6 months |
| Apples | 32-35°F | 85-90% | 2-6 months |
| Cabbage | 32-35°F | 90-95% | 3-4 months |
| Onions/Garlic | 35-40°F | 60-70% | 4-8 months |
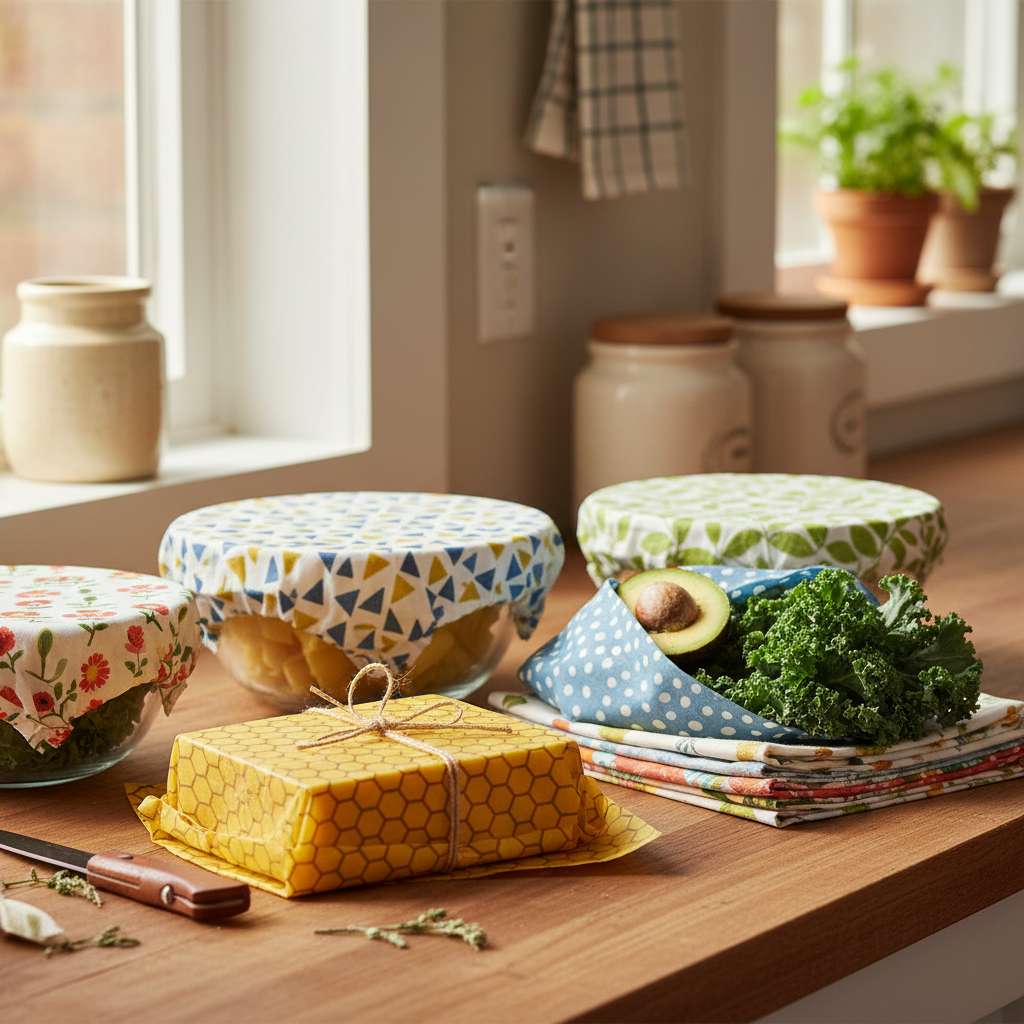
Your root cellar also makes an excellent spot to store home-canned goods, which should be kept in a cool, dark location. Having both a root cellar and a stocked emergency pantry means you’re prepared for anything from a long power outage to a hard economic stretch.
Common Mistakes to Avoid
- Poor drainage: This is the number one root cellar killer. If water pools around or inside your storage area, everything rots. Always include drainage in your build plan.
- Insufficient ventilation: Without air movement, moisture builds up, mold grows, and ethylene gas from ripening produce accelerates spoilage throughout the cellar.
- Storing damaged produce: Only store your best, unblemished produce. Cuts, bruises, and cracks invite rot. Use damaged items first in the kitchen.
- Mixing warm-preference and cold-preference crops: Squash and pumpkins like it warmer than potatoes and carrots. If you can, create different temperature zones or use separate storage areas.
- Forgetting to monitor: Check your root cellar at least weekly. A good thermometer/hygrometer combo is a must-have investment.
🌱 From Our Homestead
We built our root cellar into a hillside behind the house, and it was among the most satisfying projects we have ever done. Pulling out perfectly crisp apples and firm potatoes in February, months after harvest, still feels like magic every single time.
Frequently Asked Questions
Can I build a root cellar if I have a high water table?
Yes, but you’ll need to go with an above-ground or partially above-ground design. The above-ground cold room (Option 5) is specifically designed for properties where digging is impractical due to a high water table, rocky soil, or other obstacles. You can also use raised berming, building up earth around a ground-level structure rather than digging down.
Will a root cellar work in warm climates (Zone 8 and above)?
Root cellars are less effective in warm climates because the ground temperature is higher. In Zone 8 and above, your best options are a basement corner cellar (basements stay cooler year-round) or an above-ground cold room that you actively manage during cold nights. In the deep south, you may only get effective root cellar temperatures from November through February, but those few months can still save you significant money on refrigeration.
How deep do I need to dig for a root cellar?
The deeper you go, the more stable the temperature. In most temperate climates, soil temperature stabilizes at about 4 feet deep. For a buried container method, 3-4 feet is sufficient. For a walk-in earth-bermed cellar, having the floor at least 4 feet below the surrounding grade is ideal. Always check your local frost line, your storage area should be below it to prevent freezing.
Do I need a building permit for a root cellar?
This varies greatly by location. Small, non-permanent structures like buried garbage cans typically don’t require permits. Larger structures, especially those with concrete foundations or that are attached to your home, may require permits in many jurisdictions. Contact your local building department before starting any major construction. Many rural areas have minimal permitting requirements for agricultural outbuildings.
Can I store canned goods and fermented foods in a root cellar?
Absolutely. A root cellar is an excellent place to store home-canned goods, which should be kept between 50-70°F in a dark location. Fermented foods like sauerkraut, kimchi, and fermented pickles also do well in root cellar conditions, the cool temperature slows fermentation to a near-halt, preserving them beautifully. Wine and cider are traditionally cellar-stored as well. Just keep strong-smelling items (like sauerkraut) in sealed containers so they don’t affect the flavor of other stored produce.