How to Build a Natural Cleaning Kit
Household cleaning substances were the single most common poisoning exposure category for U.S. children five and under in 2024, accounting for 9.96% of pediatric calls to poison centers, according to the National Poison Data System annual report on PubMed. That statistic changes how you think about what deserves a spot in the cleaning caddy on a working homestead.
On our property in the Ozarks, we shrank the supply list to eight items after noticing we were mostly paying for water, dye, and fragrance. The recipes below draw on university extension services (Cornell, University of Minnesota, Iowa State, Michigan State, University of Arkansas) and federal agencies (CDC, EPA, USDA APHIS). Every dilution has a source, a job, and a ratio you can copy straight into a labeled spray bottle.
Why Build a Natural Cleaning Kit Instead of Buying One?
Building your own kit gives you three things a store-bought spray cannot: transparent ingredients, lower indoor air pollution, and much lower cost per gallon of finished cleaner. The EPA reports that concentrations of many volatile organic compounds are consistently up to ten times higher indoors than outdoors, and household cleansers, disinfectants, and air fresheners are named as a source of those VOCs both during use and, to a smaller degree, during storage.
Cost is the second driver. A gallon of white vinegar, a two-pound box of baking soda, and a bottle of unscented castile soap will make roughly six months of all-purpose spray for a family of four, at a fraction of the shelf price of branded equivalents. The University of Arkansas Cooperative Extension notes that “you can make most cleaning products you might need from three basic ingredients: lemons, baking soda and vinegar,” and that homemade cleaners are “less likely to cause harm or irritation.”
Respiratory load is the third driver. The American Lung Association warns that cleaning workers face acute and chronic exposure to VOC vapors from spraying, and that “large numbers of adverse respiratory effects from the use of chlorine bleach have been documented.” A slimmer natural kit reduces total exposure without leaving you defenseless against real pathogens.
What Should Go Inside Your Natural Cleaning Kit?
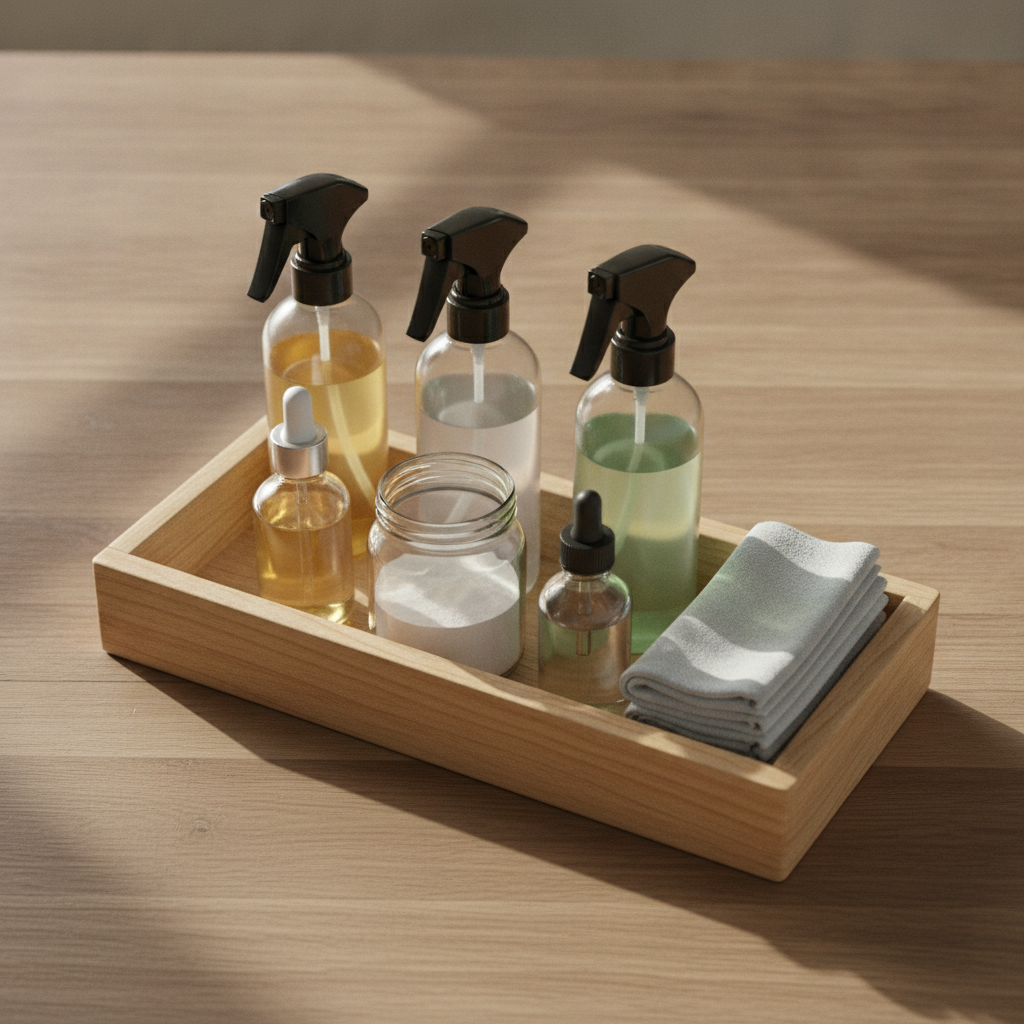
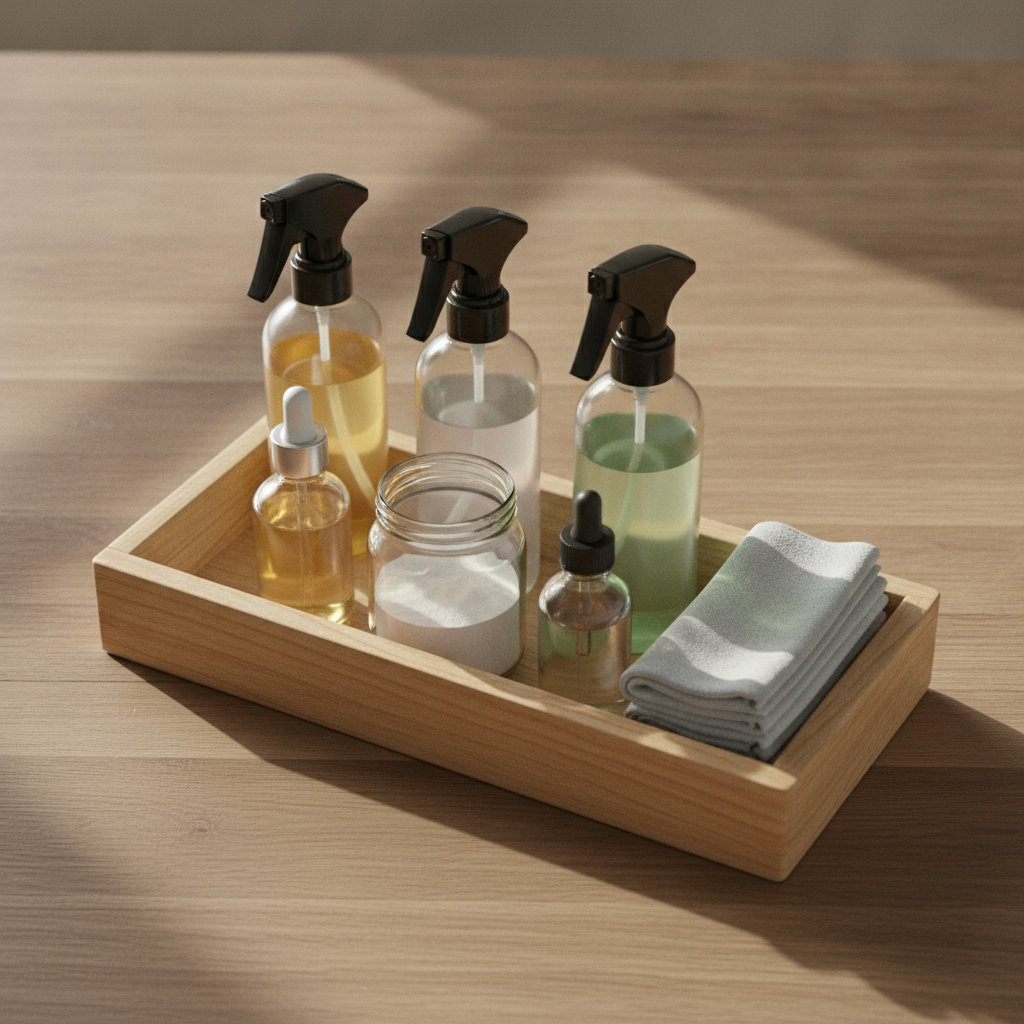
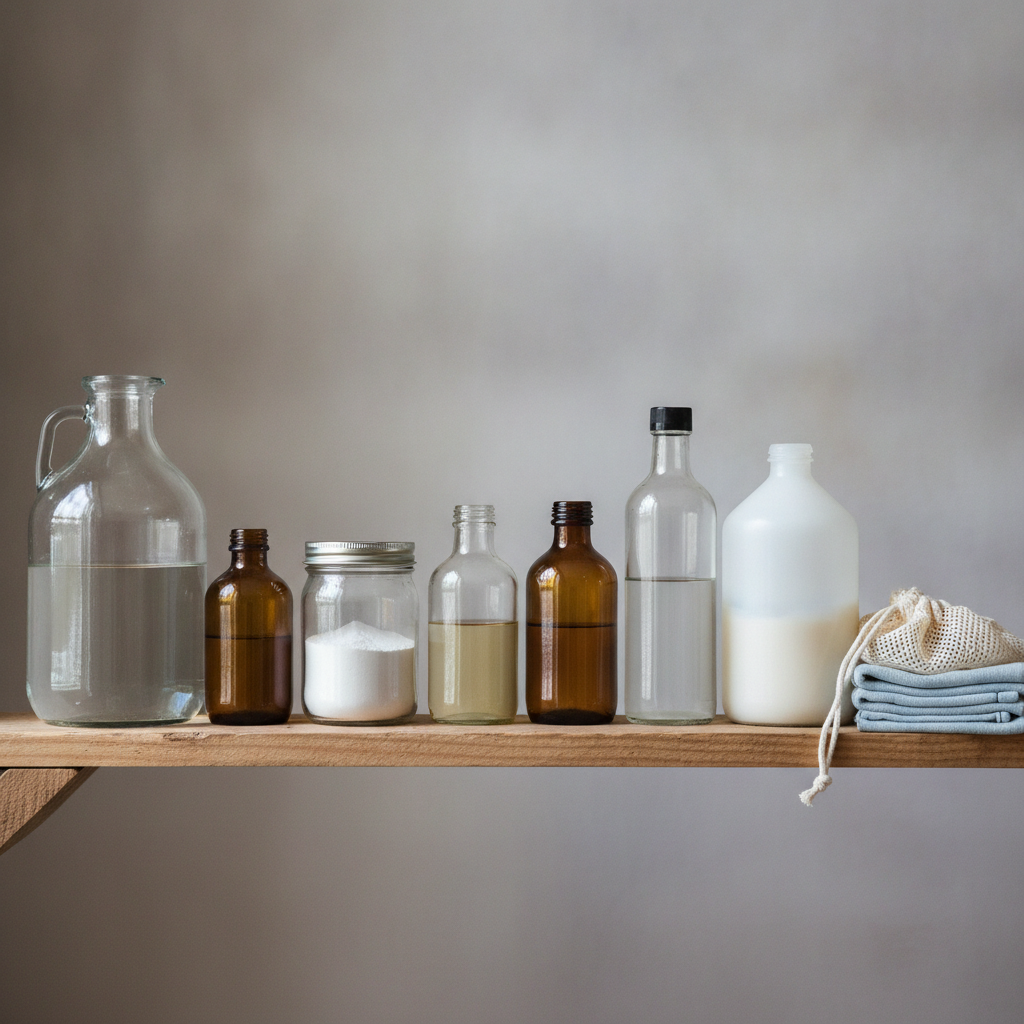
A working homestead kit needs exactly eight core items: white vinegar (5% acetic acid), baking soda, unscented liquid castile soap, 3% hydrogen peroxide, 70% isopropyl alcohol, a jug of regular household bleach for occasional disinfection, three or four microfiber cloths, and two clearly labeled glass spray bottles. That covers everything from countertops to pruners to coop feeders without pulling out any specialty product.
The EPA’s Safer Choice program sets useful selection criteria for anything you add beyond these basics. Safer Choice products “do not contain known carcinogens or reproductive or developmental toxicants, and even minor product components, like dyes and fragrances, are screened for safety,” and every ingredient (including “inert” ones) is evaluated against pass/fail hazard thresholds. If you want a pre-made dish soap or laundry detergent to round out the kit, the Safer Choice label is the fastest screen.
For a comparison of what each ingredient does best, this table breaks it out.
| Ingredient | Best use | Avoid on |
|---|---|---|
| White vinegar (5%) | Glass, faucet lime scale, odor absorption | Natural stone, cast iron, waxed wood |
| Baking soda | Scouring sinks, tubs, greasy stovetops | Aluminum, glossy lacquer |
| Castile soap | All-purpose surface wash, floors | Do not mix directly with vinegar |
| 3% hydrogen peroxide | Disinfecting cutting boards, sinks, coop waterers | Fabric (bleaches color) |
| 70% isopropyl alcohol | Sanitizing pruners, scissors, blades | Painted surfaces, plastic under strain |
| Household bleach (diluted) | Soaking plant pots, coop disinfection | Metal tools, colored fabric, food surfaces |
Which Base Recipes Should You Mix First?
Start with three recipes that cover about 80% of household cleaning: an all-purpose spray, a soft scrub, and a glass cleaner. Cornell Cooperative Extension’s Hamilton County office publishes a homemade all-purpose formula of “1/4 cup of baking soda, 1/2 cup of vinegar, and 1 gallon of hot water to clean grease and grime as well as eliminate odor.” Mix it fresh in a bucket rather than storing pre-mixed, since the vinegar and baking soda react and lose potency once combined.
For a soft scrub, stir baking soda with just enough castile soap to make a spreadable paste, then work it into sinks, tubs, and cooktops with a damp cloth. Rinse well. For glass, dilute one part white vinegar with one part water in a labeled spray bottle and finish with a microfiber cloth for streak-free results. Michigan State University Extension confirms vinegar’s utility on hard water deposits, noting that soaking a faucet aerator in vinegar “loosens the minerals” through its acid action on calcium and lime scale.
Keep castile-soap solutions and vinegar solutions in separate bottles. Mixing them curdles the soap and cancels most of the cleaning action.
How Do You Clean and Then Disinfect a Surface Safely?
Clean first, then disinfect: those are two different steps, and skipping the cleaning stage cripples the disinfectant. The CDC states plainly that “cleaning refers to the removal of germs, dirt, and impurities from surfaces. Cleaning does not kill germs, but by removing them, it lowers their numbers and the risk of spreading infection. Disinfecting refers to using chemicals to kill germs on surfaces.” EPA guidance goes further, warning that dirt and organic residue physically block disinfectants from reaching microorganisms.
In practice: wipe the counter, cutting board, or coop wall with your soap-based cleaner first, rinse the visible grime, and only then apply a disinfectant. For food-prep surfaces at home, 3% hydrogen peroxide straight from the pharmacy bottle is a solid choice. The CDC recognizes “commercially available 3% hydrogen peroxide” as “a stable and effective disinfectant when used on inanimate surfaces,” effective against “bacteria, yeasts, fungi, viruses, and spores.” Spray the peroxide onto the pre-cleaned surface, let it dwell for at least a minute, and wipe.
Never combine hydrogen peroxide and vinegar in the same bottle; store them separately and apply in sequence rather than mixing. And Cornell’s guidance is worth repeating verbatim: “Don’t mix bleach with vinegar, ammonia, or rubbing alcohol,” because the combinations produce toxic fumes.
How Do You Clean and Disinfect Garden Tools?
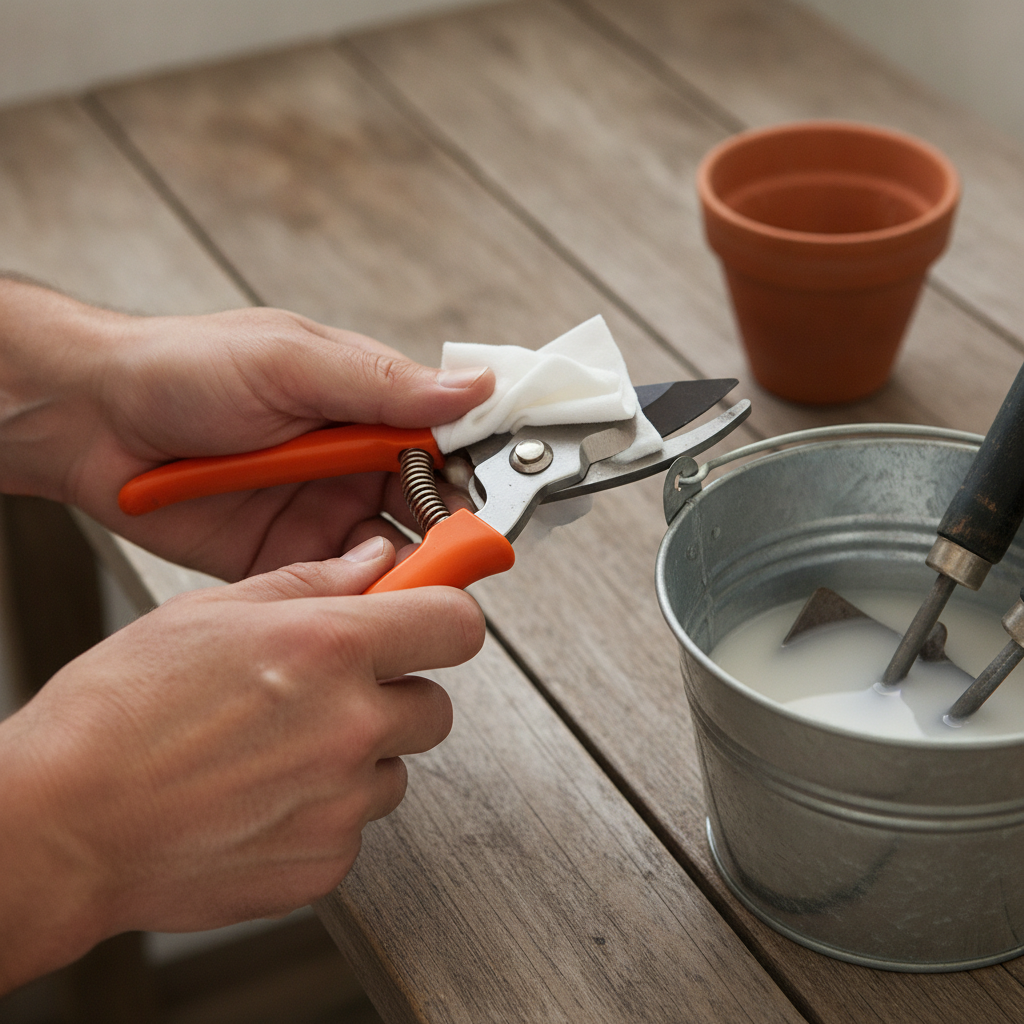
Sanitize garden tools between plants (and always between diseased and healthy specimens) using 70% isopropyl or ethyl alcohol on pruner blades, and a 10% bleach dip for shovels, trowels, and stakes. Iowa State University Extension recommends alcohol for pruning shears because “disinfecting with alcohol is preferred for homeowners over most other methods because it is easy to use, readily available in stores, relatively inexpensive, does not require prolonged soaking, and isn’t as corrosive to tools as bleach.” A spray bottle of alcohol lives in our tool caddy year-round for exactly this reason.
For heavier tools where a sharp edge is not at risk, the University of Minnesota Extension protocol works: “A 10% bleach solution (dip, douse or spray) will kill fungi, bacteria, and viruses within seconds. Mix 9 parts water with 1 part bleach.” UMN also warns that “bleach can be very corrosive to metal, so it is best not to use it on tools that require a sharp edge such as pruners.” Rinse and dry any bleach-soaked tool immediately.
If you fight plant disease every season, pair this cleaning routine with a broader prevention program. Our post on natural garden pest control covers the upstream steps that reduce how often you need to sterilize anything at all.
How Do You Sanitize Pots, Trays, and Greenhouse Surfaces?
Soak used plant containers in a 1:9 bleach-to-water solution for at least ten minutes, then rinse well before reusing them. Iowa State University Extension gives the exact ratio and dwell time: “You can disinfect clay pots with bleach, using a solution of one part bleach to nine parts water. Allow the pots to sit in that solution for at least 10 minutes and preferably up to an hour or more before rinsing them well in clean water.” This is the single most effective step for preventing damping-off, fusarium, and viruses from riding stored pots into next year’s seedlings.
For greenhouse benches and shelving, the University of Massachusetts Amherst Extension is emphatic that “tools, such as pruners and cutting knives must be cleaned and disinfected frequently, and in sensitive crops, hand tools must be disinfected after being used on each bench or each variety.” Michigan State University Extension explains why the greenhouse is so demanding: “The warm, humid environment in these structures provides optimal conditions for reproduction of many pathogens.”
Debris control matters as much as chemistry. Purdue’s vegetable crops team notes that “removing plant debris is essential for reducing plant disease and pest risk,” and recommends a soap-scrub of shoes plus a disinfectant footbath at greenhouse entry. If you grow indoor starts each spring, a companion piece on growing tomatoes from seed to sauce walks through the container-to-transplant handoff where sanitation matters most.
How Do You Clean the Chicken Coop Without Harming Your Flock?
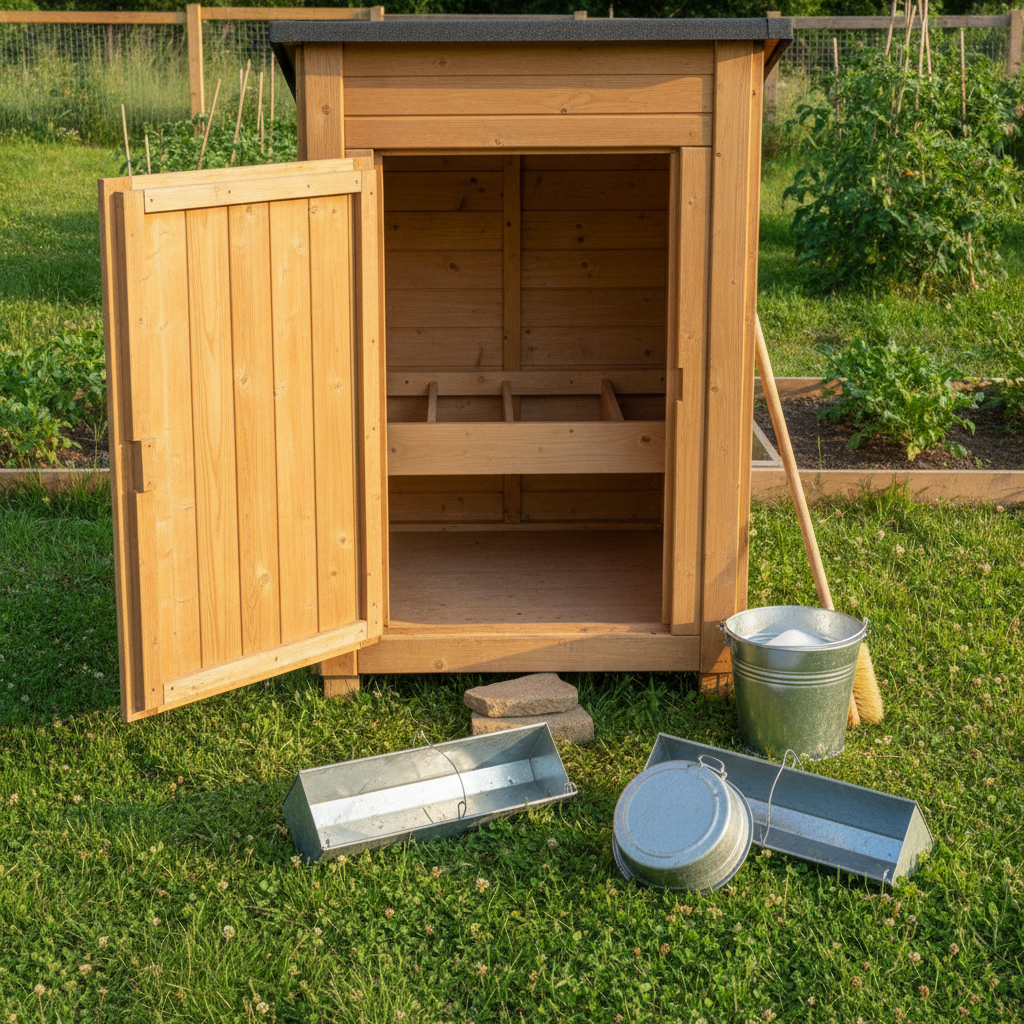
Follow USDA APHIS’s three-step protocol: dry-clean, wet-clean, then disinfect, with birds relocated to a separate area until surfaces are fully dry. APHIS spells out the sequence: “Dry Cleaning: Brush and scrape off the manure, litter, dust, feathers, and other materials… Wet Cleaning: Thoroughly scrub all surfaces with water and soap, work from top to bottom and back to front, then rinse thoroughly… Disinfecting: Apply the disinfectant according to directions on the label and leave the coop empty until it’s completely dry.” Skipping the dry-clean traps organic matter that no disinfectant can penetrate.
For the disinfection stage itself, a fresh 1:32 bleach-to-water solution (half a cup of household bleach per gallon of water) is inexpensive and label-appropriate for hard, non-metal surfaces. USDA’s Defend the Flock program adds that “tools and equipment, including egg flats” that move between poultry areas should be cleaned and disinfected first, and any item that cannot be cleaned (such as cardboard egg flats) should be discarded rather than reused.
The Poultry Extension recommends washing and disinfecting feed and water containers weekly and deep-cleaning the coop at least twice a year. Weekly waterer scrubbing is the single most valuable habit for a small backyard flock; a biofilm inside the drinker is where most contamination hides.
Storing the Kit Safely at Home
Store the kit in a locked cabinet, always in original child-resistant containers, and never inside repurposed food packaging. The U.S. Consumer Product Safety Commission is unambiguous: “Keep chemicals and cleaning supplies safely stored in a locked cabinet or box and out of the reach of children. Keep household chemicals in their original child-resistant containers… Do not store toxic substances in unmarked or inappropriate containers (such as food containers).” That last rule is why the vinegar-and-water spray you refill from a gallon jug needs a labeled bottle, not a rinsed juice bottle.
Practical layout matters. Keep peroxide out of direct sunlight (light degrades it). Keep bleach in a well-ventilated cabinet away from ammonia-based products. Keep alcohol away from any heat source. Keep the microfiber cloths in a small mesh bag that also lives in the caddy, so you never grab a kitchen dishtowel by accident and cross-contaminate.
Label every spray bottle with contents, dilution ratio, and the date you mixed it. Vinegar solutions last months; peroxide sprays weaken within a week or two of light exposure; bleach dilutions should be mixed the day you use them, since chlorine dissipates quickly from open containers.
Common Mistakes When Building a Natural Cleaning Kit
The three most damaging mistakes are mixing incompatible ingredients, expecting vinegar to disinfect on its own, and reusing microfiber cloths without laundering them properly. Cornell Cooperative Extension is direct on the first: “Don’t mix bleach with vinegar, ammonia, or rubbing alcohol, it’s best to not mix bleach with anything other than water, as this can create toxic fumes.” Bleach plus ammonia makes chloramine gas; bleach plus vinegar makes chlorine gas. Both cause serious respiratory injury.
The second mistake is treating vinegar as a disinfectant. Vinegar is a solid cleaner and a mild acid, but it is not on the EPA’s List N of registered disinfectants for hard surfaces. Use vinegar to clean and cut grease; use hydrogen peroxide, alcohol, or diluted bleach when you actually need to kill pathogens.
The third mistake ruins your microfiber. Research indexed on PubMed found microfiber “an effective way to reduce the levels of MRSA, E. coli and C. difficile (in spore form) on a range of surfaces,” but a companion study in the American Journal of Infection Control found that reprocessed microfiber only matches new microfiber “when laundered according to CDC laundry parameters.” Translation: wash microfiber cloths separately from cotton, skip the fabric softener (it clogs the fibers), and dry on low heat. If you skip laundering discipline, you are wiping yesterday’s grime onto today’s counters.
Extra Tips From Our Homestead
Three habits changed how our kit actually gets used: pre-mixing weekly, dedicating one caddy per zone, and rotating essential oils sparingly. We refill spray bottles every Sunday during coffee, which keeps the vinegar solution fresh and prevents the “empty bottle at the moment you need it” problem that pushes people back to store-bought sprays.
Dedicating a small kit to the coop and another to the kitchen is worth the small extra cost. Cross-use is how flock pathogens end up on food-prep surfaces and vice versa. Our coop caddy holds a jug of bleach, a labeled 1:32 spray bottle, a stiff brush, and a pair of dedicated gloves; the kitchen caddy holds only food-safe items.
On essential oils, be realistic. A peer-reviewed study on thyme oil found “aqueous solutions of thyme essential oil at 2.5% and 5% concentrations” reduced bacteria and environmental fungi on surfaces via direct contact, and a 2018 study on tea tree oil found meaningful antimicrobial activity in only “five out of ten commercially available tea tree oil batches.” Batch variability is real, so treat essential oils as scent and a gentle boost, not the primary disinfectant. Our guide to composting kitchen scraps into garden gold keeps used paper towels and food-scrap rinse water out of the trash.
For gardeners rebuilding soil biology after switching off synthetic sprays, our post on Korean Natural Farming for the home garden pairs well with a natural cleaning kit. The tools you buy for a first raised bed are the same trowels and pruners that need a wipe of alcohol after each session.
Frequently Asked Questions
Is white vinegar strong enough to disinfect kitchen counters?
No. White vinegar is a useful cleaner and deodorizer, but it is not an EPA-registered disinfectant for hard surfaces. The CDC draws a sharp line between cleaning (removing dirt and germs by wiping them away) and disinfecting (killing germs chemically). Use vinegar to cut grease and remove hard-water spots, then follow with 3% hydrogen peroxide or a diluted bleach spray when you need actual disinfection, especially after handling raw meat or eggs.
Can I safely mix vinegar and hydrogen peroxide in one bottle?
Don’t mix them in the same bottle, but you can use them one after the other on the same surface. Applied sequentially (vinegar first, wipe, then peroxide), the combination has been shown to be more effective than either alone. Mixing them creates peracetic acid, which is irritating to skin and lungs at kitchen concentrations. Keep two separate labeled spray bottles and apply them in sequence rather than blending them.
What is the right bleach dilution for cleaning a chicken coop?
Use a fresh 1:32 solution (roughly half a cup of household bleach per gallon of water) after dry-cleaning and wet-cleaning the coop. USDA APHIS specifies the three-step order: dry-clean, wet-clean with soap and water, then disinfect according to label directions, and leave the coop empty until dry. Mix the bleach dilution the day you use it; chlorine dissipates from open containers within hours to a day.
Are essential oils a good substitute for hydrogen peroxide or alcohol?
Not as a primary disinfectant. Peer-reviewed studies on thyme and tea tree essential oils show real antimicrobial activity in controlled conditions, but a 2018 PubMed study found antimicrobial performance in only five of ten commercial tea tree oil batches, meaning quality varies widely. Use essential oils for scent and as a supplementary agent, and rely on 3% hydrogen peroxide, 70% isopropyl alcohol, or diluted bleach when actual pathogen control is the goal.
How often should I clean feed and water containers for backyard chickens?
Wash and disinfect feed and water containers weekly. The Poultry Extension biosecurity guidance for small flocks is explicit: “Wash and disinfect feed and water containers weekly,” and clean the coop itself “at least twice a year.” Weekly waterer scrubbing removes the biofilm that harbors most contamination in a backyard drinker and is one of the highest-return habits in small-flock keeping.
Are microfiber cloths really better than paper towels?
For most cleaning tasks, yes. Research in the American Journal of Infection Control found that properly laundered reusable microfiber “achieves microbial removal from healthcare surfaces that is substantially equivalent to that of new microfiber,” and a PubMed-indexed study found microfiber effective at reducing MRSA, E. coli, and C. difficile spores. Skip fabric softener when laundering (it clogs the fibers), and wash microfiber separately from cotton to preserve its structure.