How to Grow Potatoes: 5 Methods from Grow Bags to In-Ground
- One seed potato realistically produces 2–5 lbs of potatoes under good garden conditions (University of Maine Extension, Cornell), a $2 investment still returns several dollars of food
- You can grow potatoes in the ground, raised beds, grow bags, straw bales, or even buckets
- Plant 2–4 weeks before your last frost date, potatoes tolerate light frost
- Harvest “new potatoes” at 10 weeks or full-size potatoes at 15–20 weeks
- The key technique is hilling, mounding soil around stems as they grow to increase yield
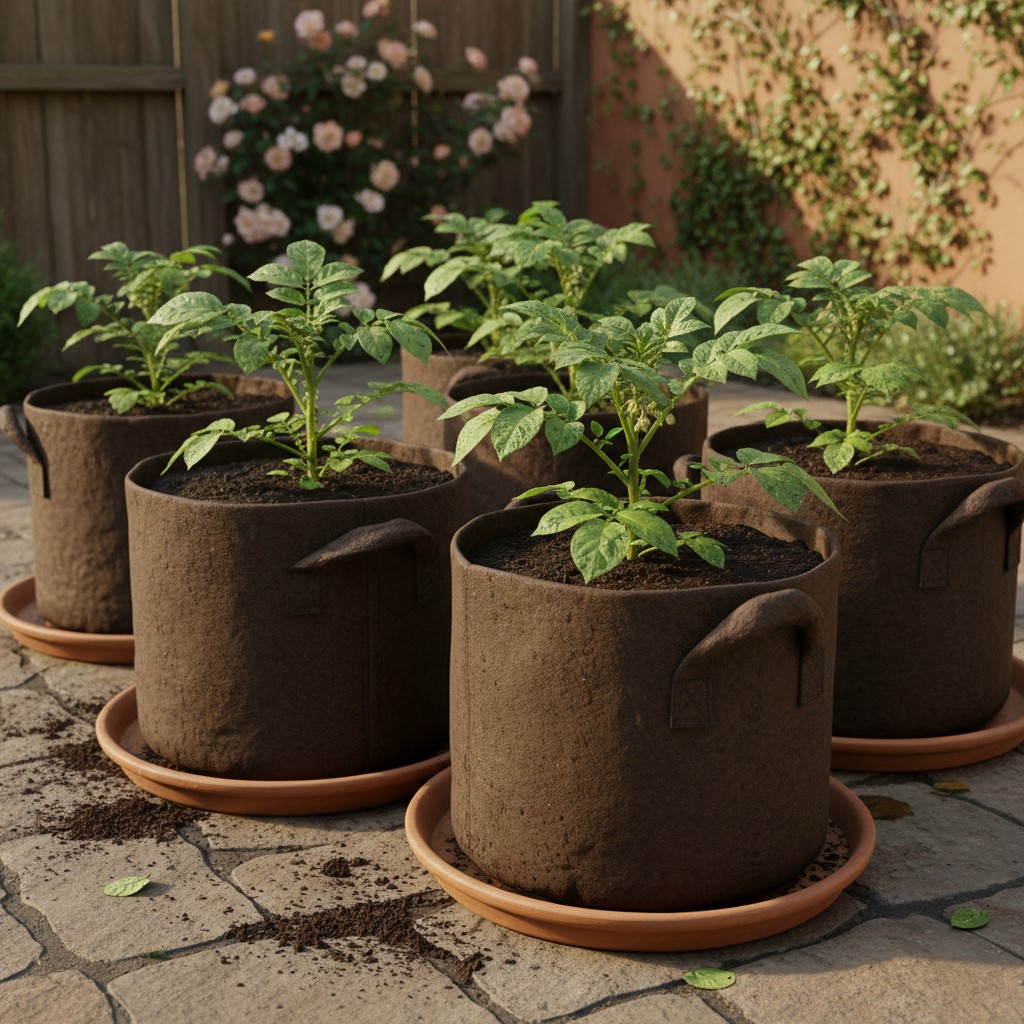
🌱 From Our Homestead
Last year we tried growing potatoes in grow bags for the first time. We harvested over 30 pounds from just six bags on our patio, more than enough to last us through Thanksgiving.
Choosing Seed Potatoes
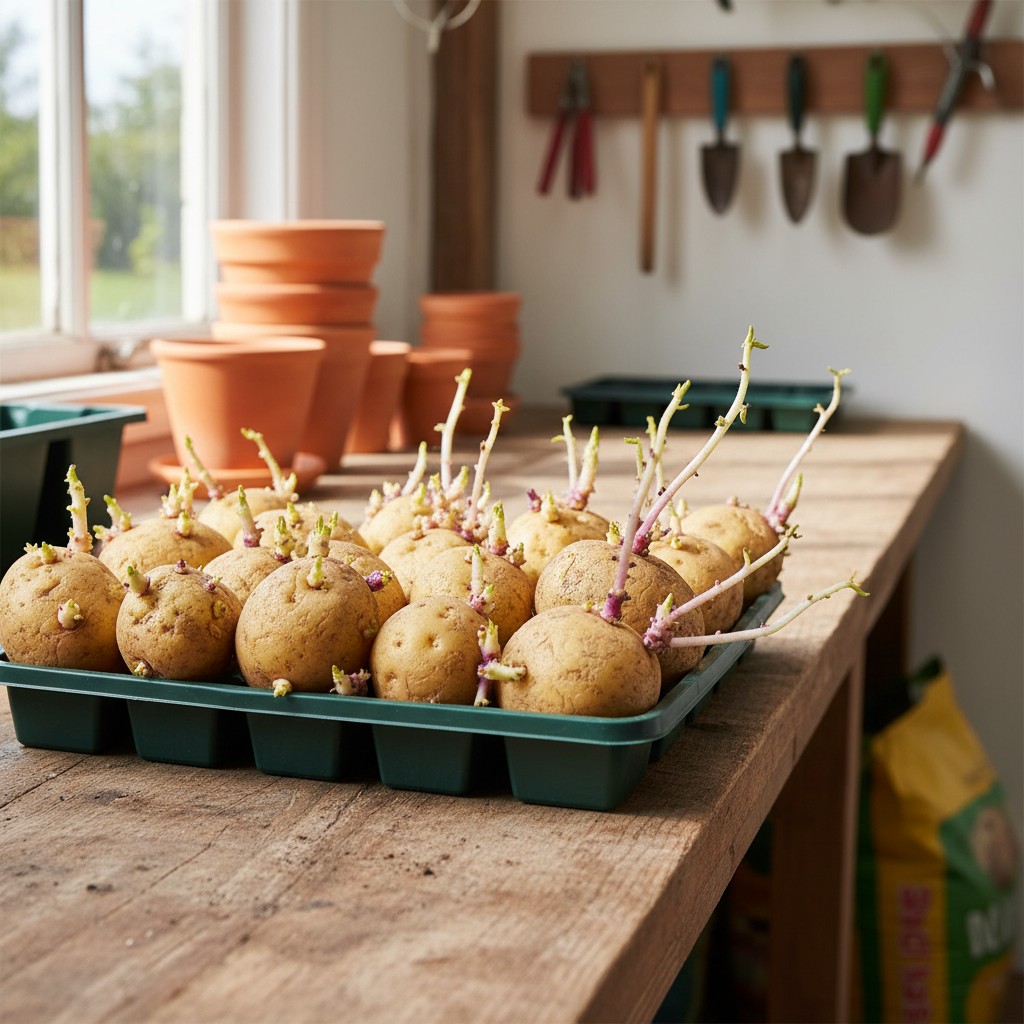
Don’t plant grocery store potatoes, they’re often treated with sprout inhibitors. Buy certified seed potatoes from a garden center or online supplier.Chitting (pre-sprouting) your seed potatoes for 2–4 weeks before planting significantly improves both yield and earliness. Simply place seed potatoes in a bright, cool spot (50–60°F), an egg carton works perfectly, with the “rose end” (the end with the most eyes) facing up. Let them develop short, stubby green sprouts. Chitted potatoes establish faster after planting, reducing the window of vulnerability to soil diseases, and consistently produce higher early-season yields compared to unchitted tubers.
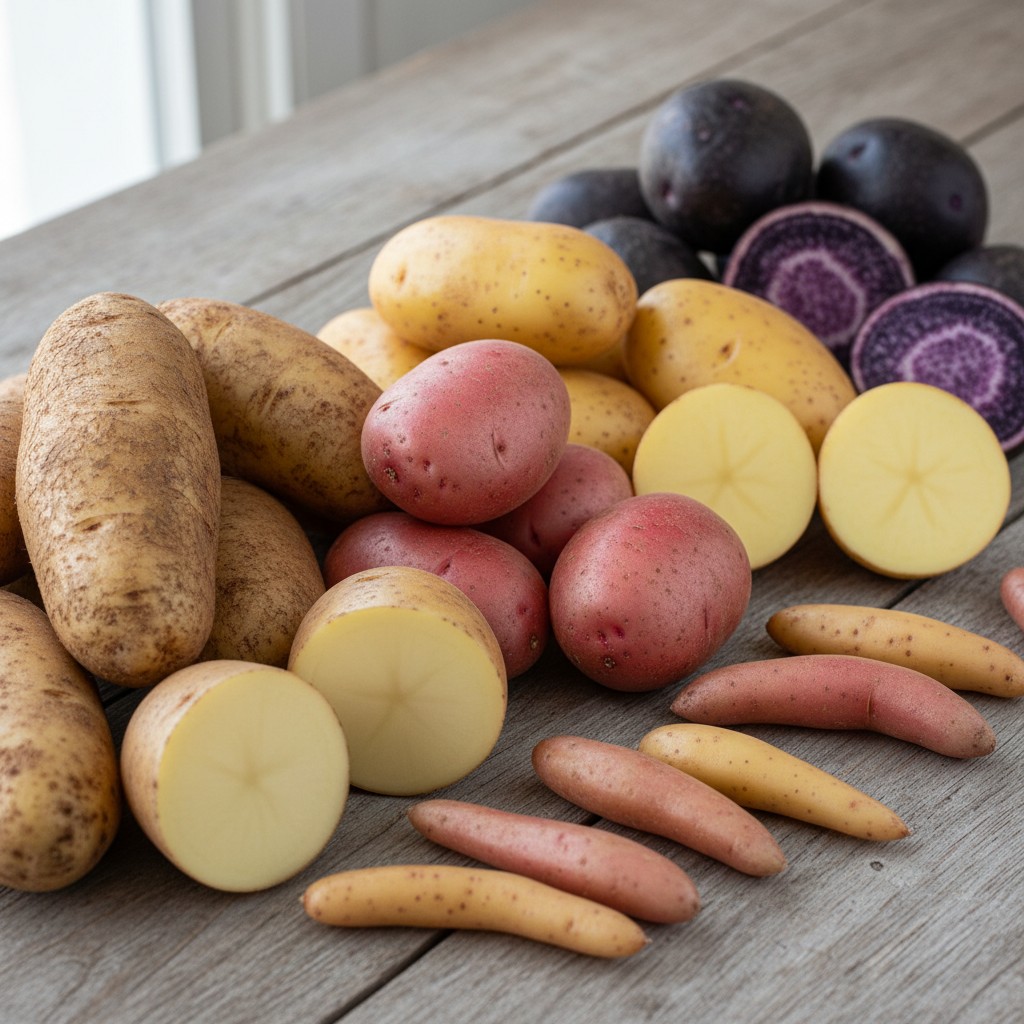
| Type | Best Varieties | Days to Harvest | Best For |
|---|---|---|---|
| Early | Yukon Gold, Red Norland, Irish Cobbler | 70–90 | Quick harvest, new potatoes |
| Mid-season | Kennebec, Gold Rush, French Fingerling | 90–110 | All-purpose, good storage |
| Late | Russet Burbank, German Butterball, Purple Majesty | 110–135 | Highest yield, best storage |
From our homestead: Yukon Gold is my desert-island potato. It produces early, tastes incredible roasted or mashed, and stores well into winter. I plant 20 seed potatoes every spring and we eat homegrown potatoes from July through February.
5 Ways to Grow Potatoes
1. Traditional In-Ground (Best Yield)
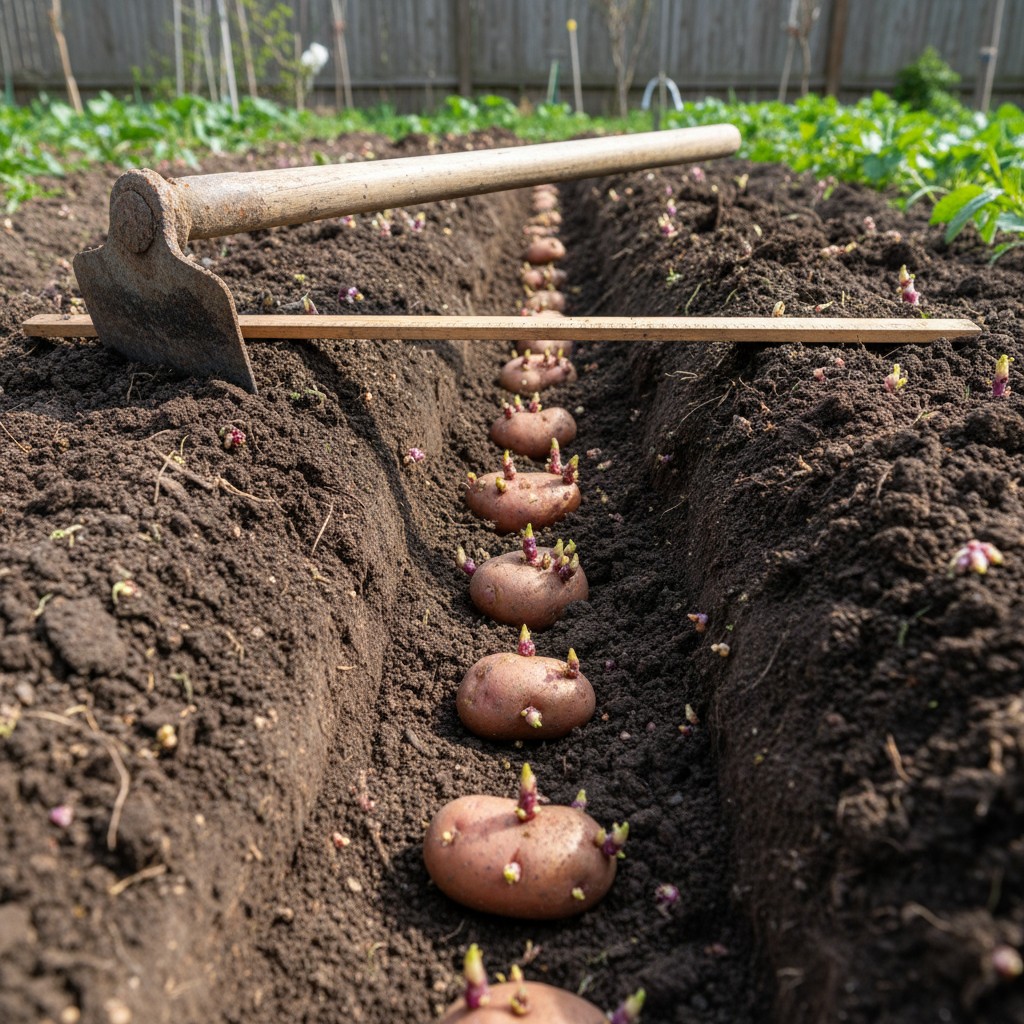
Dig a trench 6 inches deep and 3 feet apart. Place seed potatoes 12 inches apart, eyes facing up. Cover with 4 inches of soil. As plants grow, hill soil around the stems every 2–3 weeks until mounds are 12 inches high. This is the highest-yield method, expect 2–5 lbs per plant under good garden conditions, with 5–7 lbs possible in excellent soil with consistent water (University of Maine Cooperative Extension, Cornell Vegetable Growing Guide).
2. Raised Bed
Plant in a raised bed filled halfway with soil. Add more soil as plants grow. A 4×4 bed fits 8–12 seed potatoes and realistically produces 20–40 lbs (2–4 lbs per plant); top-performing beds can reach 50+ lbs. Works great with the no-till approach using deep straw mulch.
3. Grow Bags ($5–$10 each)
The easiest method for beginners and small spaces. Use 10–15 gallon fabric grow bags. Add 6 inches of soil, place 2–3 seed potatoes (more than that crowds tubers and reduces size), cover with 4 inches. Keep adding soil as plants emerge. Roll down the sides of the bag as you fill. Expect 2–4 lbs per 10–15 gallon bag (University of Idaho Extension); container yields are typically lower than in-ground because root volume is constrained.
4. Straw Bale Method
Place seed potatoes on the ground and cover with 12 inches of straw. Add more straw as plants grow. Harvest is effortless, just pull back the straw. Expect noticeably lower yield than in-ground, and watch for greening: straw lets more light through than soil, so tubers near the surface can turn green and develop toxic solanine. Keep the straw layer thick (at least 8–12 inches over tubers) throughout the season.
5. Container/Bucket
Any 5-gallon or larger container works. Drill drainage holes, fill partly with soil, plant 2–3 seed potatoes, keep adding soil. Good for patios and balconies.
Growing Guide: Step by Step
| Step | When | What to Do |
|---|---|---|
| Chit (sprout) | 2–4 weeks before planting | Place seed potatoes in a bright, cool spot to develop short sprouts |
| Plant | 2–4 weeks before last frost | Plant 4–6″ deep, eyes up, 12″ apart. Soil temp should be 45°F+ |
| Hill | When plants are 6–8″ tall | Mound soil/mulch around stems, leaving top 4″ exposed. Repeat 2–3 times |
| Water | Throughout growing | 1–2 inches per week. Critical during flowering (tuber formation) |
| Harvest new | ~10 weeks (when flowering) | Gently dig around plants for small, tender new potatoes |
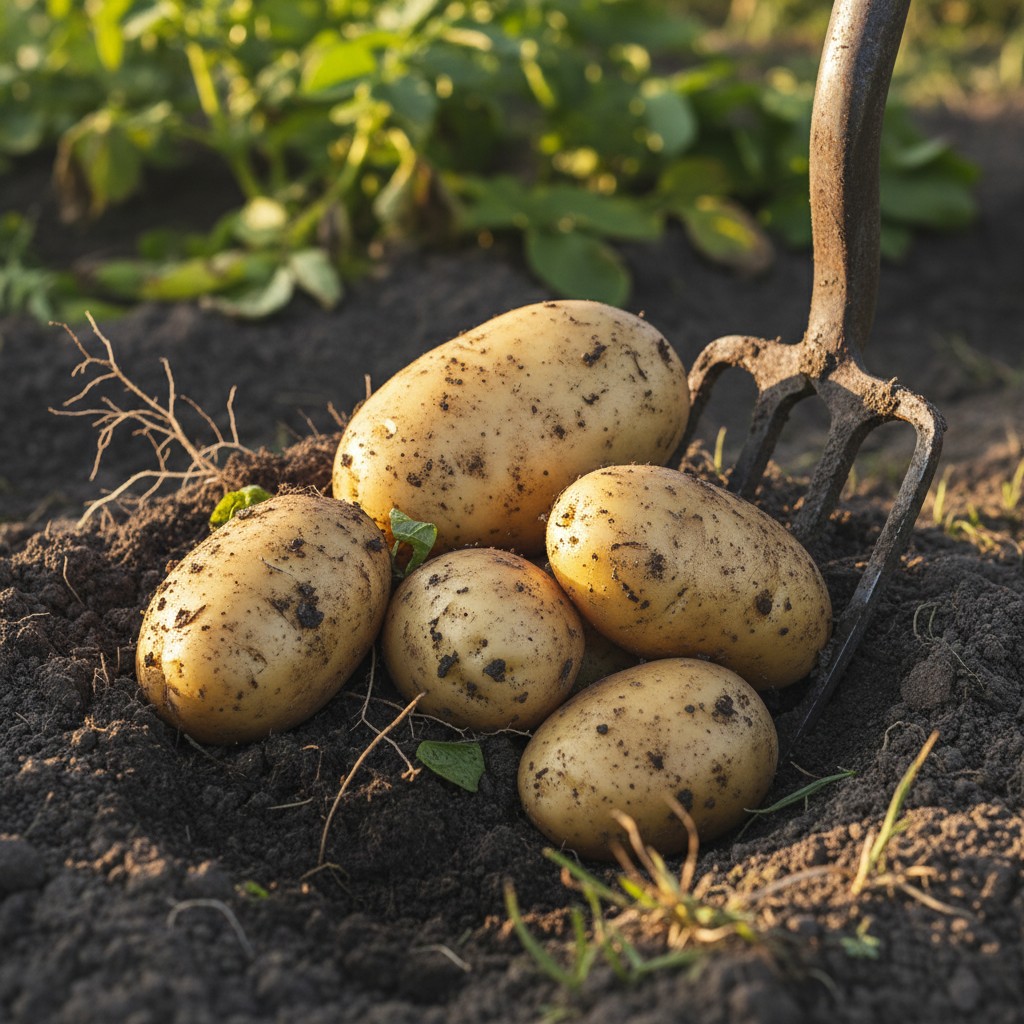
| Harvest full | 15–20 weeks (tops die back) | Wait 2 weeks after tops die, then dig carefully with a fork |
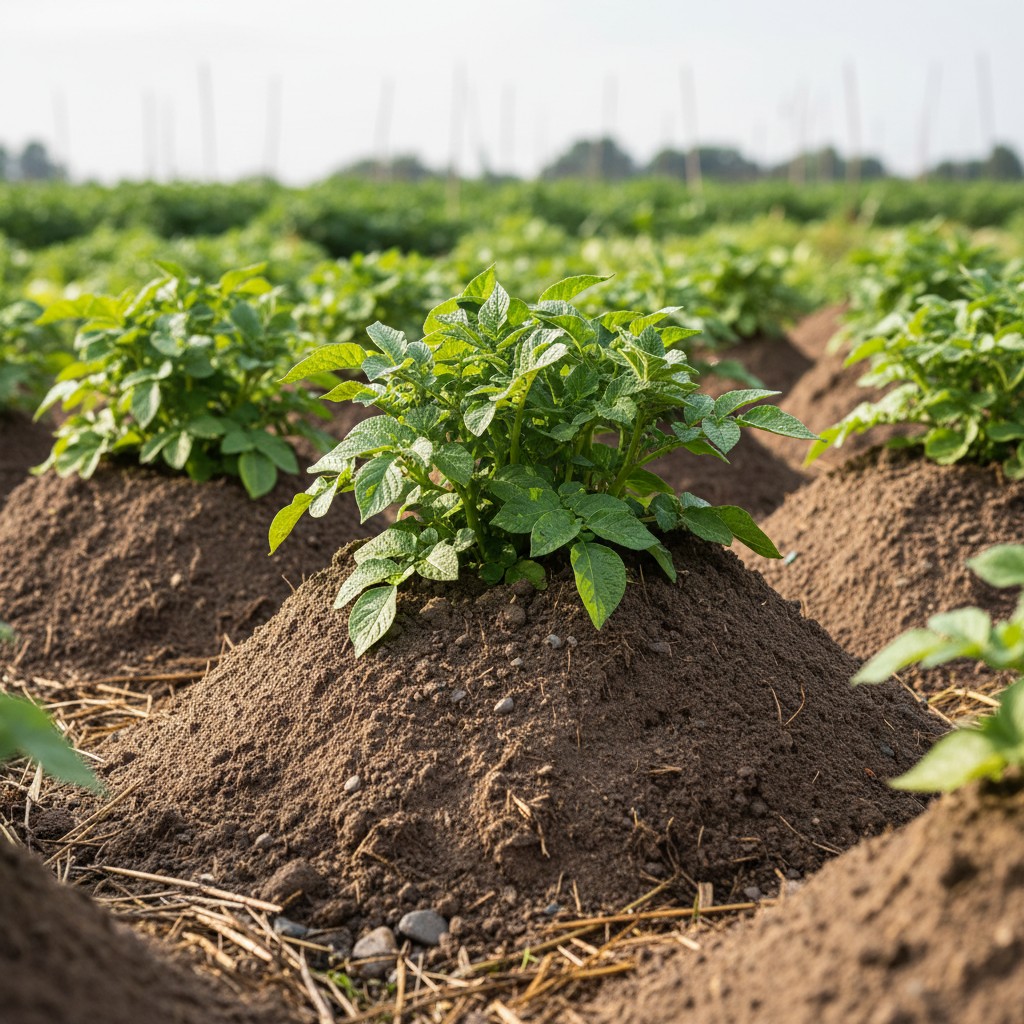
Hilling: The Secret to Big Harvests
Hilling is what separates a mediocre potato harvest from an incredible one. Potatoes form along the buried stem, the more stem you bury, the more potatoes you get.
- When plants reach 6–8 inches tall, mound soil, straw, or compost around the stems, leaving only the top 4 inches of foliage exposed
- Repeat every 2–3 weeks until mounds are 12 inches high
- Use straw or leaves instead of soil for easier harvesting
- Never let tubers see sunlight, exposed potatoes turn green (toxic solanine)
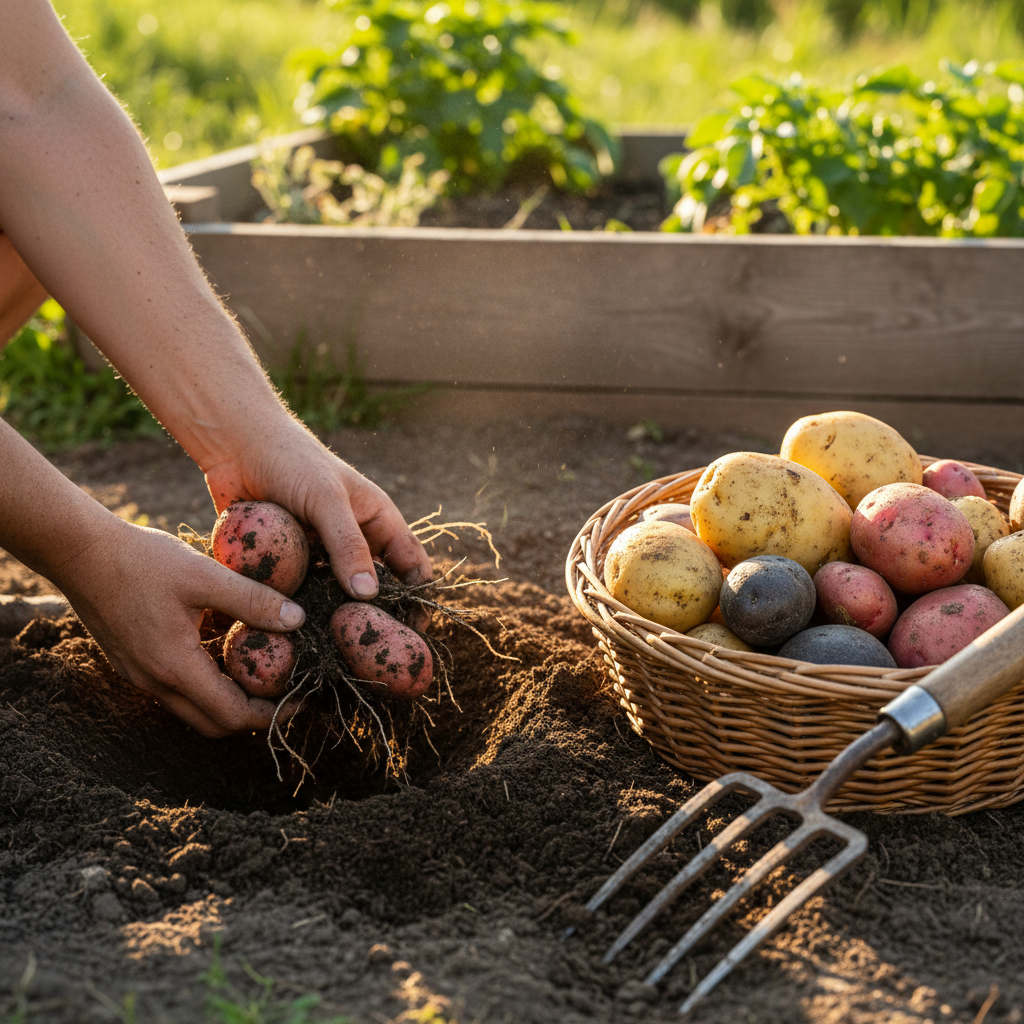
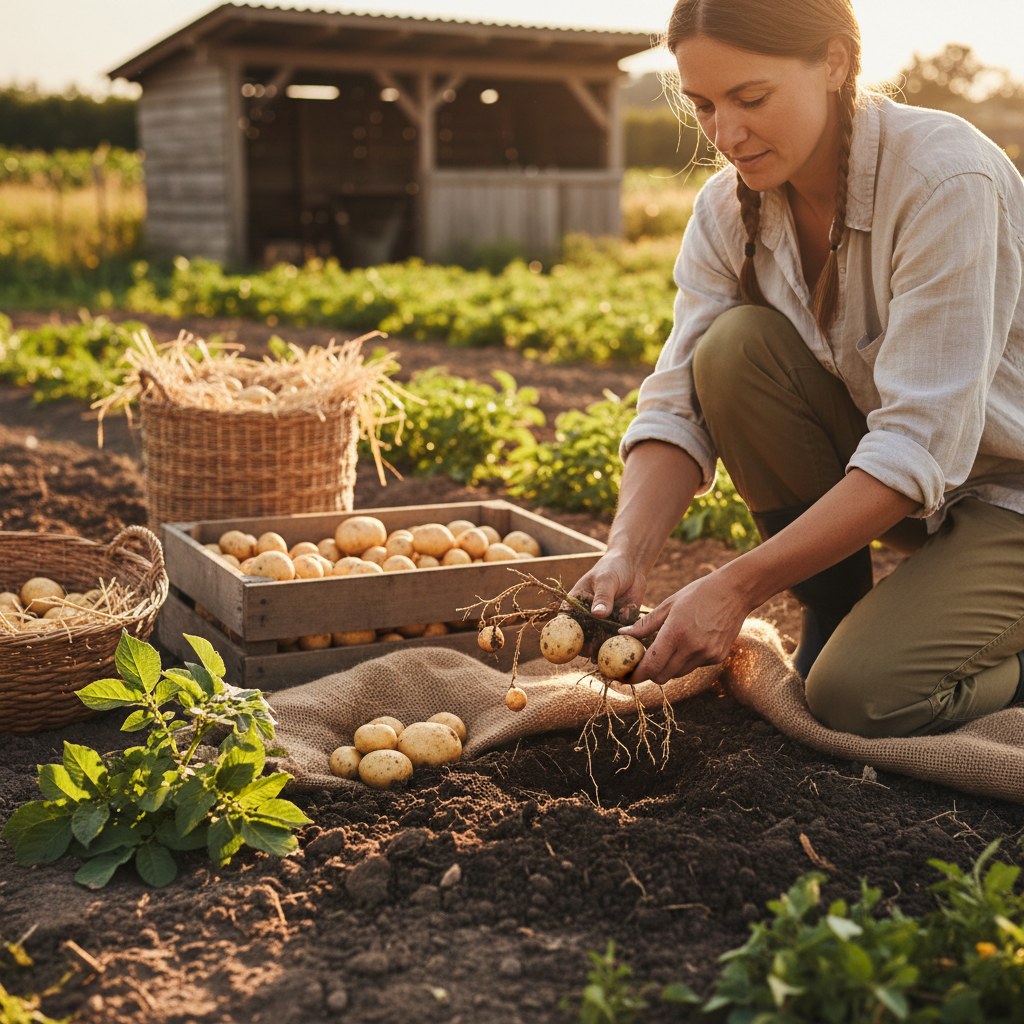
Harvesting and Storing
New potatoes: Harvest when plants flower (~10 weeks). Dig gently around the base and pull small potatoes. Eat within a week, they don’t store well. Trade-off note: Harvesting new potatoes while the plant is still actively growing removes tubers that would otherwise continue sizing up. If your goal is maximum storage yield from mature potatoes, skip the new potato harvest entirely and let the plant direct all its energy into bulking up the full crop. New potatoes are a delicious treat, but they come at the cost of total yield.
Storage potatoes: Wait until the plant tops completely die back and turn brown. Wait 2 more weeks (this toughens the skin for storage). Dig carefully with a garden fork on a dry day. Brush off soil but don’t wash. Cure in a dark, 50–60°F spot for 2 weeks, then move to root cellar conditions (35–40°F, dark, humid). Properly stored potatoes last 4–6 months.
Common Problems
- Green potatoes (SAFETY): Green skin indicates light exposure, which triggers production of solanine, a toxic glycoalkaloid that causes nausea, vomiting, and in severe cases neurological symptoms. Potatoes with more than trace greening (above roughly 200 mg/kg solanine) should be discarded, not peeled and eaten. The same goes for any potato with long pale sprouts growing from the eyes after storage, sprouts concentrate glycoalkaloids. Prevent by hilling aggressively during growth and storing harvested potatoes in total darkness (NIH LiverTox; USDA).
- Scab: Rough corky patches on skin caused by the bacterium Streptomyces scabies, which thrives in neutral to alkaline soil. Keep potato beds below pH 5.5 (ideally 5.0–5.3), this is the pH range most extension services (WSU, University of Idaho) recommend specifically for potatoes. Do not lime beds where you plan to grow potatoes, and add elemental sulfur the season before planting if your soil is above pH 5.5. Scabby potatoes are still edible, just peel.
- Colorado potato beetle: The #1 insect pest of potatoes. Adults are yellow-orange with black stripes; eggs are orange clusters on leaf undersides. Organic controls: hand-pick adults, larvae, and egg masses daily and drop into soapy water; use row cover from planting through flowering to exclude adults (remove for flowering if using open-pollinated varieties); apply Spinosad (an OMRI-listed organic insecticide) for heavy infestations, it kills larvae effectively. Rotate where you plant potatoes each year to reduce overwintering beetle populations.
- Late blight: Brown spots on leaves, mushy tubers. Remove affected plants immediately. Don’t compost. Choose resistant varieties.
Frequently Asked Questions
How many potatoes can I grow in a small space?
A single 10–15 gallon grow bag realistically produces 2–4 lbs of potatoes from 2–3 seed potatoes (University of Idaho Extension). A 4×8 raised bed planted with 16–24 seed potatoes typically yields 40–80 lbs under good conditions. Even a 5-gallon bucket on a balcony produces a pound or two. Potatoes are still among the most productive crops per square foot, but beware of inflated yield claims, extension research puts realistic garden yields at 2–5 lbs per plant.
Can I plant potatoes from the grocery store?
It’s not recommended. Grocery store potatoes are often treated with sprout inhibitors and may carry diseases. Buy certified seed potatoes from a garden center ($3–$5 per lb, each lb produces 8–12 seed pieces). Organic grocery store potatoes can work in a pinch but results are less reliable.
When should I plant potatoes?
Plant 2–4 weeks before your last frost date. Potatoes tolerate light frost. Soil temperature should be at least 45°F. In most zones, this means March-April for spring planting. You can also do a fall planting in Zones 7+ by planting in August for a late harvest.
How do I know when potatoes are ready to harvest?
For new potatoes: harvest when plants flower (about 10 weeks). For full-size storage potatoes: wait until the plant tops die back completely and turn brown (15–20 weeks). Then wait 2 more weeks before digging to let the skins toughen for storage.
What’s the best way to store potatoes long-term?
Cure freshly dug potatoes in a dark spot at 50–60°F for 2 weeks to toughen the skin. Then store in a cool (35–40°F), dark, humid location, a basement, root cellar, or unheated garage works. Don’t store near apples (ethylene gas causes sprouting). Properly cured and stored potatoes last 4–6 months.