Homemade Herbal Salves and Balms: A Beginner Guide
Homemade Herbal Salves and Balms: A Beginner’s Guide to Healing from Your Garden
There’s something almost magical about turning a handful of garden herbs into a jar of healing salve. It connects you to a tradition that stretches back thousands of years, people using the plants around them to soothe, heal, and protect their skin. And once you learn the basic method, you’ll realize it’s far simpler than you might think.
Herbal salves and balms are semi-solid preparations made by combining herb-infused oils with beeswax. That’s really it. The herbs provide the medicinal properties, the oil carries them into your skin, and the beeswax gives everything a spreadable, shelf-stable consistency. (If you’re also interested in making herbal tinctures, those are another essential skill for any home herbalist.) With just these three components and a few hours of your time, you can make products that rival anything on a health store shelf, for a fraction of the cost.
- Herbal salves require only three components: herb-infused oil, beeswax, and optional essential oils
- The standard beeswax-to-oil ratio is 1 ounce of beeswax per 1 cup of infused oil (adjust for softer or firmer results)
- Two infusion methods work well: slow cold infusion (4-6 weeks) or gentle heat infusion (2-4 hours)
- Five versatile recipes will cover most household needs from healing cuts to soothing sore muscles
- Properly made salves store for about one year and cost pennies per tin to produce
- Essential oil dilution. For adult skin, NAHA recommends a maximum of 2–3% dilution for general body use (about 10–15 drops per ounce of carrier). Use 0.5–1% for face, sensitive skin, the elderly, and children over 6. Never apply undiluted essential oils to skin.
- Pregnancy and nursing. Avoid salves containing clary sage, rosemary, peppermint (especially in the first trimester), wintergreen, birch, sage, hyssop, and camphor while pregnant or nursing. When in doubt, use plain calendula oil with no essential oils added.
- Infants and children. Do not use essential-oil salves on babies under 3 months. Peppermint, eucalyptus, and rosemary (ct. Cineole) should not be applied on or near the face of children under 6, and chest rubs containing these oils are not recommended for children under 10 (see Recipe 4 note below).
- Asteraceae cross-reactivity. Calendula, chamomile, yarrow, and echinacea are in the same plant family as ragweed. People with ragweed allergies should patch-test first.
- Always patch-test. Apply a dab to the inner forearm and wait 24 hours before using any new salve more broadly.
- Not a substitute for medical care. These recipes are for minor, everyday skin concerns. See a clinician for deep wounds, infected wounds, burns larger than a coin, rashes that spread, or any symptom that worsens.
Understanding Infused Oils: The Foundation of Every Salve
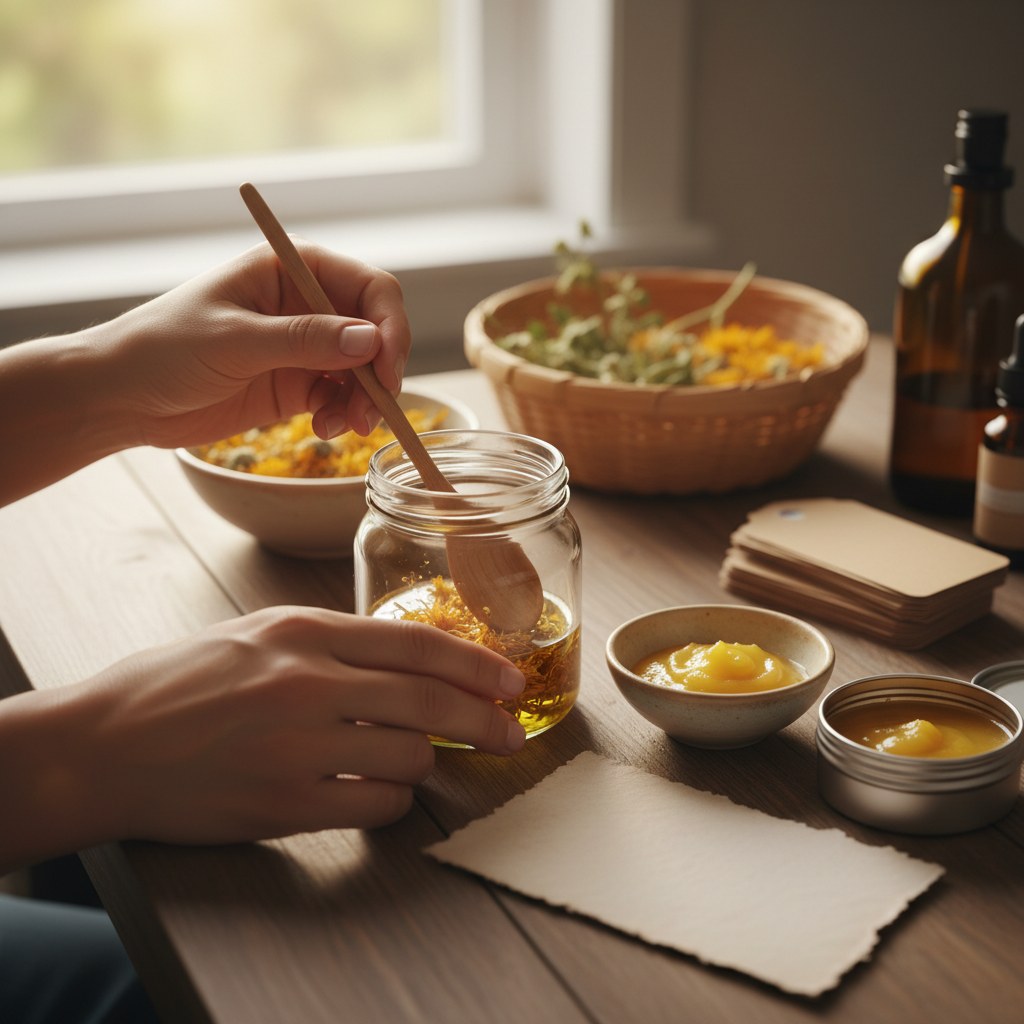
Before you can make a salve, you need herb-infused oil. This is where the actual medicine comes from, the beeswax just holds it all together. There are two reliable methods for making infused oils, and each has its place.
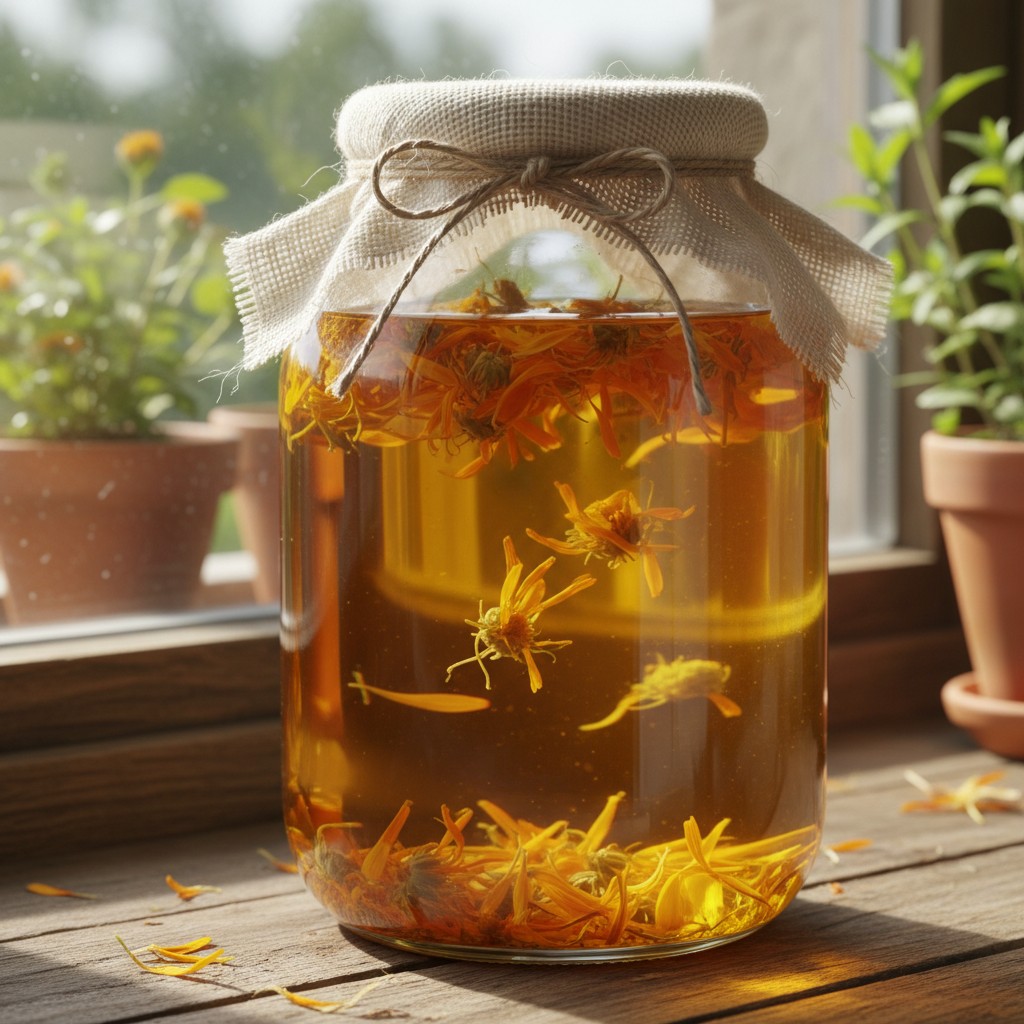
Cold Infusion Method (Solar Method)
This is the traditional, hands-off approach that herbalists have used for centuries.
- Fill a clean, dry mason jar about two-thirds full with dried herbs (dried is important, fresh herbs add moisture that can cause mold)
- Cover completely with your chosen carrier oil, leaving about an inch of headspace
- Stir to release air bubbles and make sure all plant material is submerged
- Cap tightly and place in a warm, sunny windowsill
- Let infuse for 4-6 weeks, shaking gently every day or two
- Strain through cheesecloth, squeezing firmly to extract all the oil
Best for: Delicate herbs like calendula, chamomile, and lavender that benefit from slow, gentle extraction
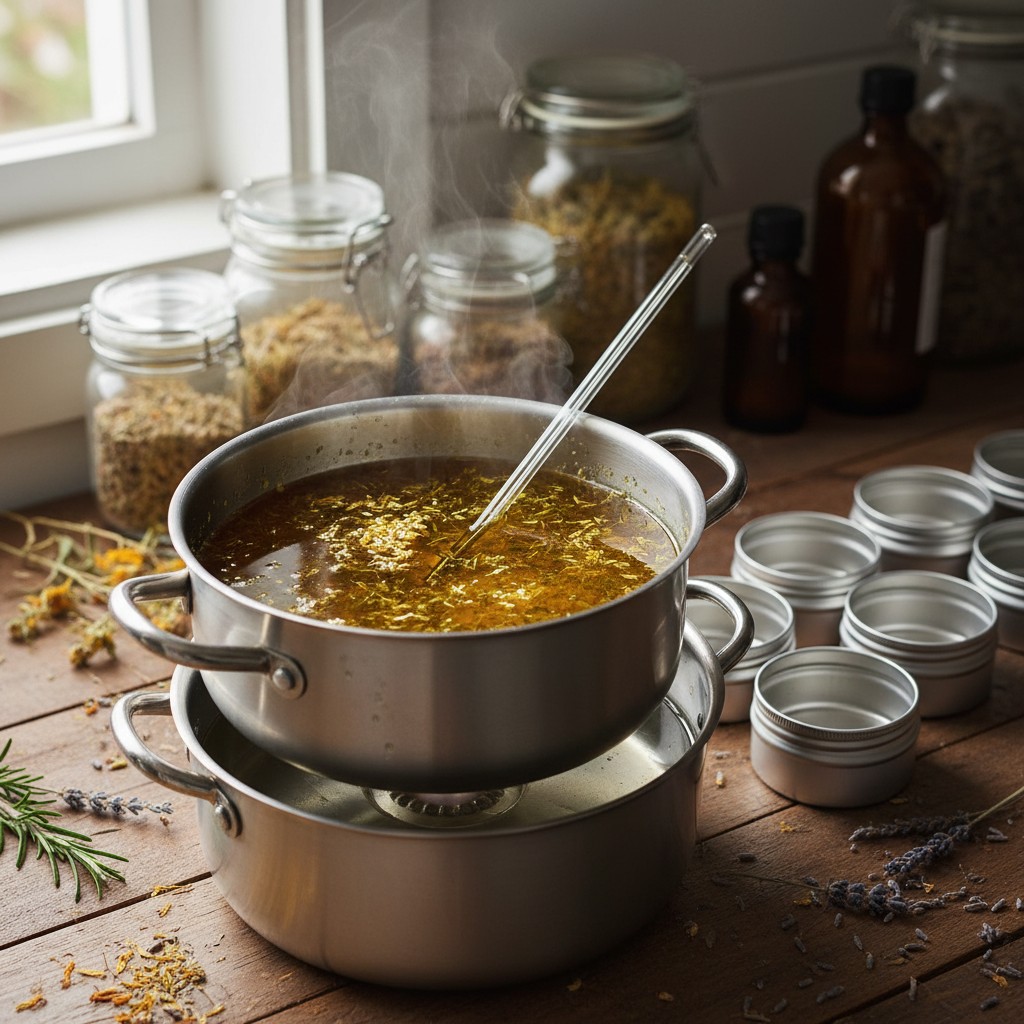
Warm Infusion Method (Double Boiler Method)
When you need infused oil today rather than in six weeks, this method delivers.
- Place dried herbs and carrier oil in the top of a double boiler (or a heat-safe jar set in a pot of water)
- Heat gently over low heat, maintaining a temperature of about 100-110°F, warm to the touch but never hot
- Let infuse for 2-4 hours, stirring occasionally
- Strain through cheesecloth
Best for: Tougher plant materials like roots, bark, and seeds; also great when you need oil quickly
I keep a rotating collection of cold-infusing oils on my kitchen windowsill from May through October. There’s something deeply satisfying about watching the oil slowly turn golden with calendula or deep green with comfrey. It feels like watching medicine being born in slow motion.
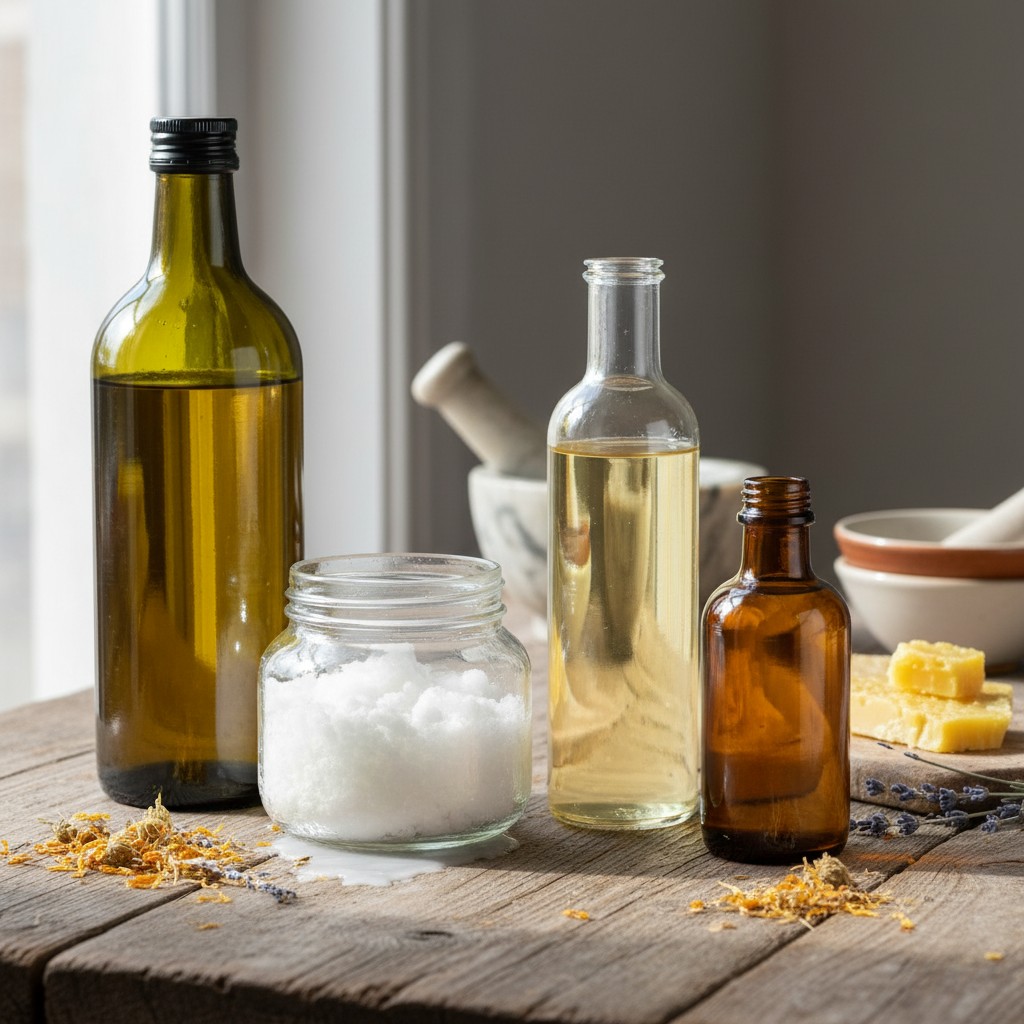
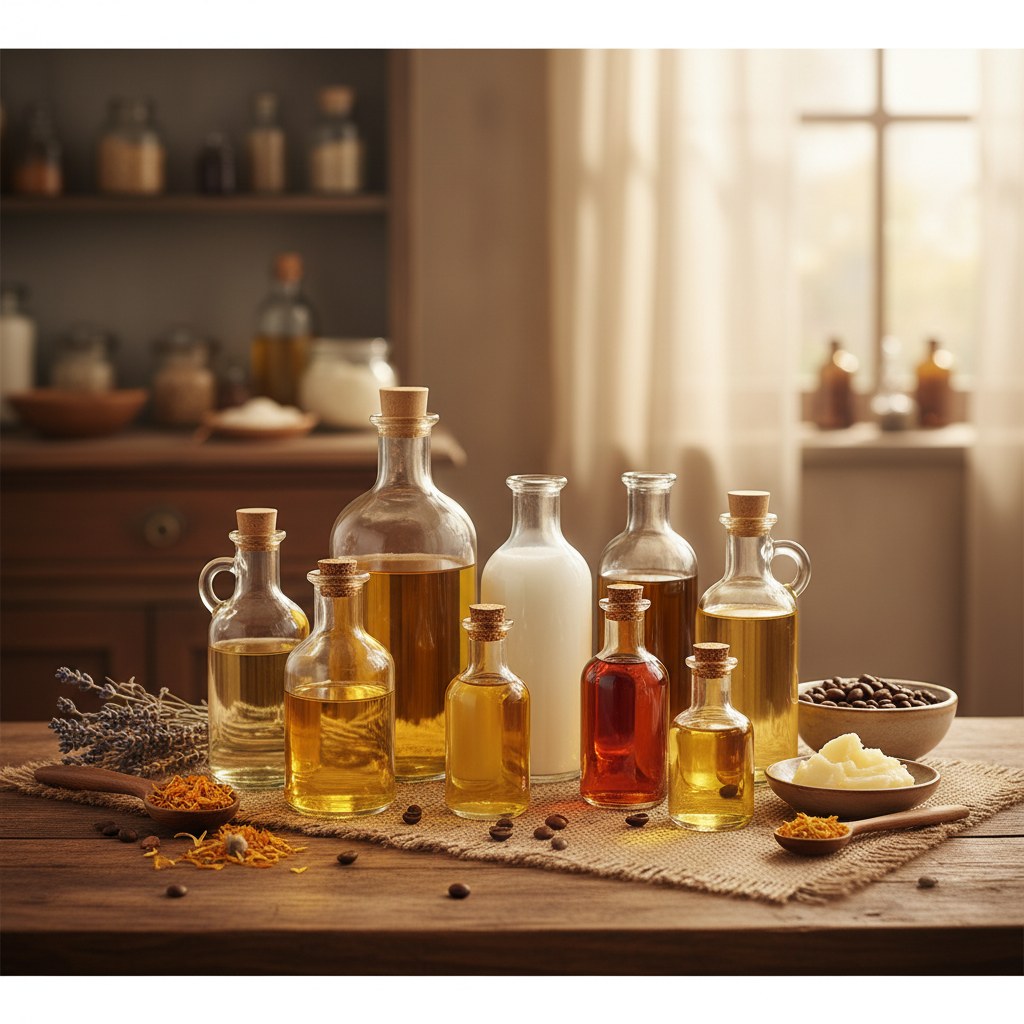
Choosing Your Carrier Oil
The carrier oil you use matters more than you might think. Different oils have different skin-feel properties, shelf lives, and even therapeutic qualities of their own.
| Carrier Oil | Skin Feel | Shelf Life | Best For |
|---|---|---|---|
| Olive Oil | Rich, slightly heavy | 1-2 years | Healing salves, dry skin |
| Sweet Almond Oil | Light, absorbs well | 1 year | Lip balms, facial salves |
| Jojoba Oil | Very light, non-greasy | 3-5 years | Face products, long shelf life needed |
| Coconut Oil | Medium, slightly waxy | 2 years | Lip balms, body balms |
| Grapeseed Oil | Very light, silky | 6-12 months | Massage oils, light salves |
For most general-purpose salves, olive oil is the workhorse. It’s affordable, readily available, has a long shelf life, and its rich texture is actually an asset in healing salves, you want the salve to stay on the skin rather than absorbing instantly.
The Beeswax Ratio: Getting the Right Consistency
Beeswax is what transforms liquid infused oil into a spreadable salve. The ratio you use determines whether you get a soft balm or a firm salve.
- Soft balm (like petroleum jelly): 1/2 ounce beeswax per 1 cup oil
- Standard salve (most recipes): 1 ounce beeswax per 1 cup oil
- Firm balm (like a lip balm stick): 1.5-2 ounces beeswax per 1 cup oil
If you keep bees, you’ll have a ready supply of beeswax. Otherwise, purchase cosmetic-grade beeswax pellets, they melt much faster and more evenly than blocks. If you prefer a vegan option, candelilla wax works as a substitute at half the amount (it’s twice as hard as beeswax).
The Drop Test
Not sure if your consistency is right? Do the drop test. Place a spoon in the freezer for a few minutes. When your salve mixture is melted and combined, drop a small amount onto the cold spoon. It will solidify in about 30 seconds, giving you a preview of the final consistency. Too soft? Add more beeswax. Too firm? Add more oil.
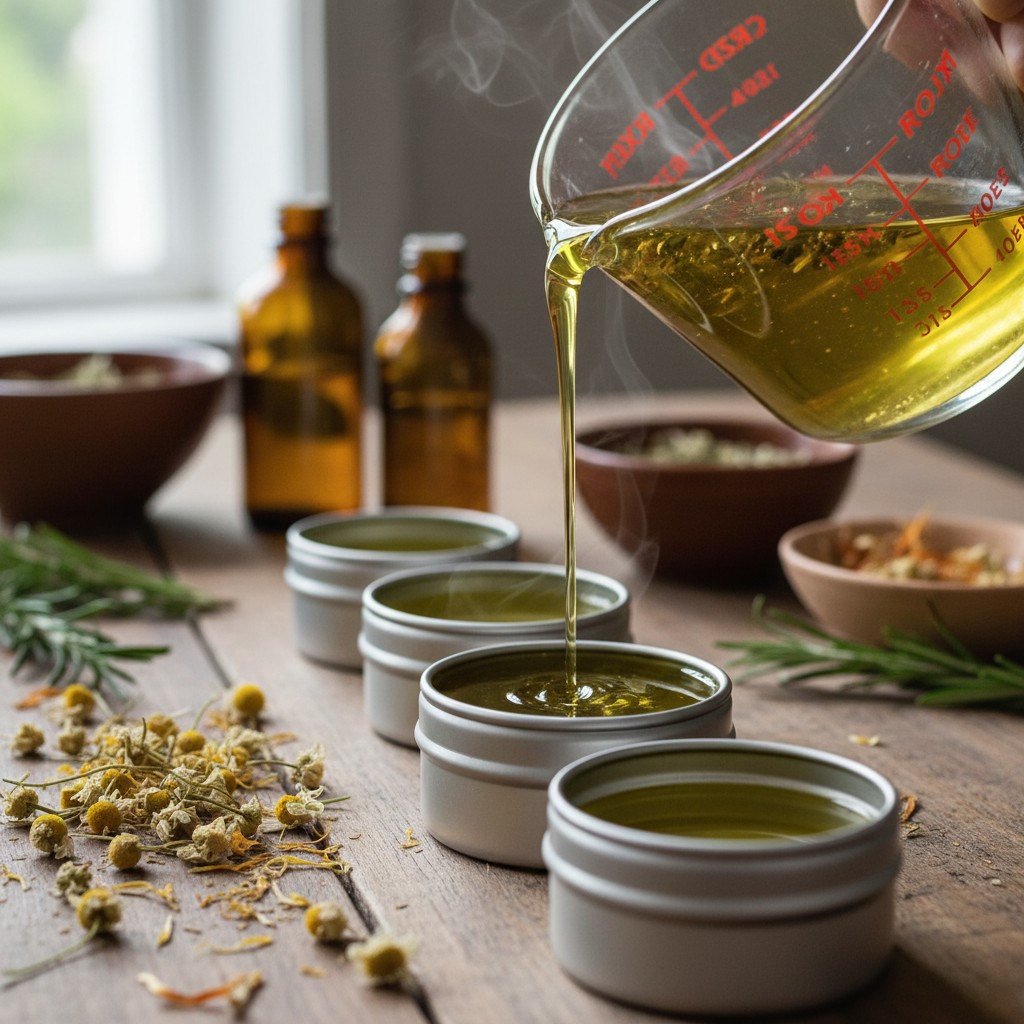
Basic Salve-Making Method
This is the universal method that applies to every recipe below.
- Prepare your infused oil using either method described above
- Set up a double boiler: Place a heat-safe glass measuring cup or jar in a pot with a few inches of simmering water
- Measure your infused oil into the glass container and warm gently
- Add beeswax and stir until completely melted and combined
- Remove from heat and let cool for 1-2 minutes
- Add essential oils if using (heat destroys their volatile compounds, so always add them off-heat)
- Pour immediately into tins, jars, or tubes, the mixture sets up fast once it starts cooling
- Let cool completely (2-3 hours) before capping. Capping warm salve creates condensation that shortens shelf life.
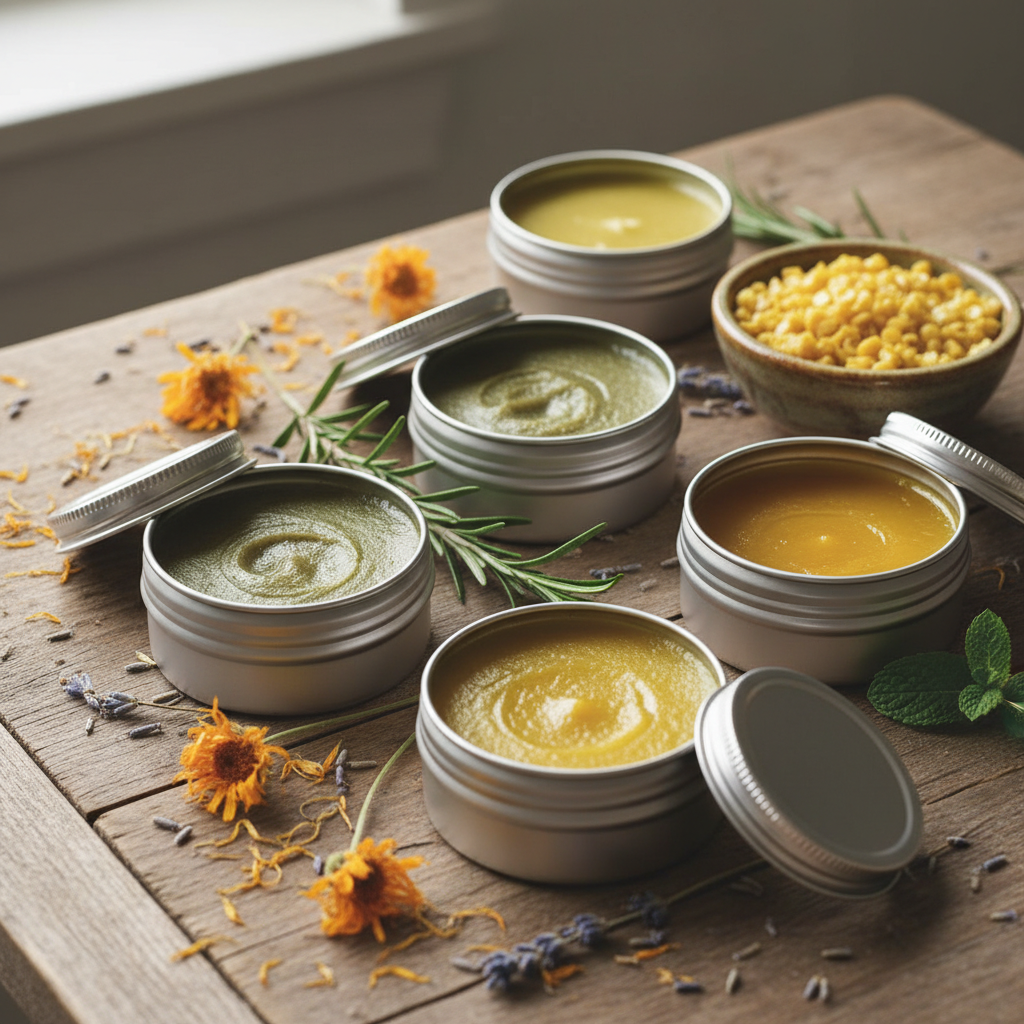
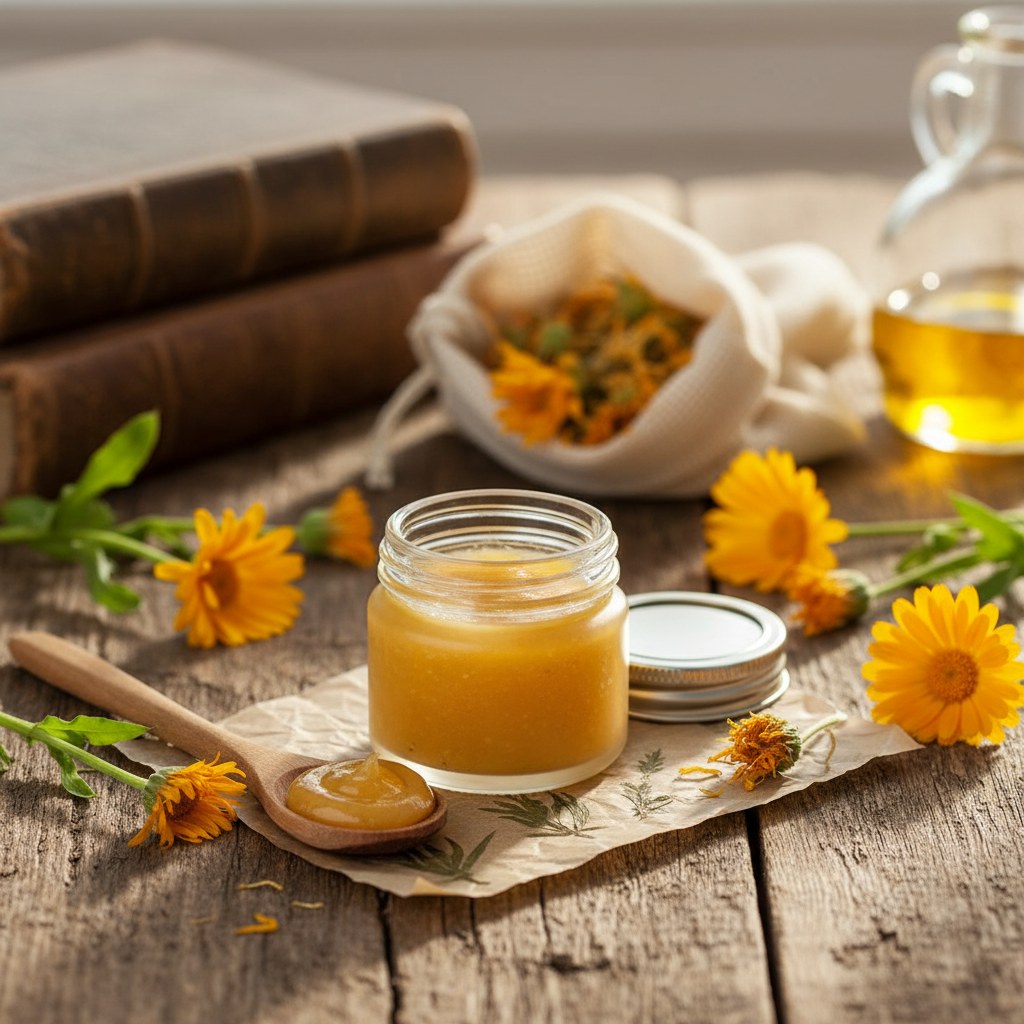
Recipe 1: Calendula Healing Salve
This is the salve every household should have. Calendula is anti-inflammatory, antimicrobial, and promotes tissue repair. It’s gentle enough for babies and effective enough for serious gardener’s hands.
Ingredients:
- 1 cup calendula-infused olive oil
- 1 ounce beeswax pellets
- 10 drops lavender essential oil (optional)
- 5 drops tea tree essential oil (optional, for extra antimicrobial action)
Uses: Cuts, scrapes, dry and cracked skin, minor burns, rashes, bug bites, chapped lips, cuticles
If you’re growing a medicinal herb garden, calendula should be your first planting. It’s ridiculously easy to grow, blooms all summer, and provides a constant supply of petals for salve-making.
Recipe 2: Muscle Rub Balm
After a long day of digging, hauling, and bending, this warming muscle rub is a lifesaver. The combination of cayenne, ginger, and peppermint increases blood flow to sore muscles and provides both warming and cooling relief.
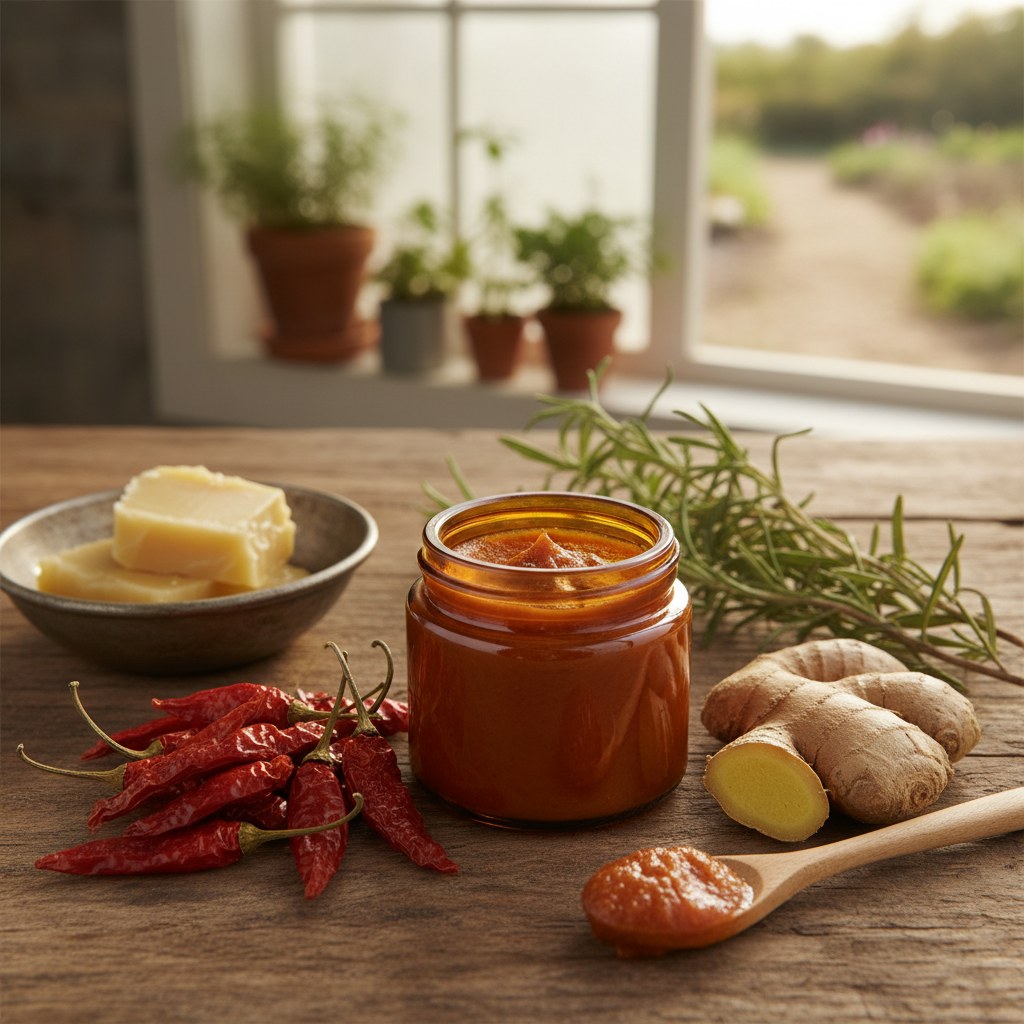
Ingredients:
- 3/4 cup olive oil infused with 2 tablespoons dried cayenne pepper, 2 tablespoons dried ginger root, and 2 tablespoons dried rosemary
- 1/4 cup coconut oil
- 1 ounce beeswax pellets
- 15 drops peppermint essential oil
- 10 drops eucalyptus essential oil
- 5 drops rosemary essential oil
Uses: Sore muscles, joint stiffness, backache, arthritis discomfort
Important: Always wash your hands thoroughly after applying this salve, and never touch your eyes or sensitive areas. The cayenne creates a warming sensation that is soothing on sore muscles but very unpleasant on mucous membranes.
My neighbor is a carpenter who used to go through tubes of commercial muscle rub like candy. I gave him a tin of this cayenne-ginger balm and he hasn’t bought the commercial stuff since. He says it works better and doesn’t have that overpowering chemical smell.
Recipe 3: Soothing Lip Balm
Lip balm is the perfect beginner project, it uses small quantities, sets up fast, and makes wonderful gifts. This recipe makes about 12-15 standard lip balm tubes or 6-8 small tins.
Ingredients:
- 2 tablespoons calendula or chamomile-infused sweet almond oil
- 2 tablespoons coconut oil
- 2 tablespoons beeswax pellets
- 1/2 teaspoon raw honey (optional, adds moisture and a hint of sweetness)
- 5-8 drops essential oil of choice (peppermint for cooling, lavender for soothing, orange for uplifting)
Special tip: For lip balm, the beeswax ratio is higher than standard salves because you need a firmer product that holds its shape in tubes. If you’re pouring into tins instead of tubes, you can reduce the beeswax slightly for a softer product.
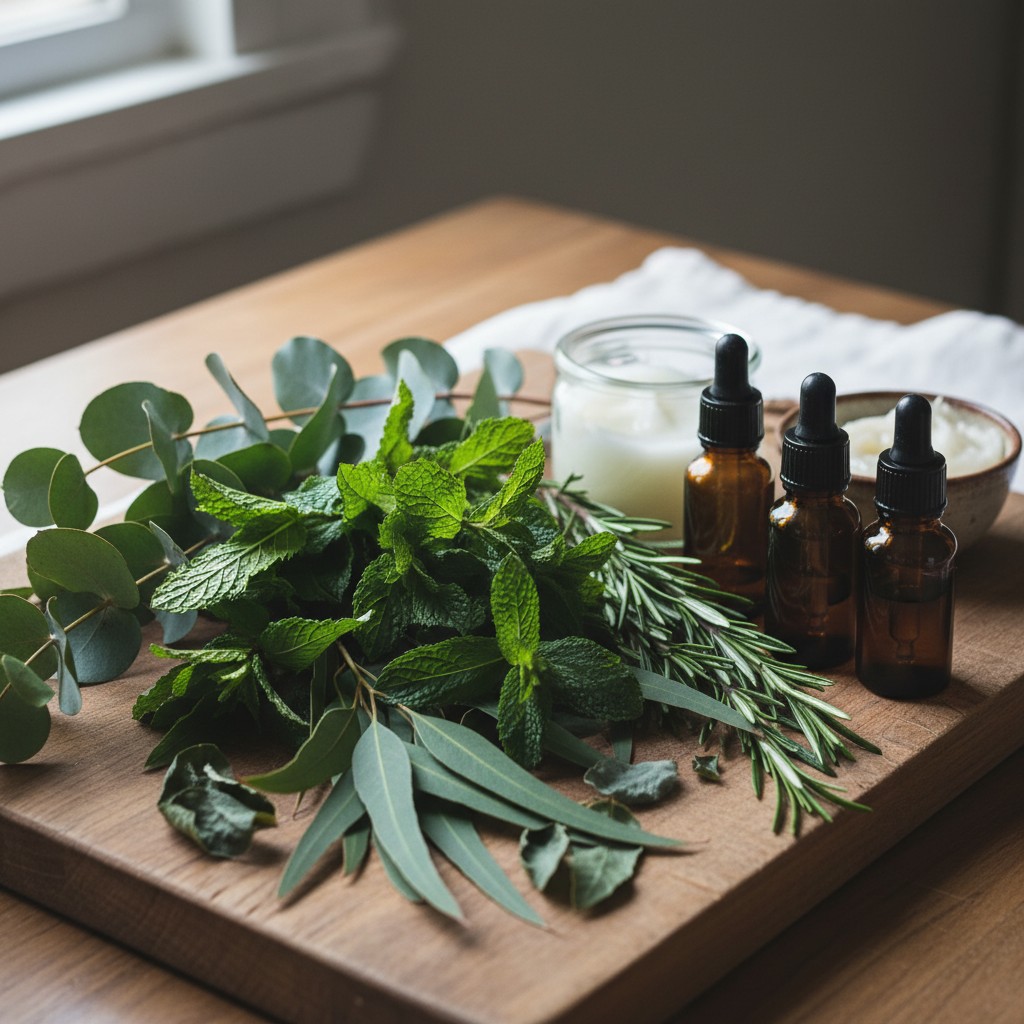
Recipe 4: Chest Rub for Cold Season
This herbal chest rub is a natural alternative to commercial vapor rubs, without the petroleum base or synthetic fragrances.
Ingredients:
- 1/2 cup olive oil infused with dried eucalyptus, thyme, and rosemary
- 1/2 cup coconut oil
- 1.5 ounces beeswax pellets
- 15 drops eucalyptus essential oil
- 10 drops peppermint essential oil
- 10 drops rosemary essential oil
- 5 drops tea tree essential oil
Uses: Chest congestion, coughs, sinus pressure, cold and flu symptoms
⚠️ Child safety, this chest rub is for adults only. Do not apply this recipe, or any chest rub containing peppermint, eucalyptus, rosemary, or camphor, to children under 10 years old, and never on or near the face, nose, or chest of any child under 6 years old. Menthol (peppermint) and 1,8-cineole (eucalyptus, rosemary ct. Cineole) can trigger laryngospasm, bronchospasm, and reflex apnea in young children when inhaled or absorbed near the face; multiple pediatric case reports document life-threatening respiratory events. For children under 6 with chest congestion, use a cool-mist humidifier, saline drops, and consult a pediatrician instead. For children ages 6–10, a plain calendula or mullein-infused oil (with no essential oils) rubbed on the back, not the chest or face, is a safer alternative. Sources: Tisserand & Young, Essential Oil Safety 2nd ed. (pp. 656, 405, 658); Tisserand Institute. Kids & Inhalation Safety; EMA HMPC monographs for Mentha piperita, Eucalyptus globulus, and Rosmarinus officinalis.
Recipe 5: All-Purpose Garden Hand Balm
This rich, protective balm is designed for hardworking hands. It combines healing herbs with deeply nourishing oils to repair cracked, rough, and overworked skin.
Ingredients:
- 1/2 cup comfrey and plantain-infused olive oil
- 1/4 cup sweet almond oil
- 1/4 cup shea butter
- 1 ounce beeswax pellets
- 10 drops lavender essential oil
- 5 drops frankincense essential oil
Special method: Melt the beeswax into the olive oil first, then add the shea butter and almond oil off-heat. Shea butter can become grainy if overheated, so add it last and stir until just melted and smooth.
⚠️ Comfrey safety, read before making this recipe. Comfrey (Symphytum officinale) contains pyrrolizidine alkaloids (PAs), which are hepatotoxic and potentially carcinogenic. Dermal absorption of PAs increases sharply through damaged skin. Comfrey salves may be used only on intact (unbroken) skin, for no more than 10 consecutive days and no more than 4–6 weeks total per year. Do not apply comfrey to open wounds, cuts, scrapes, cracked or broken skin, or any skin that is bleeding or weeping. Do not take comfrey internally. Do not use comfrey preparations during pregnancy or nursing, or on children. If you want a hand balm that is safe for gardener’s cuts and cracked skin, omit the comfrey and use a plantain- or calendula-only infused oil instead. Sources: NCCIH. Comfrey; NIH LiverTox. Comfrey; FDA 2001 advisory on comfrey; EMA HMPC Symphytum officinale monograph.
Growing the herbs for this balm is straightforward if you’ve already established an herb garden. Comfrey is a vigorous perennial that grows almost anywhere, and plantain is likely already growing in your yard.
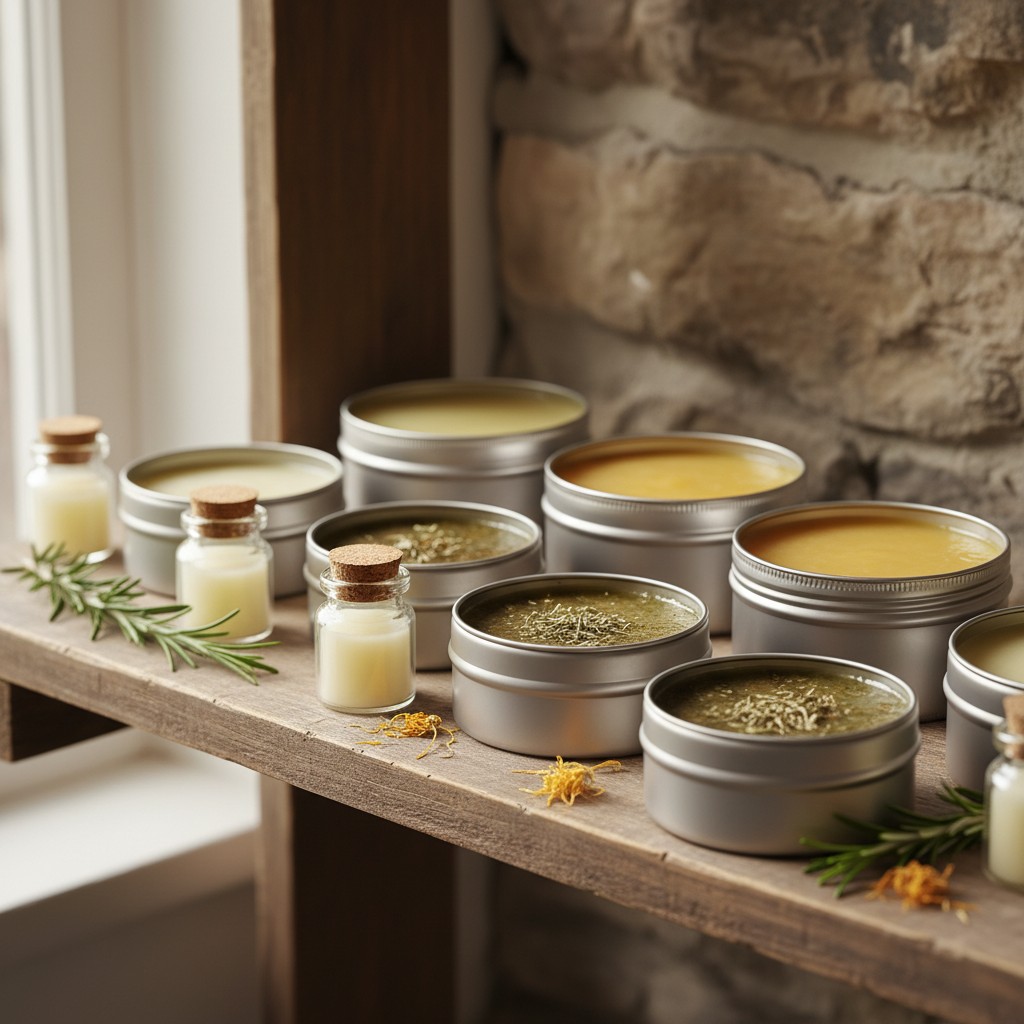
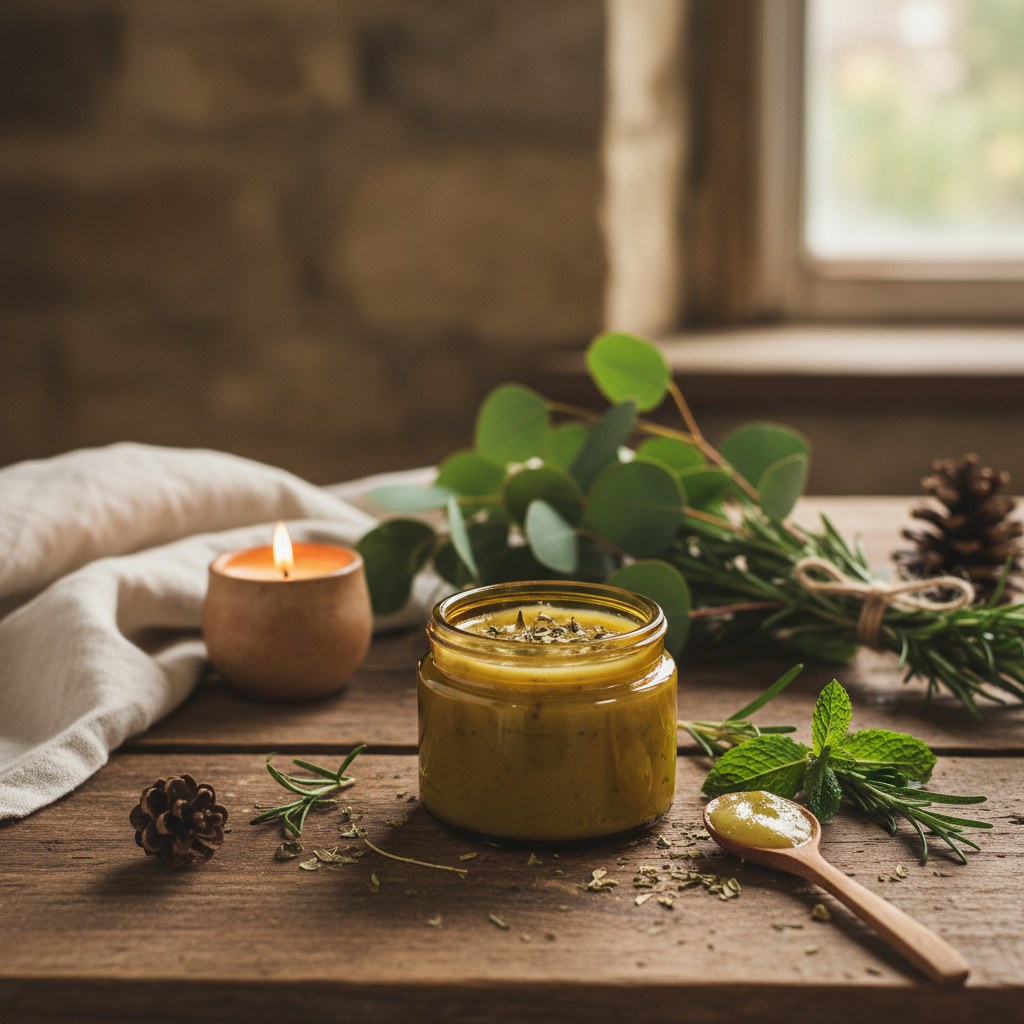
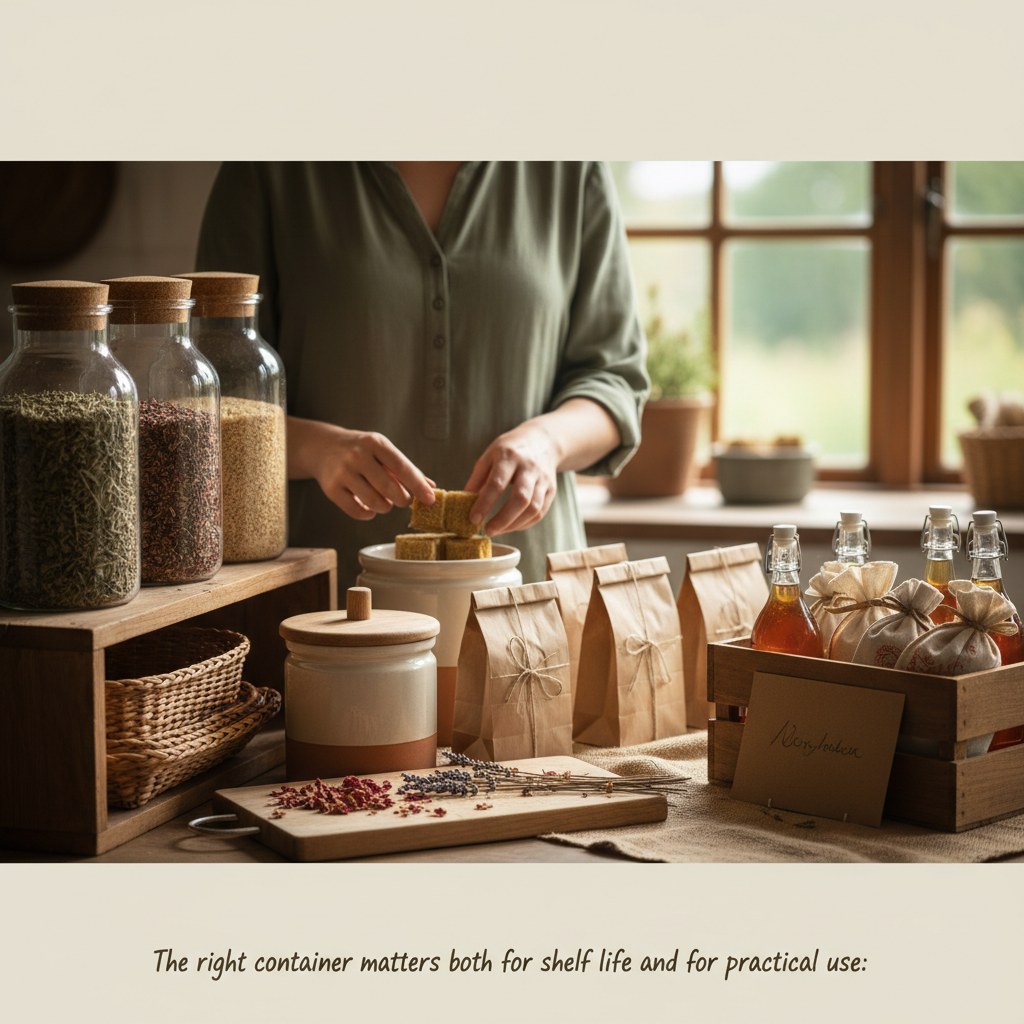
Packaging, Storing, and Gifting
The right container matters both for shelf life and for practical use:
- Small tins (1-2 oz): Perfect for pocket or purse carry, great for gift-giving
- Glass jars (4 oz): Best for home use, you can see the contents and glass doesn’t react with herbs
- Lip balm tubes: Buy in bulk online for the best price; fill using a small funnel or squeeze bottle
- Wide-mouth jars: Ideal for muscle rubs and body balms that you scoop with fingers
Always label your salves with the name, date made, and ingredients. Store in a cool, dark place, a pantry shelf is perfect. Most salves last about 12 months. If a salve smells off, changes color dramatically, or develops an unusual texture, discard it.
⚠️ Keep essential-oil salves away from cats. Cats lack the liver enzymes (glucuronyl transferase) needed to metabolize the phenols and monoterpenes in many essential oils. Tea tree, peppermint, eucalyptus, wintergreen, citrus, pine, and cinnamon essential oils are toxic to cats, even from skin-to-fur transfer after you apply a salve to yourself. Never apply these salves to pets, and wash your hands thoroughly before handling or petting a cat. If you share your home with cats, consider omitting essential oils entirely from salves you apply to your hands. Source: Pet Poison Helpline. Tea Tree Oil.
Handmade salves also make exceptional gifts. Paired with a bar of homemade soap and wrapped with a beeswax wrap, you’ve got a thoughtful, completely homemade gift set.
Troubleshooting Common Problems
| Problem | Cause | Solution |
|---|---|---|
| Salve is too hard | Too much beeswax | Remelt and add more infused oil |
| Salve is too soft | Not enough beeswax | Remelt and add more beeswax |
| Grainy texture | Shea butter overheated or cooled unevenly | Remelt slowly, stir continuously while cooling |
| Mold growth | Water contamination (fresh herbs used) | Discard; use only dried herbs next time |
| Smells rancid | Oil has gone bad | Discard; use fresher oil or one with longer shelf life |
| Air bubbles or craters on top | Poured too hot or cooled too fast | Cosmetic only: doesn’t affect quality |
🌱 From Our Homestead
The first salve I ever made was a simple calendula balm for my daughter’s dry winter skin. It worked better than anything from the store, cost almost nothing to make, and started me down a path of making all our own herbal remedies.
Frequently Asked Questions
Can I use fresh herbs instead of dried for infusing oils?
Dried herbs are strongly recommended for oil infusions. Fresh herbs contain water, and water in oil creates an environment where bacteria and mold can grow. If you want to use fresh herbs, wilt them first by spreading them on a towel for 24-48 hours until they’re limp but not fully dry. This removes enough moisture to be safe while retaining more of the fresh plant's properties. Use wilted-herb infusions within a few weeks rather than storing them long-term.
What’s the difference between a salve, a balm, and an ointment?
These terms are often used interchangeably, but there are subtle differences. A salve is the softest, it’s spreadable and melts easily on contact with skin. A balm is firmer, with more beeswax, and holds its shape better (lip balm, for example). An ointment technically refers to a preparation with a higher oil-to-wax ratio, making it very soft and greasy. For practical homestead purposes, the differences are minor, just adjust your beeswax ratio to get the consistency you prefer.
How do I know if someone might be allergic to my herbal salve?
Always do a patch test before using a new salve extensively. Apply a small amount to the inner wrist or elbow crease and wait 24 hours. If redness, itching, or swelling develops, don’t use that salve. People with ragweed allergies should be cautious with chamomile and calendula, as these are in the same plant family (Asteraceae). Nut allergies may also be relevant if you’re using sweet almond oil, switch to olive or jojoba oil instead.
Can I sell homemade salves at farmers markets or online?
Yes, but there are regulations to follow. Herbal salves are generally classified as cosmetics by the FDA, which means they must be properly labeled with ingredients, weight, and your business information. You cannot make medical claims on the label (for example, you can’t say “heals eczema” but you can say “soothing skin balm”). Check your state’s cottage industry laws for specific requirements. Many states allow small-scale cosmetic production from home kitchens with proper labeling.
What’s the best way to learn which herbs to use for different conditions?
Start with a few well-studied, widely used herbs that are safe for broken skin: calendula, lavender, chamomile, and plantain. These are gentle, effective, and well-documented for topical use on cuts, scrapes, and everyday skin irritation. Comfrey is not a beginner-safe herb for wound care, it contains pyrrolizidine alkaloids that are hepatotoxic, and it must never be applied to broken skin (see the Recipe 5 safety note above). As you gain confidence, expand your repertoire one herb at a time. Good reference books include Rosemary Gladstar's Medicinal Herbs: A Beginner's Guide, the Herbal Academy's online courses, and, for essential-oil safety. Tisserand & Young, Essential Oil Safety (2nd ed.). Growing your own herbs in a dedicated medicinal garden is the best way to learn.